
User-generated content (UGC) is a powerful marketing tool. Not only does video complement marketing efforts for e-commerce by enabling customers to explore products in greater detail, but UGC also adds an element of trust. As a bonus, user-generated video is an exceptional opportunity for e-businesses to attract website traffic without their marketing team having to create promotional videos from scratch. User-generated content drives conversions and brand loyalty as a direct result of authentic interaction.
However, without the right tools, it can be frustrating to add user-generated videos to an e-commerce site. On top of that, someone must review each and every video to ensure that the content is safe and brand-friendly—a nontrivial task. Cloudinary automates the process of accepting and even moderating content from your users, saving you time and money.
Cloudinary unleashes the power of UGC through interactive shoppable videos. To begin with, it’s a breeze to upload content to Cloudinary, after which you can moderate it automatically. Plus, you can create shoppable videos and enable visitors to make purchases right from Cloudinary’s video player embedded on your site, ultimately making it easier—and more likely—for them to buy from you.
This article shows you how to easily set up moderated and shoppable user-generated videos on your e-commerce site with Cloudinary. In terms of programming technology, all you need is HTML, JavaScript, and Ruby.
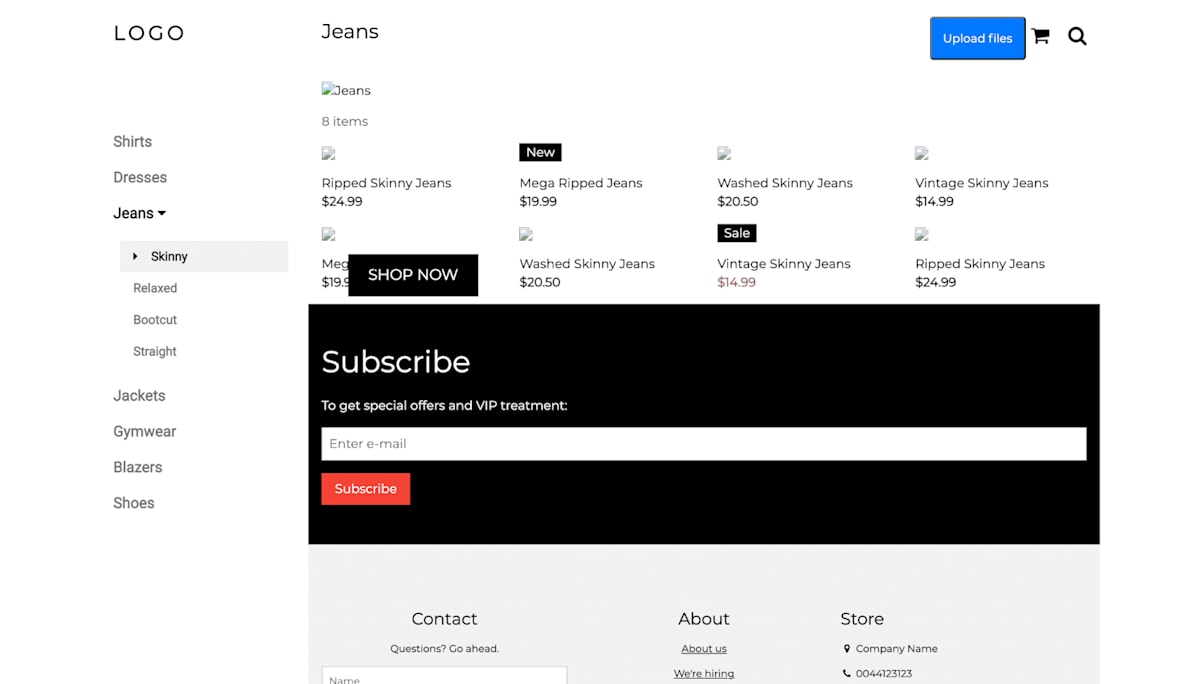
Before you can start accepting UGC, you need a site with which users can interact. For this example, let’s start with a stripped-down version of a W3Schools template. Without images, it looks like this:

Accepting UGC can be as easy as pasting in the code for the Cloudinary upload widget. We’ve done all the heavy lifting for you to ensure a smooth sail for your user uploads. You can add that handy user interface to almost any site by providing only minimal information with JavaScript.
Let’s say you want users to be able to directly upload to your e-commerce site videos that show the unboxing process of your products. The most obvious thing to do first is to add a button to trigger the upload widget. The code below places the button—however unpolished it might look right now—in the navbar at the top of the page:
<button id="upload_widget" class="cloudinary-button">Upload files</button>
Right now, the button merely acts as a placeholder. To connect it with Cloudinary, add the script of the Cloudinary upload widget and bind the button click to a function that triggers the widget to your HTML, as follows:
<script src="https://upload-widget.cloudinary.com/global/all.js" type="text/javascript"></script>


<script type="text/javascript">
var myWidget = cloudinary.createUploadWidget({
  cloudName: 'my_cloud_name',
  uploadPreset: 'my_preset'}, (error, result) => {
    if (!error && result && result.event === "success") {
      console.log('Done! Here is the image info: ', result.info);
    }
  }
)


document.getElementById("upload_widget").addEventListener("click", function(){
    myWidget.open();
  }, false);
</script>
With the script styles defined, your button now looks like this:
Clicking the button causes the modal to appear, but the widget would fail to load. To fix that, connect the widget to your Cloudinary account.
If you haven’t created a Cloudinary account yet, do that now—it’s free! Enjoy a generous use limit with no expiration date.
Log in to your account, click the Settings icon at the top, and then click the Upload tab. Scroll down to Upload presets.
First, create a new upload preset by clicking Add upload preset.

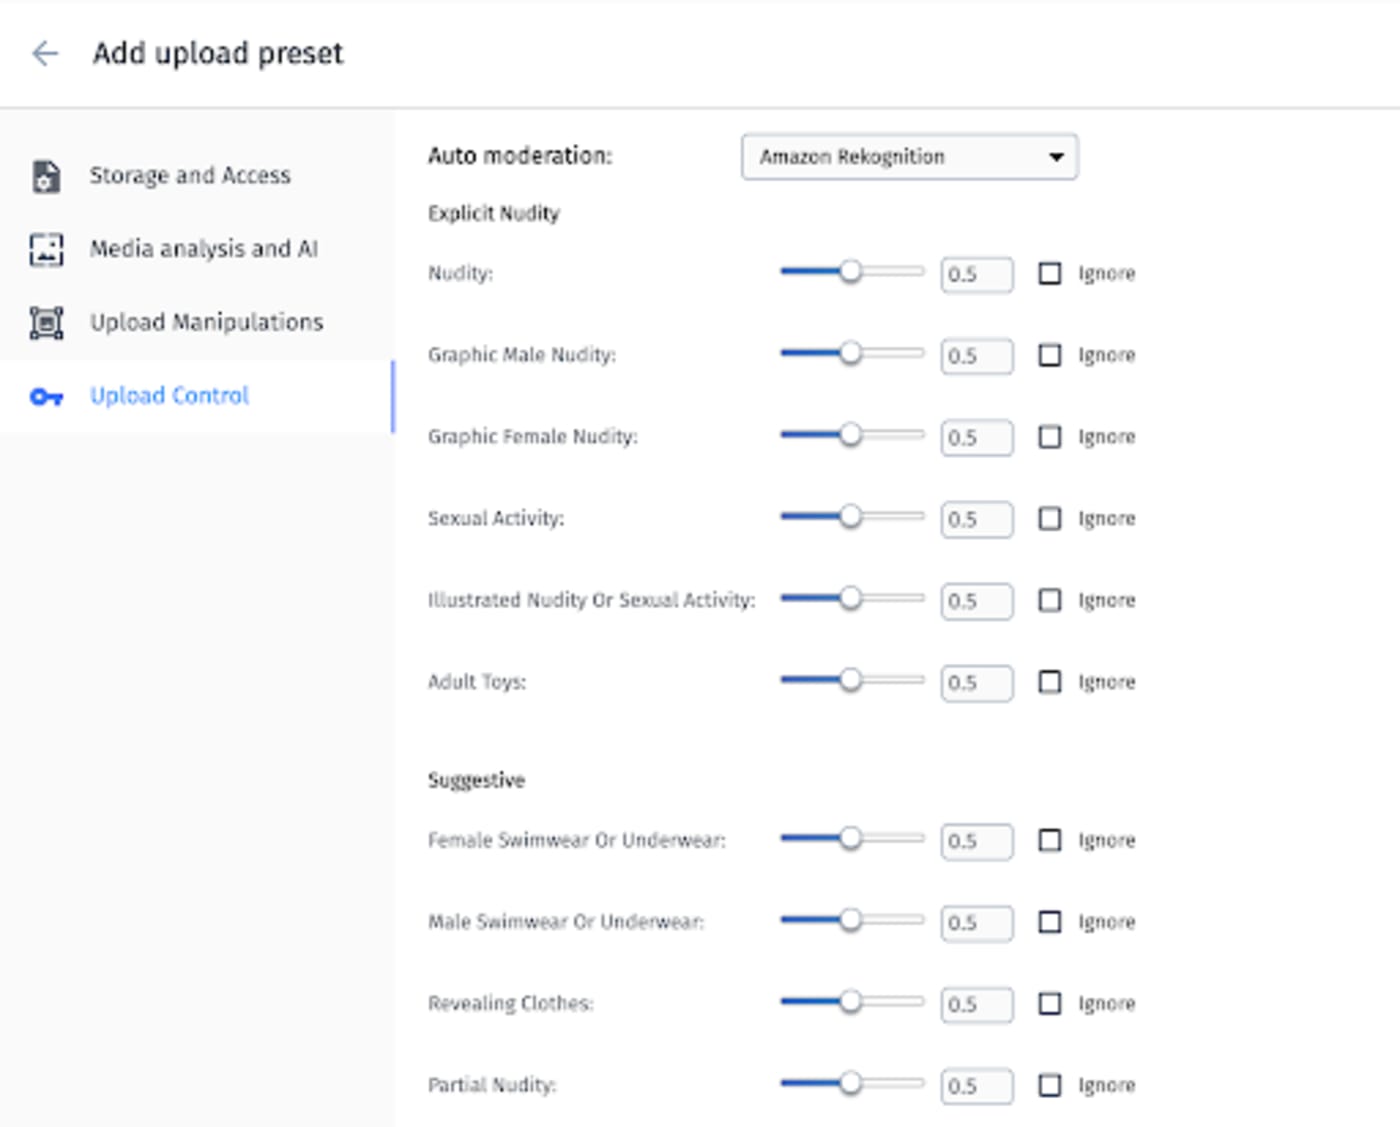
This will take you to a new page, where you can edit the details of the preset. You can change the name if you like, but be sure to set Signing Mode to Unsigned, as shown in the screenshot above.
You also have the option to enable automated content moderation. If you click Upload Control on the side panel, you can select your moderation add-on of choice. We’ll go more into detail later in this article, but for now, you can just select Amazon Rekognition and leave the default values.
Click Save, and you’ll be taken back to the page that indexes all your upload presets. Next, copy the name of the unsigned upload preset that you just created. This wraps up our work in the Cloudinary console, so let’s head back to our codebase.
In the script you added earlier, create an upload widget with this code:
var myWidget = cloudinary.createUploadWidget({
  cloudName: 'my_cloud_name',
  uploadPreset: 'my_preset'}, (error, result) => {
    if (!error && result && result.event === "success") {
      console.log('Done! Here is the image info: ', result.info);
    }
  }
)
Be sure to replace the variables my_cloud_name and my_preset with your account’s cloud and preset values, which are displayed on the dashboard. Afterward, simplify the error logging. The code would then read like this:
var myWidget = cloudinary.createUploadWidget({
  cloudName: 'my_cloud_name', uploadPreset: 'my_preset'},
  (error, result) => { console.log(error, result) })
Note that configuring your upload widget to accept unsigned uploads as described above is not ideal for production applications. Bad actors can inspect your page and programmatically upload content to your Cloudinary account with your cloudName and uploadPreset variables, bypassing the settings you might have in the upload widget for content types or simply overloading your storage.
To mitigate that risk, set up signed uploads instead to allow only authorized ones. Rather than revealing the uploadPreset variable, signed uploads use a combination of a public API key and a unique identifier as an upload signature. For details on the configuration procedure, see the Cloudinary documentation.
The internet can be a scary place, and chances are that you don’t want to host potentially offensive or harmful content. However, manually checking UGC, especially video, could be a cumbersome, astronomical task. Fortunately, Cloudinary can automatically moderate UGC for you, filtering inappropriate content and malicious files, such as computer viruses.
Toward that end, Cloudinary leverages Amazon Web Services (AWS) Rekognition as an add-on, which, by means of deep learning and with only minimal configuration on your part, analyzes videos within your application or website. Follow these steps to set up the AWS Rekognition add-on:
-
Click the Add-ons tab in the Cloudinary console:

-
Register for the add-on tier you desire. The free tier offers 50 free moderations per month.

Earlier, we managed moderation in the Cloudinary console when we created the upload widget. This is often sufficient, but Cloudinary also offers the ability to do this sensitive and potentially custom logic on the server side. Thanks to Cloudinary’s SDKs for all major frameworks, this a cinch to do.
Once you’ve installed the appropriate SDK, uploading to Cloudinary from your server-side code takes only a few codelines, such as the following in Ruby:
Cloudinary::Uploader.upload("my_file.mp4",
  :resource_type => "video",
  :moderation => "aws_rek_video")
This code uploads a file called my_file.mp4 to Cloudinary and specifies AWS Rekognition as the moderation provider. You can also identify content types and confidence levels to customize your moderation setup, as explained in the documentation.
Because processing video is resource intensive, moderation takes place asynchronously. Upon completion, the Rekognition add-on sends a JSON response, which your business logic can then parse and decide what to do in case of potentially offensive UGC.
Gratifyingly, shoppable videos are included in Cloudinary’s standard video-player package, meaning that you can share videos and tag sections with links to products for sale. As an example, see the shopping cart icon in the top-right corner of the video below of a woman wearing sunglasses.

Visitors interested in something they see on the screen can click the shopping cart icon. Let’s say instead of the sunglasses, the handbag catches someone’s eye. With a click on the icon, the visitor would see the product listings along with the related images:

A single click on a product would send visitors to the configured product link, where they can make purchases.
After embedding the Cloudinary video player, you can configure it for shoppable video with the following code:
shoppable: {
    startState: "openOnPlay",
    autoClose: 2,
    showPostPlayOverlay: true,
    width: "15%",
    bannerMsg: "Start shopping for your outfit",
    toggleIcon:
    "https://res.cloudinary.com/demo/image/upload/docs/trolley",
    transformation: {
    quality: "auto:eco",
    fetch_format: "auto",
    crop: "pad",
    aspect_ratio: "1"
    },
    products: [ /*products array*/ ]
The products array tells the video player what products to link to and where to highlight them in the video. For details on the procedure, see the documentation.
The year 2020, which saw a meteoric surge in online purchases due to the pandemic-induced restrictions, proved that e-commerce is here to stay. As explosive growth bolsters this market, UGC helps your products stand out.
From unboxing to lifestyle, your customers’ videos are a valuable marketing multiplier for you. Besides enabling you to accept them with a user- and developer-friendly upload tool, Cloudinary also saves you time and ensures your content’s legitimacy with automatic moderation through an add-on. Above all, with Cloudinary, you can display UGC in a shoppable format, maximizing the UGC’s effectiveness in generating sales.
Doubtless, your site stands to benefit from one or all of Cloudinary’s handy tools, which help you enhance user experience as your audience browses and uploads video, enjoys brand-friendly content, shops right from your videos, and engages with your site. Do sign up to try Cloudinary’s tools—for free.