
Landing pages are the gateways to conversions. The challenge is making them engaging enough to draw your visitor’s attention and get their well-sought-after click. Traditionally, static images have been the go-to choice, but video backgrounds are gaining traction to create a more immersive experience. The question is, which one works best?
This guide will walk you through testing video and image backgrounds using Cloudinary’s digital asset management (DAM) and dynamic transformation tools. You’ll learn to optimize engagement while maintaining strong performance and A/B test landing pages using dynamic URLs and analytics integrations.
Using video backgrounds on your website offers you several advantages over static images. Videos can captivate visitors with an engaging story in seconds, and keep them on the page longer. According to a 2025 survey:
- 87% of video marketers say video has helped them generate leads.
- 87% of video marketers say video has directly increased sales.
- 90% of marketers say video marketing has given them a good ROI.
Videos also make your website feel more modern and showcase your brand’s values and identity in a matter of seconds, helping you stand out in competitive markets. Plus, when appropriately optimized, videos work seamlessly across all mobile devices.
On the other hand, static images remain a strong choice due to faster load times and simpler designs that avoid visual overload. Additionally, they can be a lightweight solution that reduces resource demands and sidesteps potential compatibility issues.
The right choice depends on your audience’s needs, technical constraints, and your brand aesthetics. In the following section, you’ll learn how to implement both strategies using Cloudinary’s DAM and transformations, ensuring your chosen format delivers maximum impact without compromising performance.
To start creating or transforming an asset using Cloudinary, you must have an account; if you don’t have a free Cloudinary account, you can set one up.
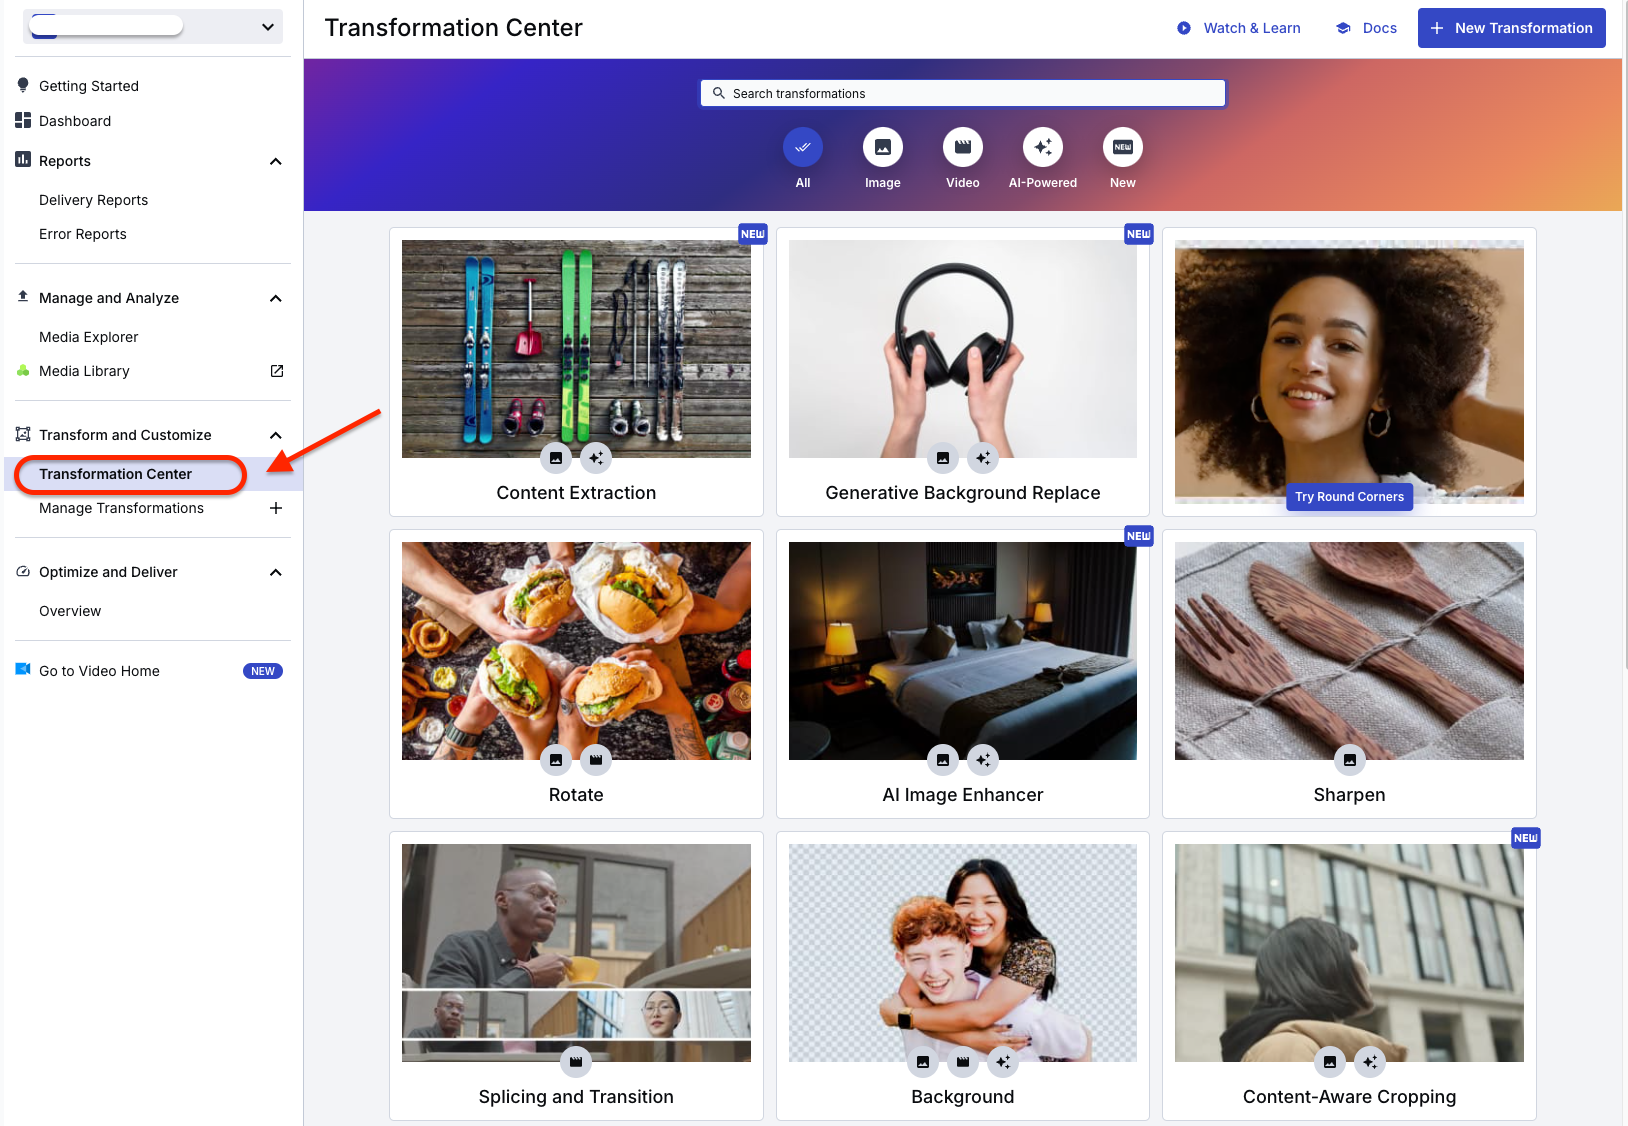
Next, navigate to your Cloudinary dashboard and go to Transformation Center. Depending on your use case, you should see all the available templates for transforming your videos or images using Cloudinary’s video transformations, as shown below.
Filter all templates by video and select the “Layers” template, which will be used for the background transformation. The template you’ll use in this example is a video template with a preselected video, and you can extend the customization as preferred, depending on your use case.
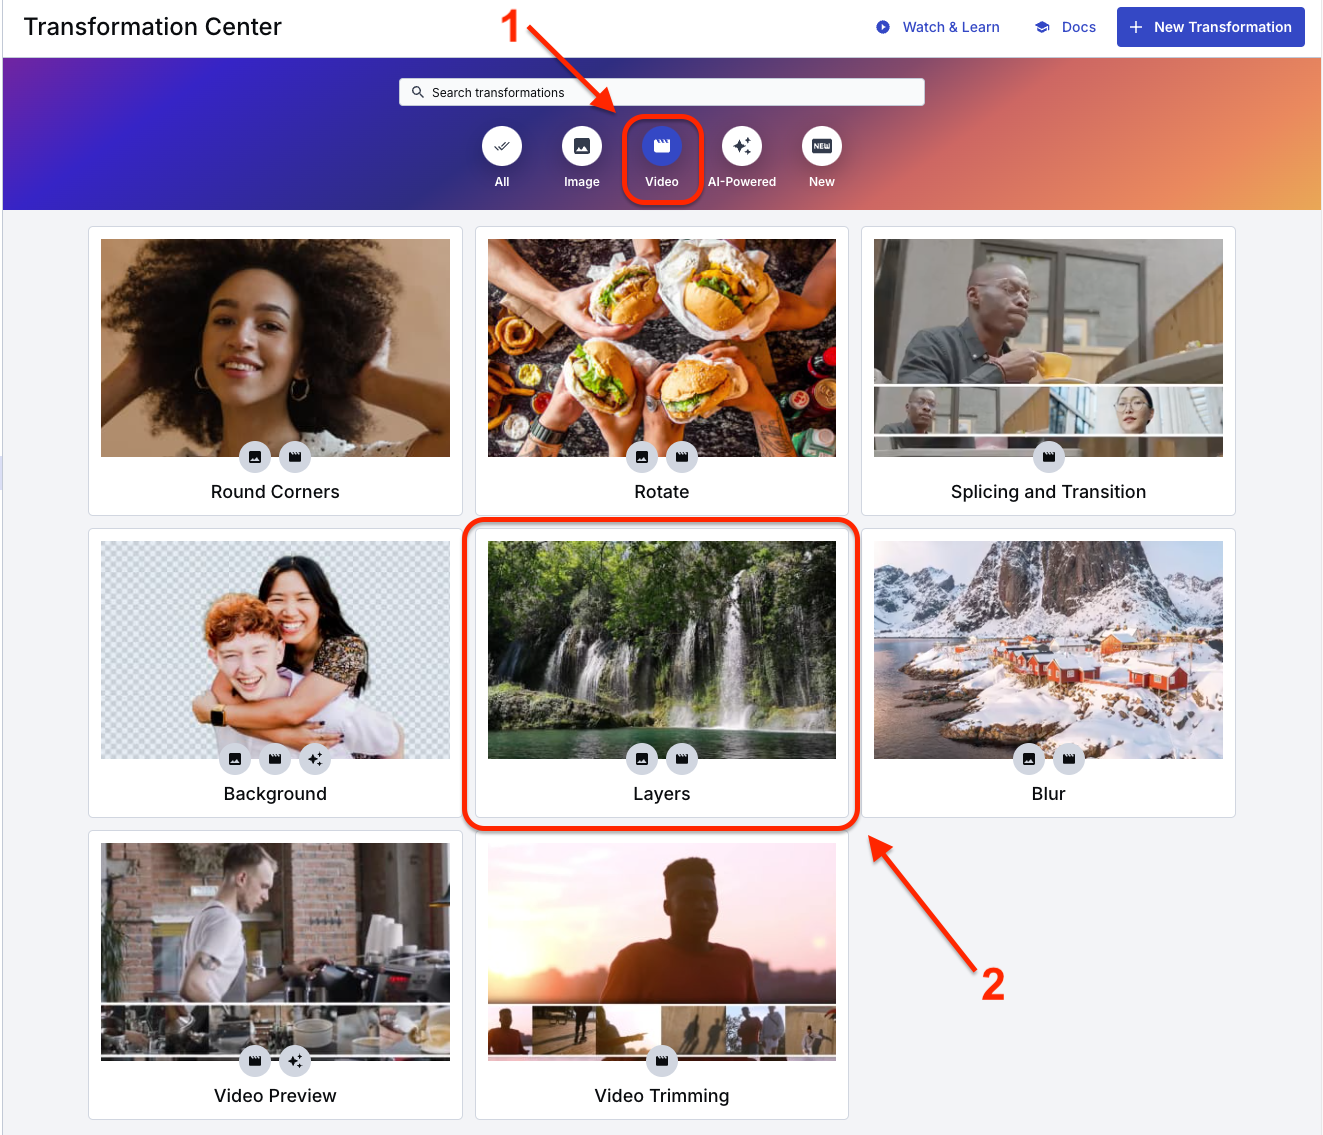
Next, click to select the video category. You’ll find various transformation settings, including Image Layer, Text Layer, and Text, which you can use to modify your video.
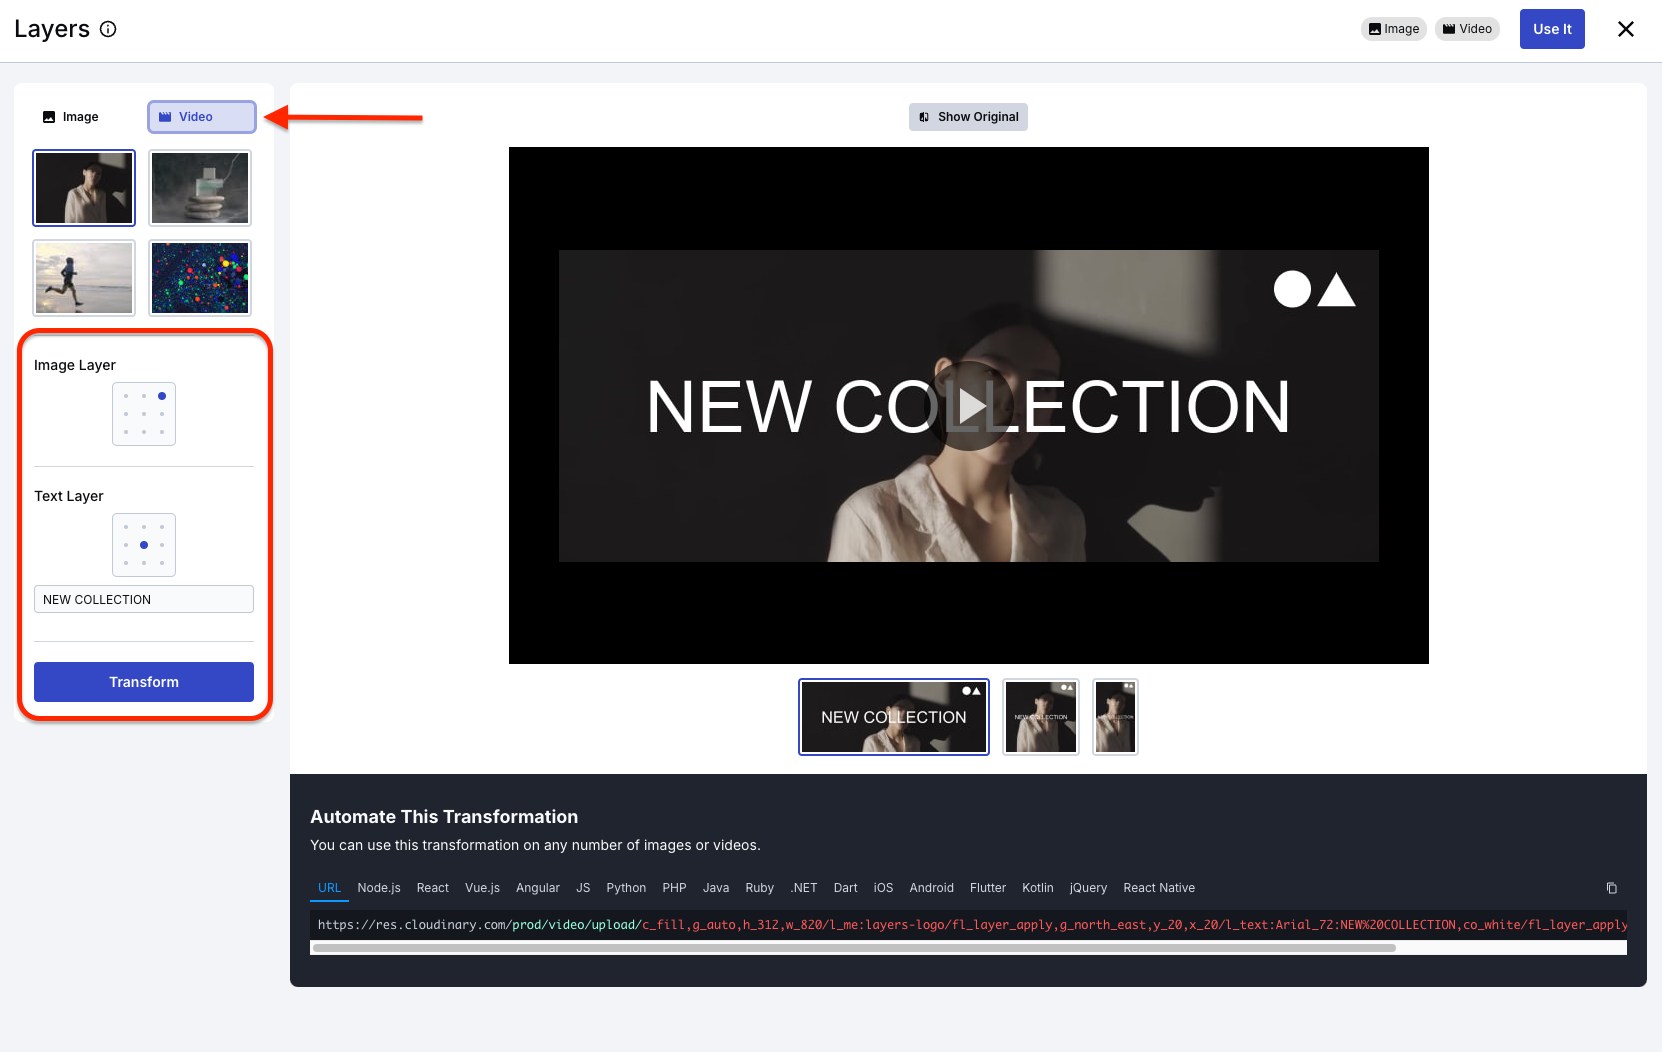
Change the position of the Image and Text layers and the text to “SHOP NOW,” then click the Transform button.
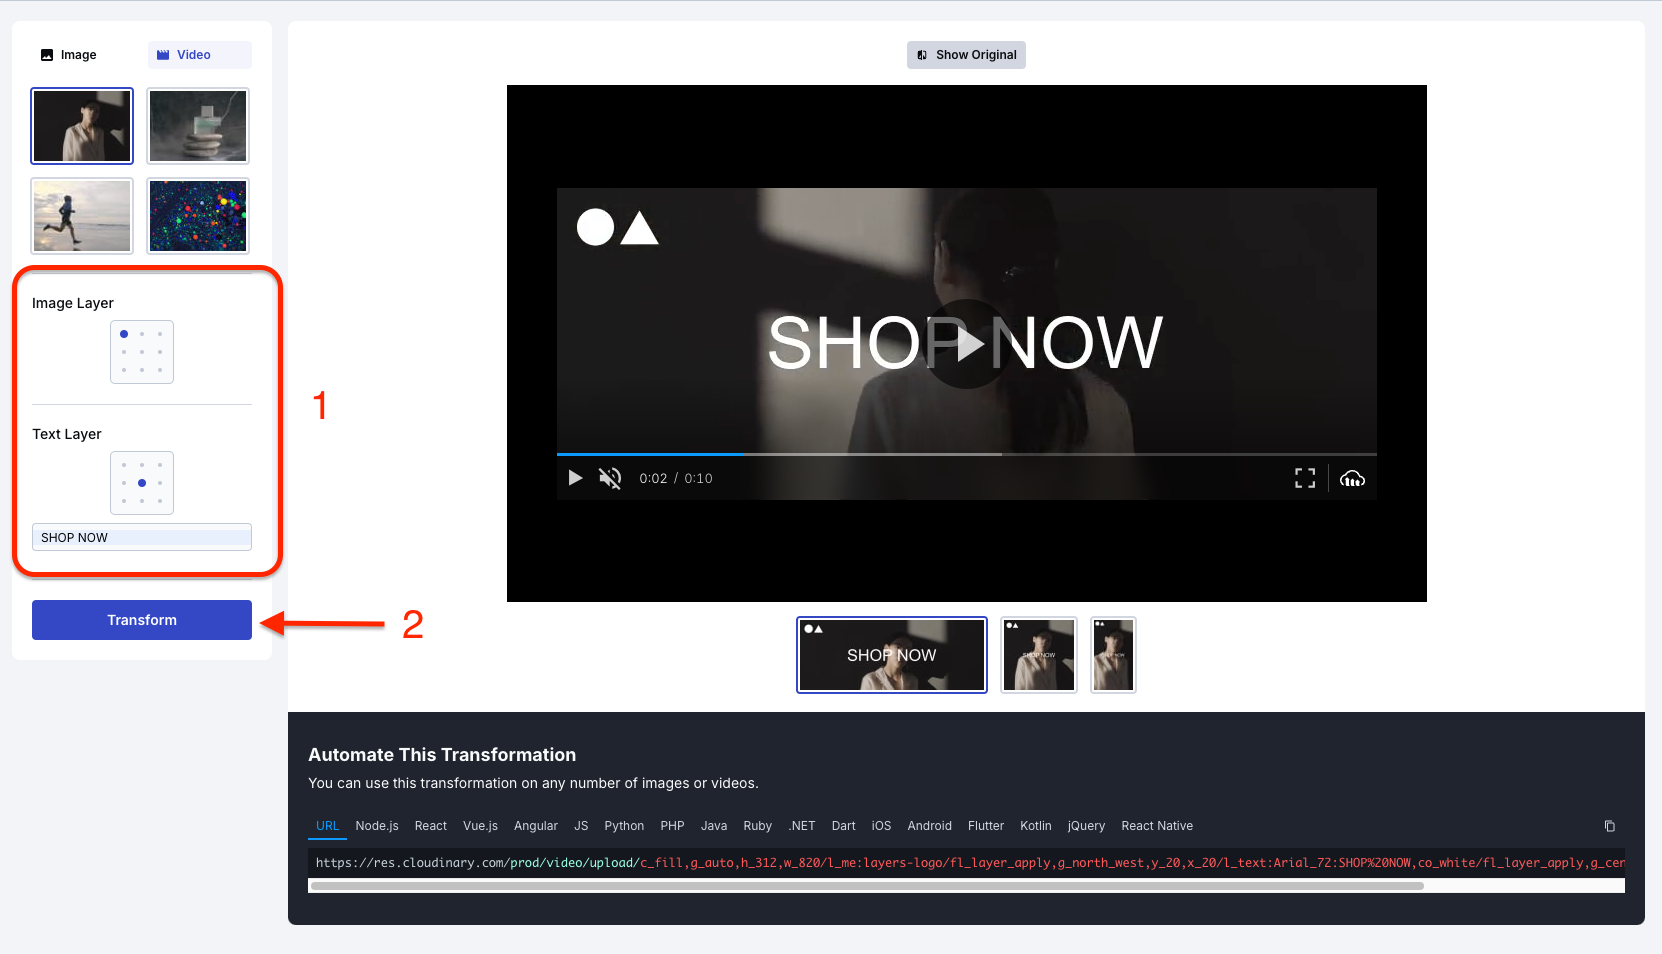
You should see the video transformation similar to what is shown below.
Click the Use It button at the top right corner to use the template for your video transformation and access other transformation settings for more robust customization. Now that you’ve created your transformed video or image assets, how do you know which version resonates best with your audience?
The following section will teach you how to A/B test landing pages with different image variations to measure performance and optimize conversions so you can confidently choose between video backgrounds, static images, or hybrid designs based on real user data.
Cloudinary’s Dynamic URLs let you manage and update your visual assets without modifying your application’s code. This feature is handy for A/B testing because it saves storage space and enables you to experiment in real time, applying instant updates as needed.
Cloudinary asset URLs follow a structured format, giving you granular control over your media. The core structure looks like this:
https://res.cloudinary.com/<cloud_name>/<asset_type>/<delivery_type>/<transformations>/<version>/<public_id>.<extension>Code language: HTML, XML (xml)Let’s break down the key components that are most relevant for A/B testing variations:
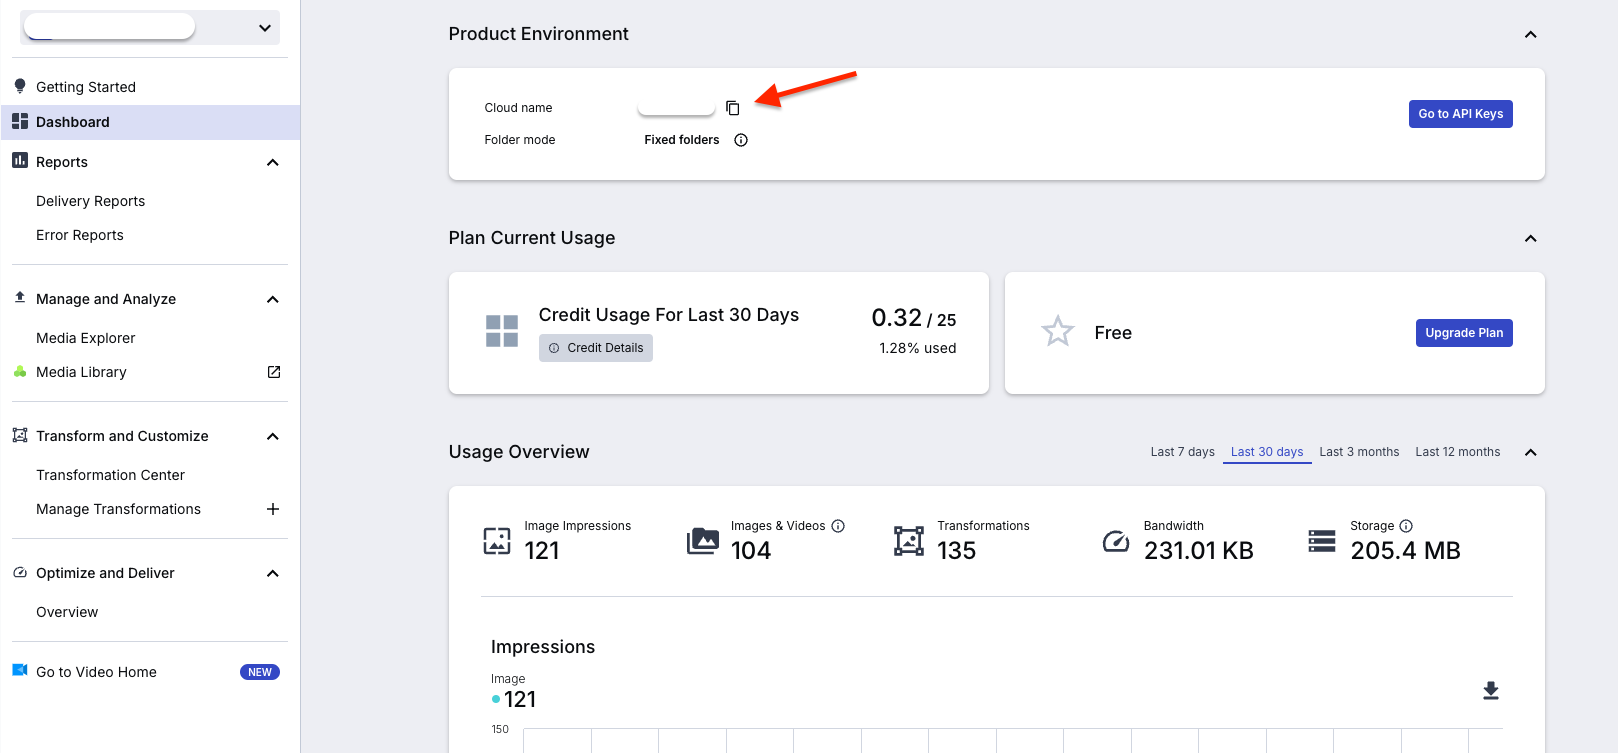
<cloud_name>. Your unique Cloudinary account name. You can find this on your Cloudinary dashboard.<asset_type>. Specifies if it’s an image or video.<transformations>. Contains parameters to modify your asset, e.g., resize, crop, add filters, overlays, etc. You can chain multiple transformations together.<public_id>. The unique name you gave your asset when uploading it to your Media Library.<extension>. The file format (e.g., .jpg, .mp4).
Before you begin the A/B test landing page with image variations, you must retrieve your cloud name from your dashboard in Cloudinary. To do that, navigate to your dashboard and copy the cloud name as shown below.
Let’s say you have a static hero image with the public_id of “quality-suit” in your Cloudinary Media Library.
Its base URL will be:

To create a variation for A/B testing, you want to make a slightly different version and crop the image to emphasize a particular product feature, or let’s say you want to add an explicit “SHOP NOW” call to action to your suit image to drive immediate clicks from your landing page. Here’s how you can dynamically add a text overlay using Cloudinary:

In this modified URL, we’ve added:
Base image: docs/quality-suit.jpg. This is still our base suit image (replace with your actual product image public ID).l_text:Arial_120_bold:SHOP%2520NOW. This is the text overlay transformation.l_text:. Indicates we’re adding a text layer.Arial_120_bold. Specifies the font: Arial, size 120, and bold weight. We use a large font to ensure the call to action is highly visible.SHOP%2520NOW. The text itself is “SHOP NOW”.%2520is the URL-encoded space to create a space between the words.co_white. Sets the text color to white (co stands for color). White provides good contrast against the potentially darker suit image.x_-23,y_108. Positioning offsets.x_-23shifts the text 23 pixels to the left from the horizontal center, andy_108shifts it 108 pixels down from the vertical center. This positions the “SHOP NOW” text in a visually prominent, slightly off-center location./c_crop,w_1000,h_1070. This section defines the manual crop transformation. It comes after the text overlay in the URL, meaning it’s applied to the image after the text has already been added.- c_crop. Specifies the crop mode as “crop.” This is a manual crop in which you explicitly define the width and height of the cropped area.
- w_1000. Sets the width of the cropped area to 1000 pixels.
- h_1070. Sets the height of the cropped area to 1070 pixels.
- Gravity is not specified here. When using
c_cropwithoutg_(gravity), Cloudinary defaults to cropping from the center of the image.
This URL instantly transforms your suit image to include a bold, white “SHOP NOW” call to action, positioned to be highly noticeable and encourage clicks.
Dynamic URLs’ power shines when A/B tests different calls to action (CTAs). You can easily create variations with different text simply by modifying the l_text parameter in the URL.
Here is the “EXPLORE VARIATION” variation:

Slightly smaller font Arial_60_bold to fit longer text.
By swapping out these URLs in your landing page variations, you can A/B test the effectiveness of different CTAs to drive user engagement and conversions — all without needing to create new images or redeploy code!
To truly understand the power of A/B testing landing page assets with Cloudinary‘s DAM, you must compare conversion rates between variations of images and videos in a real-world scenario. For example, you’re an online suit retailer eager to launch your new line of modern suits. How do you make your landing page hero section as captivating as possible? Let’s explore a case study focused on testing video backgrounds against static image backgrounds.
Scenario: Our online menswear store is back, now launching its latest suit collection. This time, the big question is: Will a video background in the landing page hero section grab more attention than a traditional static image background?
The store’s primary goal is to encourage visitors to spend more time on the page and explore its sleek suit catalog. To find out how much time is spent on the page, we’ll run an A/B test, creating two variations of our landing page hero section.
We’ll use a professionally styled image of a model looking sharp in a suit for the control. To keep things speedy and visually appealing, we optimized the image using Cloudinary with these transformations:

c_fill,g_auto,h_1200,w_1920. Resizes and crops the image to create a full-width hero background.e_grayscale. Applies a sophisticated grayscale effect.f_auto, q_auto:good. Optimizes image format and quality for fast delivery and excellent visuals.docs/quality-suit.jpg. The base image asset.
The Challenger is a short, looping video showcasing the suit’s finer details, the fabric texture, the impeccable fit, and how it moves. This video is also optimized with Cloudinary for smooth, fast playback.
https://res.cloudinary.com/demo/image/upload/f_auto,q_auto:good,vc_h264,du_3,loop_continuous/hero-suit-video.mp4Code language: JavaScript (javascript)f_auto,q_auto:good. Automatic format and quality optimization, just like the static image.vc_h264. Specifies the video codec for broad browser compatibility.du_3. Limits the video duration to three seconds for efficient looping.loop_continuous. Ensures seamless, continuous video looping.hero-suit-video.mp4. (Placeholder for the actual optimized video asset.)
Set up an A/B test using your favorite platform, evenly splitting website traffic between Variations A and B.
The Cloudinary URLs for each asset were directly embedded into the code for each landing page variation. This meant no extra design work or complex deployments were needed, just URL swapping.
Focus on “Average Time on Page” within the hero section to measure engagement. Secondary metrics like bounce rate and how far users scroll down the page should also be monitored. Run the test for two weeks or more to ensure reliable data.
The examples in this guide show how valuable Cloudinary’s dynamic asset delivery and optimization can be when you A/B test different media types like video and static images for your landing page backgrounds.
Contact us today to learn more about how Cloudinary empowers marketers to create web pages that resonate and drive results.

