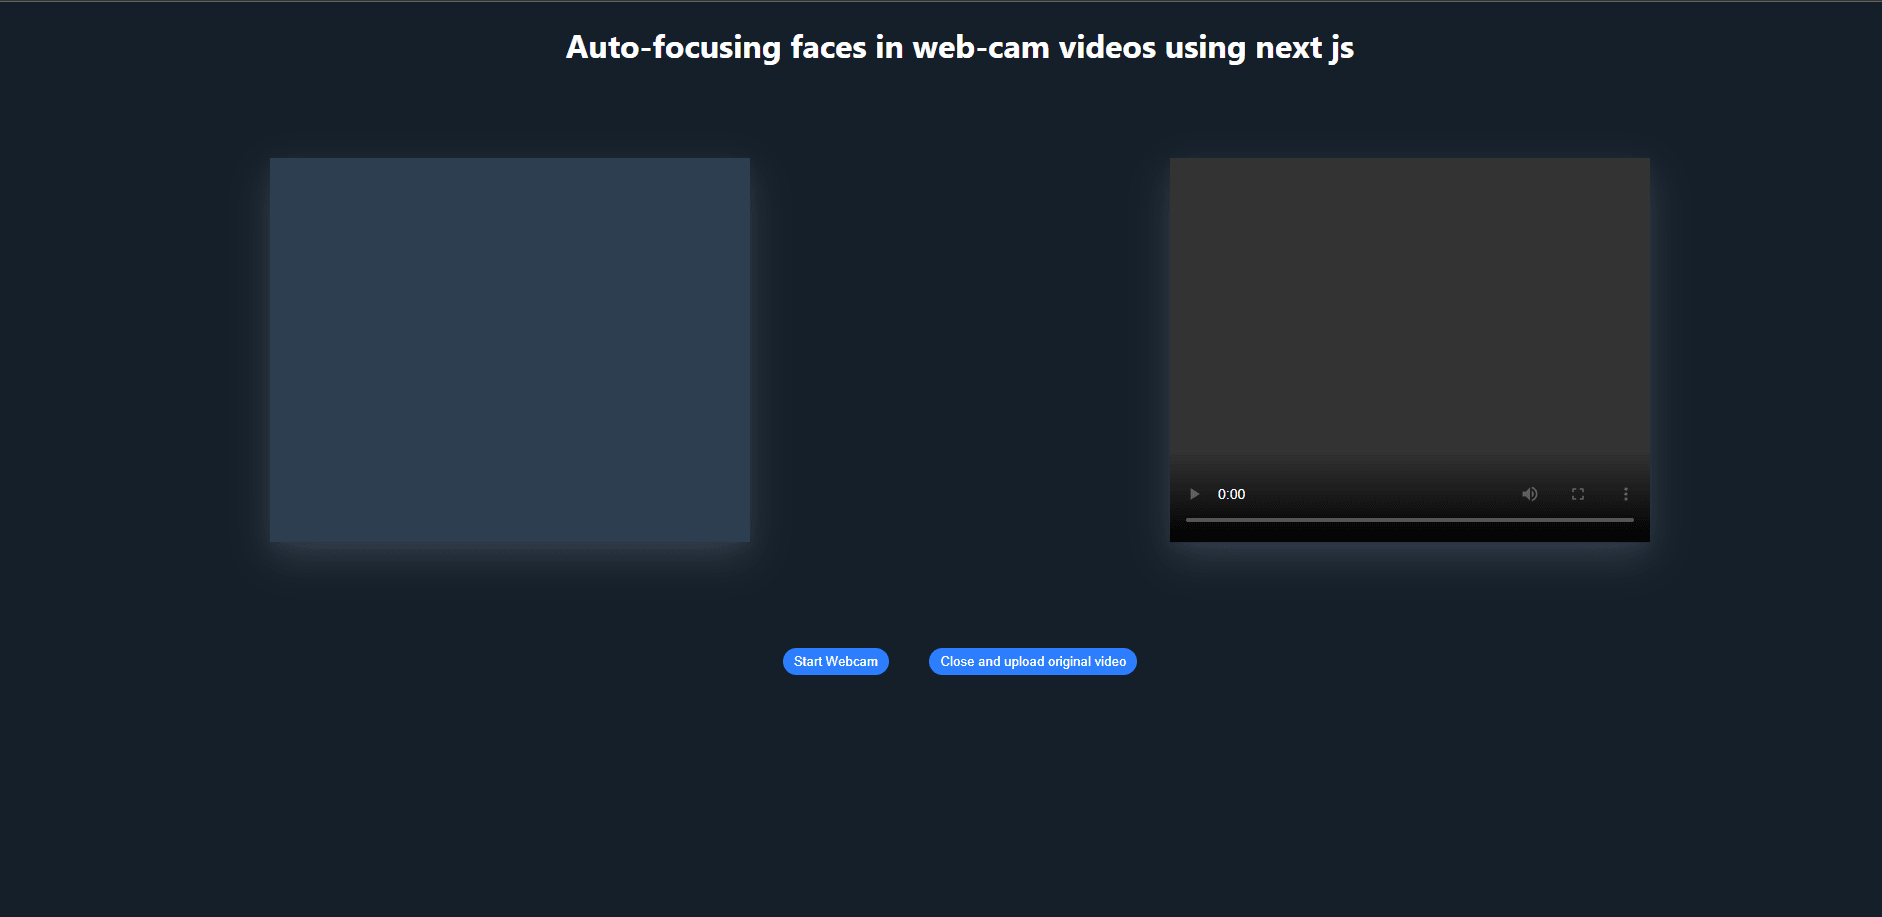
In this article, we will create a function that detects a person’s face in a scene and maintains focus on it while they move. When recording a webcam video with people, it allows for more focal freedom.
Check the sandbox demo on Codesandbox.
You can also use the Github repo here.
Entry-level javascript and React/Nextjs knowledge.
Create a new nextjs app using npx create-next-app webcamfocus in your terminal.
Head to your project root directory cd webcamfocus
To set up Cloudinary integration, start by creating your Cloudinary account using Link and logging in to it. You will receive a dashboard containing environment variable keys which are necessary for the Cloudinary integration in our project.
In your project directory, start by including Cloudinary in your project dependencies npm install cloudinary
Create a new file named .env.local and paste the following code. Fill the blanks with your environment variables from the Cloudinary dashboard.
".env.local"

CLOUDINARY_CLOUD_NAME =

CLOUDINARY_API_KEY =

CLOUDINARY_API_SECRET =
Restart your project: npm run dev.
Create a directory pages/api/upload.js and begin by configuring the environment keys and libraries.
var cloudinary = require("cloudinary").v2;

cloudinary.config({
    cloud_name: process.env.CLOUDINARY_NAME,
    api_key: process.env.CLOUDINARY_API_KEY,
    api_secret: process.env.CLOUDINARY_API_SECRET,
});
Use a handler function to fire the POST request. The function will receive media file data and post it to the cloudinary website, capture the media file’s cloudinary link and send it back to the frontend as a response.
export default async function handler(req, res) {
    if (req.method === "POST") {
        let url = ""
        try {
            let fileStr = req.body.data;
            const uploadedResponse = await cloudinary.uploader.upload_large(
                fileStr,
                {
                    resource_type: "video",
                    chunk_size: 6000000,
                }
            );
            url = uploadedResponse.url
        } catch (error) {
            res.status(500).json({ error: "Something wrong" });
        }

        res.status(200).json({data: url});
    }
}
Our front end will be coded in the pages/index directory:
Start by including @cloudinary/react and @cloudinary/url-gen in your project dependancies: npm install @cloudinary/url-gen @cloudinary/react.
In the pages/index directory include the necessary modules in your imports
"pages/index"


import React, { useRef, useState } from "react";
import { AdvancedVideo } from "@cloudinary/react";
import { Cloudinary } from "@cloudinary/url-gen";

import { fill } from "@cloudinary/url-gen/actions/resize";
import { FocusOn } from "@cloudinary/url-gen/qualifiers/focusOn";
import { Gravity } from "@cloudinary/url-gen/qualifiers";
import { AutoFocus } from "@cloudinary/url-gen/qualifiers/autoFocus";

const HTTP_SUCCESS = 200;
const VIDEO_HEIGHT = 450;
const VIDEO_WIDTH = 800;
The three constants below the imports shall be used to determine a successful response, video height, and width respectively.
Create a cloudinary instance
"pages/index"


const cld = new Cloudinary({
  cloud: {
    cloudName: "hackit-africa",
  },
});
Inside the home component, declare the following variables. We will use them to link our video element to the webcam through a media stream
"pages/index"


export default function Home() {
  let recordedChunks = [];
  let localStream = null;
  let options = { mimeType: "video/webm; codecs=vp9" };
  let mediaRecorder = null;

  const rawVideo = useRef();
  const [publicID, setPublicID] = useState("bcffgeg9cnjryfqdghz8");

    return(
        <>works</>
    )
}
Create a function startCamHandler like below:
"pages/index"


const startCamHandler = async () => {
    console.log("Starting webcam and mic ..... ");
    localStream = await navigator.mediaDevices.getUserMedia({
      video: true,
      audio: false,
    });
    rawVideo.current.srcObject = localStream;
    rawVideo.current.addEventListener("loadeddata", (ev) => {
      console.log("loaded data.");
    });

    mediaRecorder = new MediaRecorder(localStream, options);
    mediaRecorder.ondataavailable = (event) => {
      console.log("data-available");
      if (event.data.size > 0) {
        recordedChunks.push(event.data);
      }
    };
    mediaRecorder.start();
};
The above function will first seek the user’s permission to open the webcam and mic and feed the video element with data from the webcam using a media stream. All data chunks will be saved in the recordedChunks array.
There’ll also be a function stopCamHandler which will stop the media stream on the user’s command, turn the recorded chunks to blob and use the file reader, (readFile function) to get a string representation of the media file and pass it to the uploadHandler function.
"pages/index"


function readFile(file) {
    console.log("readFile()=>", file);
    return new Promise(function (resolve, reject) {
      let fr = new FileReader();

      fr.onload = function () {
        resolve(fr.result);
      };

      fr.onerror = function () {
        reject(fr);
      };

      fr.readAsDataURL(file);
    });
}

const stopCamHandler = () => {
    console.log("Hanging up the call ...");
    localStream.getTracks().forEach((track) => track.stop());

    mediaRecorder.onstop = async (event) => {
      let blob = new Blob(recordedChunks, {
        type: "video/webm",
      });

      // Save original video to cloudinary
      await readFile(blob).then((encoded_file) => {
        uploadVideo(encoded_file);
      });
    };
};
We will use the code below to fire a cloudinary transformation that focuses on the user’s face as the video plays.
"pages/index"


const myVideo = cld.video(publicID);
  // Apply the transformation.
  myVideo.resize(
    fill()
      .width(VIDEO_WIDTH)
      .height(VIDEO_HEIGHT)
      .gravity(
        Gravity.autoGravity().autoFocus(AutoFocus.focusOn(FocusOn.faces()))
      )
  );
Finally, we will have the uploadHandler function to post the videos to the backend and use the response to set the video’s public Id using the setPublicID state hook.
"pages/index"


const uploadVideo = async (base64) => {
    console.log("uploading to backend...");
    try {
      fetch("/api/upload", {
        method: "POST",
        body: JSON.stringify({ data: base64 }),
        headers: { "Content-Type": "application/json" },
      }).then((response) => {
        if (response.status === HTTP_SUCCESS) {
          response.json().then((result) => {
            console.log(result);
            setPublicID(result.public_id);
          });
        }
        console.log("successfull session", response.status);
      });
    } catch (error) {
      console.error(error);
    }
};
Use the code below to fill the DOM elements in your return statements. The css is in the Github repo.
"pages/index"


return (
    <div className="container">
      <h1>Auto-focusing faces in web-cam videos using next js</h1>
      <div className="row">
        <div className="column">
          <video
            className="display"
            width={VIDEO_WIDTH}
            height={VIDEO_HEIGHT}
            ref={rawVideo}
            autoPlay
            playsInline
          />
        </div>
        <div className="column">
          {publicID && <AdvancedVideo cldVid={myVideo} controls />}
        </div>

      </div>
      <div className="row">
        <div className="column">
          <div className="buttons">
            <button className="button" onClick={startCamHandler}>
              Start Webcam
            </button>{' '}
            <button id="close" className="button" onClick={stopCamHandler}>
              Close and upload original video
            </button>
          </div>
        </div>
      </div>
    </div>
);
The full UI should look like below:

