
Videos can be considered one of the most successful marketing tool as they outperform text posts and static images in terms of engagement. It may appear harsh, but it is the reality of today’s business environment. An effective user review of a video can make or break sales.
Consumers want social proof of products and services more than ever, and it’s a good business practice to prioritize and capitalize on those user reviews.
This article demonstrates how to generate user reviews from feedback forms triggered by video events in Next.js.
The completed project is on CodeSandbox. Fork it to get started quickly.
The source code is on Github.
- Adequate knowledge of JavaScript and React.js
- Knowledge of Next.js is preferred, but not required.
- A Cloudinary account is also needed — sign up here.
Next.js is a React-based framework with pre-rendering, automatic code-splitting for faster page loads, and API routes to build API endpoints with serverless functions for back-end features.
Created by Vercel, Next.js is open source based on Node.js and Babel — and also integrates with React to create single-page apps.
To create a new project, we’ll run the following command in our terminal:
    npx create-next-app <project-name>
Code language: HTML, XML (xml)
Navigate into the project directory and install Cloudinary React SDK dependency.
    cd <project-name>
    npm install cloudinary-react
Code language: HTML, XML (xml)
Running npm run dev will start the development server by default at http://localhost:3000 in our browser.
After successfully creating an account, Cloudinary will redirect us to our account’s dashboard page where we can upload the demo video.
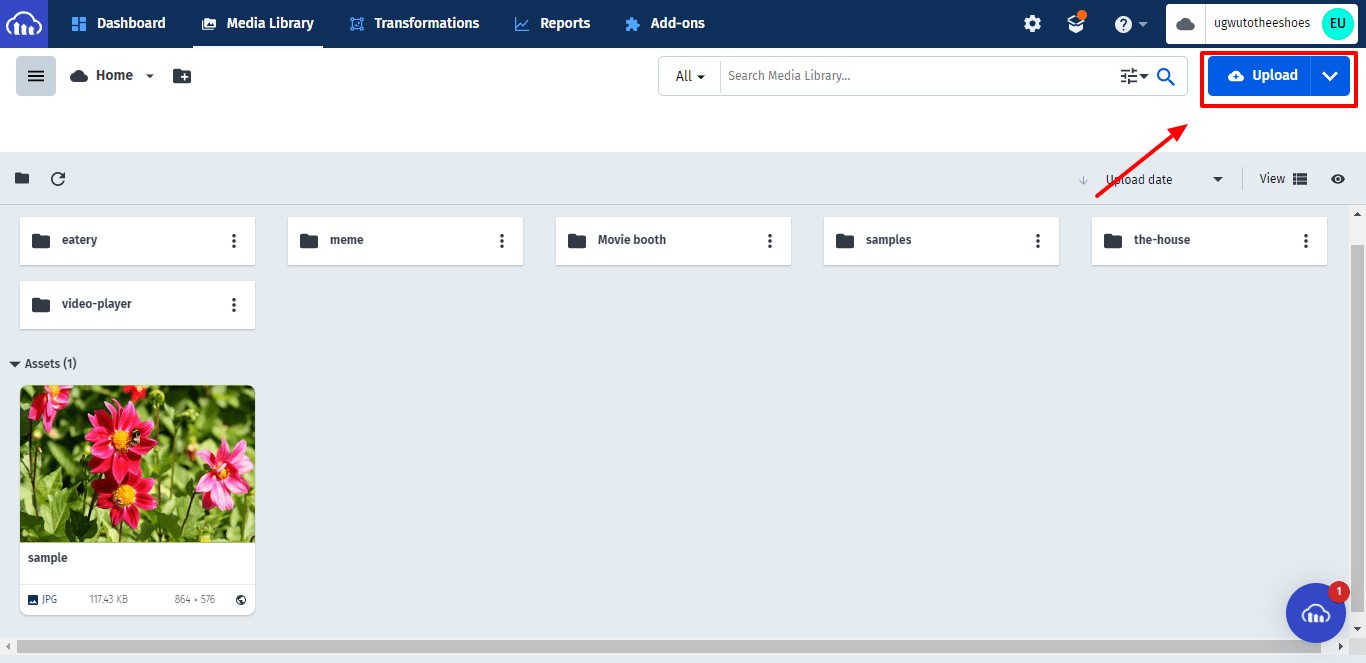
Click on the “Upload” button above and select the video file to be uploaded.
To build the feedback form, we’ll create a new file called Form.js and set up some state variables to store the value of the form’s input elements anytime the value changes.
    const form = () => {
      const [name, setName] = useState("");
      const [review, setReview] = useState("");
       return (
        // form
     )};
    export default form;

Code language: JavaScript (javascript)
We’ll head on to create a form that consists of a button and two input elements; one for the user and the other for the user’s feedback. The input elements are assigned to the state variables shown in the code snippet above.
<form className="form">
    <label>
          name:
          <input
            type="text"
            value={name}
            onChange={(e) => setName(e.target.value)}
          />
        </label>
        <label>
          Video review:
          <textarea
            type="text"
            value={review}
            onChange={(e) => setReview(e.target.value)}
          />
        </label>
        <button type="submit"> submit </button>
 </form>
Code language: HTML, XML (xml)Import the required components from Cloudinary React SDK to pages/index.js to embed the video player in our demo application.
import {Video, CloudinaryContext} from 'cloudinary-react';
Then, in the CloudinaryContext component, apply the Cloud name from our Cloudinary account details on the dashboard page and also include the name of the video in the Video component:
 <main className={styles.main}>
        <h1 className={styles.title}>
          Feedback form trigger from video events in Next.js
        </h1>
    <CloudinaryContext cloud_name="OUR-CLOUD-NAME">
      <div>
          <Video
            publicId="OUR-VIDEO-ID"
            width="850px"
            height="450px"
            controls
            onPlay={playFunction}
            onEnded={endFunction}
          />
        </div>
      </CloudinaryContext>
    </main>
As shown above, we’ll also apply some configuration parameters to the video. Each of the parameters does the following:
-
publicId– Holds the name of the demo video -
widthandheight– Displays the video with a width of 850px and a height of 450px -
controls– Gives the video a set of controls such as play, pause, skip, fullscreen, etc. -
onPlay– Triggers a function when the video starts. -
onEnded– Triggers a function after the video finishes.
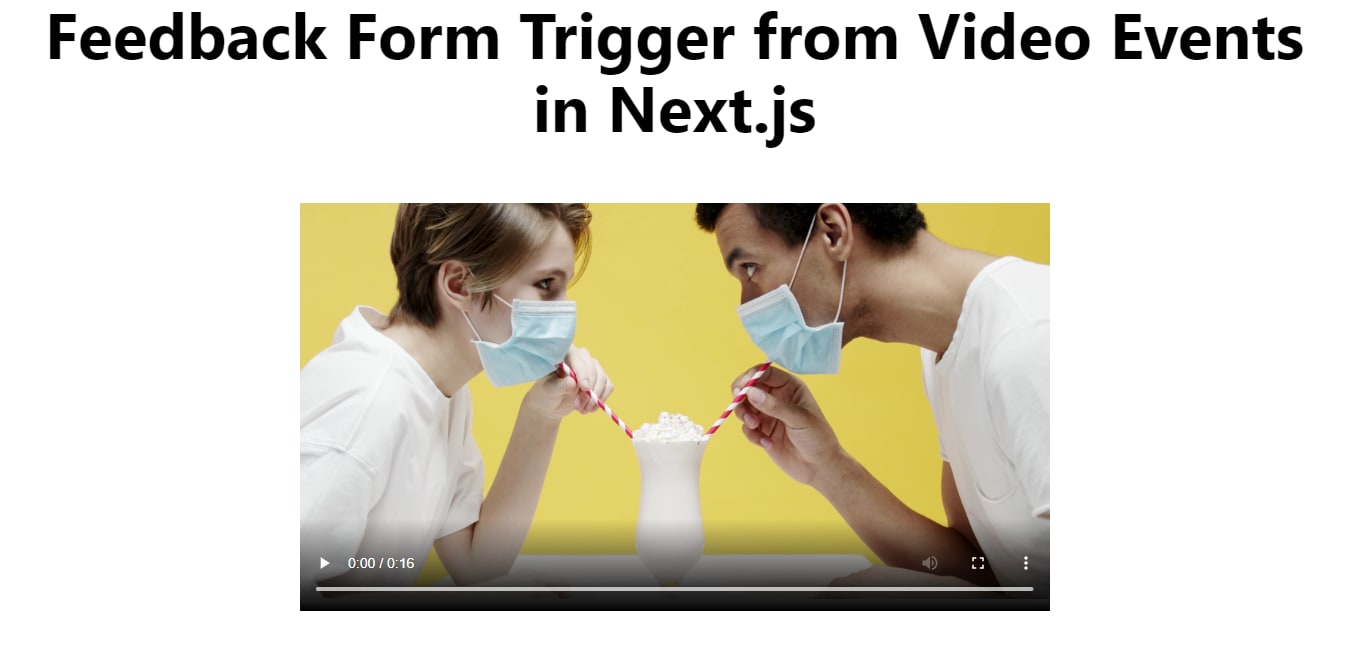
After configuring the video player, our demo application will look like this:
With the video player fully functional, set up a state variable called form in the index.js file to control the display of the feedback form.
    const [form, setForm] = useState(false);
Code language: JavaScript (javascript)
The onPlay and onEnded props in the Cloudinary video player are assigned to functions that enable the form visibility. The onEnded prop shows the form immediately after the video ends, and the onPlay prop hides the form when the video starts playing.
    const playFunction = () => {
        setForm(false);
      };
      const endFunction = () => {
        setForm(true);
      };
Code language: JavaScript (javascript)
Then, we’ll declare a condition to display the feedback form only if the state variable form is true.
    <main className={styles.main}>
            <h1 className={styles.title}>
              Feedback form trigger from video events in Next.js
            </h1>
        // Cloudinary video player
          {form && <Form />}
    </main>
Code language: HTML, XML (xml)
Next, we’ll head on to the Form.js file to create an alert for the response of the form once it’s submitted. We’ll also reset our input elements.
    const handleSubmit = (event) => {
        event.preventDefault();
        alert(`${name} said "${review}"`);
        setName("");
        setReview("");
      };
Code language: JavaScript (javascript)
After all the configurations, the demo application will look like this:
This article discusses rendering a feedback form to get user feedback once a video ends.