
Encoding is changing data into a new format using a scheme. It is reversible, and data can be encoded to a new form and decoded to its original condition.
Encoding should not be confused with encryption, which hides content. Both techniques are used extensively in the networking, software programming, wireless communication, and storage fields.
In this post, we’ll learn how to encode Google event invitations in a Next.js application using qrcode.react library.
We completed this project in a CodeSandbox. Fork and run it to quickly get started.
https://github.com/Kizmelvin/encoding-with-qrcode-react-in-next.js
This post requires the following:
- Knowledge of JavaScript and React.js
- Installation of Node.js on the local machine
- Experience with Next.js is not a requirement but is good to have
- Basic understanding of styling with Bootstrap
Google Calendar is a time-management and scheduling calendar service developed by Google. It allows users to create and edit events, set reminders, add event locations, invite other users to events, etc.
Next.js is an open-source web development framework built on Node.js, enabling React-based web application functionalities such as server-side rendering and generating static websites.
qrcode.react is a React component used to generate QR (Quick Response) codes that render in the DOM for React applications. The generated QR codes are suited for printing and on-screen scanning.
The qrcode.react exports three components, supporting rendering as SVG or Canvas. SVG is recommended because of its flexibility, but Canvas may be preferable.
We will run the following command in the terminal to create a new Next.js application:
npx create-next-app encode-events
The above command creates a starter Next.js application in the encode-events folder.
Next, navigate into the project directory with the following command:
cd encode-events
Next, we’ll install the following npm packages: qrcode.react – so we can easily use the component in a React environment and react-bootstrap and Bootstrap to add styling to the application.
The following command will install the above packages:
npm install qrcode.react react-bootstrap bootstrap
Next, run the below command to start the application:
npm run dev # to start the dev server
Next.js will start a live development server at http://localhost:3000.
First, create a Components folder and create a Qrcode.js file with the following snippets:
//Components/Qrcode.js
import React, { useRef } from "react";
import { QRCodeSVG } from "qrcode.react";
import { Button } from "react-bootstrap";
function Qrcode({ value, size }) {
  const codeRef = useRef(null);
  return (
    <div ref={codeRef} style={{ display: "flex", flexDirection: "column" }}>
      <QRCodeSVG size={size} value={value} />
      <Button className="mt-3 p-2" variant="primary" onClick={handleSave}>
        Save SVG
      </Button>
    </div>
  );
}
export default Qrcode;
Here, we:
- Imported
useRefhook from react,QRCodeSVGcomponent from qrcode.react, andButtoncomponent from react-bootstrap - Created codeRef constant with the
useRefhook to target the element we want to save - Rendered the
QRCodeSVGcomponent with some props and implemented a button to save the SVG
Notice we called a handleSave() function we haven’t defined; let’s define it below:
//Components/Qrcode.js
//Imports here
function Qrcode({ value, size }) {
  const codeRef = useRef(null);

const handleSave = () => {
    const preface = '<?xml version="1.0" standalone="no"?>\r\n';
    const element = codeRef.current.children[0].outerHTML;
    const svgBlob = new Blob([preface, element], {
      type: "image/svg+xml;charset=utf-8",
    });
    const svgUrl = URL.createObjectURL(svgBlob);
    const downloadLink = document.createElement("a");
    downloadLink.href = svgUrl;
    downloadLink.download = "qrcode.svg";
    document.body.appendChild(downloadLink);
    downloadLink.click();
    document.body.removeChild(downloadLink);
  };
  //return() function here
}
export default Qrcode;
Next, import the Qrcode.js component and render it inside index.js:
//pages/index.js
import "bootstrap/dist/css/bootstrap.min.css";
import Qrcode from "../Components/Qrcode";

export default function Home() {

  const GoogleEventURL =
    "https://calendar.google.com/event?action=TEMPLATE&tmeid=NXVkN2hzZWYwcDdzb2d1YTU1NzAwaTlxZWkgY2hpZGkuZXplMDAyQG0&tmsrc=chidi.eze002%40gmail.com";

  return (
    <div className=" bg-danger">
      <h1 className="p-3 text-center text-light">Welcome on Board!</h1>
      <main
        style={{
          display: "flex",
          justifyContent: "space-evenly",
          alignItems: "center",
          padding: "2rem"
        }}
      >
        <div>
          <h4 className="mt-5 fs-1 text-center text-light">
            Scan to Book a Spot.
          </h4>
          <h5 className="mt-2 fs-3 text-center text-light">
            {" "}
            <i>Save and Share</i>{" "}
          </h5>
        </div>
        <div>
          <Qrcode value={GoogleEventURL} size={300} />
        </div>
      </main>
    </div>
  );
}
In the snippets above, we:
- Imported
Qrcodefrom Components folder and saved a google calendar event asGoogleEventURL - Rendered the
Qrcodecomponent and passedGoogleEventURLas props to it
Back in the browser, the application will look like the one below:
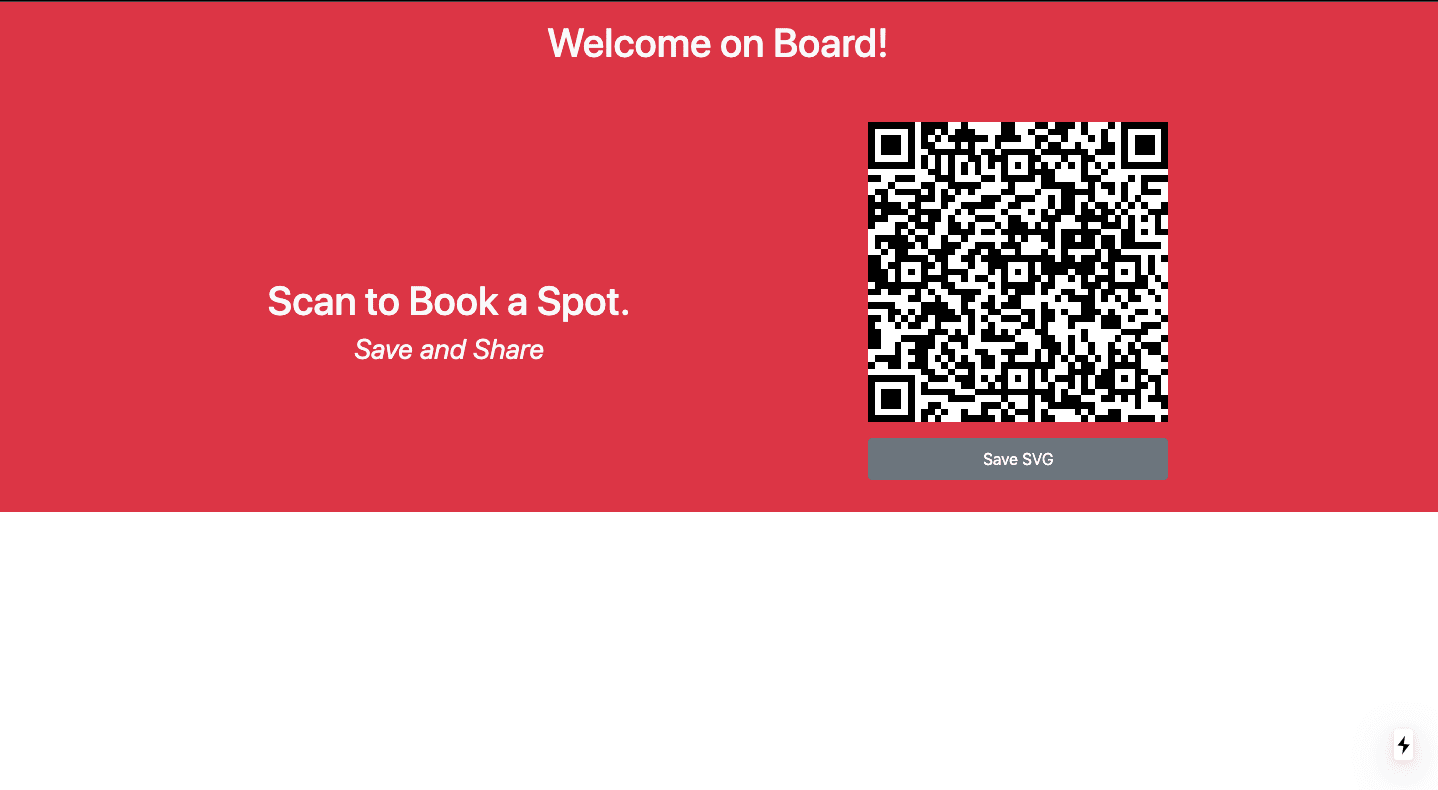
Now, users can scan the code and save the invitation.
This article discussed transforming Google event URLs into QR codes and integrating QR codes in web applications.
The following resource might be helpful: