One of the key advantages of generative AI is its ability to transform raw images into polished, professional visuals with minimal effort. Whether you’re removing backgrounds from product images, enhancing user-generated content, or adjusting product colors, AI takes care of the heavy lifting.
In this blog, you’ll learn how to transform WordPress images with generative AI using the Cloudinary Plugin. Let’s get started!
We’re going to cover just a few key options in this guide. For a comprehensive list of all available enhancements you can apply to your images and videos, see the Transformation Reference.
Follow these steps to get set up and ready to use the features we’ll discuss in this blog post:
- Sign up for free and try it yourself!
- Install the Cloudinary WordPress plugin.
- Complete the setup wizard, following the instructions to add your connection string and select your sync and optimization settings.
Now you’re ready to transform your images!
Navigate to your WordPress media library, select an image, and click Add transformations to start applying AI-powered changes. Follow along with the transformations explained below.

If you want to use the sample images featured in this blog, download them by using the provided URLs and upload them to your WordPress media library.
Do you need a clean, background-free product image? Or perhaps you want to create a new scene for your product to better appeal to different audiences. With AI, background removal and replacement are a breeze.

https://res.cloudinary.com/demo/image/
upload/leather_bag_gray.jpg

https://res.cloudinary.com/demo/image/
upload/e_background_removal/
leather_bag_gray.jpg

https://res.cloudinary.com/demo/image/
upload/e_gen_background_replace:city/
leather_bag_gray.jpg

https://res.cloudinary.com/demo/image/
upload/sunset_shoes.jpg

https://res.cloudinary.com/demo/image/upload/
e_background_removal/sunset_shoes.jpg

https://res.cloudinary.com/demo/image/
upload/e_gen_background_replace:
prompt_stadium/sunset_shoes.jpg
To apply these transformations:
Go to your WordPress media library, click Add Transformations next to the image, and enter one of these parameters:
e_background_removale_gen_background_replace:prompt_citye_gen_background_replace:prompt_stadium
You can also experiment with custom prompts to create your own unique backgrounds!

Have user-generated content that’s a bit rough around the edges? No worries—AI can help you enhance these images with minimal effort.
Take this user-uploaded wedding photo containing some common issues:

https://res.cloudinary.com/unique-boutique/image/upload/y2fkcinll9wjevq0fwpq.jpg
Here’s how to fix them with the Cloudinary WordPress Plugin’s AI features:
To adjust the aspect ratio and extend the width, apply this transformation:ar_16:9,b_gen_fill,c_pad,w_1500
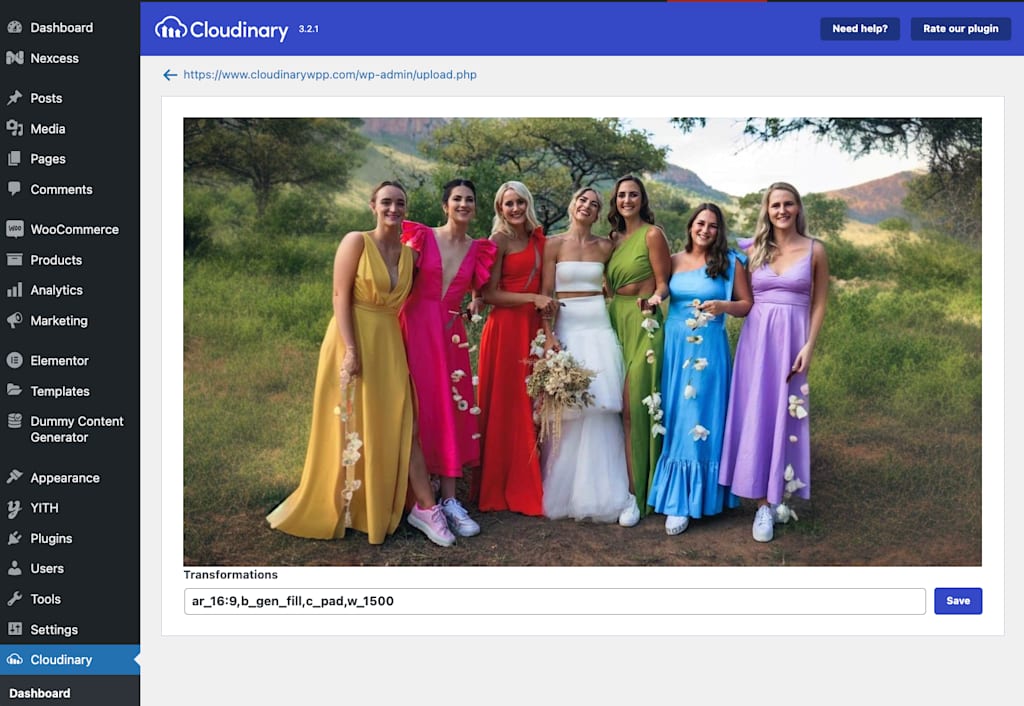
By expanding the image with the transformation above, you’ll also repair the missing sections on the edges.
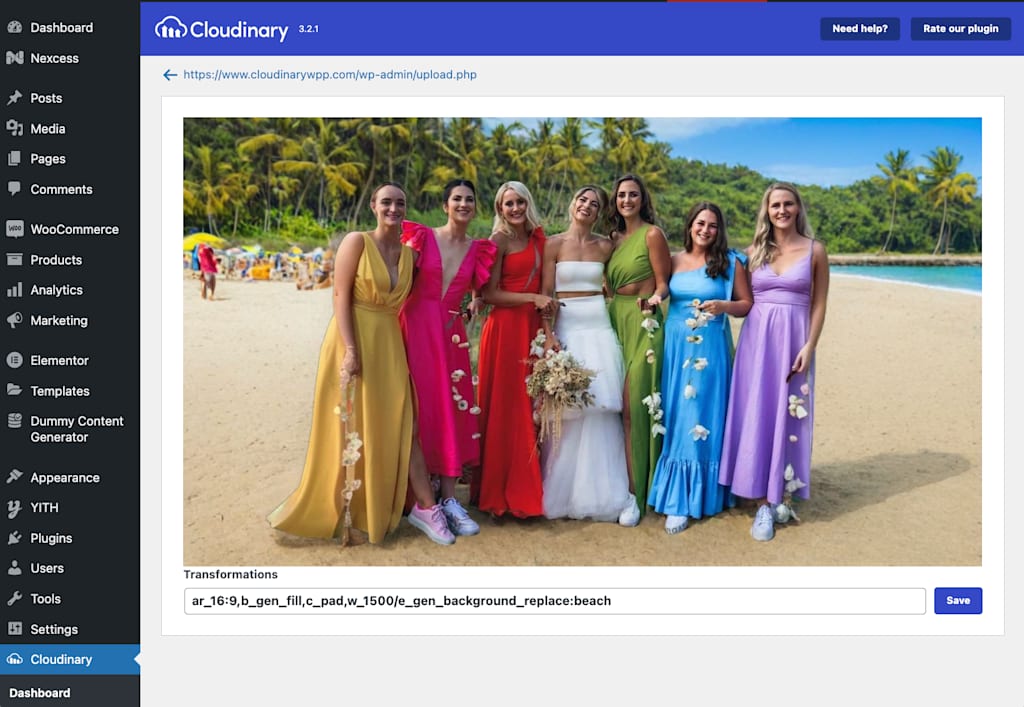
Replace the backdrop with something more appealing, like a beach. Add this transformation right after the previous one:
/e_gen_background_replace:beach
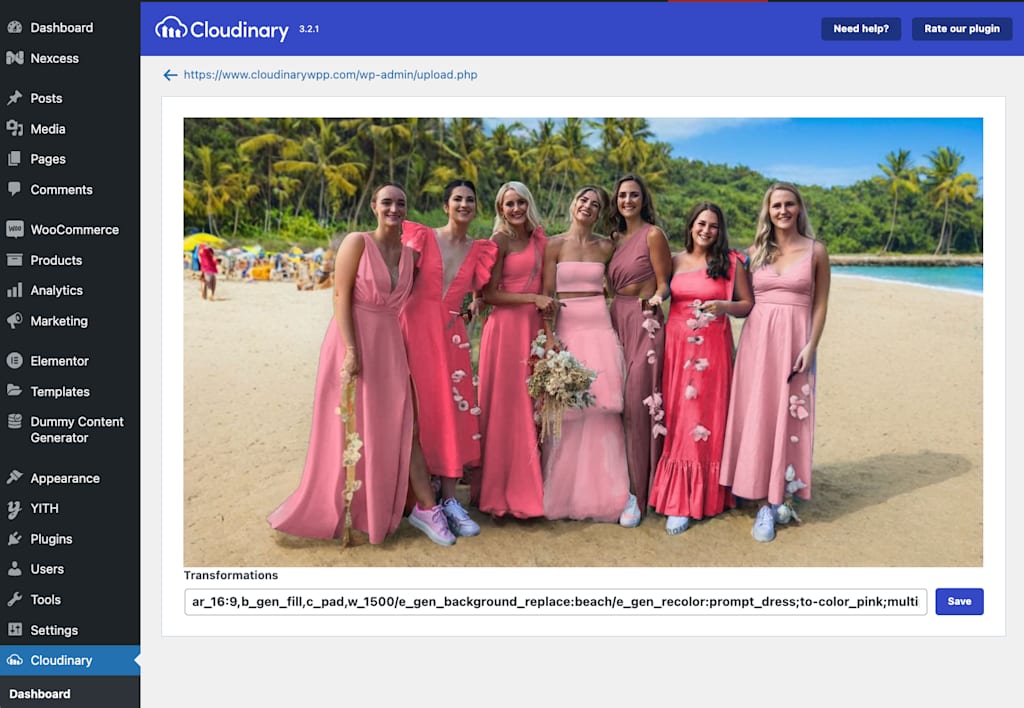
Modify the dress colors using AI-driven recoloring. Add your preferred color to the transformation string and experiment with different hues. Add this transformation right after the previous one: /e_gen_recolor:prompt_dress;to-color_pink;multiple_true
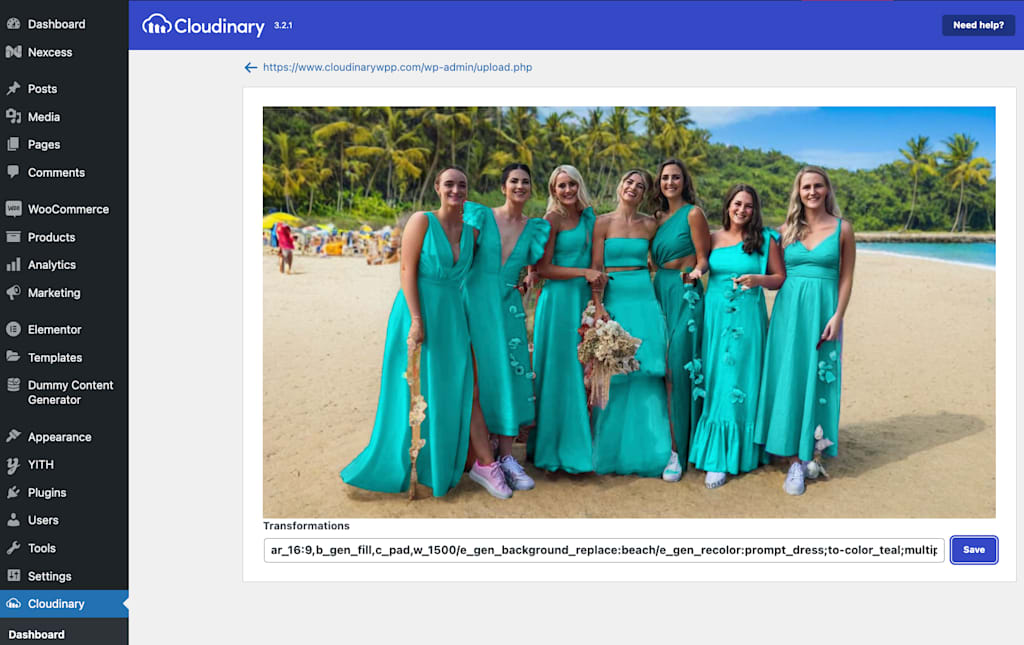
To restore sharpness and improve the overall image quality: e_gen_restore

By following these steps, you can transform a once-flawed image into a stunning, brand-aligned visual!

Save time by applying AI transformations to multiple images at once. Whether you’re updating all the images on your website or just images in specific posts, Cloudinary’s bulk transformation feature helps you streamline the process. To transform images, such as restoring image quality, across your entire site, go to the Cloudinary > Image Settings page and add the e_gen_restore transformation in the Cloudinary global transformations section:

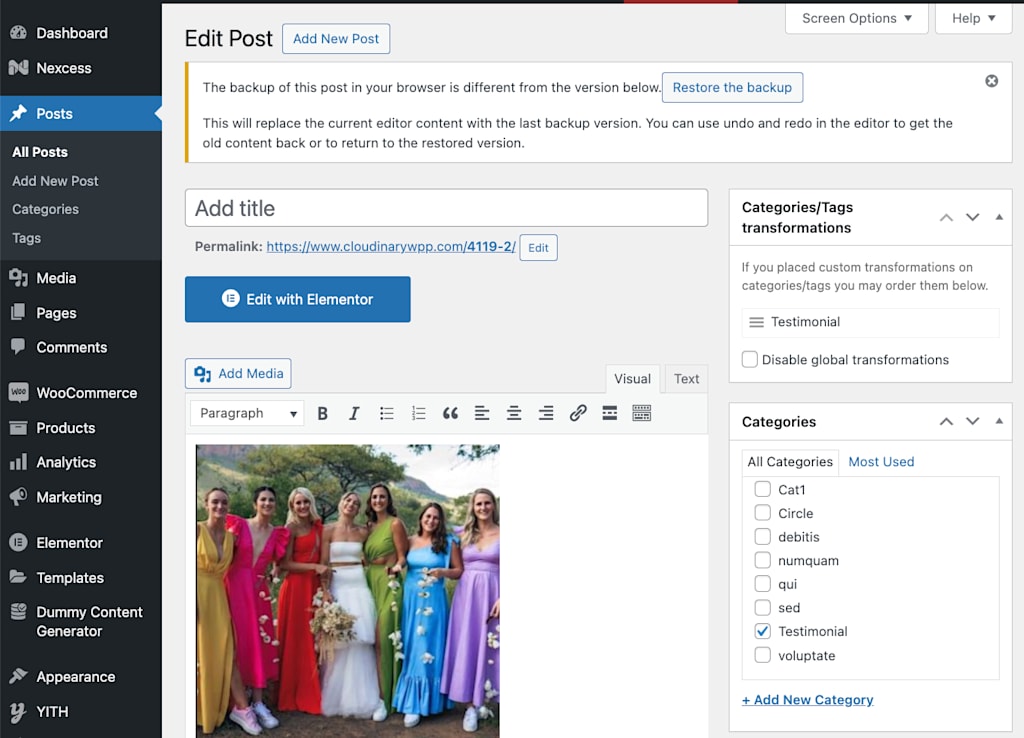
To apply the transformations to some but not all images or videos, select or create a Category, and in the Cloudinary Category Image/Video Transformations sections, enter Cloudinary transformations, such as e_gen_restore for quality restoration, or other adjustments from the Transformation Reference. Then, associate the category with the posts where you want these transformations applied.

With Cloudinary’s Generative AI, transforming your WordPress media files becomes an effortless task. From removing backgrounds to enhancing image quality, you can produce stunning visuals that captivate your audience. Whether you’re updating a single image or performing bulk transformations, these tools offer limitless possibilities to improve your content.
And that’s just the beginning—Cloudinary offers a wide range of other transformations you can explore. For a comprehensive list, be sure to check out the Transformation Reference.
Explore these AI capabilities today to transform your WordPress images with generative AI and enhance your content effortlessly. Get started with Cloudinary’s WordPress Plugin to unlock the full potential of AI in media editing!
