
If you’ve ever wanted to let an AI assistant manage your media library, like uploading, deleting, or even fetching images for you, then you’re in the right place. In this post, we’ll walk you through the process of creating an MCP (Model Context Protocol) server that connects with Cloudinary’s digital asset management (DAM).
MCP stands for Model Context Protocol. It’s an open standard, open-source framework introduced by Anthropic to standardize the way LLMs integrate and share data with external tools (which can be APIs, databases, or services). Think of it like giving your AI assistant a secure, standardized way to use apps on your behalf.
In our case, we want the AI to interact with Cloudinary’s DAM and assist in performing certain tasks, such as uploading images, deleting outdated ones, and searching through our asset library.
Cloudinary’s DAM lets you manage all your media, from images and videos to documents, all from one place. You can:
- Upload assets (from URLs, files, or even base64 strings).
- Search assets using tags, filenames, or metadata.
- Delete or retrieve asset details.
- Organize assets in folders and with custom metadata.
All of this is accessible through Cloudinary’s APIs, which we’ll use to build our MCP.
We’ll create an MCP server that supports the following tools:
-
upload. Upload a media asset to Cloudinary. -
delete-asset. Delete a specific asset by ID or public ID. -
get-asset. Fetch details for an asset. -
find-assets. Search the media library using a flexible query string. -
get-usage. Fetch your Cloudinary account’s usage stats.
Before you begin, make sure you have the following:
- Node.js: Version 18 or later installed.
- A (free) Cloudinary account, which you can sign up for here.
- Your Cloudinary cloud name, API Key, and API Secret from your Cloudinary dashboard.
This post also assumes that you have a basic idea of working with Node.js and TypeScript.
Let’s create a folder called cloudinary-mcp-server, initialize a Node.js project, and install all the dependencies we’ll be using for the project.
mkdir cloudinary-mcp-server && cd cloudinary-mcp-server
npm init -y
npm install cloudinary @modelcontextprotocol/sdk dotenv
npm install --save-dev typescript @types/node
Code language: CSS (css)
Next, we’ll create a tsconfig.json and set up a TypeScript configuration:
// tsconfig.json
{
  "compilerOptions": {
    "target": "ES2020",
    "module": "commonjs",
    "outDir": "./dist",
    "rootDir": "./src",
    "strict": true,
    "esModuleInterop": true,
    "skipLibCheck": true,
    "forceConsistentCasingInFileNames": true,
    "resolveJsonModule": true,
    "allowJs": true
  },
  "include": ["src/**/*"],
  "exclude": ["node_modules", "dist"]
}
Code language: JSON / JSON with Comments (json)
And we’ll update our package.json scripts:
{
  "scripts": {
    "build": "tsc",
    "start": "node dist/mcp-server.js",
    "dev": "ts-node src/mcp-server.ts"
  }
}
Code language: JSON / JSON with Comments (json)Let’s set up our Cloudinary client:
// src/cloudinaryClient.ts
import { v2 as cloudinary } from 'cloudinary';
import dotenv from 'dotenv';

dotenv.config();

cloudinary.config({
  cloud_name: process.env.CLOUDINARY_CLOUD_NAME,
  api_key: process.env.CLOUDINARY_API_KEY,
  api_secret: process.env.CLOUDINARY_API_SECRET
});

export default cloudinary;
Code language: JavaScript (javascript)
Note: Make sure to manage your environment variables properly and keep them safe.
Environment variables are typically stored in files like .env and accessed in your code using process.env.VARIABLE_NAME. These variables often contain sensitive data, such as API keys, database URLs, or secret tokens.
As mentioned earlier, MCP enables AI models to talk to tools, which can be APIs, databases, or services. In our case, these tools are API handlers. Each tool is a function the AI can call. Here’s how we can implement the upload tool:
// src/tools/upload.ts
import cloudinary from '../cloudinaryClient';

export interface UploadArgs {
  source: string;
  folder?: string;
  publicId?: string;
  tags?: string;
}

export default async function upload({ source, folder, publicId, tags }: UploadArgs) {
  return cloudinary.uploader.upload(source, {
    folder,
    public_id: publicId,
    tags: tags ? tags.split(',') : undefined
  });
}
Code language: JavaScript (javascript)
The above exports a handler that uploads an image to Cloudinary. The method can also handle updating the image for a public ID, saving the image to a folder, and/or tagging the image.
Below is the implementation for the rest of the tools.
Delete Asset:
// src/tools/delete-asset.ts
import cloudinary from '../cloudinaryClient';

export interface DeleteAssetArgs {
  publicId: string;
  resourceType?: string;
  type?: string;
}

export default async function deleteAsset({
  publicId,
  resourceType = 'image',
  type = 'upload'
}: DeleteAssetArgs) {
  return cloudinary.uploader.destroy(publicId, {
    resource_type: resourceType,
    type: type
  });
}
Code language: JavaScript (javascript)
Find Assets:
// src/tools/find-assets.ts
import cloudinary from '../cloudinaryClient';

export interface FindAssetsArgs {
  expression: string;
  maxResults?: number;
}

export default async function findAssets({ expression, maxResults = 10 }: FindAssetsArgs) {
  return cloudinary.search.expression(expression).max_results(maxResults).execute();
}
Code language: JavaScript (javascript)
Get Asset:
// src/tools/get-asset.ts
import cloudinary from '../cloudinaryClient';

export interface GetAssetArgs {
  publicId: string;
  resourceType?: string;
  type?: string;
}

export default async function getAsset({
  publicId,
  resourceType = 'image',
  type = 'upload'
}: GetAssetArgs) {
  return cloudinary.api.resource(publicId, {
    resource_type: resourceType,
    type: type
  });
}
Code language: JavaScript (javascript)
Get Usage:
// src/tools/get-usage.ts
import cloudinary from '../cloudinaryClient';

export interface GetUsageArgs {
  date?: string;
}

export default async function getUsage({ date }: GetUsageArgs = {}) {
  const options: Record<string, any> = {};

  if (date) {
    options.date = date;
  }

  return cloudinary.api.usage(options);
}
Code language: JavaScript (javascript)
Once we have implemented all our handlers, let’s create a tool registry to keep our tools centralized.
// src/tools/index.ts
import upload from './upload';
import findAssets from './find-assets';
import deleteAsset from './delete-asset';
import getAsset from './get-asset';
import getUsage from './get-usage';

export interface ToolsRegistry {
  [key: string]: ToolFunction;
}

const tools: ToolsRegistry = {
  upload,
  'find-assets': findAssets,
  'delete-asset': deleteAsset,
  'get-asset': getAsset,
  'get-usage': getUsage
};

export default tools;
Code language: JavaScript (javascript)We’ll be using @modelcontextprotocol/sdk to build our MCP. @modelcontextprotocol/sdk is a package that implements the full MCP specifications, making it a perfect tool to use.
In the src/mcp-server.ts file, let’s create the entry point for the MCP server:
// src/mcp-server.ts
import { Server } from '@modelcontextprotocol/sdk/server/index';

// Create MCP server
const server = new Server(
 {
   name: 'cloudinary-dam',
   version: '1.0.0',
 },
 {
   capabilities: {
     tools: {},
   },
 }
);
Code language: JavaScript (javascript)
The above creates an MCP server called cloudinary-dam with version 1.0.0. At the moment, tools is an empty object, which is fine for now, as we need to provide more information for each tool.
Next, we’ll list out all the tools and provide more context for each tool:
// src/mcp-server.ts
// ...
import { ListToolsRequestSchema } from '@modelcontextprotocol/sdk/types';

// ...

// List available tools
server.setRequestHandler(ListToolsRequestSchema, async () => {
 return {
   tools: [
     {
       name: 'upload',
       description: 'Upload a media asset to Cloudinary',
       inputSchema: {
         type: 'object',
         properties: {
           source: { type: 'string', description: 'URL or base64 data of the asset to upload' },
           folder: { type: 'string', description: 'Folder path to store the asset in' },
           publicId: { type: 'string', description: 'Public ID for the asset' },
           tags: { type: 'string', description: 'Comma-separated list of tags' }
         },
         required: ['source']
       }
     },
     {
       name: 'find-assets',
       description: 'Search the media library using a flexible query string',
       inputSchema: {
         type: 'object',
         properties: {
           expression: { type: 'string', description: 'Cloudinary search expression' },
           maxResults: { type: 'number', description: 'Maximum number of results to return' }
         },
         required: ['expression']
       }
     },
     {
       name: 'delete-asset',
       description: 'Delete a specific asset by public ID',
       inputSchema: {
         type: 'object',
         properties: {
           publicId: { type: 'string', description: 'Public ID of the asset to delete' },
           resourceType: { type: 'string', description: 'Resource type (image, video, raw, etc.)' },
           type: { type: 'string', description: 'Delivery type (upload, private, authenticated)' }
         },
         required: ['publicId']
       }
     },
     {
       name: 'get-asset',
       description: 'Fetch details for an asset',
       inputSchema: {
         type: 'object',
         properties: {
           publicId: { type: 'string', description: 'Public ID of the asset' },
           resourceType: { type: 'string', description: 'Resource type (image, video, raw, etc.)' },
           type: { type: 'string', description: 'Delivery type (upload, private, authenticated)' }
         },
         required: ['publicId']
       }
     },
     {
       name: 'get-usage',
       description: 'Fetch your Cloudinary account\'s usage stats',
       inputSchema: {
         type: 'object',
         properties: {
           date: { type: 'string', description: 'Date in YYYY-MM-DD format' }
         },
         required: []
       }
     }
   ],
 };
});
Code language: JavaScript (javascript)
In the above code, we list all tools, and for each tool, we provide a name (Note: This name should match the key we used while creating the tool registry above), a description, and the input schema.
Next, we need to handle the tools calls.
 // src/mcp-server.ts

// ...

import {
  CallToolRequestSchema,
  ListToolsRequestSchema,
  CallToolRequest,
} from '@modelcontextprotocol/sdk/types';
import tools from './tools/index';

//...

// Handle tool calls
server.setRequestHandler(CallToolRequestSchema, async (request: CallToolRequest) => {
  const { name, arguments: args } = request.params;

  if (!tools[name]) {
    throw new Error(`Unknown tool: ${name}`);
  }

  try {
    const result = await tools[name](args || {});
    return {
      content: [
        {
          type: 'text',
          text: JSON.stringify(result, null, 2),
        },
      ],
    };
  } catch (error) {
    throw new Error(`Tool execution failed: ${error instanceof Error ? error.message : 'Unknown error'}`);
  }
});
Code language: JavaScript (javascript)
Here, we’re registering a handler that handles the call made by the client (In this case, the AI). The AI sends the name of the tool and the relevant arguments provided to it. The backend uses the name and searches the tools registry. If it finds the tool, it calls it and returns the response as text to the client (the AI).
Next, we add the code that starts the server:
 // src/mcp-server.ts

// ...
import { StdioServerTransport } from '@modelcontextprotocol/sdk/server/stdio.js';

// ...

async function main() {
  const transport = new StdioServerTransport();
  await server.connect(transport);
  console.error('Cloudinary DAM MCP server running on stdio');
}

main().catch((error) => {
  console.error('Server failed to start:', error);
  process.exit(1);
});
Code language: JavaScript (javascript)
In the above code, we create a StdioServerTransport, which will read requests from stdin and write responses to stdout. And then we connect the MCP server to that transport.
And with that, we have the full implementation of our MCP server!
We can connect our MCP server to various MCP clients based on our needs, but for the sake of this post, we will be connecting to the Claude Desktop App.
First, we need to build the MCP server we implemented.
npm run build
If you have the Claude desktop, open it and go to Settings.
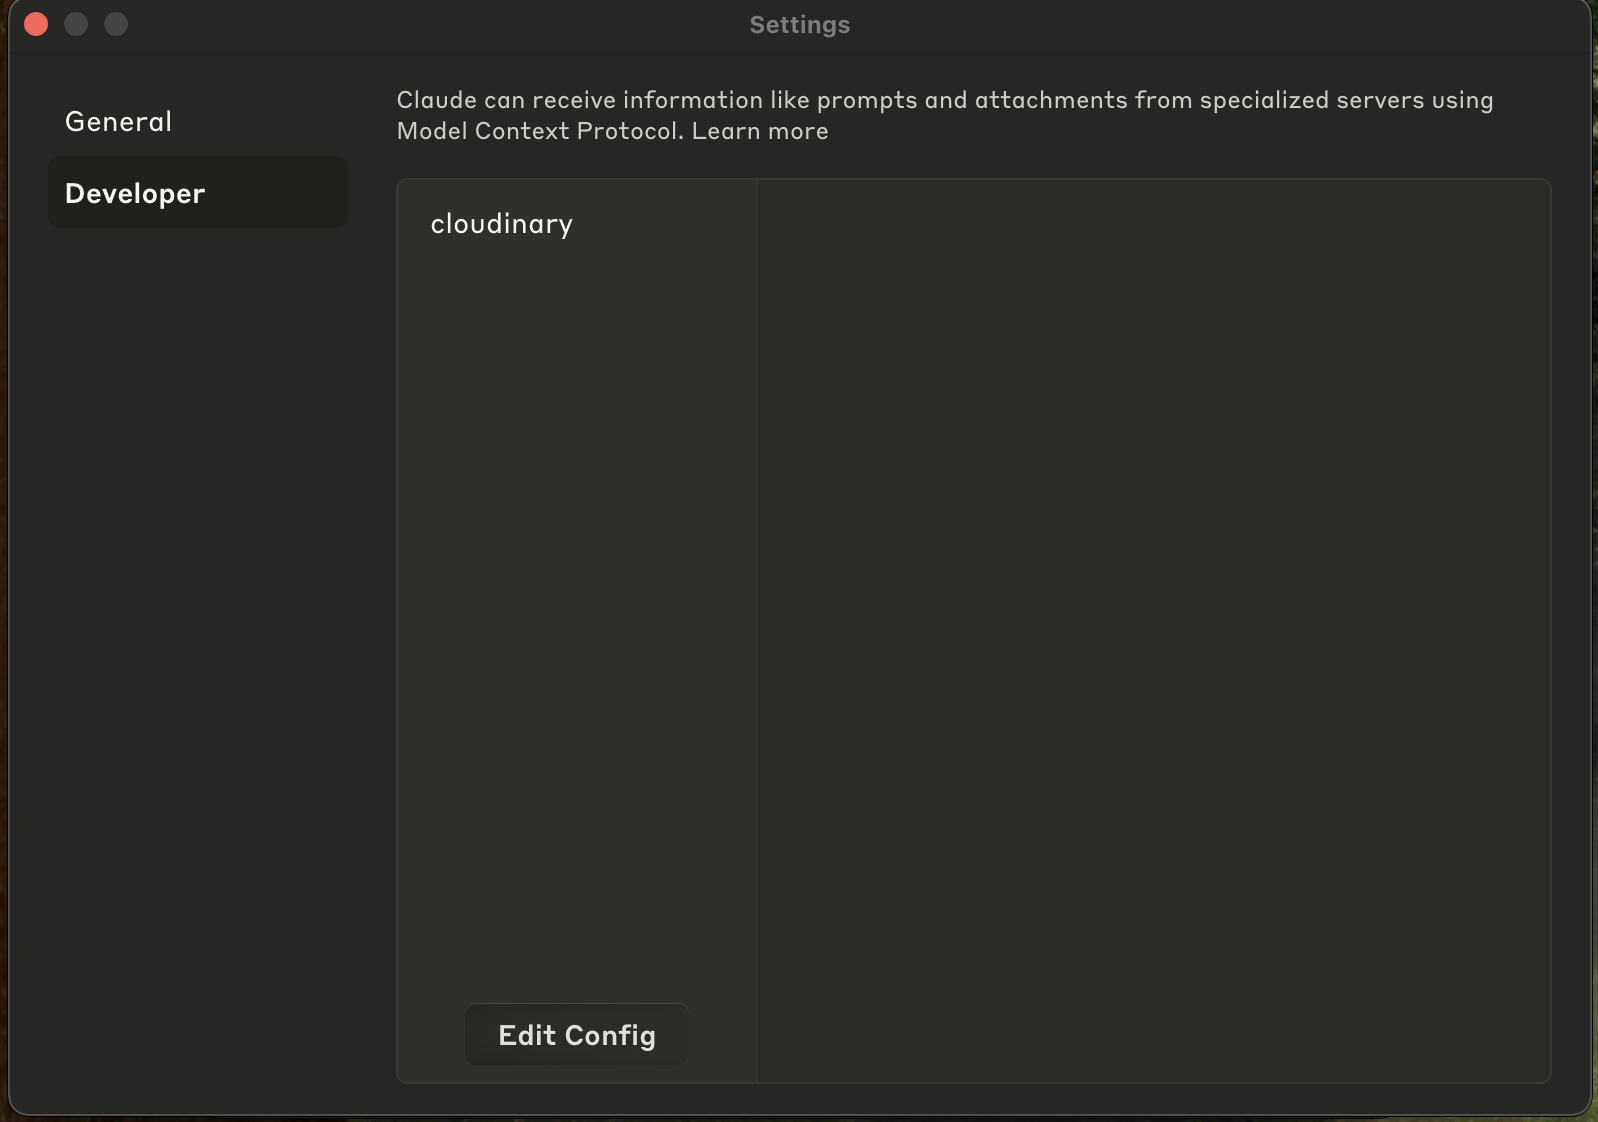
Click Developer -> Edit config and add the below JSON in the claude_desktop_config.json file:
{
"mcpServers": {
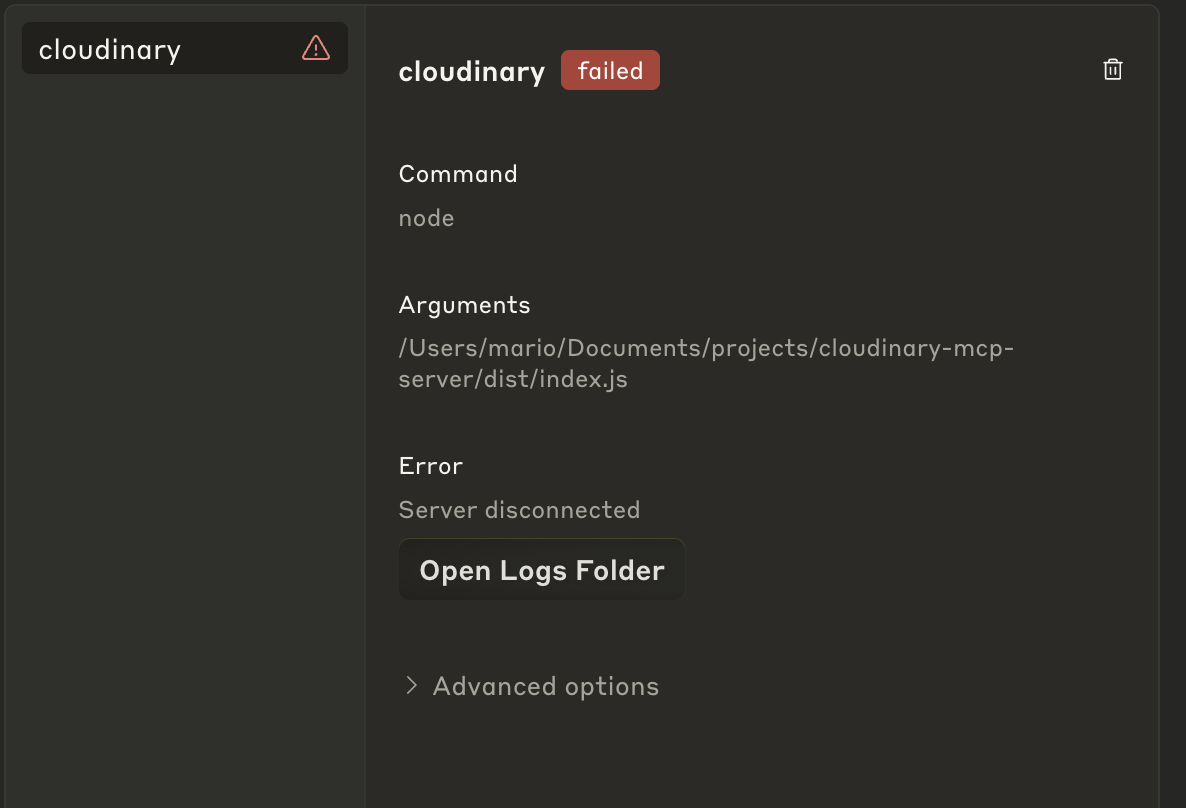
"cloudinary": {
"command": "node",
"args": ["/full/path/to/your/cloudinary-mcp-server/dist/mcp-server.js"],
"env": {
"CLOUDINARY_CLOUD_NAME": "your-cloud-name",
"CLOUDINARY_API_KEY": "your-api-key",
"CLOUDINARY_API_SECRET": "your-api-secret"
}
}
}
}
Code language: JSON / JSON with Comments (json)Important: Replace /full/path/to/your/cloudinary-mcp-server with the absolute path to your project directory. Also, make sure you secure your environmental variables.
Restart Claude Desktop and you’re ready to go! Now, Claude will recognize your tools, and you should see something like the image below.
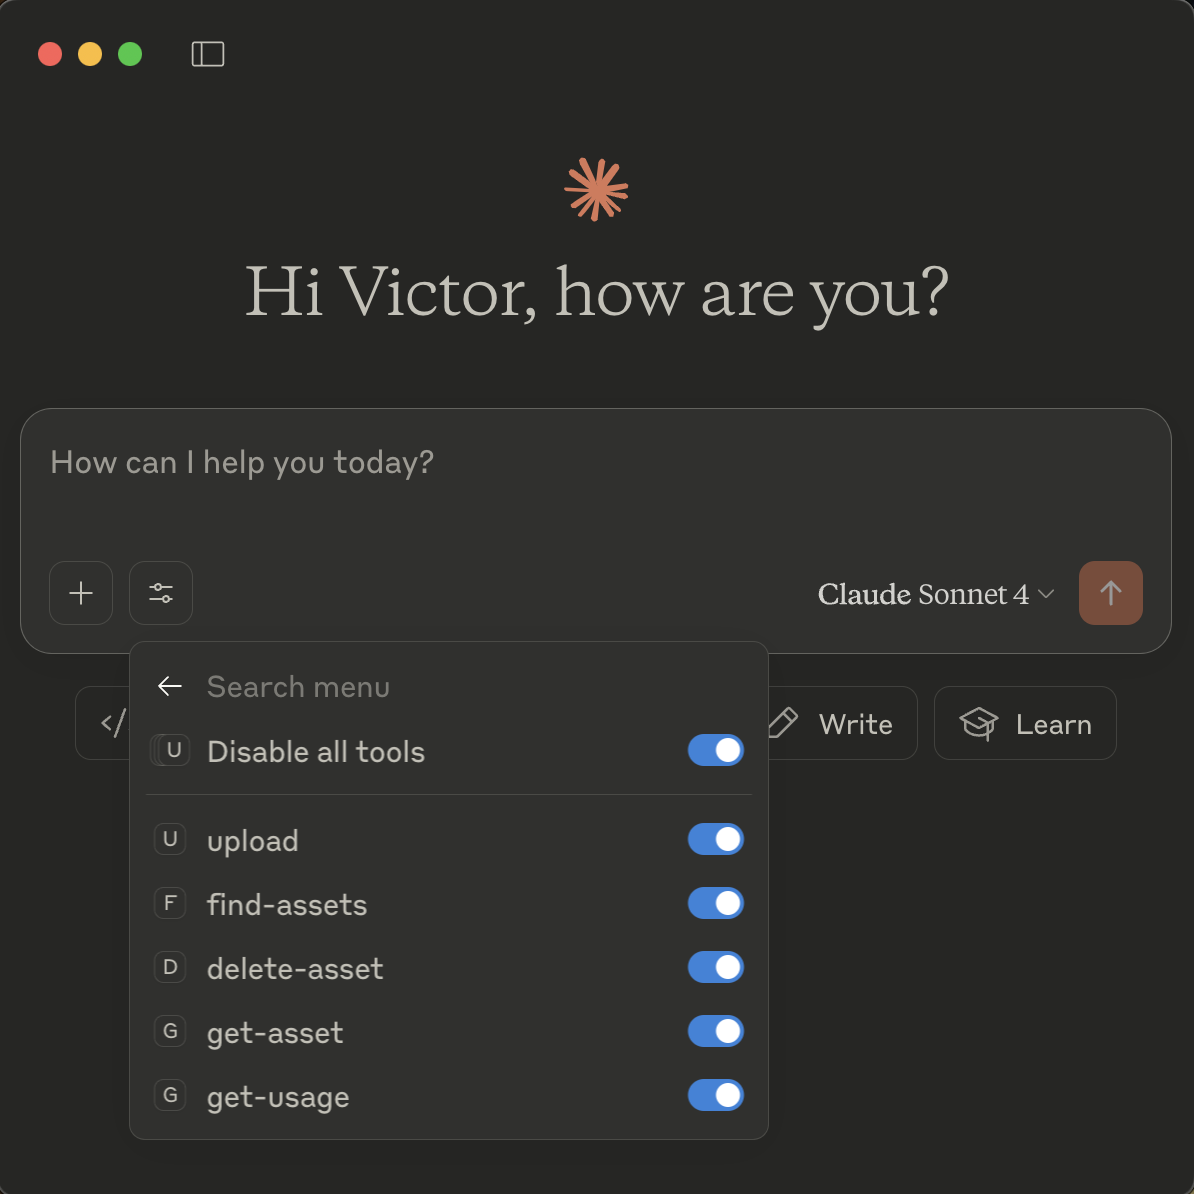
Now you can easily ask Claude to upload an asset, delete or get an asset, and it should be able to handle it!
We built an MCP server that connects with Cloudinary’s DAM to help us handle and automate certain workflows. This is really valuable because we can extend it to do more using the Cloudinary API, such as handling transformations and automatic tagging. All we need to do is add new tools, and the AI assistant instantly gains those capabilities!
Transform your visual media workflows today. Contact us to learn more.


