
Vite is a frontend toolkit providing robust features to build scalable web applications.
In this article, you’ll learn:
- What Vite is, and how it works.
- Setting up your Vite app.
- How to handle image asset bundling with Vite.
- Building the Vite images React gallery.
The completed project is on Codesandbox. Check out the Codesandbox to get started quickly.
GitHub URL
https://github.com/Iheanacho-ai/handle-assets-bundling-react
To get the most out of this article, we require the following:
- A basic understanding of CSS, JavaScript and React.js
-
Node and its package manager, npm. Run the command
node -v && npm -vto verify we have them installed, or install them from here. Alternatively, we can use another package manager, Yarn.
Vite is a build tool that offers developers a faster, leaner way to work. Vite focuses on two main tasks: serving code locally during development and bundling frontend assets for production. By leveraging the browser’s support for native ES modules, Vite enables instant code loading, even in large projects.
A key feature is Hot Module Replacement, which updates only the affected modules when you make changes, avoiding a full reload. This means you see your edits reflected instantly in the browser. Combined with NPM dependency resolving and pre-bundling, Vite provides a streamlined development experience.
To create a vite app, we go to our terminal and run the command below.
NOTE: If you are on windows and using Git Bash, you might have issues with the arrows, so you should use the Powershell terminal instead.
    npm create vite@latest

    #or

    yarn create vite

    #or

    pnpm create vite
Running this command will trigger a set of question prompts. Answer these questions as follow.
Project name: <name of our project>
Select a framework: React.js
Select a variant: react
Next, we run these commands.
    cd <name of our project>
    npm install
    npm run dev
The browser will change to the directory containing our project with this command. To see our app, go to http://localhost:3000/.
Vite handles images as assets automatically, so we do not need to specify configurations for the images. Learn more on static asset handling here.
To get started on building our image gallery, we create a new folder src/images, that will contain all nine images in our gallery.
To download the images we will use in our gallery from here.
After adding the images, we import them in our App.jsx file.
    import React from 'react'
    import Img1 from './images/photo-1.jpg'
    import Img2 from './images/photo-2.jpg'
    import Img3 from './images/photo-3.jpg'
    import Img4 from './images/photo-4.jpg'
    import Img5 from './images/photo-5.jpg'
    import Img6 from './images/photo-6.jpg'
    import Img7 from './images/photo-7.jpg'
    import Img8 from './images/photo-8.jpg'
    import Img9 from './images/photo-9.jpg'
    import './App.css'
Next, we create an array of these images in our App component body.
const images = [Img1, Img2, Img3, Img4, Img5, Img6, Img7, Img8, Img9]
We use the JavaScript map() function to loop over the images array and render a native html img tag for each. The source of the image is attributed to the current array value in the loop.
    {
      images.map((image) =>
      <div className='image'>
        <img src={image} alt="" />
      </div>
      )
    }
Our App.jsx file should look like this.
    import { useState } from 'react'
    import Img1 from './images/photo-1.jpg'
    import Img2 from './images/photo-2.jpg'
    import Img3 from './images/photo-3.jpg'
    import Img4 from './images/photo-4.jpg'
    import Img5 from './images/photo-5.jpg'
    import Img6 from './images/photo-6.jpg'
    import Img7 from './images/photo-7.jpg'
    import Img8 from './images/photo-8.jpg'
    import Img9 from './images/photo-9.jpg'
    import './App.css'

    function App() {
      const images = [Img1, Img2, Img3, Img4, Img5, Img6, Img7, Img8, Img9]
      return (
        <div className="App">
          <div className="image-container">
            {
              images.map((image) =>
              <div className='image'>
                <img src={image} alt="" />
              </div>
              )
            }
          </div>
        </div>
      )
    }

    export default App
We need to add the image gallery styles in our App.css file to top our gallery.
    .App {
      width: 100%;
      height: 100%;
      display: flex;
      justify-content: center;
      align-items: center;
    }
    h2{
      text-align: center;
    }
    .image-container{
      width: 80%;
      margin-left: 10%;
      display: grid;
      grid-template-columns: repeat(4, 1fr);
      gap: 5px;
    }
    .image-container div:first-child {
      grid-column-start: 1;
      grid-column-end: 3;
    }
    .image-container div:last-child {
      grid-row-start: 2;
      grid-row-end: 5;
    }
    .image{
      width: 100%;
      height: 300px;
    }
    .image img {
      width: 100%;
      height: 100%;
    }
In the code block above, we do the following:
- Center our gallery using CSS native
justify-content: centerandalign-items. - Define how many columns our gallery should have using
grid-template-columns: repeat(4, 1fr). - We target the first and last div in the
image-containerand specify how many columns or rows each should take up using CSS selectors.
With that, we have successfully created our image gallery.
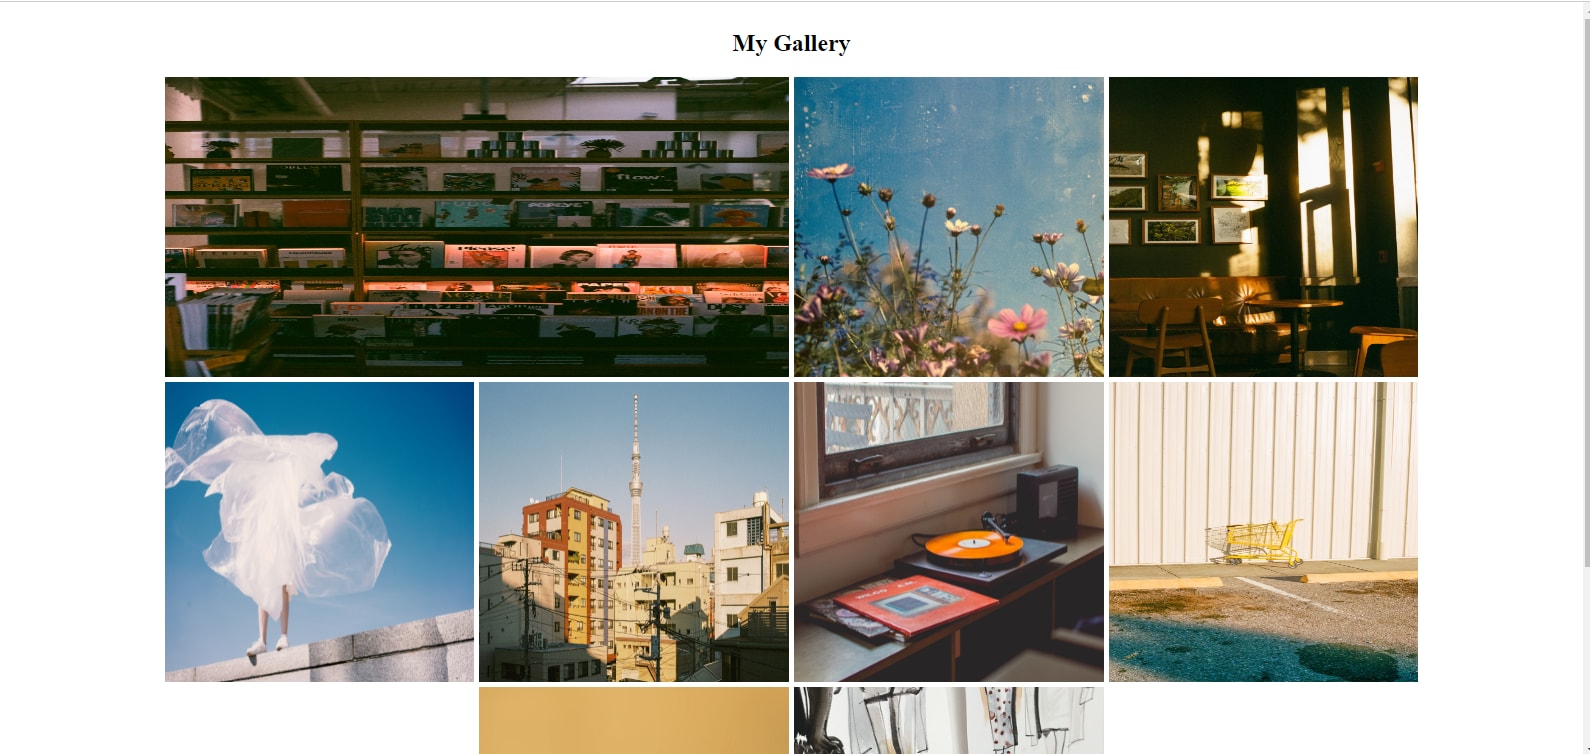
Now that you’ve seen how easy it is to handle React Vite images once your Vite app is set up and integrated. Our example of the gallery is one application for image asset bundling that shows just how much effort is saved when developing with Vite.
Ready to do even more with images for your web content? Cloudinary’s AI-powered Image API adds time-saving tools for developers to enhance, optimize, and manage their images seamlessly. Get started with Cloudinary for free forever.


