
Sometimes we make videos but want them as an image, or sometimes we make videos but are obliged to upload images instead. The solution to this is converting the video to GIF (Graphics Interchange Format). GIF is a lossless format for image files that supports both animated and static images. In this tutorial, we will be showing how to convert a video into an GIF with React.
To follow this tutorial, you need the following pre-requisites:
- Basic knowledge of JavaScript.
- Understanding of Reactjs.
The complete code is here on Codesandbox.
Firstly, setup a react app. To do so, paste the command below; ensure you have npm and node installed.
npx create-react-app video-to-gif
Next is to run the application; run the command below to run the app.
npm start
Navigate to your browser on localhost:3000, and you should have the default react page displayed.

Now that react is set up, navigate to your terminal and run the command below to install the packages used in converting and downloading the video to gif.
npm install @ffmpeg/ffmpeg@0.9.8 @ffmpeg/core@0.9.0 file-saver
Code language: CSS (css)
Ensure you install these specific versions of @ffmpeg/ffmpeg and @ffmpeg/core as the latest versions has issues we won’t deal with in this tutorial.
Next is to make changes to App.js file. Open the file and add the code snippet below.
//App.js
import React, { useEffect,useState } from "react"
import './App.css';
import { createFFmpeg, fetchFile } from "@ffmpeg/ffmpeg";
import { saveAs } from "file-saver";

const ffmpeg = createFFmpeg({ log: true });

function App() {
  const [video, setVideo] = useState();
  const [name, setName] = useState()

  const init= async () => {
    await ffmpeg.load();
  };
  const setvid = (e)=>{
    setVideo(e.target.files?.item(0))
    setName(e.target.files[0].name)
  }
useEffect(() => {
    init();
}, []);

return (
  <div className="App">
    <header className="App-header">
      {video && (
        <video controls width="250" src={URL.createObjectURL(video)}></video>
      )}
      <input type="file" onChange={(e)=>setvid(e)}/>
        </header>
  </div>
)
}
export default App;
Code language: JavaScript (javascript)
We first declare the ffmpeg using the createffmpeg method and set the log to true to allow us to log the processes. We then make use of the following :
-
useEffect ****to call the
init(), which loads theffmpegusing theFF``mpeg.load()function. -
the onChange event handler is triggered when you select the video to convert. It also triggers the
setvid(), which sets the state for the name of the file and sets the video to be rendered within the return method.
Note: sometimes, we might run into an error “S****haredArrayBufffer is not defined” don’t panic, as this is due to SharedArrayBuffer being only available to pages that are cross-origin isolated.
To fix that, click the link below.
https://github.com/gzuidhof/coi-serviceworker
- Download
coi-serviceworker.js(orcoi-serviceworker.min.js). - Put it in the public folder
- Add this to the
index.htmlfile:
<script src="coi-serviceworker.min.js"></script>
Code language: HTML, XML (xml)
Save and start the app server with npm run start . You should get something like this:

Click on the Choose file button and upload a video. You should get something like this:
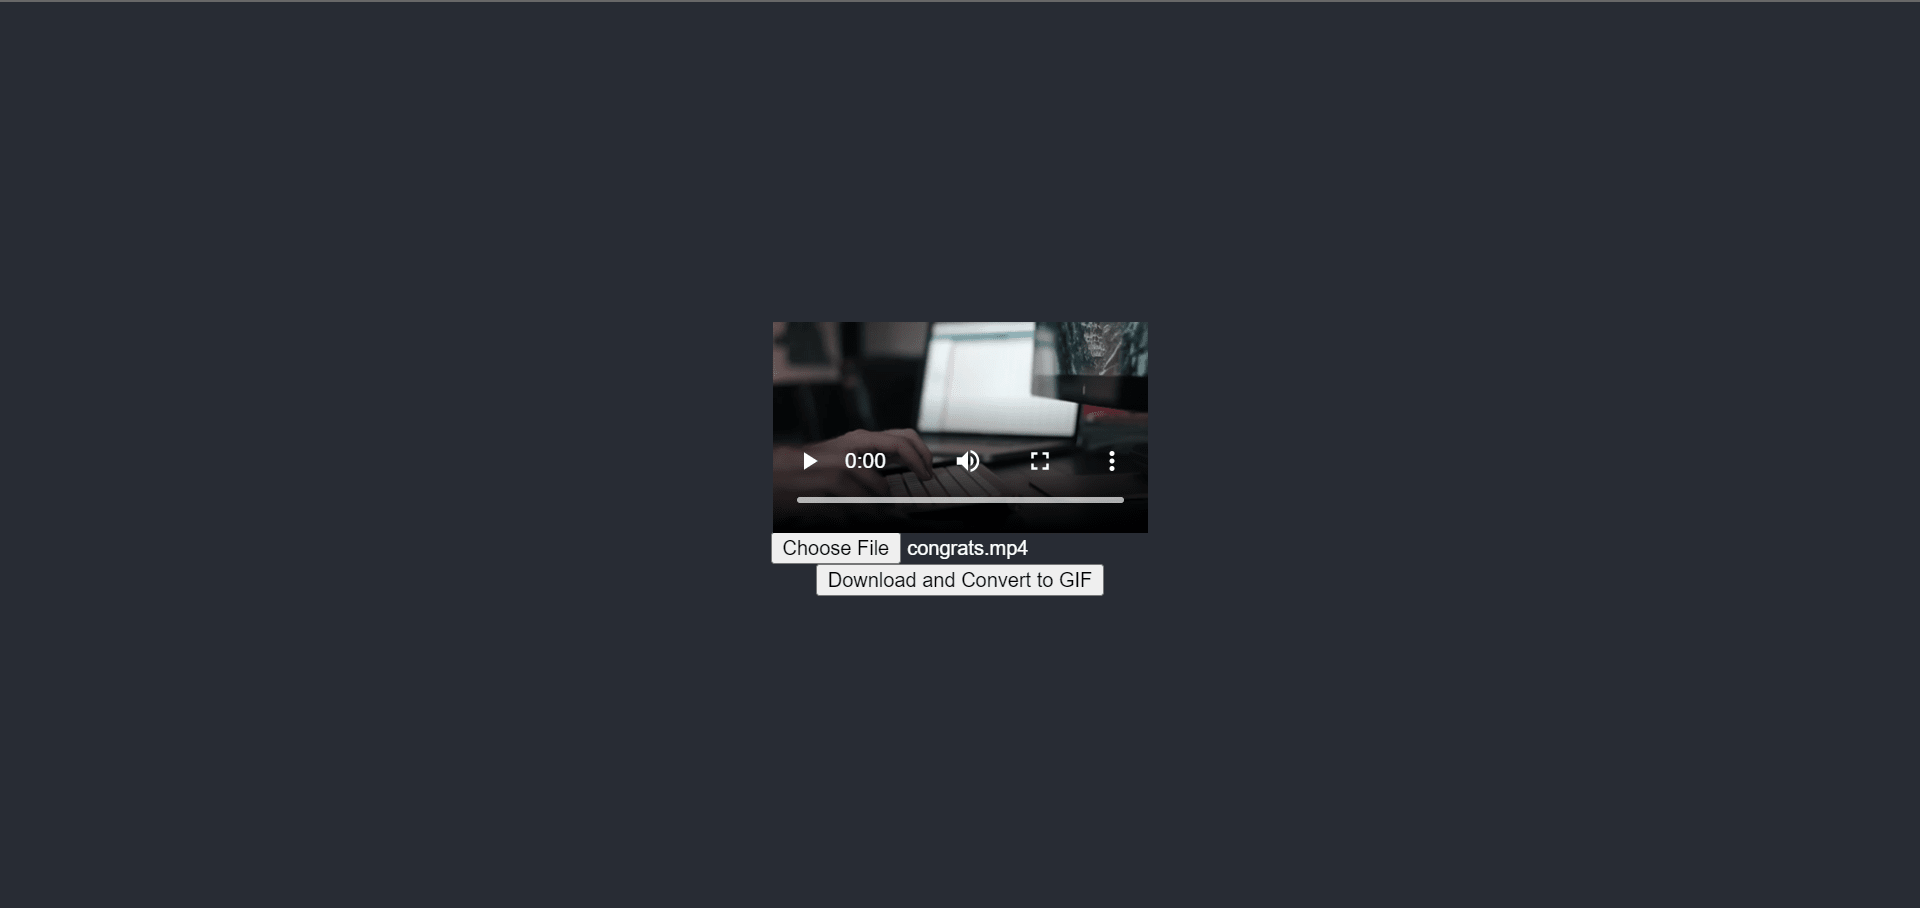
Now that the video is rendered let’s update the App.js file with the conversion functionality.
First, add this button below header . The button will trigger the function that converts the video to a gif
//App.js
...
const init = async () => {
  await ffmpeg.load();
};

const convertToGif = async () => {
  await ffmpeg.FS('writeFile', name, await fetchFile(video));
  await ffmpeg.run('-i', name, '-t', '2.5', '-ss', '2.0', '-f', 'gif', 'output.gif');
  const data =   ffmpeg.FS('readFile', 'output.gif');
  const url = URL.createObjectURL(
    new Blob([data.buffer], { type: 'image/gif' }),
  );
  saveAs(url, "output.gif");
};
    ...
return(
  <header>
    ...
  </header>
  <button onClick={convertToGif}>Download and Convert to GIF</button>
     ...
)
Code language: JavaScript (javascript)
Let’s break the code snippet above into chunks.
**convertToGif()**: this function is triggered after uploading the video. It allows you to download the converted file. Let’s go through some of the methods in this function.
One thing to keep in mind is the use of Web Assembly, which is what the package is built on.
**FFmpeg.FS**: Web Assembly always handles its memory, and in other to run FFmpeg, we need to make it known to that file system by writing the file to the memory of the FFmpeg. This is what this function does. It accepts the video as parameter and saves it in temporary memory.
N/B**:** It only stays in memory until the browser is refreshed
Next, is the FFmpeg.run() function. We pass the following parameters:
-
**-i**: is the input file -
**-t**: is the time or length of the video -
**-ss**: is the starting second -
**-f**: is for encoding, in our case, gif -
**output.gif**: is the name of the file we want to write to.
Once this is complete, it saves the file in memory;
Next, is to read the file by using the FFmpeg.Fs(readFile,``" the file in memory``"``)
After that, we need to convert the file to a URL for our file-saver package to be able to make it downloadable. To do that we use the blob method.
const url = URL.createObjectURL(
  new Blob([data.buffer], { type: 'image/gif' }),
);
Code language: JavaScript (javascript)
And lastly, we pass the URL to the file-saver and specify the download name.
saveAs(url, "output.gif");
Code language: JavaScript (javascript)
Now we should have our A``pp.j``s file like the one below.
import { useEffect, useState } from "react"
import './App.css';
import { createFFmpeg, fetchFile } from "@ffmpeg/ffmpeg";
import { saveAs } from "file-saver";

const ffmpeg = createFFmpeg({ log: true });

function App() {
  const [video, setVideo] = useState();
  const [name, setName] = useState()
  const init = async () => {
    await ffmpeg.load();
  };

  const setVid = (e) => {
    setVideo(e.target.files?.item(0))
    setName(e.target.files[0].name)
  }

  const convertToGif = async () => {
    await ffmpeg.FS('writeFile', name, await fetchFile(video));
    await ffmpeg.run('-i', name, '-t', '2.5', '-ss', '2.0', '-f', 'gif', 'output.gif');
    const data = ffmpeg.FS('readFile', 'output.gif');
    const url = URL.createObjectURL(
      new Blob([data.buffer], { type: 'image/gif' }),
    );
    saveAs(url, "output.gif");
  };

useEffect(() => {
  init();
}, []);

return (
  <div className="App">
    <header className="App-header">
      {video && (
        <video controls width="250" src={URL.createObjectURL(video)}></video>
      )}
      <input type="file" onChange={(e) => setVid(e)} />
      <button onClick={convertToGif}>Download and Convert to GIF</button>
    </header>
  </div>
)
}
export default App;
Code language: JavaScript (javascript)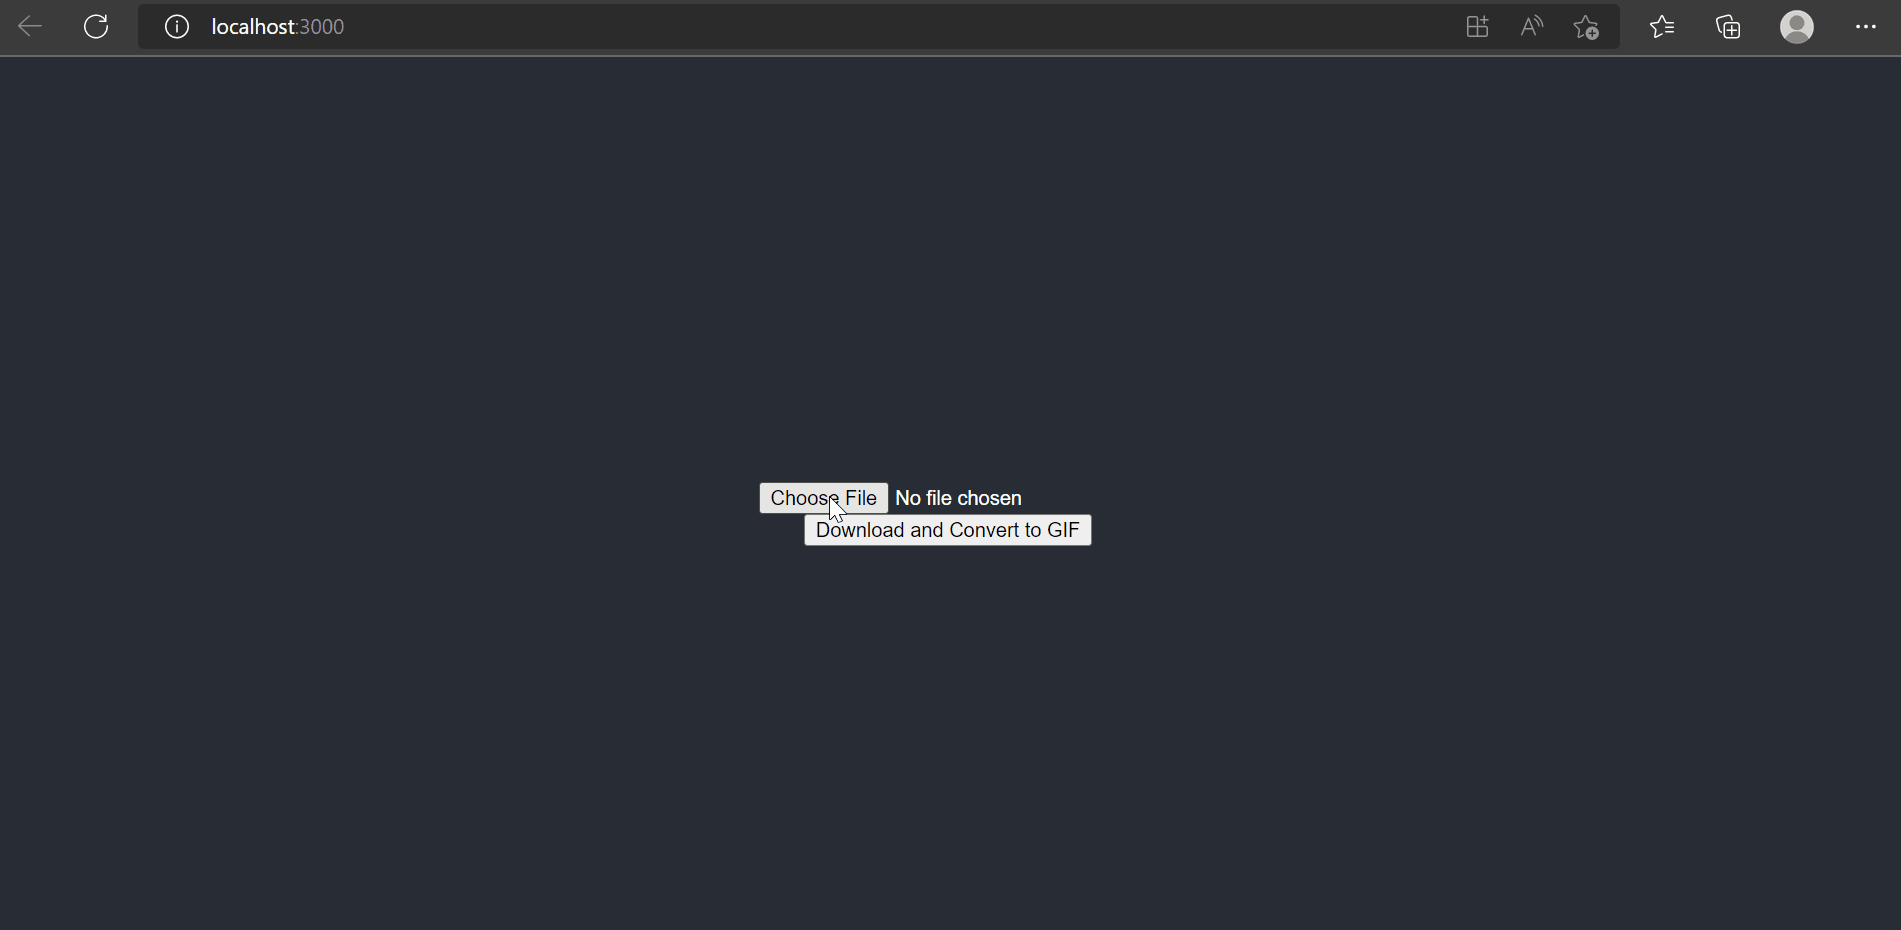
In this tutorial, we implemented conversion of videos to GIFs with React, and ffmpeg.wasm JavaScirpt wrappers @ffmpeg/ffmpeg and @ffmpeg/core.