
Video streaming has become a core feature in modern applications, from video conferencing and surveillance to live dashboards. With just a few lines of Python and Flask, you can capture live video from your webcam and stream it directly to a web browser in real time. And when you’re ready to scale, Cloudinary makes it simple to upload, optimize, and deliver video globally.
In this tutorial, we’ll cover:
- What Python video streaming is and how it works.
- Setting up a simple Flask app to capture video.
- Serving live video streams to the browser.
- Using Cloudinary to store, transform, and deliver video.
What Is Python Video Streaming?
Python video streaming refers to capturing video frames (like from a webcam) and sending them over HTTP so that clients can watch the video in real time. Flask makes this easy by exposing a video feed route that continuously yields frames, typically in the MJPEG format. The browser then interprets this continuous feed as video, even though technically it’s receiving a series of JPEG images.
This method is lightweight and simple, which makes it ideal for prototypes and smaller applications. However, for production-ready systems or public-facing apps, you’ll usually want to rely on a video delivery platform like Cloudinary that can handle adaptive streaming, encoding, caching, and global delivery. This way, you don’t have to reinvent the wheel when it comes to performance and reliability.
Setting Up the Project
Before we jump into coding, let’s get the environment ready. We’ll need Python 3, Flask to handle HTTP requests, and OpenCV to capture frames from the webcam. Setting things up properly ensures that our project runs smoothly and avoids common errors later on.
Installing Flask and Required Libraries
Start by installing Flask and OpenCV, which will let us capture webcam frames:
pip install flask opencv-python
Flask is a micro web framework for Python that lets us quickly spin up a server and create routes. OpenCV, on the other hand, is a powerful computer vision library that can handle everything from simple webcam capture to advanced image recognition tasks. Together, they form the foundation of our streaming setup.
Setting Up Your Webcam for Capture
Next, create a camera.py file to manage video capture:
import cv2

class VideoCamera:
    def __init__(self):
        self.cap = cv2.VideoCapture(0)

    def get_frame(self):
        success, frame = self.cap.read()
        if not success:
            return None
        _, jpeg = cv2.imencode('.jpg', frame)
        return jpeg.tobytes()
This class opens the default webcam (0 = default device) and continuously reads frames from it. Each frame is encoded into JPEG format, which makes it small enough to send over HTTP. By separating this logic into its own class, we keep our Flask code clean and make it easier to extend later (like supporting multiple cameras or input streams).
Streaming Video with Flask
Now that we have a way to capture frames, let’s set up Flask to stream them to the browser. The idea is simple: Flask exposes an endpoint (/video_feed) that yields frames one by one, and the browser interprets this feed as video.
We’ll build a simple Python video streaming app using Flask and OpenCV. Users can view the live stream, capture snapshots, or even record short video clips. With just a little extra code, we can upload those to Cloudinary for storage and delivery.
Creating the Flask App
Now, set up a simple Flask app (app.py):
from flask import Flask, Response, render_template
from camera import VideoCamera

app = Flask(__name__)
camera = VideoCamera()
Here, we initialize Flask and create a VideoCamera instance that will keep pulling frames from the webcam. Flask handles incoming HTTP requests, while VideoCamera takes care of the video feed.
Building the Video Feed Route
Next, we’ll create a generator function that continuously yields frames:
def gen(camera):
    while True:
        frame = camera.get_frame()
        if frame:
            yield (b'--frame\r\n'
                   b'Content-Type: image/jpeg\r\n\r\n' + frame + b'\r\n')
This generator keeps running and sends frames in chunks that the browser can interpret. Next, we’ll create a route to serve this feed:
@app.route('/video_feed')
def video_feed():
    return Response(gen(camera),
                    mimetype='multipart/x-mixed-replace; boundary=frame')
The multipart/x-mixed-replace mimetype tells the browser to expect a series of images that will be replaced one after another. When rendered, this looks like a continuous video.
Serving the Stream to a Web Browser
Now that the back end is ready, let’s make sure we can view the stream in the browser.
Using MJPEG Format
We’re streaming frames in the MJPEG format, which is one of the simplest approaches to real-time video streaming. While MJPEG is not bandwidth-efficient compared to formats like DASH or HLS streaming, it’s perfect for local testing and quick prototypes. The advantage is that it requires no special codecs and works in most browsers out of the box.
Embedding the Video in HTML
Now. let’s create a templates/index.html file to display the video feed:
<!DOCTYPE html>
<html>
<head>
    <title>Flask Video Streaming</title>
</head>
<body>
    <h1>Live Video Stream</h1>
    <img src="{{ url_for('video_feed') }}" />
</body>
</html>
This simple page just displays the stream in an <img> tag. Then add a route in app.py to serve the homepage:
@app.route('/')
def index():
    return render_template('index.html')
Finally, we can run the app using the following command:
flask run
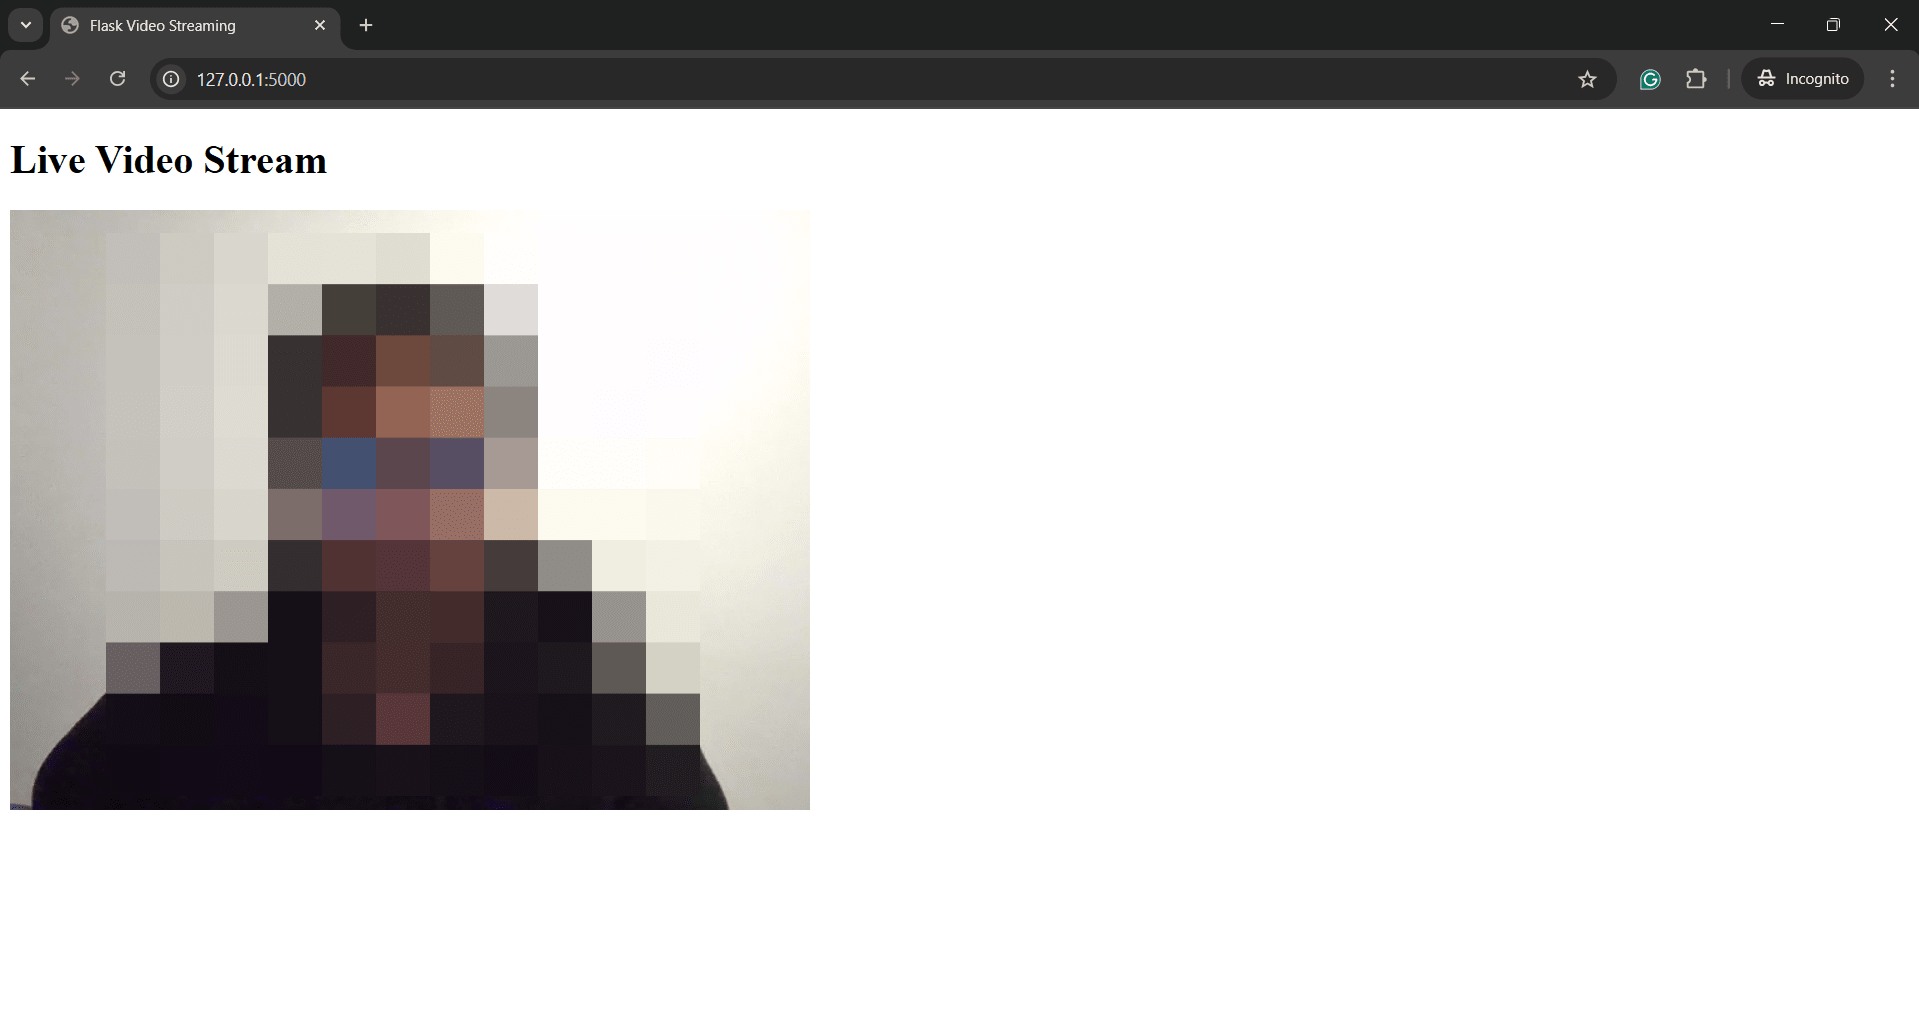
Now open http://127.0.0.1:5000/ in your browser, and you’ll see your webcam feed live. Even though this is just a local demo, you can already imagine using it for things like a personal security feed or a small dashboard. Here is what our video looks like:
Integrating Python Video Streaming with Cloudinary
At this point, we have a working local video stream that lets us view our webcam feed directly in the browser. This setup is great for experiments and demos, but most real-world applications need more than just local playback. For example, you might want to save important snapshots, record short clips for playback later, or deliver video content to users across different devices and locations.
Cloudinary is a cloud-based media platform that takes care of everything related to images and videos; from uploads and storage to real-time transformations, optimizations, and global CDN delivery. Instead of building your own video storage, transcoding, and delivery infrastructure, you simply use Cloudinary’s SDK to interact with the service. With just a few lines of code, you can move from a local-only project to a globally available one.
Installing the Cloudinary Python SDK
To integrate Cloudinary into our Flask project, we first need to install the Cloudinary Python SDK. This package provides an easy API interface for uploading and managing media directly from our app:
pip install cloudinary
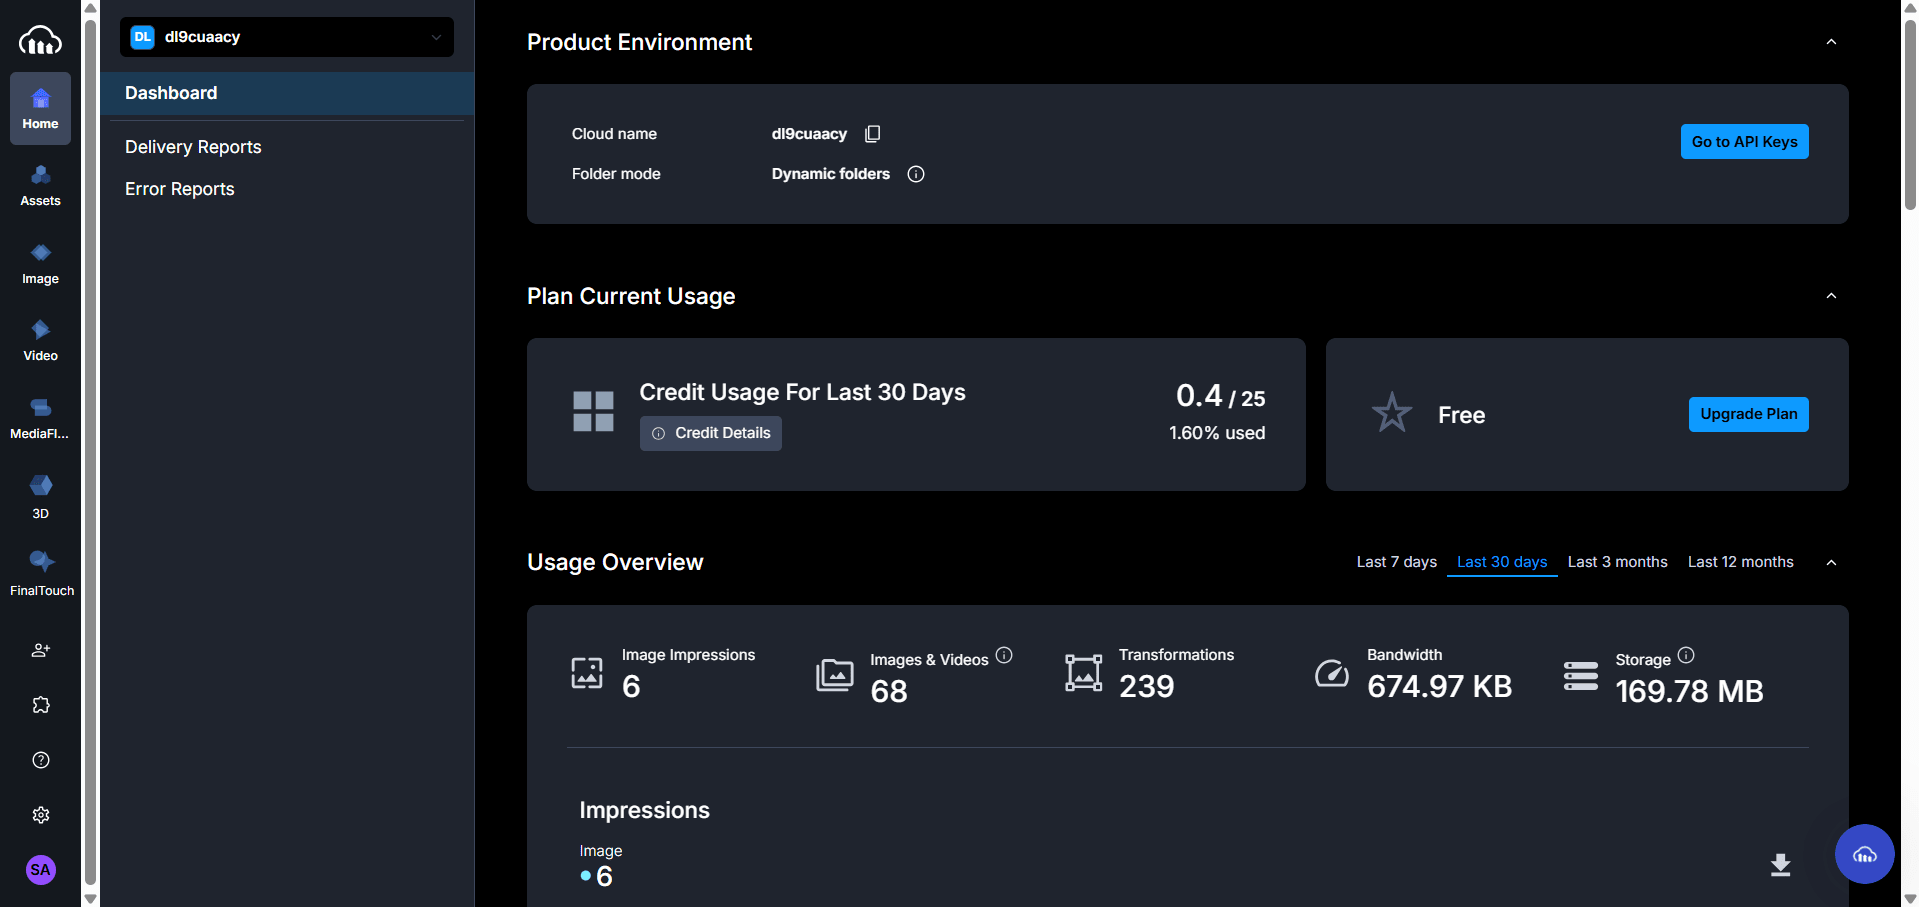
Next, log in to your Cloudinary account and retrieve your API credentials. If you don’t have a Cloudinary account, you can sign up for an account for free. After that, go to the Programmable Media Dashboard and click on the Go to API Keys button to find your API credentials. Copy these as we will need them later:
Now, open up your app.py file, import the Cloudinary Python SDK, and finally configure the library using your API credentials:
import cloudinary
import cloudinary.uploader

cloudinary.config(
  cloud_name = "CLOUD_NAME",
  api_key = "API_KEY",
  api_secret = "API_SECRET"
)
Remember to replace the placeholders with your actual values. For security in larger applications, you’ll usually want to store these as environment variables instead of hard-coding them.
Now that we’ve connected Flask with Cloudinary, our application is capable of uploading frames and video clips directly to the cloud. To make this functionality available to users, let’s update our front-end template to add buttons for snapshot capture and video recording. We will update our index.html as follows:
<!DOCTYPE html>
<html>
<head>
    <title>Flask Video Streaming</title>
</head>
<body>
    <h1>Live Video Stream</h1>
    <img src="{{ url_for('video_feed') }}" />

    <h2>Capture Snapshot</h2>
    <button onclick="window.location.href='/capture_snapshot'">Capture Snapshot</button>

    <h2>Record a Short Video Clip</h2>
    <form method="POST" action="/record_video">
        <label>Duration (seconds):
            <input type="number" name="duration" value="10">
        </label>
        <button type="submit">Start Recording</button>
    </form>
</body>
</html>
This template now gives the user more interactivity. They can view the live video feed, click a button to capture a snapshot, or specify a duration for a short recording. All of these actions will be handled in the backend, with the media uploaded to Cloudinary for secure storage and fast delivery.
Uploading Captured Snapshots to Cloudinary
Next, let’s implement the backend route for capturing a snapshot and uploading it to Cloudinary. Add this to app.py:
@app.route('/capture_snapshot')
def capture_snapshot():
frame = camera.get_frame()
if frame:
with open("frame.jpg", "wb") as f:
f.write(frame)
upload_result = cloudinary.uploader.upload("frame.jpg", resource_type="image")
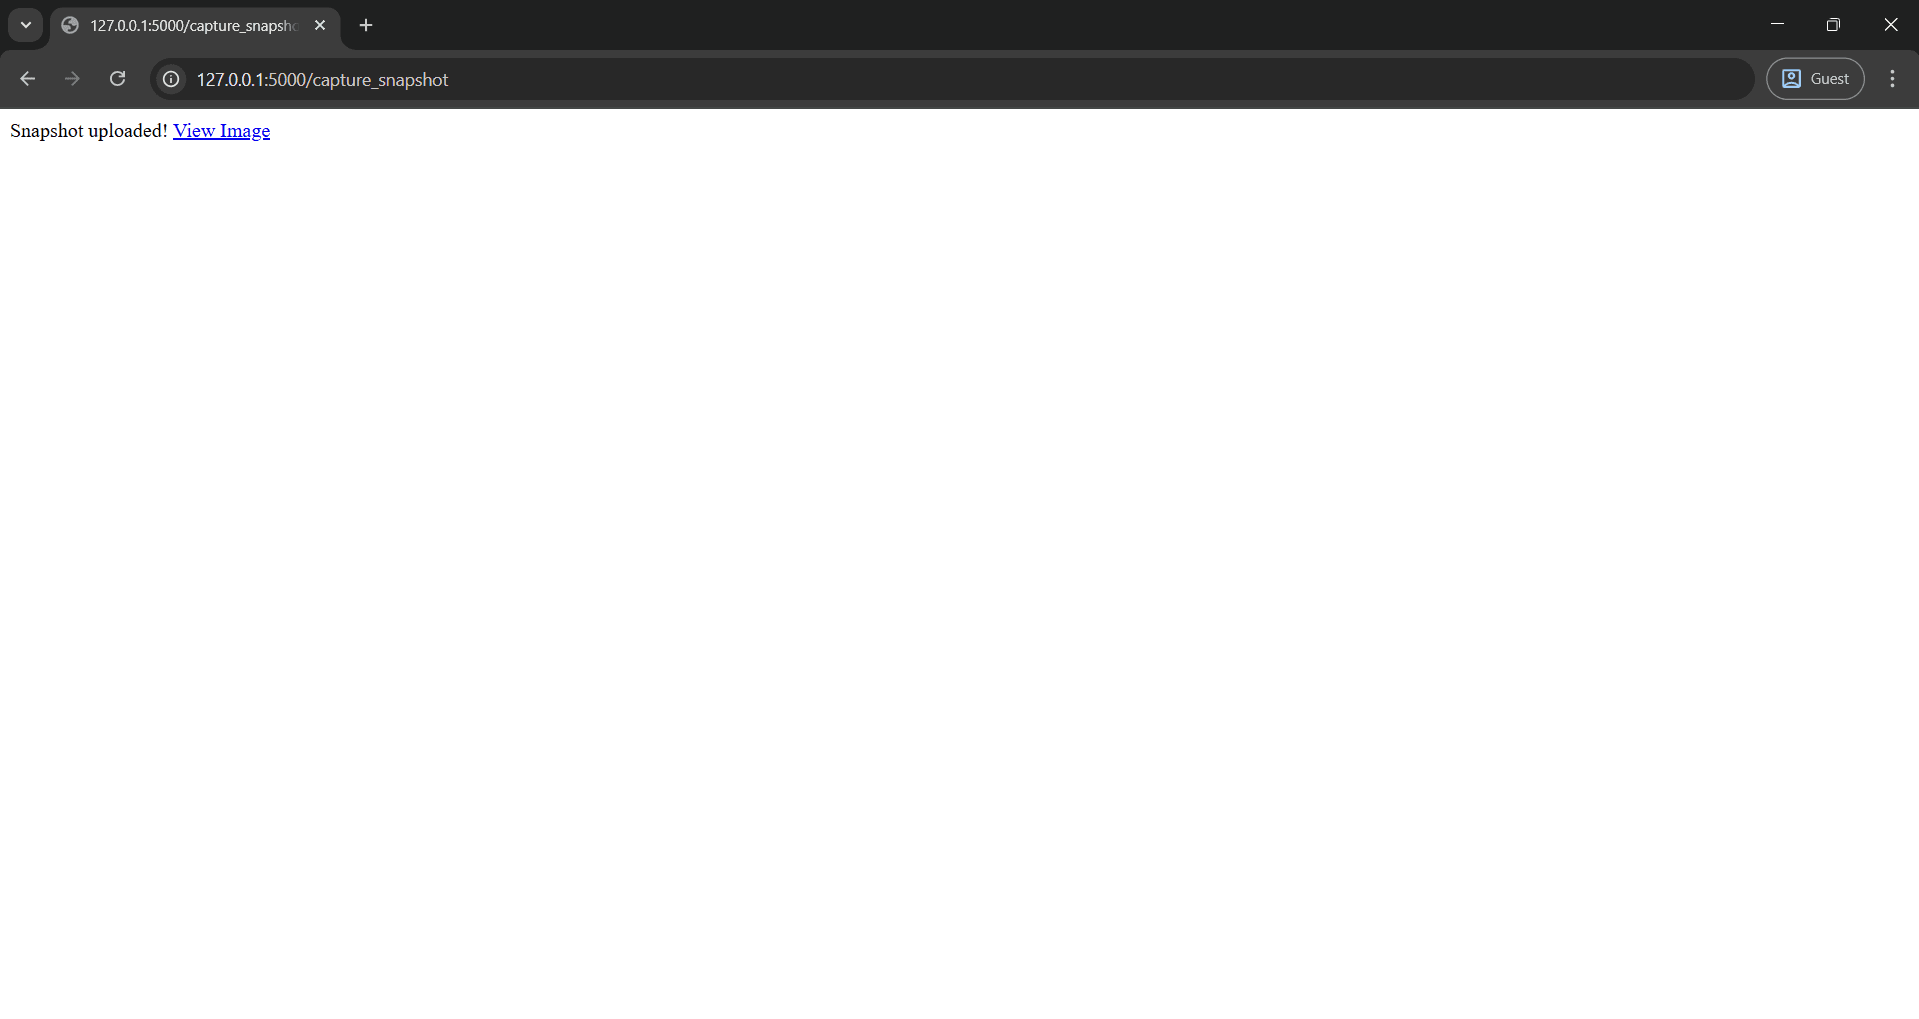
return f"Snapshot uploaded! <a href='{upload_result['secure_url']}' target='_blank'>View Image</a>"
return "No frame available"
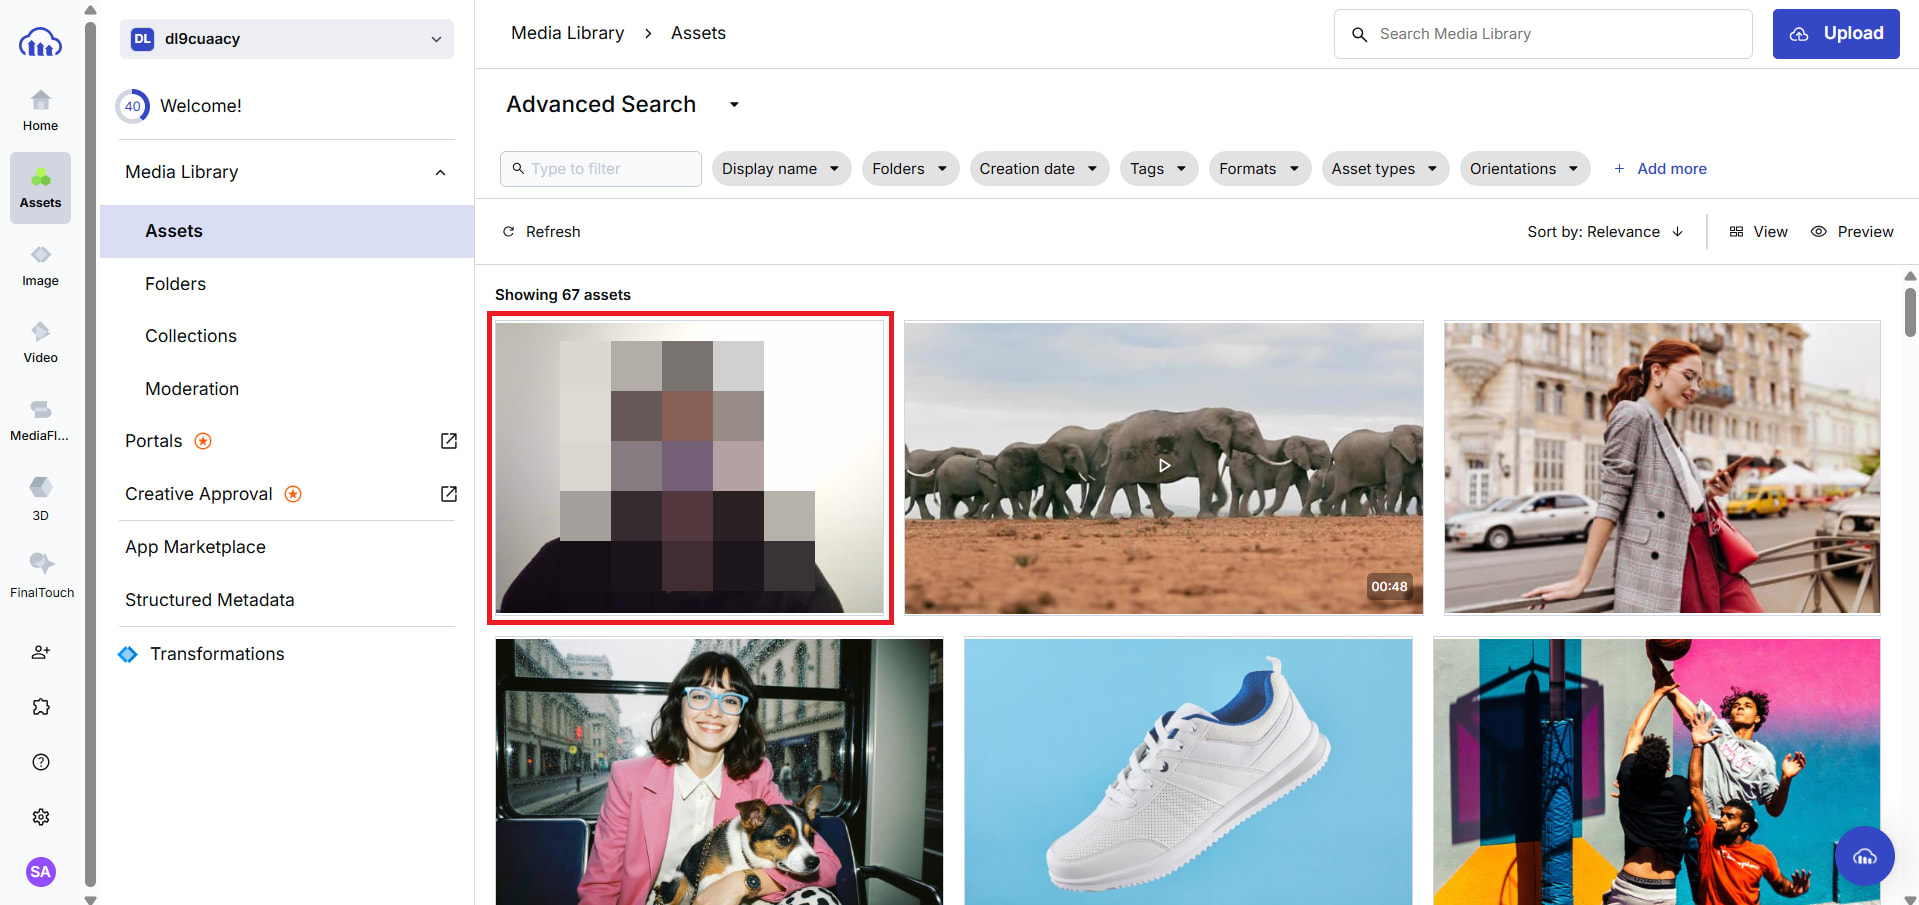
When a user captures a snapshot, the app first grabs the current frame from the camera and saves it temporarily as frame.jpg on the server. This file is then uploaded to Cloudinary using cloudinary.uploader.upload, where it’s stored as an image resource. You can verify your upload by checking out your Assets in the Media Library tab:
Once the upload is complete, Cloudinary returns a response object containing a secure_url, which we display back to the user as a link so they can immediately view their snapshot. The great part is that Cloudinary automatically optimizes and caches the image through its CDN, making it accessible quickly from anywhere in the world.
Delivering Video with Cloudinary
So far, we’ve set up live streaming and snapshot capture, but often you’ll want to go beyond just real-time video. Many applications (like surveillance, user-generated content platforms, or e-learning systems) benefit from saving and replaying short video clips. Cloudinary makes this simple by allowing us to record videos locally, upload them with just one function call, and instantly get back a link for playback.
Recording Short Video Clips
To record short clips, we can extend our Flask app with a function that writes frames to a video file for a given duration. Here’s the code:
def record_video(camera, duration=10, filename="clip.mp4", fps=20):
    """Record a video clip from the camera for a given duration."""
    width = int(camera.cap.get(cv2.CAP_PROP_FRAME_WIDTH))
    height = int(camera.cap.get(cv2.CAP_PROP_FRAME_HEIGHT))
    fourcc = cv2.VideoWriter_fourcc(*'mp4v')
    out = cv2.VideoWriter(filename, fourcc, fps, (width, height))

    start_time = time.time()
    while time.time() - start_time < duration:
        ret, frame = camera.cap.read()
        if ret:
            out.write(frame)

    out.release()
    # Upload to Cloudinary
    upload_result = cloudinary.uploader.upload(filename, resource_type="video")
    return upload_result["secure_url"]
And the corresponding route:
@app.route('/record_video', methods=['POST'])
def record_video_route():
    duration = int(request.form.get('duration', 10))
    url = record_video(camera, duration=duration)
    return f"Video recorded and uploaded! <a href='{url}' target='_blank'>View Video</a>"
Here’s how it works: the app records frames for the duration specified by the user, saves them into a local file, and then uploads that file to Cloudinary. Once uploaded, Cloudinary immediately returns a secure_url that points to the video. That means the user can watch the clip instantly in their browser without waiting for extra processing or worrying about compatibility.
Generating Streaming URLs
While MJPEG streaming works well for simple browser previews, it’s not suitable for delivering longer or production-grade videos. For this, Cloudinary supports adaptive streaming protocols such as HLS and MPEG-DASH, which break videos into smaller segments that can be delivered smoothly across various devices and network conditions.
Uploading a video to Cloudinary is as simple as:
upload_result = cloudinary.uploader.upload("clip.mp4", resource_type="video")
print(upload_result["secure_url"])
The returned secure_url is already optimized and delivered via Cloudinary’s CDN, which ensures fast playback no matter where your users are. If you upload larger clips, Cloudinary automatically handles transcoding behind the scenes so the video can play in any modern browser or mobile device.
Applying Video Transformations
One of the most powerful features of Cloudinary is its ability to apply real-time transformations to videos. This means you can resize, crop, change the format, or even overlay graphics without having to re-encode the video yourself. The transformations are applied simply by modifying the delivery URL, and Cloudinary handles the processing automatically.
For example, you can resize or change the format of a video simply by adjusting the delivery URL:
from cloudinary.utils import cloudinary_url

url, options = cloudinary_url("sample.mp4",
                              resource_type="video",
                              width=400,
                              height=300,
                              crop="fill")
print(url)
This single function call returns a URL that delivers your video resized to 400×300 pixels with a fill crop mode. You don’t need to edit the video or generate multiple versions manually; Cloudinary creates and caches the optimized video on demand. This is especially useful if you need different sizes for mobile vs. desktop, or if you want to apply branding like watermarks across your entire video library.
By combining recording, streaming, and transformations, you can turn a simple Flask demo into a fully functional video management pipeline that scales globally.
The Wrap-Up
With just Flask and OpenCV, we built a simple webcam-to-browser streaming application. This setup works well for prototypes, demos, and local use cases. But for real-world applications, you need scalability, reliability, and optimization–exactly what Cloudinary provides.
By integrating Cloudinary, you can seamlessly upload frames or full clips, generate secure streaming URLs, and apply transformations on the fly. Instead of wrestling with storage, encoding, and CDN delivery, Cloudinary handles the heavy lifting so you can focus on building features that matter.
If you want to take your video projects further, sign up for a free Cloudinary account and start experimenting with real-time video workflows today.
FAQs
Can Flask alone handle video streaming for production?
Flask can handle simple MJPEG streams, but for production-grade streaming you’ll want a CDN-backed solution like Cloudinary for performance and reliability.
Why use Cloudinary for Python video streaming?
Cloudinary manages storage, optimization, and global delivery automatically, letting you stream videos at scale without worrying about infrastructure.
Can Cloudinary optimize both images and videos?
Yes, Cloudinary supports a wide range of transformations and automatic optimizations for both images and videos, ensuring the best format and quality for each device.

