
Transitions have solidified themselves as an important part of web applications, as they have been used in different ways to capture users’ attention. They, however, have also been known to be a little tricky to implement. This problem has been mitigated by the release of UI libraries over the years.
This article will walk us through embedding a video player and handling video overlay transitions similar to what we see on Netflix, using Nuxt.js.
Akin to smart TV’s Netflix, we want our video to start playing automatically after three seconds when our video player mounts. After five seconds, we want our overlay to fade out, only to fade back in when the video ends.
Check out the Codesandbox to get started quickly.
GitHub URL:
https://github.com/Iheanacho-ai/nuxtjs-netflix-animation
To get the most out of this article it is important that we have the following:
- A basic understanding of CSS, JavaScript and Vue.js
- Node and it’s package manager,
npm. Run the commandnode -v&&npm -vto verify we have them installed, or install them from here. It is recommended that we have the latest version. - Alternatively, we can use another package manager, Yarn.
- Understanding Nuxt.js would help us follow through with this tutorial quicker, but it is not entirely required.
- A Cloudinary account, if you don’t have one, you can create one here.
Nuxt.js is an open-source vue.js frontend development framework that allows us to create universal web applications without stress, render statically Vue.js applications without having a server, and enables functionalities like server-side rendering, static site generating, etc. in our project.
To create a nuxt.js app, we go to our terminal and run the command below.
NOTE: If you are on windows and using Git Bash you might have issues with the arrows, so it is advisable that you use the Powershell terminal instead
    npm init nuxt-app <project-name>

    #or

    npx create-nuxt-app <project-name>

    #or

    yarn create nuxt-app <project-name>
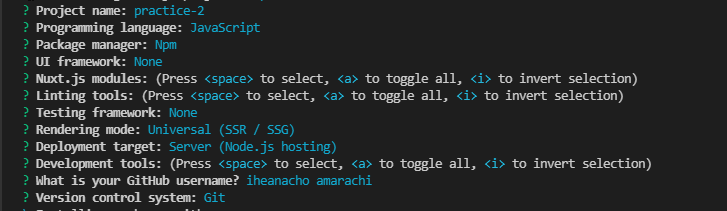
Running this command will trigger a set of question prompts. In the picture below, this is the setup I used.
After that, we run these commands
    cd <project name>

    npm run dev

    #or

    yarn dev
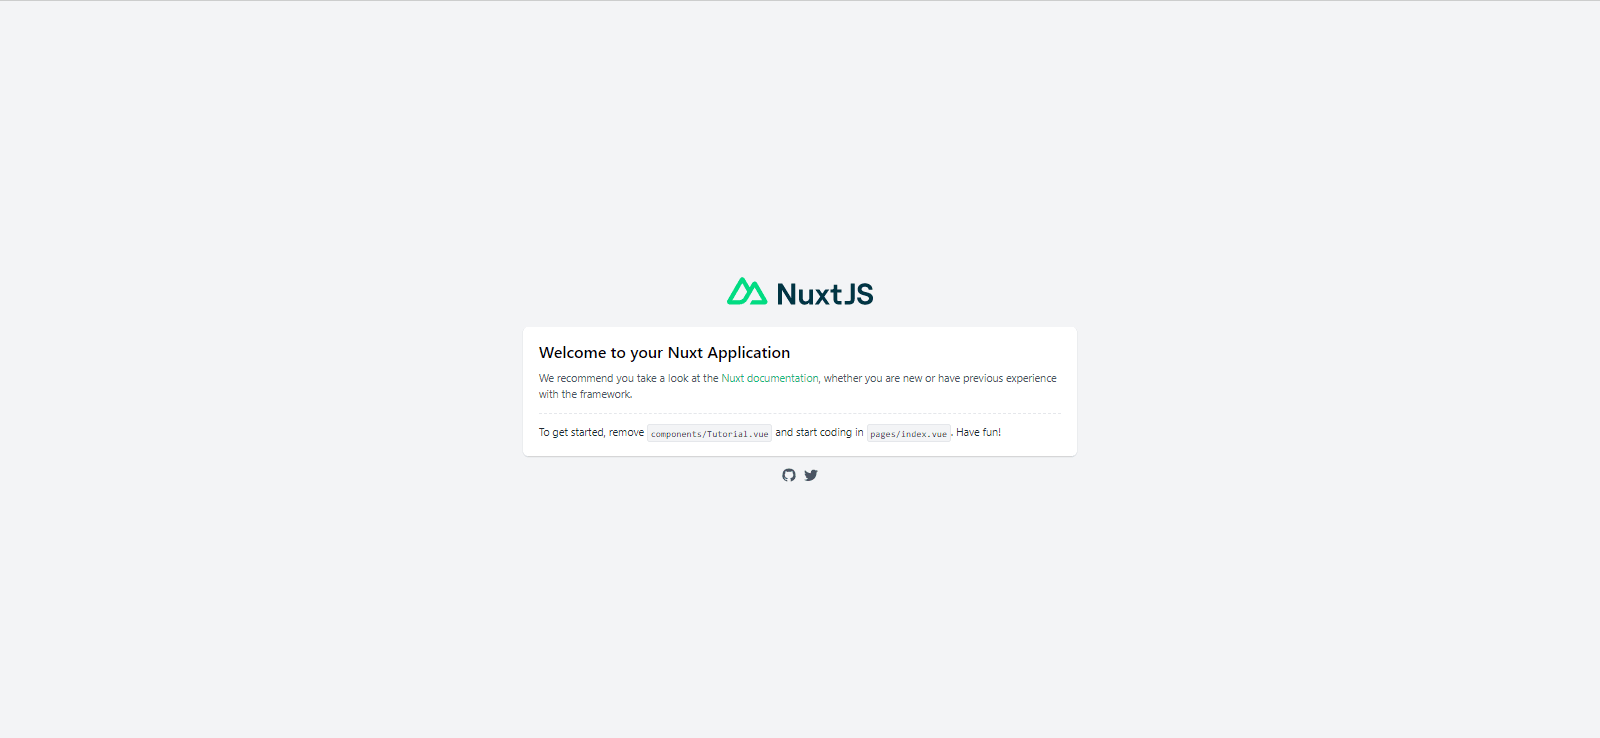
This would change the directory to our project and run it on the browser, to see our app go to http://localhost:3000/
In this section of the tutorial, we will install the dependencies required for this project. These dependencies are Cloudinary for the video player and Vue2-animate for handling the transitions.
Cloudinary is a cloud-based service that provides an end-to-end image and video management solution, including uploads, storage, manipulations, optimizations, and delivery.
It also allows developers to embed video players in their app that handles video events effectively.
To enable our nuxt app to use these Cloudinary features, we will add the video player assets in the head section of our nuxt.config.js file.
    // nuxt.config.js

    export  default  {
        head:  {
        ...
          link: [
            ...
            { rel:  'stylesheet', href:  'https://unpkg.com/cloudinary-video-player@1.5.9/dist/cld-video-player.min.css'  }
          ],
          script:  [
            { src:  'https://unpkg.com/cloudinary-core@latest/cloudinary-core-shrinkwrap.min.js'  },
            { src:  'https://unpkg.com/cloudinary-video-player@1.5.9/dist/cld-video-player.min.js'  },
          ],
        },

    };
Next up, we create a .env at the root of our project.
touch .env
After creating our .env file, we go to our Dashboard, in the Account Details section we can see our cloud name, we copy paste it in our .env file.
CLOUD_NAME = <Cloudinary-cloud-name>
Vue2-animate is a great UI library created for the Vue.js framework. It helps developers create high-performance and stunning animations with just a few lines of code.
To install vue2-animate in our project, we run this command.
    npm install --save vue2-animate

    #or

    yarn add vue2-animate
In our index.vue file, we embed the Cloudinary video player in our project using the HTML5 native video element.
We then give the element an id of video-player and a class of cld-video-player .
    <template>
      <div>
        <video
        id= "video-player"
        class="cld-video-player"
        >
        </video>
      </div>
    </template>
In our mounted lifecycle hook, we create a Cloudinary instance. Doing this in our mounted lifecycle hook allows the instance to be created once the app mounts.
    // pages/index.vue

    <script>

    export default {
      data(){
        return{
          cld: null,
          player: null,
          video: "production_ID_4456999_gr6iy4"
        }
      },
      mounted(){
        this.cld= cloudinary.Cloudinary.new({
          cloud_name:  process.env.CLOUD_NAME,
          secure:  true
        })
        this.player = this.cld.videoPlayer(
          'video-player'
        );
        this.player.source(this.video);
    }

    }


    </script>
In the data object, we define three variables:
- The
cldvariable holds the Cloudinary instance we will create. - The
playervariable holds the new Cloudinary video player we will instantiate on mount. We do this by passing the idvideo-player(id of our video element) to theVideoPlayermethod. - The
videovariable holds theidof the video we are looking to play stored on cloudinary.
In our mounted lifecycle hook, we create a Cloudinary instance from the Cloudinary object by providing the cloud name we stored in our .env file and secure: true, as arguments.
We then instantiate the Cloudinary video player using the videoPlayer method and passing either the video player id or the video player itself, as as argument.
After we create our player, we sourced the video we are looking to play.
Next, in the style section of our index.vue file, we add a bit of styling to our video player, with a width of 500px and a height of 300px.
    <style scoped>
      div{
        margin: 0;
        padding: 0;
      }
      .cld-video-player{
        width: 500px;
        height: 300px;
      }
    </style>
With that we have embedded a Cloudinary video player in our project.

In the template section of our index.vue file, we create our video overlay with the HTML native div element.
     <div class = 'overlay' >
        <h2 class= 'overlay-header'>bonne vitesse</h2>
        <p>
          You look down on where you came from sometimes
          But you'll have this place to call home, always.
        </p>
        <button>Play</button>
      </div>
Our overlay is incomplete without the styling
    .overlay{
      box-sizing: border-box;
      font-family: 'Nunito', sans-serif;
      width: 250px;
      height: 300px;
      padding: 10px;
      background-color: rgba(0, 0, 0, 0.35);
      color: #fff;
      position: absolute;
      top: 7px;
      left: 7px;
      bottom: 7px;
    }
    .overlay-header{
      text-align: center;
    }
    button{
      width: 90%;
      height: 30px;
      margin: 0 auto;
    }
We give our overlay a width of 250px (half of our video player) and a height of 300px. Our overlay has an absolute position to sit on our video player.
To selectively render our overlay, we must first create an overlay variable in the data object. This will be used to control our overlay.
    export default {
      data(){
        return{
          cld: null,
          player: null,
          video: "production_ID_4456999_gr6iy4",

    // overlay variable
          overlay: true,
        }
      },
      mounted(){
        this.cld= cloudinary.Cloudinary.new({
          cloud_name:  process.env.NUXT_ENV_CLOUDINARY_CLOUD_NAME,
          secure:  true
        })
        this.player = this.cld.videoPlayer(
          'video-player'
        );
        this.player.source(this.video);
    }
Next, we add a setTimeout function to remove the overlay after five seconds in our mounted lifecycle hook. Then we use Cloudinary’s ended video player event to set the overlay to true when the video ends.
    this.player.on('ended', ()=> {
        this.overlay = true
      })

      setTimeout(() => {
        this.overlay = false
      }, 5000)
    }
We then selectively render the overlay depending on the value of the overlay.
    <template>
      <div>
        <video
        id= "video-player"
        class="cld-video-player"
        >
      </video>

        <div class = 'overlay' v-if = 'overlay'>
          <h2 class= 'overlay-header'>bonne vitesse</h2>
          <p>
            You look down on where you came from sometimes
            But you'll have this place to call home, always.
          </p>
          <button> Play</button>
        </div>

      </div>
    </template>
We want our video to play automatically after three seconds, but we also want the play button on the overlay to play the video.
To achieve this, we use a setTimeout function to play the video after three seconds on the mounted lifecycle hook. We add a function on the method object called playMedia, which also plays the media.
    <script>

    export default {
      data(){
        return{
          cld: null,
          player: null,
          video: "production_ID_4456999_gr6iy4",
          overlay: true,
        }
      },
      methods: {
        playMedia(){
          this.player.play()
        }
      },

      mounted(){
        this.cld= cloudinary.Cloudinary.new({
          cloud_name:  process.env.NUXT_ENV_CLOUDINARY_CLOUD_NAME,
          secure:  true
        })
        this.player = this.cld.videoPlayer(
          'video-player'
        );

        this.player.source(this.video);

        this.player.on('ended', ()=> {
          this.overlay = true
        })

    // plays the media

        setTimeout(() => {
          this.player.play()
        }, 3000)

        setTimeout(() => {
          this.overlay = false
        }, 5000)
      }

    }


    </script>
Next, we then pass the playMedia method into an onClick event listener on our button.
<button @click= "playMedia()">Play</button>
To use the vue2-animate library in our project we have to require it, we do this in the script section of our index.vue file.
require('vue2-animate/dist/vue2-animate.min.css')
The vue2-animate allows us to use the transition component to animate our element. This transition component has a name prop that takes in the kind of animation we want our element to have, in this case, fade.
We then specify the duration for the animation using the style prop.
    <transition name="fade">
      <div class = 'overlay' v-if = 'overlay' style="animation-duration: 1s">
        <h2 class= 'overlay-header'>bonne vitesse</h2>
        <p>
          You look down on where you came from sometimes
          But you'll have this place to call home, always.
        </p>
        <button @click= "playMedia()">Play</button>
      </div>
    </transition>
With these we have completed the Netflix-styled Video Overlay animation. Here is what it should look like:
In this article we discussed what Cloudinary is, why we would use it, and how to embed its video player in our project. We also discussed the vue2-animate library and used it to animate in and out, our overlay depending on what player event was triggered.
You may find the following resources useful