
You’re building an app for a small business or website, maybe a portfolio site or boutique store, and you know high-quality visuals are key for attracting buyers and showcasing your work. But without a designer on the team, you’re responsible for handling all the images and videos yourself.
So how do you manage a moderate amount of media files in the simplest and most efficient way?
In this blog post, we’ll unveil transformative techniques for managing media files in Flask with Cloudinary to make your life easier as a developer.
Before we get into the practical steps, here some of the advantages of establishing a solid media management approach in your Flask application:
- Less custom code and reduced storage complexity. Offloading large media files from your database or filesystem keeps your application simpler and avoids managing bulky binary data.
- Reliable uploads that scale. A predictable upload flow prevents issues with file size limits, timeouts, or custom route handling, especially when users submit large images or videos.
- Consistent, high-quality digital media. Automated tasks like resizing, compression, tagging, and background removal help keep your images and videos optimized without manual editing.
- Optimized, searchable delivery. Well-structured metadata and scalable search make assets easier to find, while delivering the right size and format improves performance across devices.
By storing your digital media in Cloudinary instead of on your server or in your database, you can take advantage of these benefits immediately, while keeping your Flask codebase lightweight and focused on application logic.
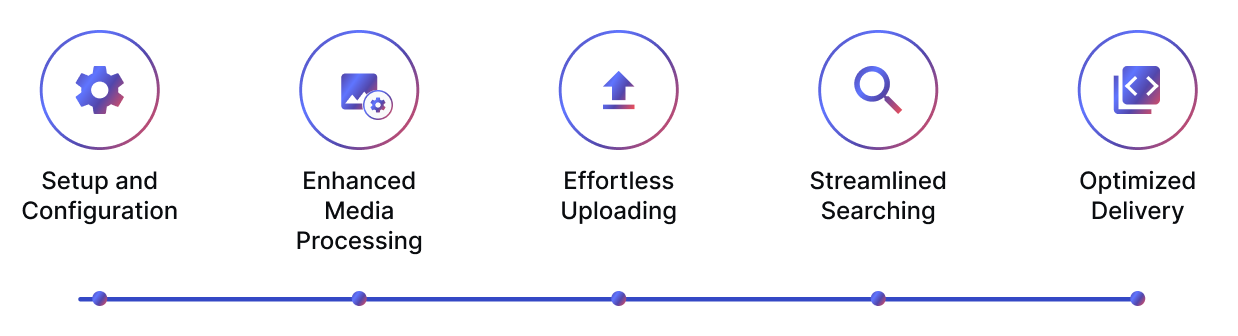
Managing media files in Flask becomes much simpler with the steps we cover next (tap the icons to navigate to the related section):
Before we dive into the specifics of media management with Python and Flask, you’ll need to sign up for Cloudinary. It’s quick and straightforward.
To get started with Cloudinary in your Python/Flask app, follow these steps:
- Install the Cloudinary Python library using
pip install cloudinary. - Configure Cloudinary in your Flask application, typically inside
app.pyor a separateconfig.pyfile:
# config.py or app.py
import cloudinary
import cloudinary.uploader
import cloudinary.api

cloudinary.config(
    cloud_name="your_cloud_name",
    api_key="your_api_key",
    api_secret="your_api_secret"
)Code language: PHP (php)Replace your_cloud_name, your_api_key, and your_api_secret with your actual Cloudinary credentials, which you can find on the API keys page of the Console Settings.
- If you’re using a
config.py, you’d load it in your Flask app like this:
from flask import Flask
import config  # or your preferred config structure

app = Flask(__name__)Code language: PHP (php)
With these steps, you’ve successfully integrated Cloudinary into your Flask project, and you’re ready to leverage its powerful media management capabilities.
Upload presets in Cloudinary help you automate your media workflow by applying transformations, metadata rules, and upload behaviors the moment a file arrives. This means less processing in your Flask routes and far more consistent results across all your media.
In this article, we’ll focus on two powerful capabilities you can unlock through presets: automated transformations and auto-tagging. You can explore many other preset options in Cloudinary’s documentation, but these two alone can dramatically simplify your media pipeline.
Upload presets allow you to automatically apply transformations such as resizing, cropping, recoloring, background removal, and more, without writing additional code in Flask. For example, you can create presets that remove backgrounds from uploaded logos, ensure all portfolio images are a consistent size, or sharpen older or lower-quality photos.
Each preset applies its rules automatically when the file is uploaded.
By applying the g_auto AI-powered transformation, you can ensure that crops preserve the important parts of your images and keep the main subject of your videos in focus.
By defining these settings once, every uploaded media file stays consistent and optimized with no manual editing or external image processing tools required.


If you enable auto-tagging through Cloudinary’s categorization engines, images are automatically analyzed and tagged based on their content. These tags can support a variety of downstream tasks, including:
- organizing assets
- improving searchability
- enabling content discovery
- powering filters in your UI or internal tools
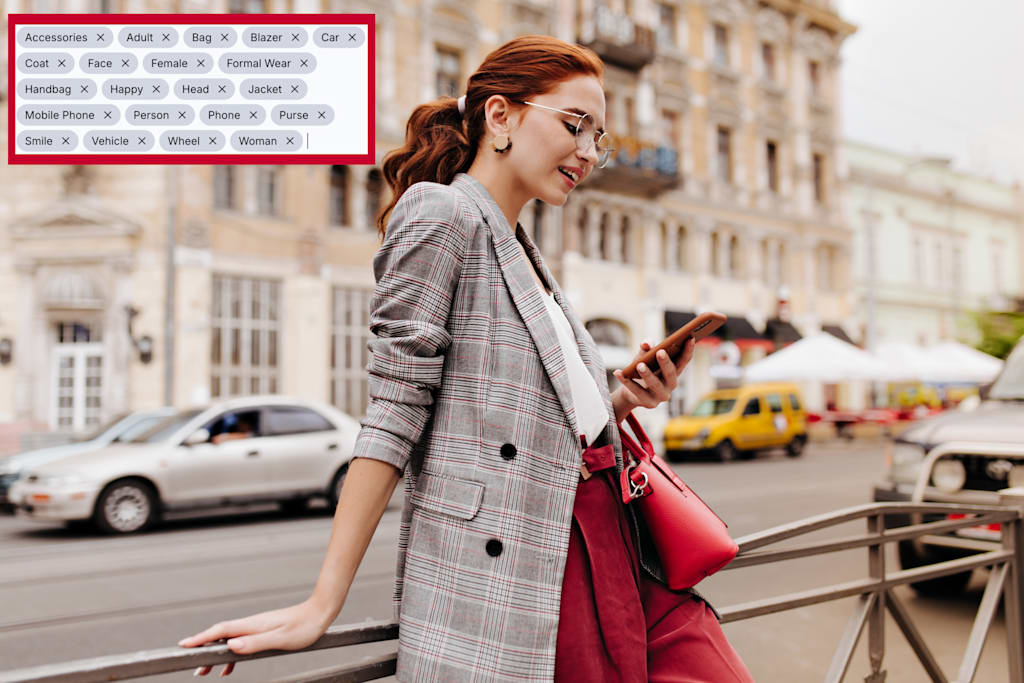
For example, an image of a woman on a city street using a smartphone and carrying a bag might receive tags such as “woman,” “bag,” “mobile phone,” “purse,” or “car,” depending on the AI model you use.
To use auto-tagging, you’ll need to subscribe to one of Cloudinary’s auto-tagging add-ons. The examples in this blog use the Rekognition Auto Tagging add-on.
Check out the Computer Vision Image Analysis for Your E-commerce Website demo to see Cloudinary in action, returning information about the content it identifies in your images.
You can create an upload preset using the Cloudinary Admin API right from your Flask application or a setup script. Here’s an example using the Python SDK:
# Define the upload preset details
upload_preset_name = "my_preset"
upload_preset_options = {
    "unsigned": False,
    "folder": "my_folder",
    "tags": "my_tags",
    "transformation": [
        {"width": 500, "height": 500, "crop": "fill"},
        {"effect": "vignette"},
    ],
    "categorization": "aws_rek_tagging",
    "auto_tagging": 0.9
}

# Create the upload preset using the SDK
upload_preset = cloudinary.api.create_upload_preset(
    name=upload_preset_name,
    settings=upload_preset_options
)

# Check if the upload preset was created successfully
if upload_preset.get("name") == upload_preset_name:
    print("Upload preset created successfully.")
else:
    print("Failed to create upload preset.")Code language: PHP (php)
Once created, simply reference the preset name during upload, and all rules will apply automatically.
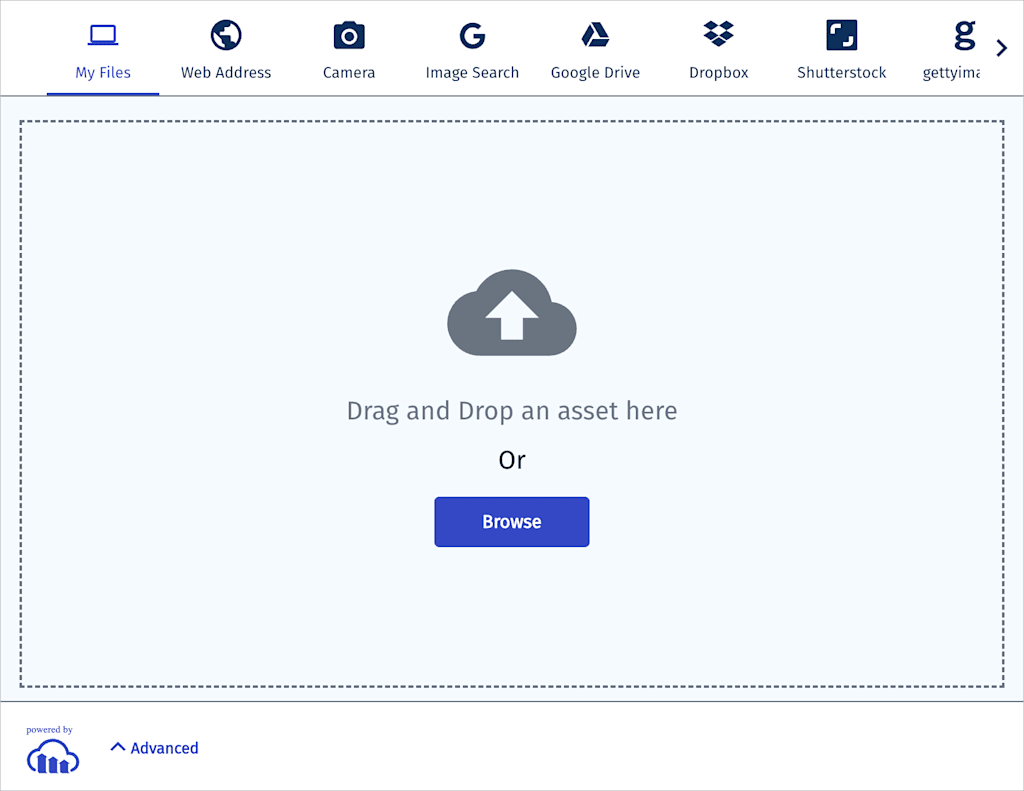
Uploading files is central to your Flask workflow, and Cloudinary provides two flexible methods: the Upload Widget for client-side uploads and server-side uploads from your Flask routes.
Let’s explore both.
If your app accepts user-generated content (UGC), such as portfolio images from creators or product photos submitted by small business owners, the Cloudinary Upload Widget provides a smooth, reliable upload experience directly from the browser. You can attach any upload presets you’ve created so transformations, optimization, tagging, and other processing happen automatically on upload, without additional Flask code.
You can also create a preset that automatically moderates user-uploaded images and videos to help ensure that the content appearing on your site is appropriate.
A portfolio gallery or a simple shop catalog where users can upload photos or videos is an ideal scenario for the Upload Widget. It handles the entire client-side upload flow, while your presets manage all media processing in the background.


- Create a route that renders the template:
# app.py
from flask import Flask, render_template

app = Flask(__name__)

@app.route("/upload-media")
def upload_media():
return render_template("upload_media.html")Code language: PHP (php)- Create the template (
templates/upload_media.html):
<!DOCTYPE html>
<html>
<head>
    <title>Media Upload</title>
</head>
<body>
    <button id="upload_widget" class="cloudinary-button">Upload files</button>

    <script src="https://upload-widget.cloudinary.com/global/all.js" type="text/javascript"></script>

    <script type="text/javascript">
        var myWidget = cloudinary.createUploadWidget({
            cloudName: 'my_cloud_name',
            uploadPreset: 'my_preset'
        }, (error, result) => {
            if (!error && result && result.event === "success") {
                const imageUrl = result.info.secure_url;
                console.log("Done! Here is the file info: ", result.info);

                // Optional: Send imageUrl to your Flask backend
                // fetch('/save-media', { method: 'POST', body: JSON.stringify({ url: imageUrl }) })
            }
        });

        document.getElementById("upload_widget").addEventListener("click", function() {
            myWidget.open();
        }, false);
    </script>
</body>
</html>Code language: HTML, XML (xml)- Add the URL rule (if not using decorators):
# app.py
app.add_url_rule("/upload-media", view_func=upload_media)Code language: PHP (php)- Test it by visiting:
http://localhost:5000/upload-mediaCode language: JavaScript (javascript)You now have a complete client-side upload flow, with Cloudinary handling media processing automatically.
Server-side uploads are perfect when you need automation or want to process files uploaded through a traditional <form>.
News aggregators, podcast platforms, or content curation apps often automate large-scale ingestion:
- analyze images
- apply tags
- create captions
- run moderation
- convert formats
Cloudinary can handle these tasks server-side with very little code.
from flask import request
import cloudinary.uploader

@app.route("/upload", methods=["POST"])
def upload():
    file_to_upload = request.files["file"]
    result = cloudinary.uploader.upload(
        file_to_upload,
        upload_preset="my_upload_preset"
    )
    return {"url": result["secure_url"]}Code language: JavaScript (javascript)
And that’s it. Your media is uploaded, transformed, stored, and ready to deliver.
Once your assets are stored in Cloudinary, especially with auto-tagging enabled, searching becomes incredibly fast.
Instead of digging through folders or writing custom queries, you can retrieve matching media with a single expression:
def search_media_by_tags(tags):
    return cloudinary.Search().expression(f"tags:{tags}").execute()Code language: JavaScript (javascript)
Example queries:
tags:portraittags:handmaderesource_type:video AND tags:nature
Use search to build quick admin dashboards, galleries, filters, or automated content workflows.
With Cloudinary managing your media, delivery becomes as powerful as upload. You can apply on-the-fly transformations directly in the image or video URL with no processing required in Flask.
<img
  src="{{ cloudinary_url(public_id, width=width, height=height, crop='fill') }}"
  alt="Your Image"
/>Code language: HTML, XML (xml)
Or, using the SDK:
from cloudinary.utils import cloudinary_url

url, options = cloudinary_url(
    public_id,
    width=400,
    height=300,
    crop="fill"
)Code language: JavaScript (javascript)- You don’t store multiple versions of each image
- Users automatically receive optimized formats (WebP, AVIF, MP4, etc.)
- Dynamic resizing keeps your site lightweight and fast
For responsive layouts, check out:
- Responsive images using HTML and dynamic image transformations
- Managing and delivering videos at scale.


In short, the features we’ve covered include upload presets, smart uploads, AI-powered search, and dynamic delivery. Apply these features to take managing media files in Flask from “painful but necessary” to “effortless and scalable.”
Instead of writing boilerplate logic for uploads, storage, and optimization, you can focus on building features your users care about.
Cloudinary was built for developers who ship fast, iterate often, and want tools that stay out of the way.


