What Is 3D Modeling From Images?
3D modeling from images is a technique that transforms two-dimensional images into three-dimensional models. This process is crucial in various industries, such as entertainment, product design, and eCommerce. Over the years, this technology has advanced, enabling the creation of detailed and realistic 3D models from basic 2D photographs.
The process utilizes photogrammetry software, which examines the images and identifies common points across them. These points act as reference markers, allowing the software to calculate the distance and angle between various elements in the images, ultimately constructing a 3D model.
This is part of a series of articles about image editing.
In this article:
- Use Cases for Creating 3D Model From Photos
- How to Create a 3D Model from an Image
- Best Practices for Creating 3D Models from Images
- Creating a 3D Model From Images with Cloudinary
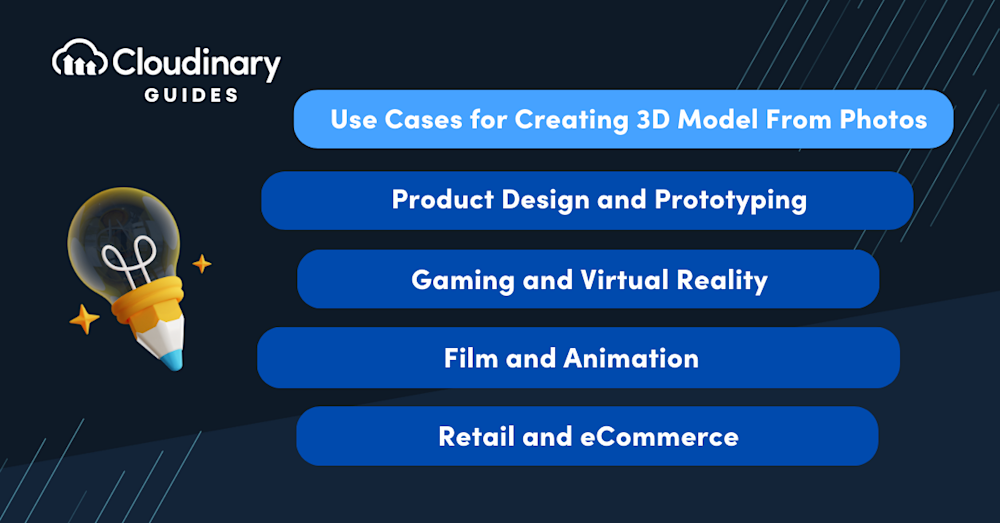
Use Cases for Creating 3D Model From Photos
Product Design and Prototyping
Designers can use photographs of existing products or prototypes to generate 3D models, which can then be used to analyze and improve the design. This process saves time and resources as it eliminates the need for physical prototypes at every stage of the design process.
AI-powered tools also offer a fast and automated way to generate 3D prototypes. For example, by selecting a style or category, AI tools can create initial drafts of product models that designers can refine further.
Additionally, 3D models generated from images can be used to create realistic and interactive product demonstrations. These virtual prototypes enable designers to examine their products in various simulated environments and test them under different usage scenarios.
As 3D printing technology evolves, designers increasingly use 3D models created from images to print physical prototypes. This way, they can quickly and affordably test their designs in real-world conditions.
Gaming and Virtual Reality
Game developers can use photographs of real-world environments or objects to create highly detailed and realistic 3D models for their games. This adds a level of authenticity and immersion that would be difficult to achieve with traditional 3D modeling techniques.
For rapid prototyping, tools like dual-camera setups or apps like PhotoCatch can help developers quickly capture objects in 3D from multiple angles, significantly reducing preparation time for game assets.
Similarly, the VR industry is leveraging 3D modeling from images to create virtual environments that mirror the real world. By using photographs to create 3D models, VR developers can ensure their virtual worlds are as realistic and immersive as possible.
Film and Animation
In film and animation, 3D modeling from images is used to create realistic and detailed 3D models of characters, environments, and props. This technique is especially useful in visual effects (VFX), allowing artists to create realistic 3D models of real-world objects or locations.
For instance, a VFX artist might use photographs of a real-world location to create a 3D model, which can be used as the basis for a digital set. This allows filmmakers to shoot scenes in places that would be difficult or impossible to access in real life.
Additionally, in animation, 3D modeling from images can be used to create realistic character models. By using photographs of real people or animals, animators can create 3D models that closely resemble their real-world counterparts.
Retail and eCommerce
Online retailers are now creating 3D models of their products, allowing shoppers to view and interact with them online. This enhances the shopping experience, making it more engaging and interactive, which can ultimately drive higher sales.
For example, a furniture retailer might use photographs of a sofa to create a 3D model, which shoppers can view from different angles, change the color or fabric, and even place in a virtual room to see how it would look.
Additionally, 3D models created from images can be used in AR applications, allowing shoppers to virtually place products in their homes before purchasing. This enhances the shopping experience and also helps to reduce returns.
How to Create a 3D Model from an Image
While the process might differ according to the specific tool and technique used, here are some general steps used to create 3D models from photos.
Step 1: Importing Images into Photogrammetry Software
The first step in creating a 3D model from images is to import your photographs into a photogrammetry software. Most modern photogrammetry software supports a range of image formats, including JPEG, PNG, TIFF, and RAW.
If you prefer using video, many photogrammetry tools also allow you to upload a 20-second video instead of individual images. This can simplify the process, especially for dynamic or complex scenes.
Once the images are imported, the software will begin analyzing them, looking for shared points between the different images. The software uses these shared points, also known as control points, to understand how the images relate in three-dimensional space.
Step 2: Setting Control Points and Aligning Images
After the images have been imported, the next step is to set control points and align the images. Control points are specific locations in the photos that the software uses to align them properly. These points are usually high-contrast areas or distinctive features clearly visible in multiple images.
After the control points are defined, the software aligns the images to generate an initial 3D model, referred to as a point cloud. This point cloud marks the positions of the control points in three-dimensional space, offering a basic framework of the object or scene being modeled.
Step 3: Building a Dense Point Cloud
A dense point cloud represents the images in greater detail. The software analyzes the images, identifies additional points, and fills in the gaps between the control points.
The result is a dense point cloud, a more detailed and accurate representation of the object or scene. This point cloud can be viewed from different angles, giving you a better sense of the three-dimensional structure of the object or scene.
Step 4: Generating the Mesh and Texture
The final step in creating a 3D model from images involves generating the mesh and texture. The mesh is a network of interconnected triangles that covers the surface of the point cloud, forming a solid 3D model. The texture is applied to the mesh’s surface, adding color and detail to give the model a realistic appearance.
Once the mesh and texture have been generated, the 3D model is complete. It can then be exported to a 3D format like OBJ, STL, and PLY. These are standard formats compatible with many 3D modeling and printing systems.
Pro Tip!Consider a 3D Asset Management
Generate an image from a 3D model, add shadows, change backgrounds and chain other effects like 3D animations or an AR/RD Viewer to display your models.
Best Practices for Creating 3D Models from Images
Here are a few best practices you can use to improve the quality and usefulness of your 3D models.
Clean up Artifacts and Noise
Artifacts and noise are undesired elements that can emerge in a 3D model during the early stages of modeling. These issues can arise from various factors, such as low-quality reference images, incorrect settings in the modeling software, or errors in the initial modeling process.
Cleaning up artifacts involves identifying and eliminating unwanted elements from the model. While this process can be time-consuming, it’s essential for ensuring a clean and high-quality result. Noise refers to random fluctuations in color or brightness within an image, which can be minimized using noise reduction filters or techniques in 3D modeling software.
Smooth Surfaces and Fill in Gaps
Smoothing surfaces involves refining the model’s geometry to remove any rough edges or jagged surfaces. This helps to create a more realistic and visually appealing model.
Filling gaps is about identifying and filling any holes or gaps in the model. These gaps can occur during the initial modeling process and disrupt the model’s overall shape and appearance. Filling these gaps not only enhances the visual appeal of the model but also ensures its structural integrity.
Leverage Texture Mapping and UV Unwrapping
Texture mapping is a method that allows a 2D image to be wrapped around a 3D object. It’s like applying paint to a car or wallpaper to a wall. It gives the object color, detail, and realism. However, to apply a 2D image to a 3D object, we first need to unwrap the 3D object into a 2D surface. This process is known as UV unwrapping.
UV unwrapping can be a complex process, as it involves deciding how to ‘cut’ the 3D model and ‘flatten’ it into 2D while maintaining the correct proportions and avoiding distortion. Once the model is unwrapped, the 2D image, or texture, can be applied. Proper texture mapping and UV unwrapping are crucial to creating a realistic and visually appealing 3D model.
Use Sculpting and Retopology Techniques
Sculpting is a technique in 3D modeling that allows artists to shape and mold their models like clay. It’s a powerful tool that offers a high degree of control and flexibility, enabling artists to create intricate details and realistic features on their models.
Retopology, on the other hand, is the process of redefining the mesh topology of a 3D model. This can be necessary after sculpting, as the process can often create a dense and complex mesh that can be difficult to work with. Retopology simplifies this mesh, making it easier to animate, texture, and render the model.
Create 3D product Visuals with Dimensions
Whether you are using advanced photogrammetry or exploring consumer-friendly tools, Dimensions by Cloudinary offers seamless integration to turn your models into engaging visual assets.
Dimensions by Cloudinary helps eCommerce brands turn 3D models into engaging photos, videos, and 3D content powered by Cloudinary technology.
As an innovative content creation tool, Dimensions revolutionizes how eCommerce brands convert 3D models into captivating visuals. Brands can build immersive product configurators, enhancing user engagement and significantly improving the online shopping experience.
Simply upload the 3D models, generate your assets, and integrate them into your website or app. You can use Dimensions in creating product configurators, giving life to your product pages and creating an immersive online space that customers will love to explore.
Start creating high-impact visuals today. Improve your customer experience, streamline your operations, and boost your online sales effectively. Experience a new dimension in product visualization by exploring the capabilities of Dimensions by Cloudinary now.


