
Job searching can be tough, and so is standing out among the competition.
When putting together job applications, there’s always that question: How should I describe myself? Will potential employers care more about past experience or a list of skills? A digital portfolio answers that question in a way a résumé alone can’t. It shows what you’re actually capable of.
That’s why I put together this digital portfolio demo project.
Instead of talking about performance, polish, and visual quality in theory, I wanted to demonstrate what that looks like in practice. This portfolio is built the way I’d recommend anyone build one today: fast, visually sharp, and optimized from the start.
In this guide, I’ll walk you through how I build a frontend portfolio project using Cloudinary to handle all the image and video magic. No endless hours in Photoshop. No massive file sizes. And, no manual resizing for every device.
Before diving into the code, you can check out the live portfolio demo here:
Feel free to explore it, then come back and see how everything works under the hood.
Building a great-looking digital portfolio is a no-brainer. However, the real question is: How do you make yours stand out? One of the biggest differentiators is focusing on performance and visual polish. When your portfolio feels fast, smooth, and thoughtfully built, it immediately comes across as more professional.
And when you build it efficiently, you’re also signaling to future employers that you know how to work efficiently:
- Deliver images that load fast but look crisp.
- Make videos that play smoothly without eating bandwidth.
- Create responsive layouts that look perfect on every device.
- Apply visual effects that make content pop.
- Optimize everything without sacrificing quality.
So really, building a great portfolio is just practice for the real thing. And that’s pretty cool.
For my portfolio, I went with tools that are popular in the industry and honestly just fun to work with:
- React 19 with TypeScript for type safety and component architecture.
- Vite for lightning-fast development and optimized builds.
- CSS for beautiful, responsive styling.
- Cloudinary for all image and video transformations.
Feel free to clone my code and adapt it to whatever you’re used to working with.
I’m sharing my portfolio with you as a starting point. Once you get a feel for how it works, you can customize the design to match your style and add sections that show off what matters to you.
# Clone the starter portfolio repo
git clone https://github.com/your-username/digital-portfolio.git

# Install dependencies
cd digital-portfolio
npm install

# Start the development server
npm run devCode language: PHP (php)
I’m excited to see how you make it your own.
A portfolio that stands out needs to be fast, visually sharp, and responsive across devices.
Without automation, that usually means resizing images manually, generating multiple breakpoints, compressing files carefully, and managing large video assets.
Cloudinary handles image and video delivery, optimization, and transformations through simple URL parameters. In this project, cropping, resizing, blur effects, format conversion, and quality optimization are all applied directly in the media URLs.
Transformations run on the fly, and the right size and format are delivered automatically for each device and browser.
Instead of maintaining multiple asset versions or editing files manually, I define the transformation once and move on, without sacrificing quality or performance.
This project uses Cloudinary’s demo account (res.cloudinary.com/demo) with sample images and videos, so it works out of the box. When you’re ready, switch to your own Cloudinary account to display your own images and videos.
Sign up for a free Cloudinary account (the free tier is more than enough for a portfolio).
After logging in, copy your cloud name from the dashboard. You’ll use it in URLs like this:
https://res.cloudinary.com/<your_cloud_name>/image/upload/<public_id>Code language: HTML, XML (xml)In your project, change this:
// Set this to your cloud name when you're ready to use your own media
const CLOUDINARY_CLOUD_NAME = 'demo'Code language: JavaScript (javascript)
…to your cloud name:
const CLOUDINARY_CLOUD_NAME = '<your_cloud_name>'Code language: JavaScript (javascript)That’s it. Since CLOUDINARY_BASE is built from CLOUDINARY_CLOUD_NAME, all image/video URLs that use CLOUDINARY_BASE will automatically point to your account.
In your code, you reference assets using public IDs — for example:
image: 'docs/profile-pic'Code language: JavaScript (javascript)That means Cloudinary is looking for an asset with the public ID docs/catwalk in your cloud.
After you upload your own images/videos to Cloudinary, replace those image values with your own public IDs, for example:
image: 'portfolio/catwalk'Code language: JavaScript (javascript)You don’t need to change the transformations.
Everything in the URL after /upload/ (like c_fill,g_auto,h_400,w_600/f_auto/q_auto) can stay the same.
For the testimonials section, I needed consistent circular profile images that focused tightly on each person’s face.
Here’s the original image:
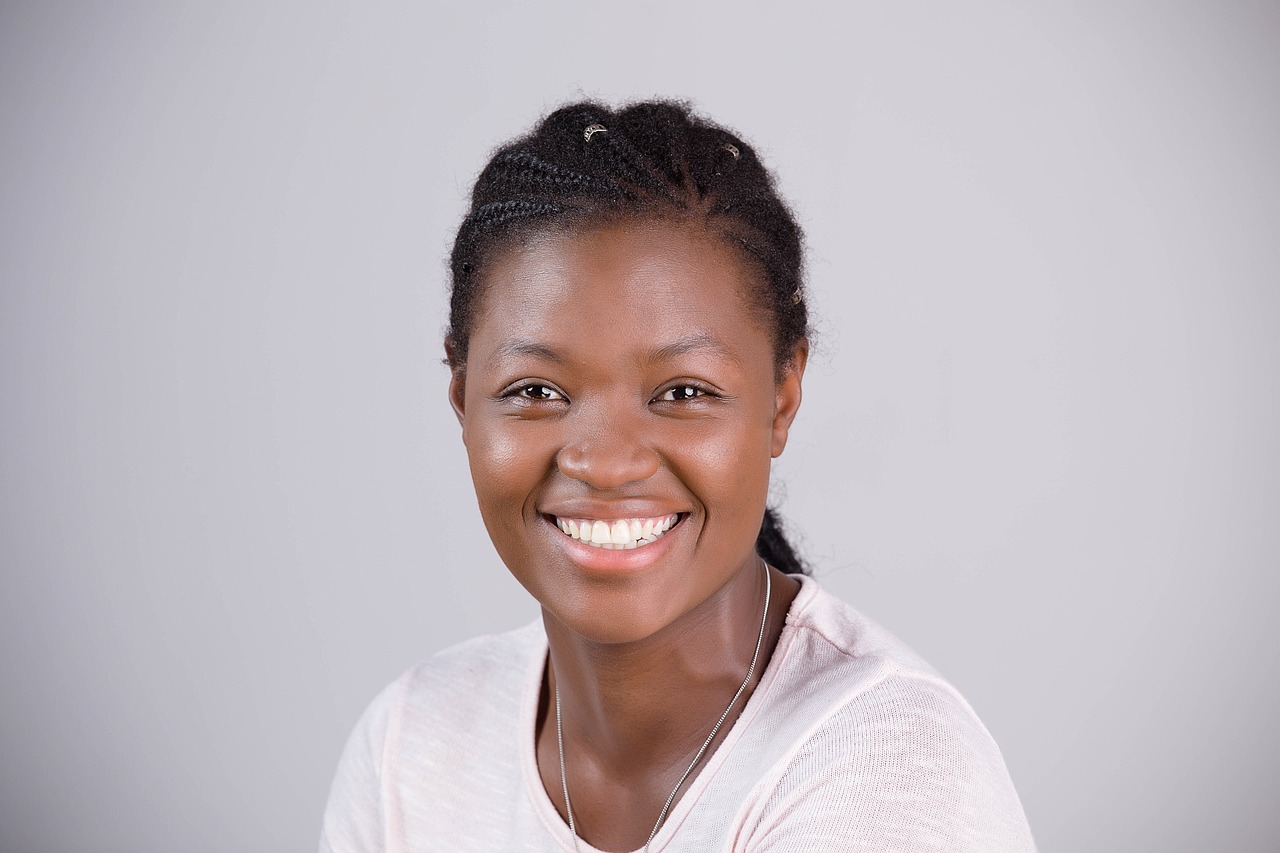
docs/profile-pic.jpg
And here’s the transformed version:
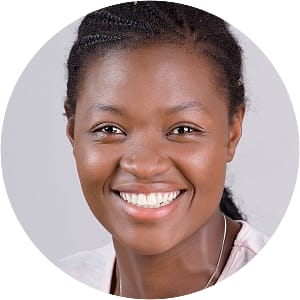
demo/image/upload/
c_thumb,g_face,h_300,w_300/
r_max/e_sharpen:80/
f_auto/q_auto
/docs/profile-pic.jpg
c_thumb,g_faceautomatically detects the face and crops around it.h_300,w_300enforces a fixed square size.r_maxmakes the image circular.e_sharpen:80restores clarity after resizing.f_auto,q_autohandle format and compression.
The result isn’t just a circle. It’s a consistent 300×300 headshot, centered correctly every time — regardless of how the original photo was framed.
That means no manual cropping, guessing focal points, or layout inconsistencies.
For the hero section, I wanted a full-width background image that wouldn’t compete with the foreground content.
Original image:
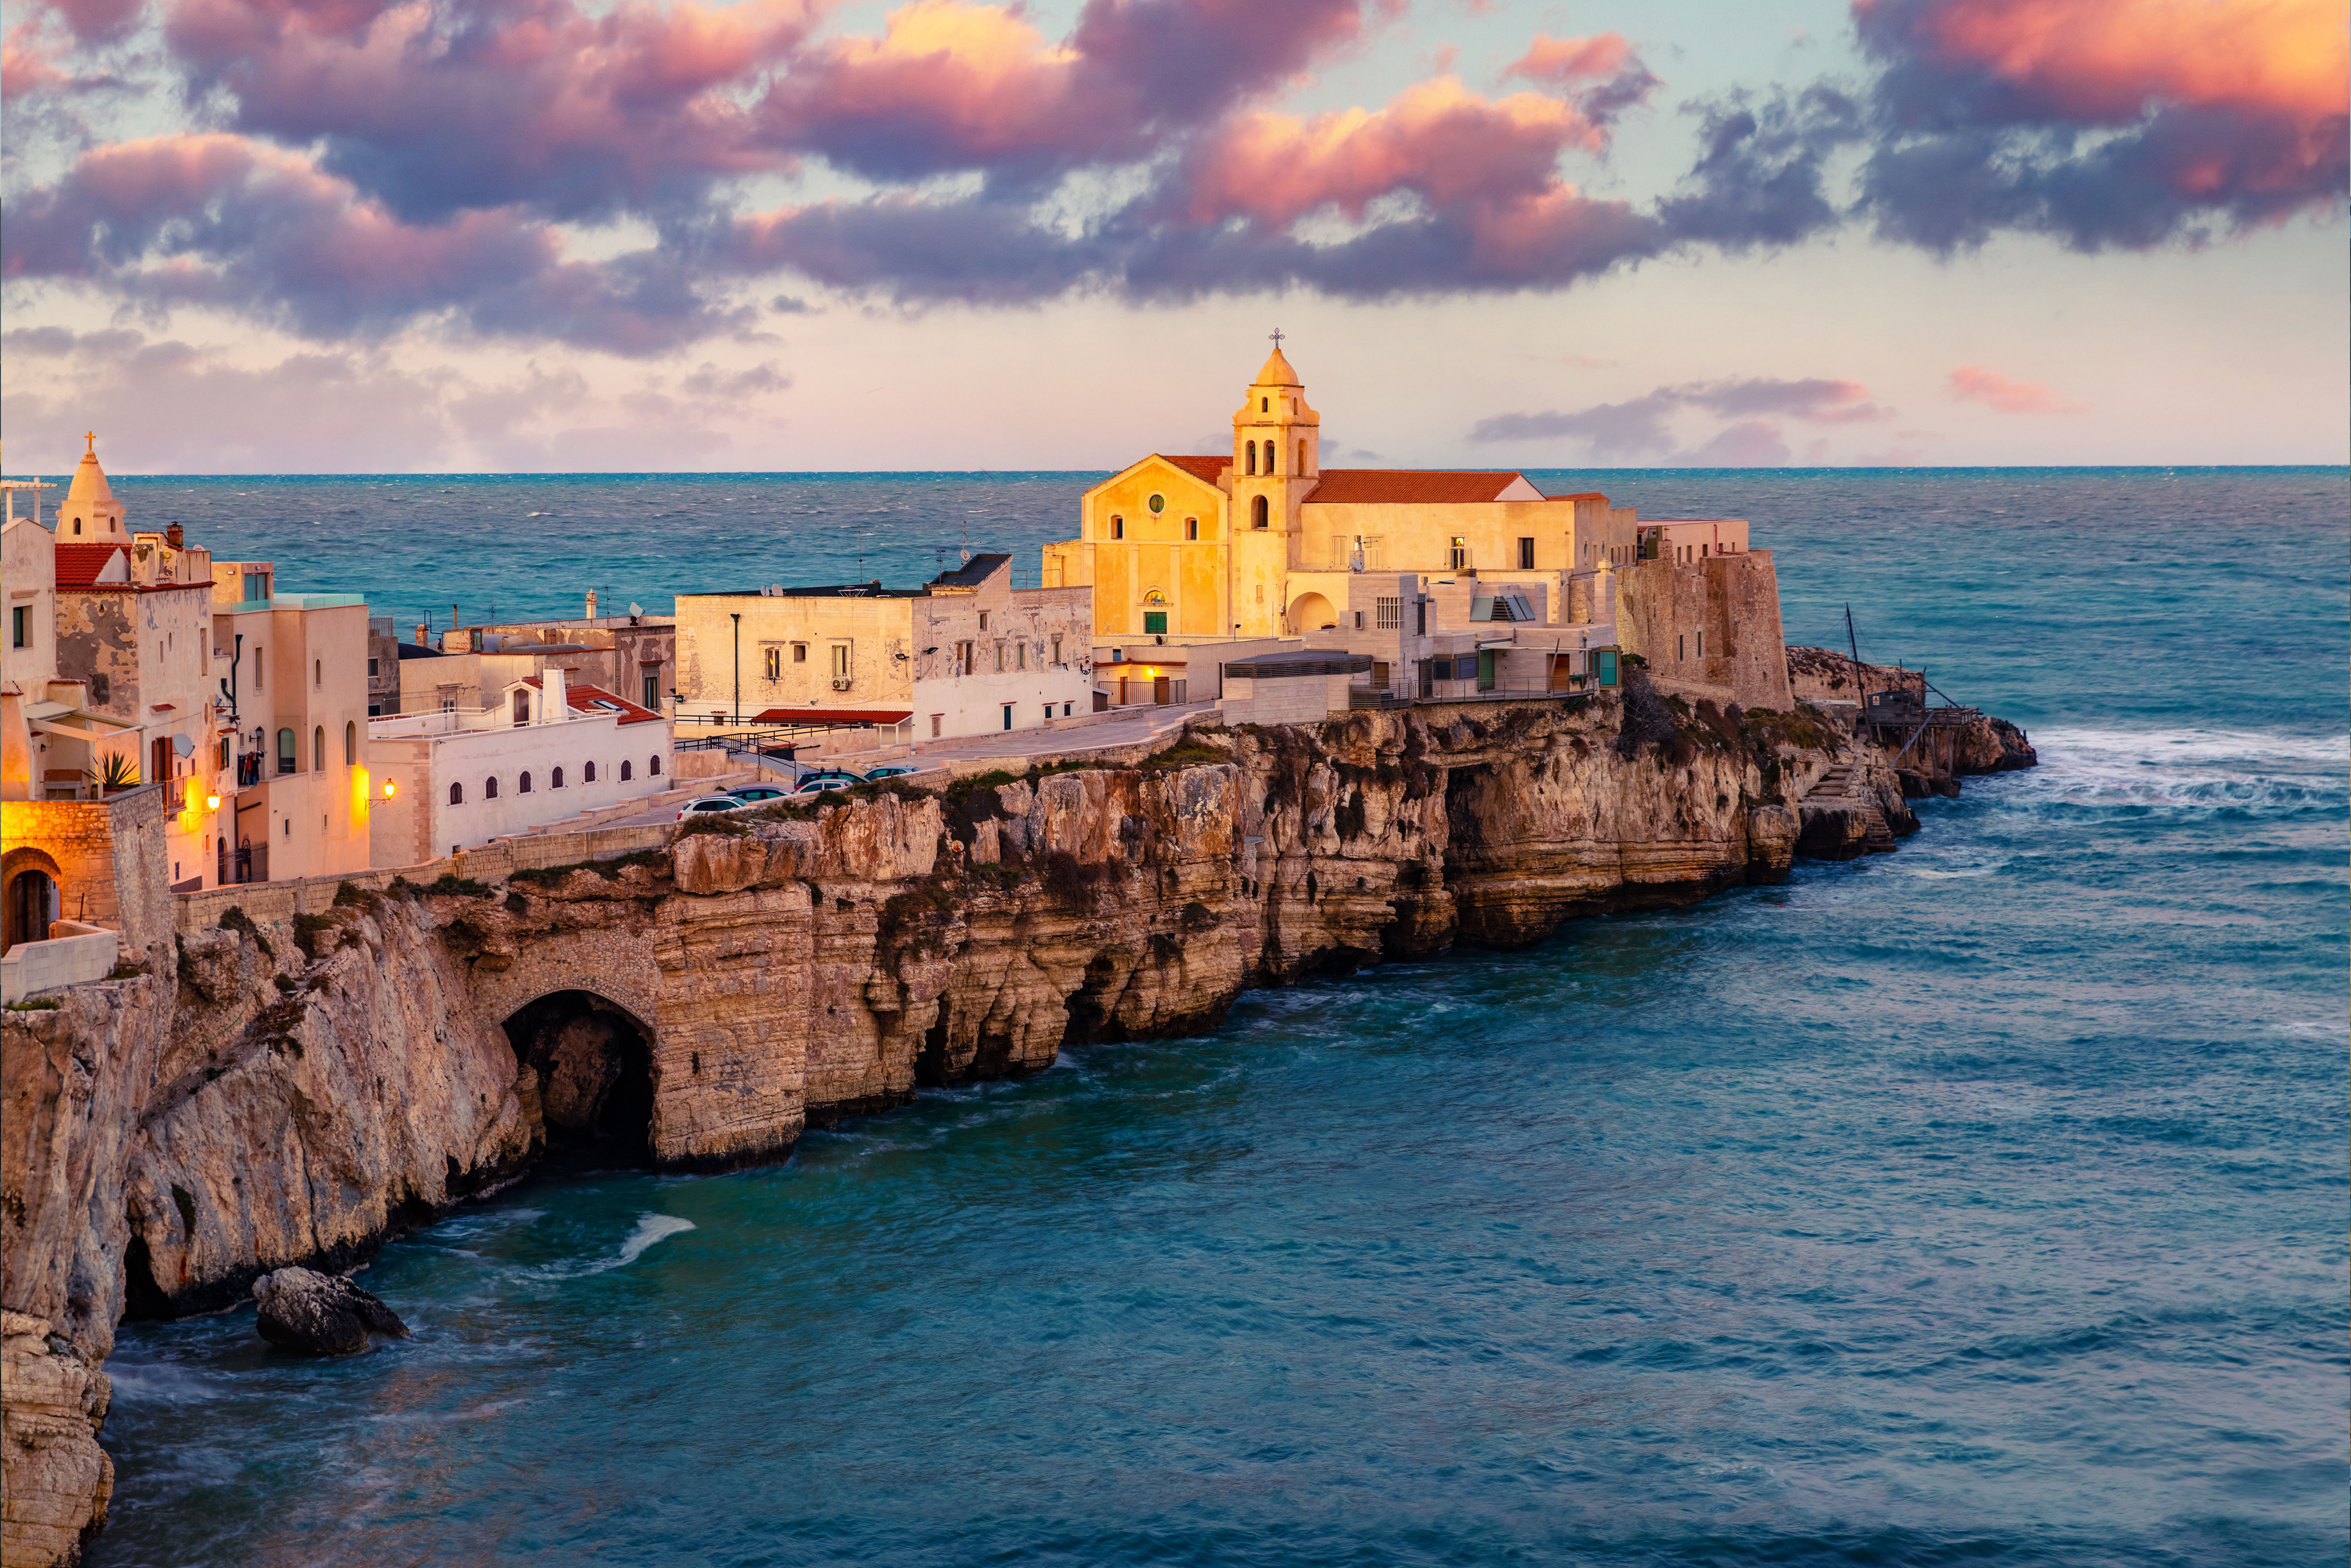
Transformed version:

c_fill,g_auto,h_1080,w_1920/e_blur:800/f_auto/q_auto/
vieste_italy.jpg
c_fill,g_autocrops intelligently to 1920×1080.e_blur:800applies a strong blur effect.f_auto,q_autooptimize delivery.
The original image is detailed and high contrast — great for photography, not ideal for text overlays.
By blurring it at delivery time, I keep the color and atmosphere while removing visual noise. The background supports the content instead of competing with it. No separate “blurred copy” of the file is needed.
For the hero portrait, I wanted a clean, high-quality look — even if the source image wasn’t studio-perfect.
Original:

docs/profile-pic1.jpg
Transformed:

c_fill,g_face,h_300,w_300/r_max/e_improve/
bo_8px_solid_rgb:0f172a/
f_auto/q_auto:best/docs/profile-pic1.jpg
g_facecenters the subject.r_maxapplies a circular crop.e_improveenhances lighting and contrast using AI.bo_8px_solid_rgb:0f172aadds a clean border.q_auto:bestbalances compression with quality.
The enhancement isn’t dramatic — it’s subtle. Skin tones are more balanced, contrast is cleaner, and the framing is consistent.
It looks like a designed component, not just an uploaded image.
In my project grid, the source images came from different industries — fashion, e-commerce, outdoor photography — all with different aspect ratios.
Here’s one of the original images:
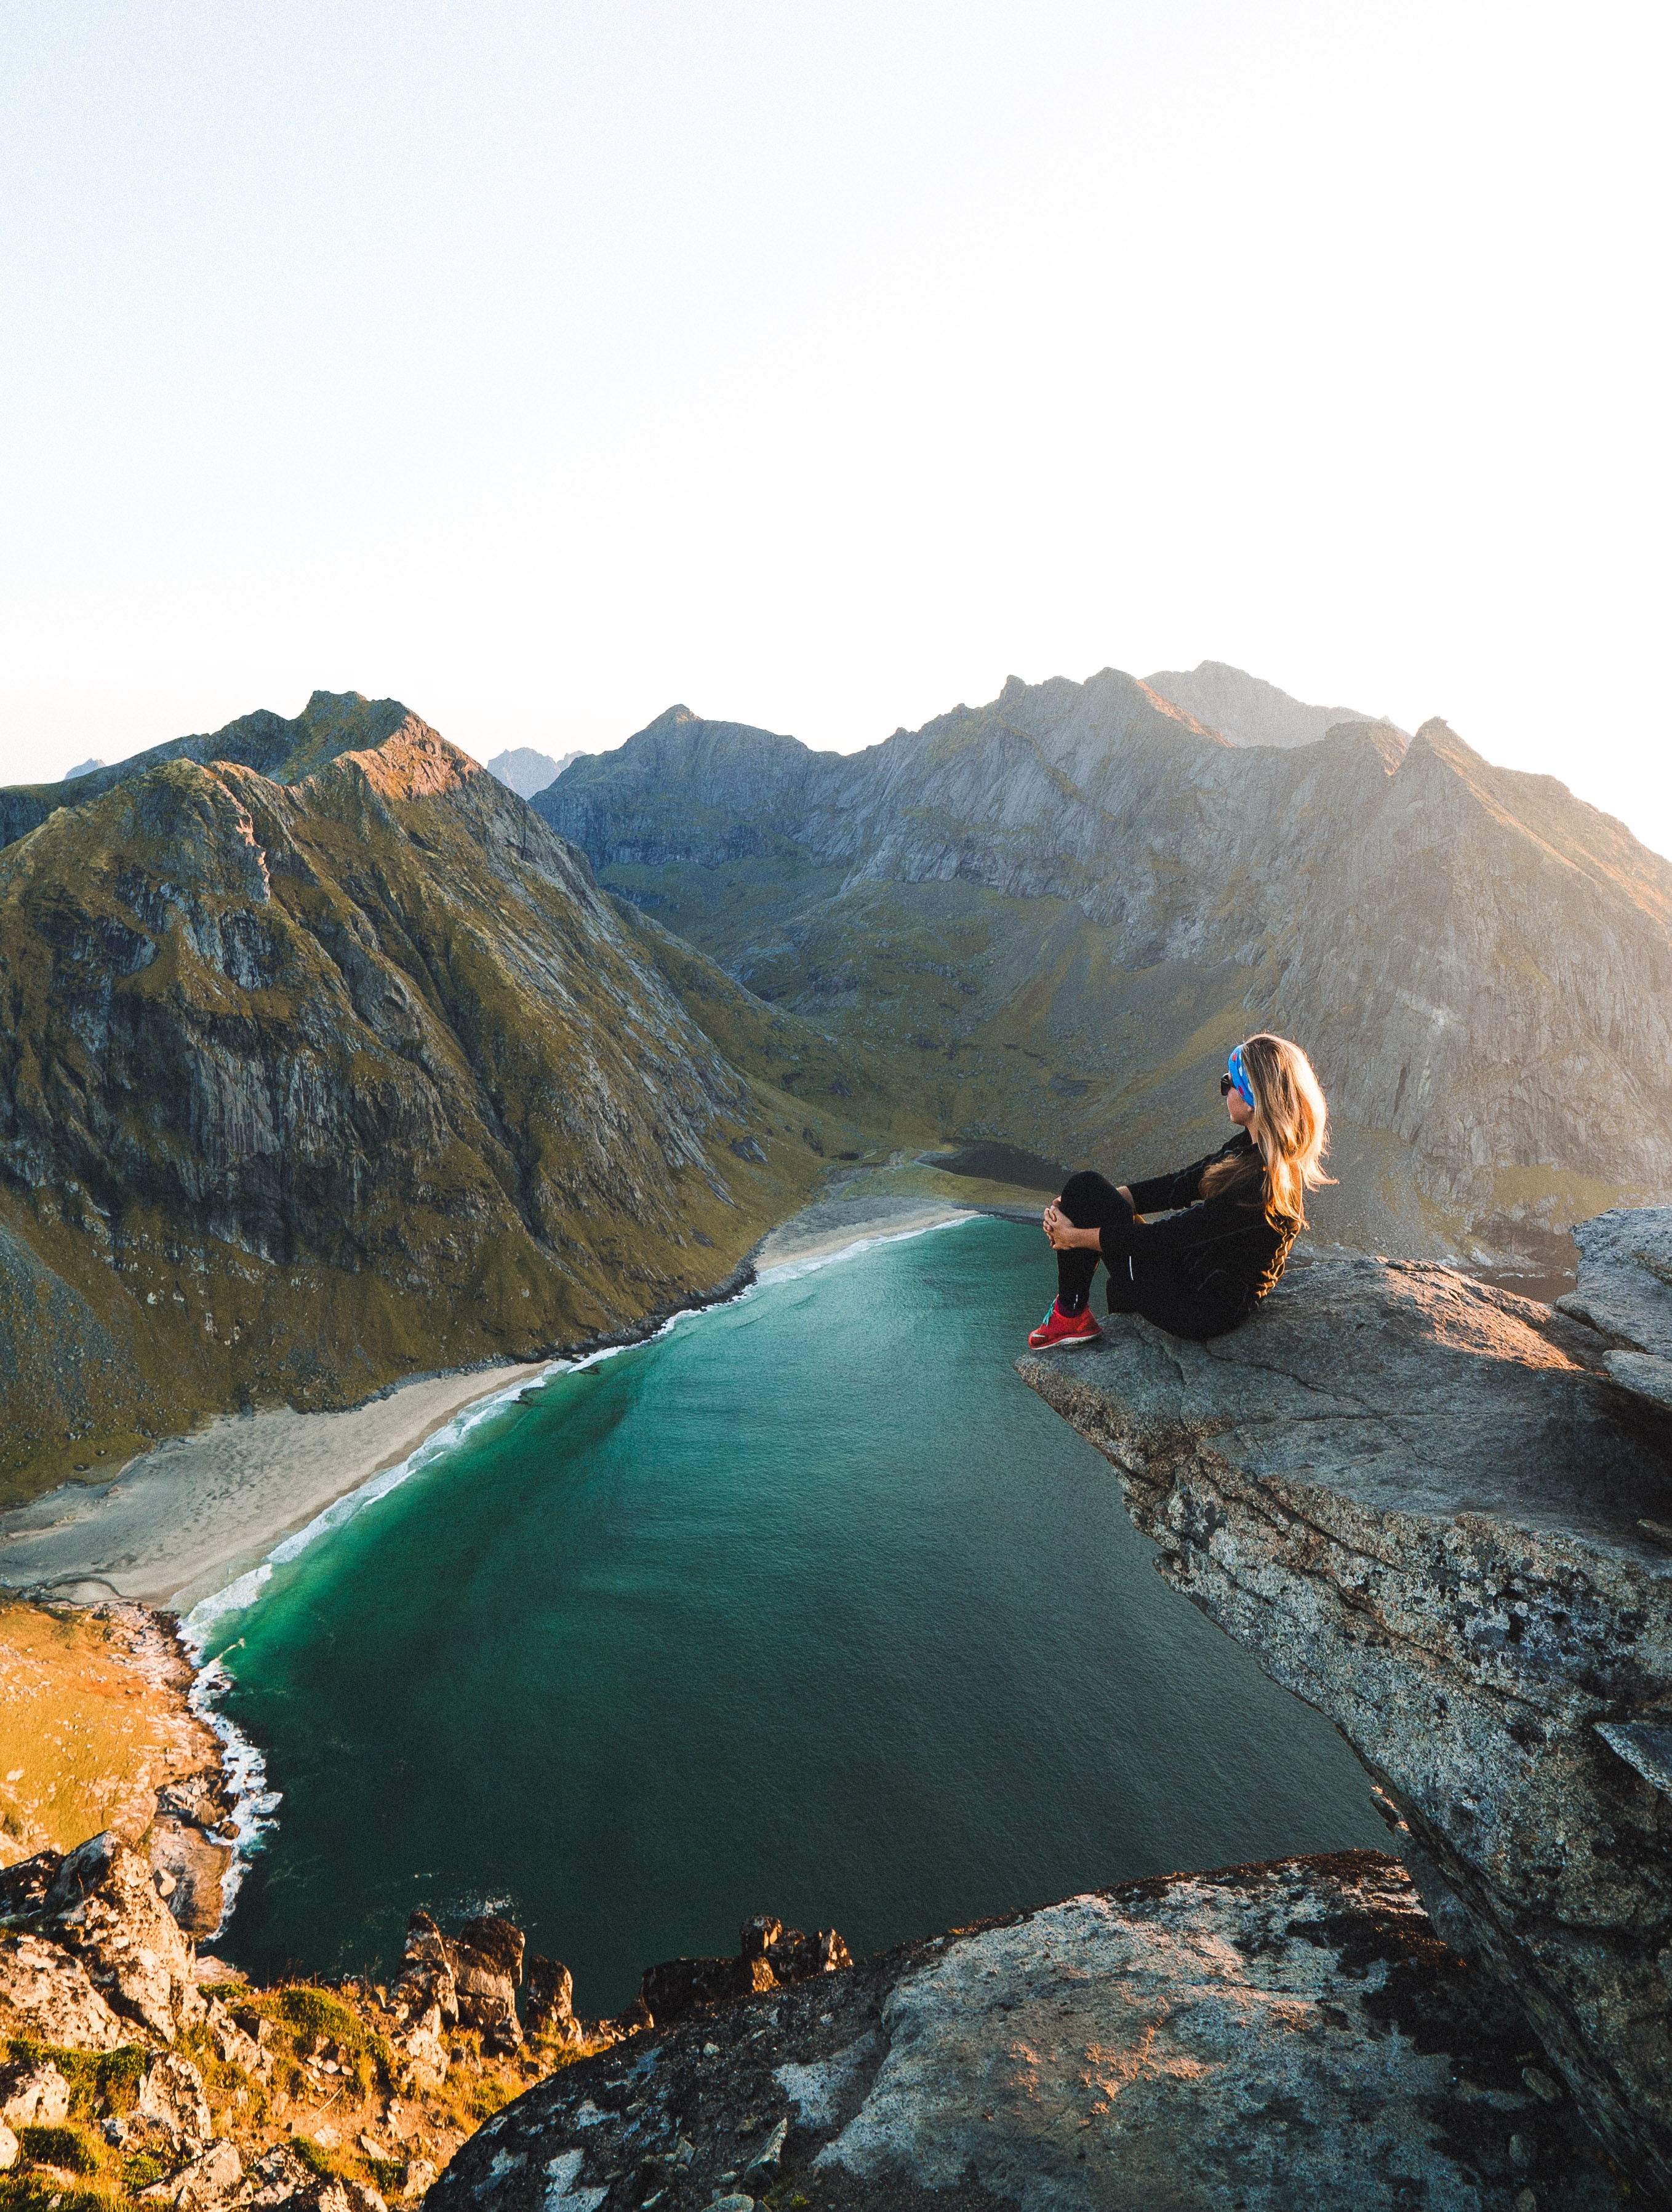
woman_mountain_ledge.jpg
And here’s the version used in the grid:
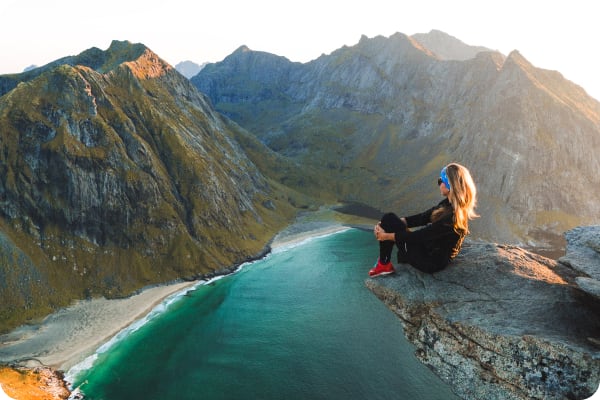
c_fill,g_auto,h_400,w_600/r_20/e_saturation:20/
f_auto/q_auto/
woman_mountain_ledge.jpg
c_fill,h_400,w_600forces a consistent 600×400 frame.g_autointelligently selects the focal area.r_20adds rounded corners.e_saturation:20slightly boosts color.f_auto,q_autooptimize delivery.
The original image has its own natural proportions.
The transformed version guarantees:
- Every card in the grid is exactly the same size.
- No distortion.
- No manual cropping.
- No awkward whitespace.
Even though the source images vary wildly, the layout stays predictable and clean. That’s what makes the grid feel cohesive.
Video is usually where portfolios fall apart. Files are large, aspect ratios are inconsistent, and playback isn’t optimized.
Here’s the original full video:
https://res.cloudinary.com/demo/video/upload/v1731855790/guy_woman_mobile.mp4Code language: JavaScript (javascript)And here’s the version used in the portfolio:
https://res.cloudinary.com/demo/video/upload/so_133,eo_147/c_pad,h_400,w_600/b_rgb:d4a520/f_auto/q_auto/v1731855790/guy_woman_mobile.mp4Code language: JavaScript (javascript)so_133,eo_147trims the clip to a specific 14-second segment.c_pad,h_400,w_600fits it into a 600×400 frame without cutting off content.b_rgb:d4a520fills extra space with a consistent background color.f_auto,q_autooptimize format and compression.
Instead of uploading a separately edited clip, I trim and resize at delivery time.
That means:
- The video is shorter and lighter.
- The layout dimensions are guaranteed.
- There are no black bars.
- The browser gets the best possible format automatically.
It behaves like a designed component — not a raw media file dropped onto a page.
Once layout and performance were handled, I added subtle refinements.
Here’s the original image:
And here’s the polished version:

c_fill,g_auto,h_800,w_700/e_vignette:30/e_sharpen:100/
r_20/bo_1px_solid_rgb:e0e0e0/
f_auto/q_auto/docs/profile-pic1.jpg
c_fill,g_autoenforces consistent framing.e_vignette:30darkens the edges slightly.e_sharpen:100restores clarity.r_20rounds the corners.bo_1px_solid_rgb:e0e0e0adds a subtle border.f_auto,q_autooptimize delivery.
None of these effects are dramatic, but together they:
- Improve edge definition.
- Add separation from the background.
- Standardize presentation across sections.
These are small adjustments, but they’re the difference between “image placed on a page” and “designed component.”
You might be thinking, “All these effects must slow things down, right?” Actually, the opposite!
With Cloudinary:
- 70-80% smaller file sizes compared to unoptimized images.
- 3-5x faster loading thanks to automatic optimization.
- Zero manual editing time.
- Automatic device optimization — phone users get mobile-sized images, desktop users get high-res.
When someone views your portfolio on their phone, they automatically get perfectly-sized images. On a 4K monitor, they get crisp, detailed versions. It just works.
Notice how much this image was optimized and what that means for your website stats and loading time! Reduced from a 21.30 MB JPG to a 18.26 KB AVIF.

Here’s what I love about this whole process: The skills you use to build an impressive portfolio are the same skills you’ll use every day in your job.
When you build this portfolio, you’re learning how to:
- Build modern React applications with TypeScript.
- Create responsive, mobile-first designs.
- Optimize images and videos for real-world performance.
- Use cloud services to solve practical problems.
- Write clean, maintainable code.
- Think about user experience.
Your portfolio becomes a preview of what you can do. So, you’ve shown you can build websites that look great, load fast, and feel professional. That’s exactly what teams are looking for.
Making a portfolio that stands out doesn’t have to be complicated or stressful. It’s really about:
- Polish that shows you care about details.
- Performance that respects people’s time.
- Smart visual choices that guide the eye.
- Responsive design that works everywhere.
- Using the right tools (like Cloudinary) to make your life easier.
If you’re job searching right now, I hope this helps. You’ve got this.
Resources:
- Live demo: https://stackblitz.com/github/cloudinary-devs/digital_portfolio?file=README.md
- Source code: GitHub repository
- Cloudinary docs: https://cloudinary.com/documentation


