Videos are a great way to engage your audience. Not only are they fantastic visual aids,but they can also capture your user’s interest and keep them on your site for longer. This is especially true when it comes to eCommerce sites and companies trying to show off their brand. And by adding custom video overlays, you can keep these videos fresh and new every time.
However, hiring a video editor for constant tasks can be costly. Making a ton of edits to your company’s videos for every specific use case for your videos can get tedious and time-consuming.
In this tutorial, we’ll show you how to use the Cloudinary platform to add video overlays to videos with Node.js.
In this article:
Creating our Application
We’ll be using Node.js for this guide, so make sure you’ve got it installed. We advise you to download the LTS version as it’s the more stable version at this time.
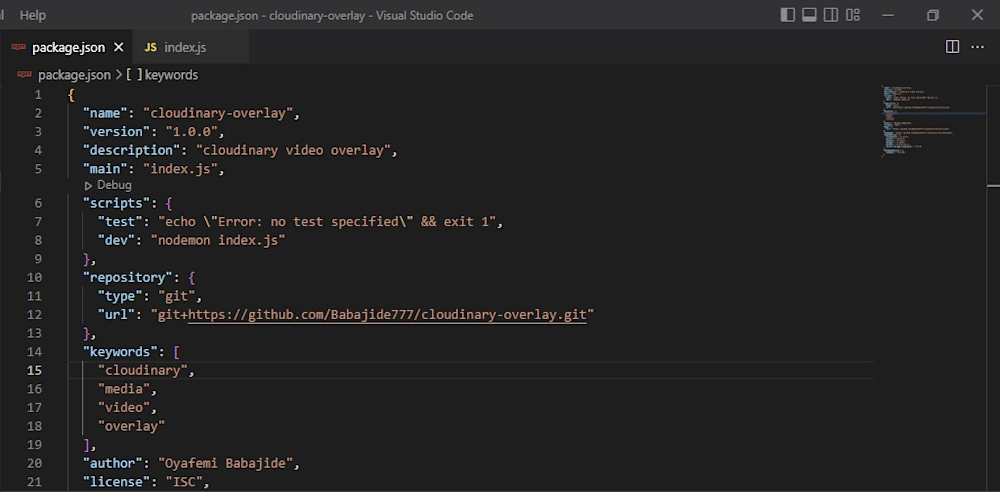
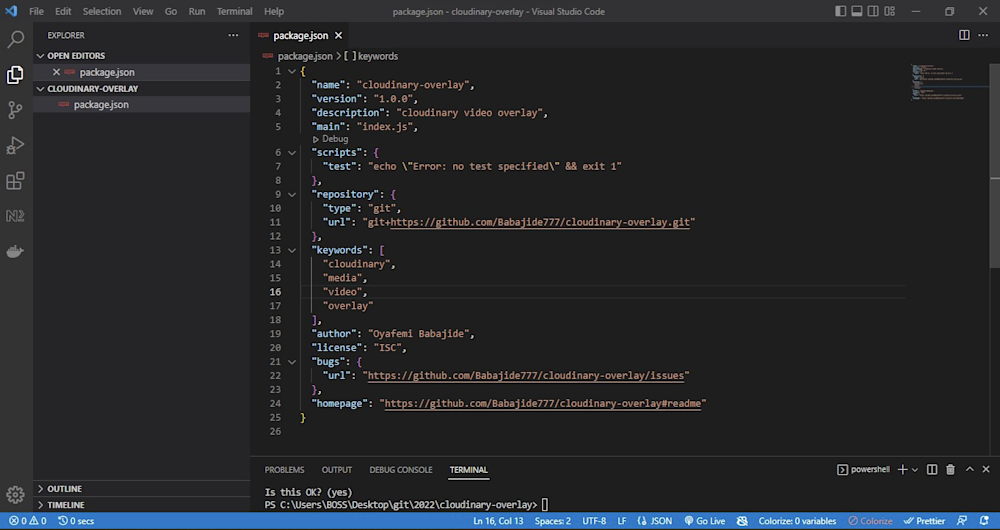
Create a “cloudinary-overlay” folder and initialize npm to generate a package.json file.
npm init
Then, we are going to install all the required packages at once by running the following line of code:
npm i express cloudinary morgan dotenv express-formidable-v2
The packages that are installed using this line of code include:
- ExpressJs: A minimalist Node framework that is used for building RESTful APIs
- Cloudinary: The Cloudinary Node SDK allows us to connect to their API within Node
- Express-formidable-v2: A Node middleware that is used for handling multipart/form-data (files like images and videos)
- Morgan: Another Node middleware that is used for logging HTTP requests.
- Dotenv: Used to load environment variables from an .env file
We also suggest you download and use nodemon, for ease of use with Node. While it is not required, having it while still working on the backend is nice, so the server restarts automatically when changes are made.
After we have our basics installed, we need to create an index.js file with the following code:
const express = require("express");
const morgan = require("morgan");
const app = express();
require("dotenv").config();
const PORT = process.env.PORT || 4000;
app.use(morgan("dev"));
app.get("/", (req, res) => {
  res.send("Cloudinary Video Overlay Tutorial ");
});
app.listen(PORT, () => { console.log(`Server listening on port ${PORT}`); });
If you installed nodemon as a dev dependency, you’ll need to add this code to “scripts” in your package.json:
"dev": "nodemon index.js"
And now, we run the application. If you installed nodemon, use their command to start your server. Otherwise, use:
npm run dev

Setting Up Cloudinary
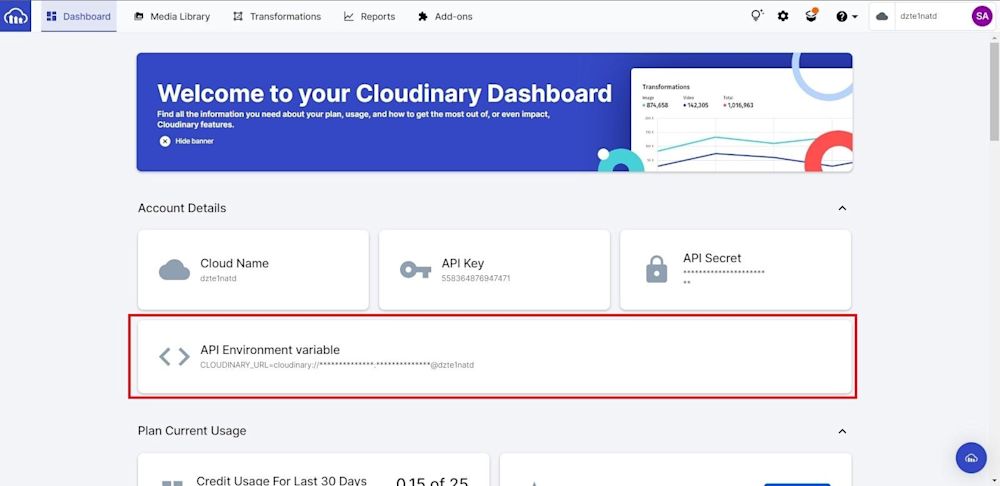
After that’s all done, we’ll need to integrate Cloudinary. If you don’t have an account, you can sign up for a free one. Then, log in and retrieve your Cloudinary cloud name, API key, and API secret from the dashboard:
You’ll also need to create an .env file in the root folder and store the credentials as environmental variables. Then, create a “cloudinary.js” file with the following code:
Create a “cloudinary.js” file and set it up with the following code:
const cloudinary = require("cloudinary").v2;
cloudinary.config({
  cloud_name: process.env.CLOUDINARY_CLOUD_NAME,
  api_key: process.env.CLOUDINARY_API_KEY,
  api_secret: process.env.CLOUDINARY_API_SECRET,
  secure: true,
});
We’ll need to add some videos to our Cloudinary account to get us started. In “cloudinary.js” in the “config” folder, insert this code to upload the video:
const cloudinaryVideoUpload = (file) => {
  return new Promise((resolve, reject) => {
    cloudinary.uploader
      .upload(file, {
        resource_type: "video",
        allowed_formats: ["mkv", "mp4"],
      })

      .then((result) => {
        resolve(result.public_id);
      })
      .catch((error) => {
        reject(error);
      });
  });
};
Then this code to upload the image:
const cloudinaryImageUpload = (file) => {
  return new Promise((resolve, reject) => {
    cloudinary.uploader
      .upload(file)
      .then((result) => {
        resolve(result.public_id);
      })
      .catch((error) => {
        reject(error);
      });
  });
};
Then, we’ll use this code to add the image as an overlay to our video:
const videoTransfrom = (vid, img) =>
  cloudinary.video(vid, {
    transformation: [
      {
        overlay: img,
        width: 200,
        height: 200,
      },
    ],
  });
Next, we will use express-formidable-v2 as a middleware in the route to send images and videos. We called the route “upload,”:
app.use(formidable({ multiples: true,}));
Then, create an UploadController.js file in the controllers folder to retrieve the image and video. Use the following code to upload these to Cloudinary and create the overlay:
const {
  cloudinaryVideoUpload,
  videoTransfrom,
  cloudinaryImageUpload,
} = require("../config/cloudinary");
const pictureUpload = async (req, res) => {
  if (req.files !== undefined) {
    try {
      const vid = await cloudinaryVideoUpload(req.files.video.path);
      const pic = await cloudinaryImageUpload(req.files.picture.path);
      const transformedVid = videoTransfrom(vid, pic);
      res.status(200).json({
        sucess: true,
        video: transformedVid,
      });
    } catch (error) {
      console.log(error);
      res.status(400).json({
        sucess: false,
        error,
      });
    }
  }
};

module.exports = {
  pictureUpload,
};
This is what our code is doing: we grabbed the path of the parsed video and uploaded it to Cloudinary using “cloudinaryVideoUpload”. We do the same thing for the image using the “cloudinaryImageUpload”. Both functions return the Public ID (the name of an asset stored in Cloudinary) of the video and image, which is then given the “videoTransfrom” function to create an overlay of the image on the video.
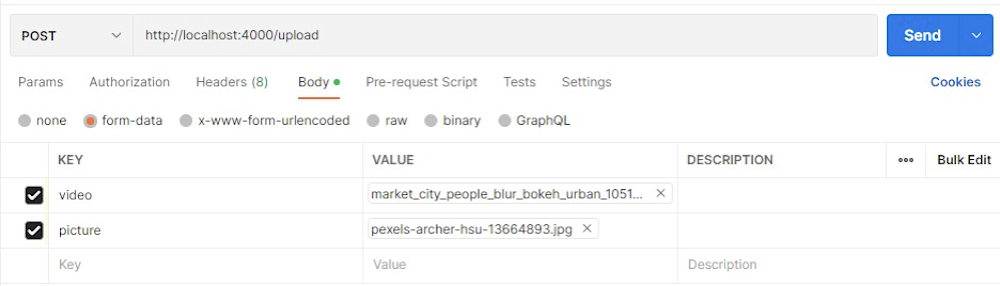
We can use Postman to send a test request to the server. A request is sent to the “upload” route with the video and image attached.
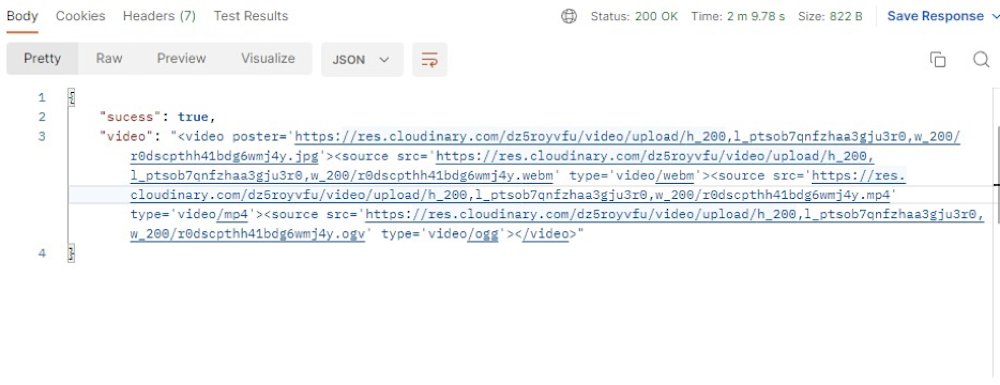
Afterwhile, you should get a “200” response and the link to the overlayed video:

You can find the complete code for this application here.
The Finale
Video overlays are important, as they can add a new dimension to videos.
If you’re interested in how Cloudinary can elevate your company, check out what our Media Experience Cloud can do for you. Get started for free today and unlock your media.

