
Do you ever wonder what makes some videos playback better than others? It can be difficult to pinpoint, but these videos simply feel like they’re doing something that makes them appear more special. Video overlays can play a part in that, as they provide great context to videos, changing their entire dynamic.
In this article, you’ll learn all about video overlays; what they are, their uses, how to implement them in React, and how to dynamically add them to specific locations within your videos using third-party API services like Cloudinary.
In this article:
- What is an Overlay?
- What is a video overlay?
- Why is Video Overlay Important?
- How to create a React JS App with Cloudinary video transformations and overlays
What is an Overlay?
An overlay occurs when one element is placed over another, creating a layered effect. The dreamy visuals and dynamic text often featured in videos are prime examples of this technique. Using overlays can elevate your content from the mundane to the remarkable.
What is a video overlay?
A video overlay is when a video layer is added on top of another video. There are three kinds of overlays:
- Image overlays. An image overlay involves adding images on top of a video. These are often used in story-time videos to help visualize and understand the content.
- Text overlays. A text overlay involves adding text elements on top of a video. Examples include subtitles or captions that ensure audience engagement even when the video is muted.
- Video overlays. A video overlay involves adding one video on top of another, also known as picture-in-picture. This technique is popularly used in reaction videos where the primary content is accompanied by a reaction video.
The reason to add overlays is so that the extra layer does not replace or cover the original video, but rather adds an extra element to the video to give it more texture and feel. For example, check out the image and image overlay below:

Source: https://clipify.net/how-to-overlay-a-picture-on-a-video.php
Adding a video overlay is a creative way to deliver your ideas. In addition, they help create content that helps connect with people.
Why is Video Overlay Important?
Incorporating video overlays is easier than it might initially appear. Broadcasters and content creators often employ video overlay effects for several reasons:
- To direct attention to the speaker in a video by blurring or decreasing the transparency of the background.
- To enhance the visual appeal of footage with effects such as snow, rain, light leaks, and lens flares.
- To emphasize text segments within a video using transparent overlay effects.
These effects can be implemented using text, images, or video overlays to improve the overall user experience.
Additional purposes of overlays include making your videos more striking and increasing viewer interaction, thereby boosting engagement.
Common applications of overlays include:
- Adding static or animated text to a video.
- Combining multiple video clips into a single composition.
- Overlaying specific sections of a video with other video clips or images.
Getting started
Before you start picking out elements or adding layers, you’ll need to decide on the best video editing framework for your needs. You can choose integrated tools like Adobe Premiere Pro or Final Cut Pro. Or, if you’re looking for a quick plug-and-play option, you can use an app like Flixier or Vimeo.
However, if you are looking to automate video overlay tasks, especially when using videos for apps, Cloudinary is the best platform to turn to.
Cloudinary is an end-to-end media management platform for websites and applications that enables you to quickly and easily convert your videos to any required format, style, and dimension, as well as apply effects and other visual enhancements. Cloudinary automatically optimizes your videos and delivers them with a small file size while maintaining high visual quality using less bandwidth and providing a better user experience.
So let’s get started and learn how to add video overlays in React!
Pro Tip!
Video Transformations on the Fly
Cloudinary allows you to easily transform your videos on the fly to any required format, style and dimension, and apply effects and other visual enhancements. Supported formats include WMV, WebM, OGV, MXF, MPEG, MP4, among others.
How to create a React JS App with Cloudinary video transformations and overlays
- Download and install Node.js on your system. For this tutorial you will need Node >= 14.0.0 and npm >= 5.6.
If you already have Node installed on your system, continue to step 2.
Create a React application
- Download and install Node.js on your system. For this tutorial you will need Node >= 14.0.0 and npm >= 5.6.
If you already have Node installed on your system, continue to step 2.
- Create a React Application by running the following:
npx create-react-app my-app
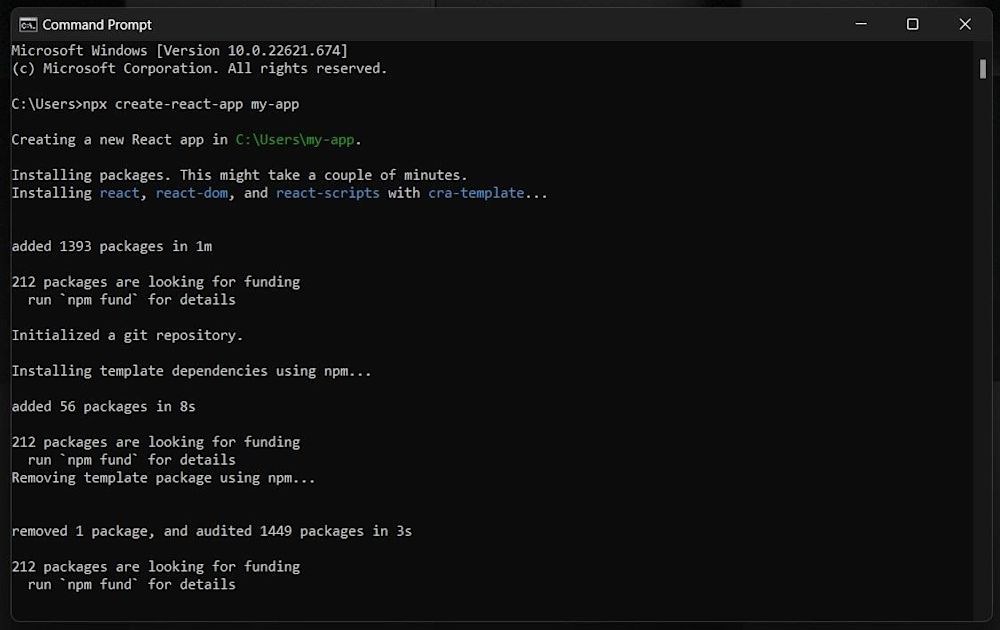
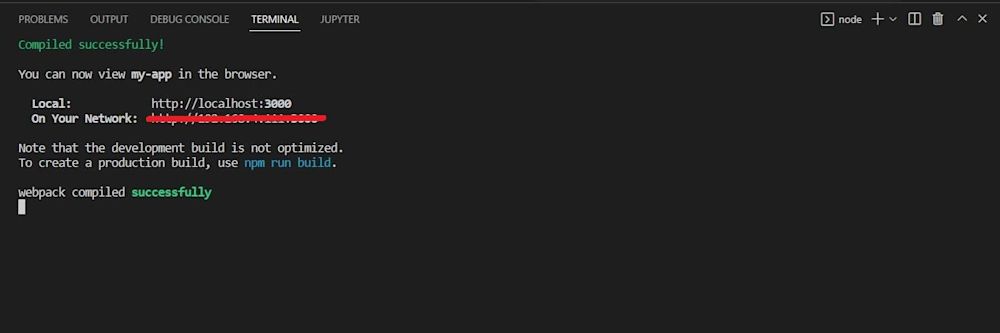
- Navigate to your my-app directory and start the React application:
npm start
Note: The create-react-app command does not handle backend logic or databases; instead, it creates a frontend build pipeline that can be used with any backend. As an added FYI, it uses Babel and webpack under the hood (but don’t worry, you won’t have to mess with these).

Cloudinary installation
- To add your own assets, sign up free to Cloudinary (your account is free forever).
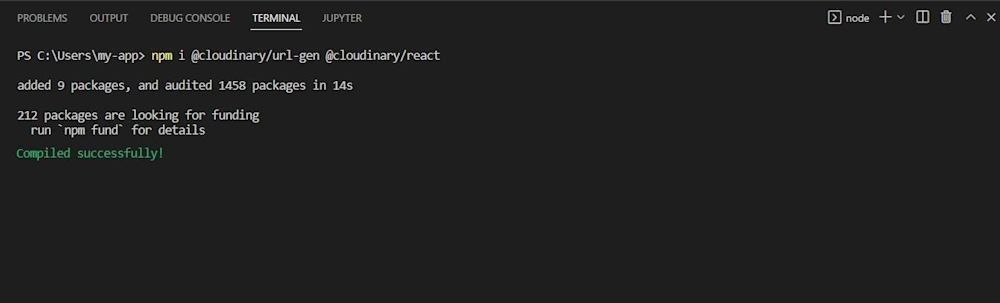
- Install Cloudinary’s JavaScript and React packages using the NPM package manager:
npm i @cloudinary/url-gen @cloudinary/react
Creating a basic React App
- Navigate to the src directory in the my-app folder, open App.js, then, copy and paste the following:
import React from 'react'
import {Cloudinary} from "@cloudinary/url-gen";

const App = () => {

  // Create a Cloudinary instance and set your cloud name.
  const cld = new Cloudinary({
    cloud: {
      cloudName: 'demo'
    }
  });

};
export default App;
Here we’re setting cloudName to ‘demo’. You can set any configuration parameters using this method.
For the purposes of this article, you can also use the demo cloud by Cloudinary, but you’ll need to change this to your own cloud name to deliver your own assets.
Adding a video to our React app
The transformed video can then be viewed by multiple users even while encoded and delivered via CDN. You can also deliver pre-encoded videos with eager or explicit transformations. Cloudinary also supports HTTP progressive download for media players that support progressive download playback.
- Before we can add an overlay, first add a video to the application and import several transformations:
import React from 'react'
import {AdvancedVideo} from '@cloudinary/react';
import {Cloudinary} from "@cloudinary/url-gen";
import {Transformation} from "@cloudinary/url-gen";

// Import required actions ad qualifiers.
import {scale} from "@cloudinary/url-gen/actions/resize";
import {source} from "@cloudinary/url-gen/actions/overlay";
import {Position} from "@cloudinary/url-gen/qualifiers/position";
import {compass} from "@cloudinary/url-gen/qualifiers/gravity";
import {fill} from "@cloudinary/url-gen/actions/resize";
import {byRadius} from "@cloudinary/url-gen/actions/roundCorners";
import {video} from '@cloudinary/url-gen/qualifiers/source';
...
- Add a sample video to the app and apply the following transformations:
  const myVideo = cld.video('docs/walking_talking');

  // Apply the transformation.
  myVideo
   .resize(fill().width(400).height(400))
   .roundCorners(byRadius(20));
- Using the
resizemethod, let’s resize the sample video to awidthandheightof 400px. We can also round the corners of the video using theroundCornersmethod, and round them usingbyRadiuswith a pixel radius of 20. - We can then return the transformed video:
  // Render the transformed video in a React component.
  return (
    <div>
      <AdvancedVideo cldVid={myVideo} controls/>
    </div>
  )
Here is what our video looks like:

Adding video overlays using Cloudinary
Using the Cloudinary overlay video parameter (l video: in URLs) and the publicID (the unique identifier for an asset stored in Cloudinary) of a previously uploaded video, you can add another video as an overlay.
You can control when the video overlay appears using any combination of the three offset parameters. See Trimming Videos in the Cloudinary Documentation for more information on the parameters and their possible values.
You can also decide where it is placed on the base video by using gravity, offset, and other placement qualifiers.
- Add a sample video to our React App and apply a simple video overlay:
myVideo.overlay(source(video("dog.mp4").transformation(
    new Transformation().resize(scale().height(100).width(200))
   )).position(new Position().gravity(compass("east"))));
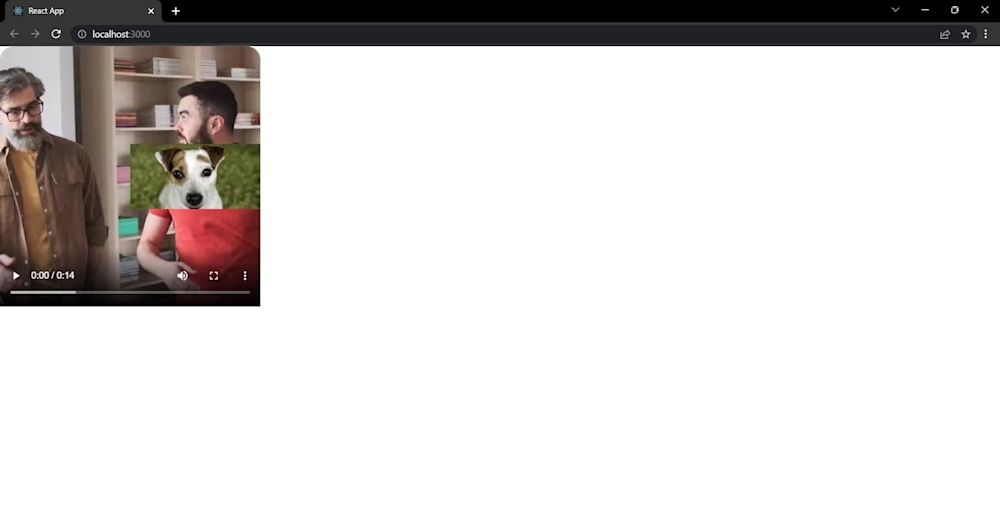
The code adds an overlay of a video named 'dog' to the same mp4 video named 'walking_talking'. The overlay is scaled to a size of 100px in height 200px in width and set with a gravity of 'east'.
- Return the rendered video in a React Component. Here is what the final code and output looks like:
import './App.css';

import React from 'react'
import {AdvancedVideo} from '@cloudinary/react';
import {Cloudinary} from "@cloudinary/url-gen";
import {Transformation} from "@cloudinary/url-gen";

// Import required actions.
import {scale} from "@cloudinary/url-gen/actions/resize";
import {source} from "@cloudinary/url-gen/actions/overlay";

// Import required qualifiers.
import {Position} from "@cloudinary/url-gen/qualifiers/position";
import {compass} from "@cloudinary/url-gen/qualifiers/gravity";

// Import required actions and qualifiers.
import {fill} from "@cloudinary/url-gen/actions/resize";
import {byRadius} from "@cloudinary/url-gen/actions/roundCorners";
import {video} from '@cloudinary/url-gen/qualifiers/source';

const App = () => {

  // Create and configure your Cloudinary instance.
  const cld = new Cloudinary({
    cloud: {
      cloudName: 'demo'
    }
  });

  const myVideo = cld.video('docs/walking_talking');

  // Apply the transformation.
  myVideo
   .resize(fill().width(400).height(400))
   .roundCorners(byRadius(20));

   myVideo.overlay(source(video("dog.mp4").transformation(
    new Transformation().resize(scale().height(100).width(200))
   )).position(new Position().gravity(compass("east"))));

  // Render the transformed video in a React component.
  return (
    <div>
      <AdvancedVideo cldVid={myVideo} controls/>
    </div>
  )
};
export default App;
13. Visit localhost:3000 to see the video overlays:
Here is our final output:

Conclusion
Congratulations on creating a video overlay in React using Cloudinary!
Cloudinary is a complete image and video management platform that takes the hassle out of managing your website’s media assets. Cloudinary delivers your media assets via an optimized content delivery network (CDN) further allowing you to manage your assets at scale. Try it out (it’s free forever!) and unleash the full potential of your digital media.
More from Cloudinary

