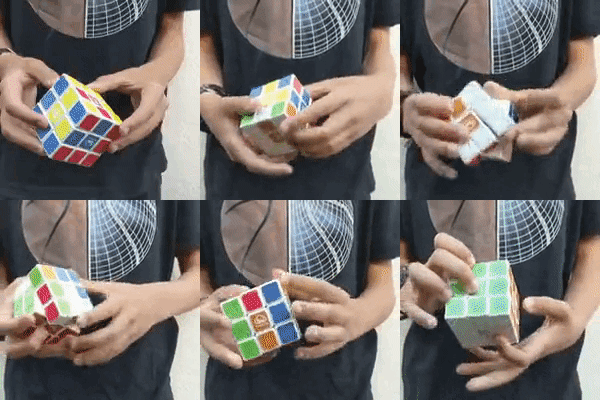
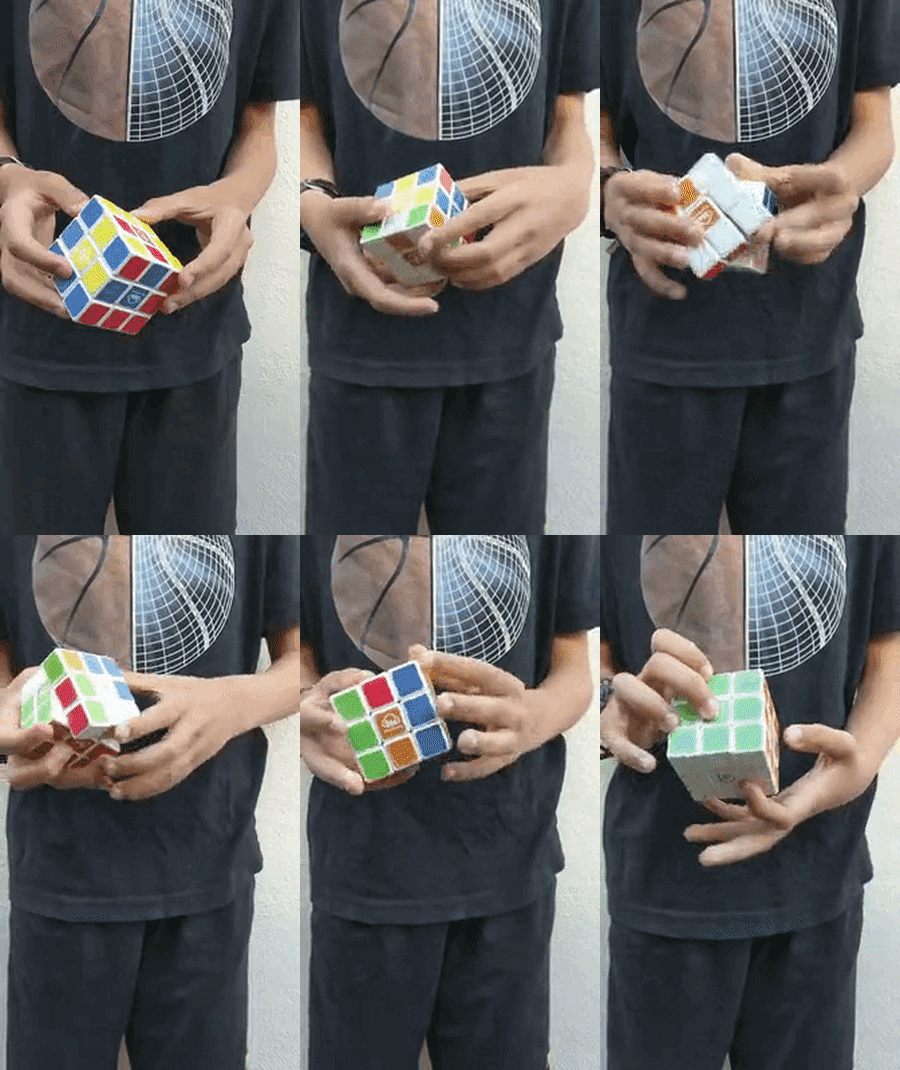
It is crucial to ensure your videos look their best and are optimized for different platforms and devices in video production and content creation. Smart cropping, which includes automatically selecting and cropping the most aesthetically appealing areas of a video, is a potent tool that can aid in achieving this objective. Smart cropping is now simpler and more widely available than ever, thanks to Cloudinary’s cutting-edge video management features.
In this article, we’ll examine the advantages of smart cropping and how Cloudinary’s smart crop video feature can speed up the creation and optimization of your videos.
In this article:
- When Do You Need to Crop Video?
- Why Do You Need to Smart Cropping?
- How To Smart Crop Videos
- How To Smart Crop at Scale?
When Do You Need to Crop Video?
Even though cropping can be a helpful tool in video production, it should be applied carefully. Let’s discuss a few situations where you might want to think about intelligently cropping a video:
- The aspect ratio of a video may not always be optimal for the platform or device being used to view it. For instance, to make a video suitable for mobile on social media apps, you may want to trim it to a square or vertical aspect ratio.
- Cropping can sometimes eliminate distracting or unnecessary video parts in the frame. Modifying the video’s composition can make the viewer’s experience more focused and visually appealing. This is especially helpful when filming in a crowded or congested setting.
- You can also produce a particular visual style or aesthetic to match a certain style or aesthetic with cropping. For instance, you can achieve a more minimalist or abstract appearance by deleting particular frame portions.
Why Do You Need to Smart Cropping?
Smart video cropping is useful for accelerating video production and customizing content for different platforms and devices. It can take some time to crop a movie manually, especially if there is a lot of material. It can also expedite the procedure and make it easy to quickly and properly crop several films.
Also, different platforms and devices use different aspect ratios and specs for video content. By using smart cropping, you can rapidly and efficiently optimize your video content for a variety of platforms and devices without having to edit each video manually.
Here are some use cases for smart video cropping:
- Social media marketing: Certain aspect ratio standards apply to video material on social media sites. Businesses can reach their target audience more efficiently by using smart cropping to swiftly and easily optimize video content for various platforms.
- E-learning: Smart cropping can be utilized in online courses and instructional films to ensure that the most crucial material is always in the center of the screen. This can enhance the whole learning process and keep students engaged.
- Live streaming: Smart cropping can keep the most crucial components in focus during live events and broadcasts, even when the video’s subject matter changes or the camera pans.
How To Smart Crop Videos
With Cloudinary’s advanced video processing capabilities, users can easily apply a smart crop to their videos to automatically adjust the crop area based on the content of the video, ensuring that the most important parts of the video are always in view.
Before adding a smart crop to our videos, we need to set up our development environment. For this tutorial, you must download and install Node.js on your system. You can download the latest release from the Node JS official page if you don’t have it installed.
Next, you must install the Cloudinary Node.js SDK to make and authenticate API calls to Cloudinary. To install this library, create a project folder in a directory of your choice. Next, open up your terminal and type the following command:
npm install cloudinary
For this tutorial, you won’t need to create a Cloudinary account. However, if you wish to follow along and use your assets, you can get started with a free Cloudinary account.
Getting Videos from the Cloudinary Cloud
Let’s begin this tutorial by creating a Node script that helps us retrieve videos from the cloud. So open up your project folder and create a file named Retrieve.js. Open your file and import the Cloudinary Node.jslibrary:
const cloudinary = require('cloudinary').v2;
Next, let’s set up our cloud configuration. We will use the .config() method and specify our account details:
// Configure Cloudinary with your account details
cloudinary.config({
    cloud_name: 'demo'});
Here we are defining our cloud_name as Cloudinary’s demo cloud. For the purposes of this article, you can also use the demo cloud by Cloudinary, but you’ll need to change this to your name to deliver your assets. Here is an example code for defining your configuration:
// Configure Cloudinary with your account details
cloudinary.config({
    cloud_name: 'YOUR_CLOUD_NAME',
    api_key: 'YOUR_API_KEY',
    api_secret: 'YOUR_API_SECRET'
  });
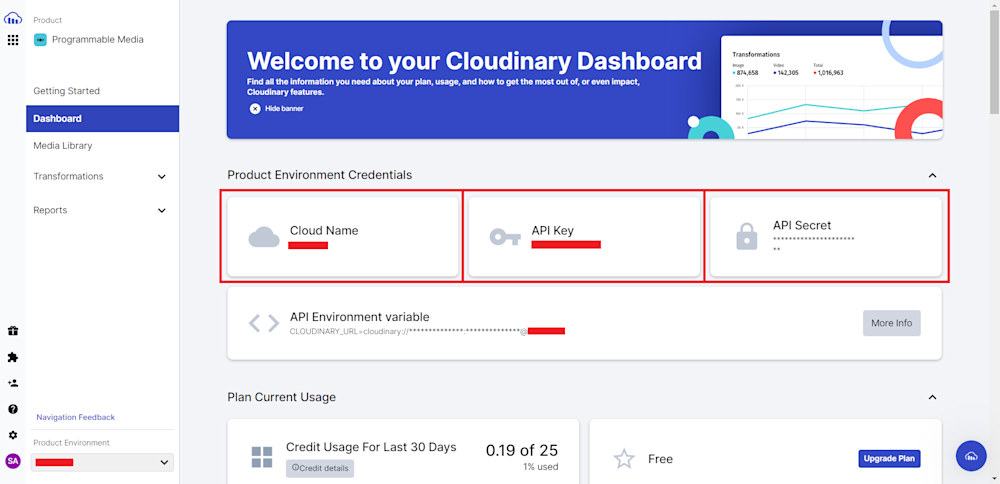
You can retrieve your Cloudinary API credentials by logging in to your account and heading to the Dashboard tab. Here you will be greeted with your API keys.
Now that our environment is set up, we can start using the Cloudinary API to retrieve videos. To demonstrate getting our video asset from Cloudinary, we will use the ski_jump video from their demo cloud:
First, create a variable to specify the public_id of the video. Here we have specified it as 'ski_jump'. Next, use the Cloudinary API to get our video from the cloud. The .video() method returns a URL for the requested asset. Finally, we can print out the transformed URL using console.log(). Here is what our final code looks like:
const cloudinary = require('cloudinary').v2;


// Configure Cloudinary with your account details
cloudinary.config({
    cloud_name: 'demo'});

// Specify the public ID of the video you want to transform
const publicId = 'ski_jump';

// Generate a new URL with the smart crop transformation applied
const transformedUrl = cloudinary.video("ski_jump");

// Output the transformed URL
console.log(transformedUrl);
Finally, run the script by running the command below:
node Video.js
Here is what our output looks like:
Following the output URL gives us the video given below:
Now that we know how to retrieve our images, let’s take a look at how we can use Cloudinary to crop video programmatically.
Adding Smart Crop to Videos
Previously, developers had to rely on video editors to cut a video to their exact needs. However, with the advent of machine learning tools, devs can now dynamically crop them. This entails creating multiple resolution variants of each video for responsive delivery on various devices.
Cloudinary automates the process of transforming images and videos in a content-aware and context-aware manner. Moreover, by specifying it in your transformations parameter, it makes it simple to add a smart crop to your videos.
Let’s smart crop another video to see Cloudinary’s content awareness in action. Here we will be using cld_rubiks_guy, which you can find in Cloudinary’s demo cloud.
Now, let’s crop the video by specifying it as a transformation parameter in the .video() method.
const cloudinary = require('cloudinary').v2;

// Replace with your cloud_name, api_key, and api_secret
cloudinary.config({
  cloud_name: 'demo'
});

// Upload a video to Cloudinary
const url = cloudinary.video('docs/cld_rubiks_guy', {transformation:[
    {width: 200, height: 200, gravity: "auto", crop: "fill"}]})

console.log(url)
Here we are also defining the crop parameter as fill, and setting the width and height as 200. You can learn more about setting crop parameters in Cloudinary’s official documentation.
Running the code yields the following URL and video:

As you can see, setting the gravity video-cropping parameter to auto generates optimal cropping, displaying the Rubik’s cube in full. Cloudinary’s video processing platform allows users to crop video automatically by specifying a mode. You can use this example as a starting point and modify the transformation parameters as needed to suit your specific use case.
How To Smart Crop at Scale?
Cloudinary allows its users to automate the process of applying video transformations allowing you to process thousands of videos. Moreover, Cloudinary allows you to cascade video transformations by enabling users to perform multiple transformations in a single step, saving time and increasing efficiency.
With Cloudinary, adding a smart crop to videos at scale is as simple as calling the API on those videos. Let’s add a smart crop to the dog and ship videos available in Cloudinary’s demo cloud. Here’s what they look like before we crop them:


Now let’s add the smart crop to the videos by simply calling the Cloudinary API:
const cloudinary = require('cloudinary').v2;

// Replace with your cloud_name, api_key, and api_secret
cloudinary.config({
  cloud_name: 'demo'
});

// Adding Smart Crop
const url_1 = cloudinary.video('dog', {transformation:[
    {width: 200, height: 200, gravity: "auto", crop: "fill"}]})

const url_2 = cloudinary.video('ship', {transformation:[
    {width: 200, height: 200, gravity: "auto", crop: "fill"}]})
console.log(url_1)
console.log(url_2)
Running the code yields the following videos:


As you can see, Cloudinary’s content awareness is able to identify the objects to be focused in the videos and crop them appropriately.
Final Thoughts
To sum up, smart cropping is a useful technique for optimizing video content and ensuring it appears its best across various platforms and devices. By using advanced algorithms and machine learning techniques, Cloudinary’s video processing platform can help crop video automatically to the optimal size and aspect ratio, resulting in visually appealing and engaging content for viewers.
You can quickly and automatically find and crop the most aesthetically appealing portions of your video with Cloudinary’s smart crop video function, saving you time and effort during video production. Cloudinary’s smart crop video tool can assist you in achieving your objectives. Get started with Cloudinary today and see what it can do for you!
More on Cloudinary:
Video Manipulation and Delivery With Cloudinary


