Creating accessible and engaging content is more important now than ever in our digital world. More and more people are using subtitles in their everyday viewing habits, and according to Preply, over 50% of Americans use them most of the time. So when it comes to your content, are your subtitles up to snuff?
With just a few clicks, designers and developers can quickly and accurately generate correct transcripts and subtitles for their material using Cloudinary. Adding captions to your movies, podcasts, webinars, and other content is now simpler than ever, thanks to this amazing tool’s utilization of sophisticated algorithms to transcribe audio and video content. This tutorial will explain how to use Cloudinary to generate transcripts automatically.
In this article:
- When and Why Should You Generate Transcripts?
- Ways to Generate Transcripts Automatically
- How To Generate Transcripts Automatically with Cloudinary
- Transcribe with Ease Thanks to Cloudinary
When and Why Should You Generate Transcripts?
Transcripts are useful for a variety of reasons, from accessibility to SEO. Here are some unique examples of when and why you should generate transcripts:
- Accessibility: Transcripts give deaf or hard-of-hearing people a text-based alternative to fully engage with your audio or video material.
- SEO: Transcripts can help your material’s search engine optimization (SEO) by giving search engines text to index, which makes it simpler for people searching for related keywords to find your content.
- Translation: Translation into other languages is simple with transcripts so that a larger audience may access your information.
- Content analysis: Transcripts give you an easy way to evaluate and extract information from your content because they are searchable text versions .
- Legal requirements: In some circumstances, such as for educational or governmental content, producing transcripts may be necessary.
- Note-taking: Transcripts can be used as a reference for note-taking during presentations, meetings, or classes.
Ultimately, producing transcripts can be quite advantageous for both the producers and users of audio and video information. Having a text-based alternative to your media can increase its value and accessibility from the perspective of SEO.
Ways to Generate Transcripts Automatically
For automatic transcribing, several tools are available, including
- Otter.AI: A well-known transcription tool that employs AI to translate audio and video content instantly.
- Microsoft Word: The app’s transcription feature lets you capture and transcribe audio.
- Google Docs: Google Docs has voice typing capability to translate audio files.
- Happy Scribe: Another AI transcription tool for transcribing audio and video content.
Although these tools can help create transcripts, their outcomes might not always be the most precise or adaptable. The automatic transcription and subtitle generation function from Cloudinary offers a more dependable and flexible way to create transcripts for your media that are more than just text files. You can make sure that your transcripts and subtitles look fantastic and sound wonderful while offering a useful and accessible text-based alternative to your media with our sophisticated algorithms and customizations.
How To Generate Transcripts Automatically with Cloudinary
Let’s dive into how Cloudinary can help you streamline your transcription process!
Generating Transcripts Using Google AI Video Transcription
To create transcripts from audio files, Cloudinary created an add-on that uses the power of Google’s Cloud Speech API to recognize audio from nearly any language. It’s simple and easy-to-use and comes baked into the Cloudinary platform.
First, we’ll need to create a Cloudinary account to start generating transcripts. Fortunately, the sign-up process is quick and easy, and you can get started for free. In addition, you’ll need to have Node.js installed on your computer to use Cloudinary’s automated transcription features. If you don’t already have it, you can download it for free from the official Node.js website.
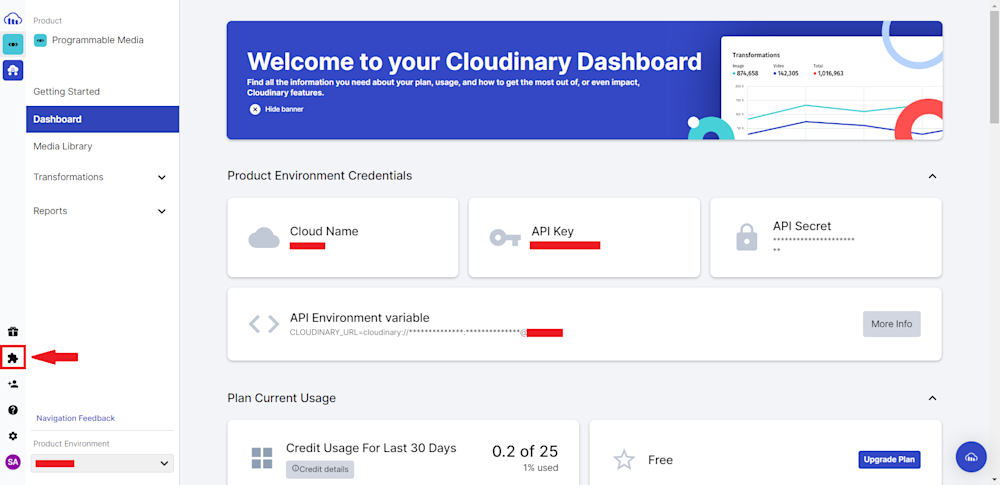
Next, you will need an active Google AI Video Transcription subscription on Cloudinary. So head to your Cloudinary account Dashboard and navigate to the Add-on tab.
Next, search for the Google AI Video Transcription add-on:
Click on the add-on and subscribe to the free plan:
For our API, we’ll be utilizing the Cloudinary Node.js SDK. This SDK will allow us to call the Cloudinary API and authenticate our requests, which is essential for generating accurate transcripts. To install this library, the first step is to create a project folder in the directory of your choice. Once you’ve done that, you can open up your terminal, navigate to your project directory, and input the following command:
npm install cloudinary
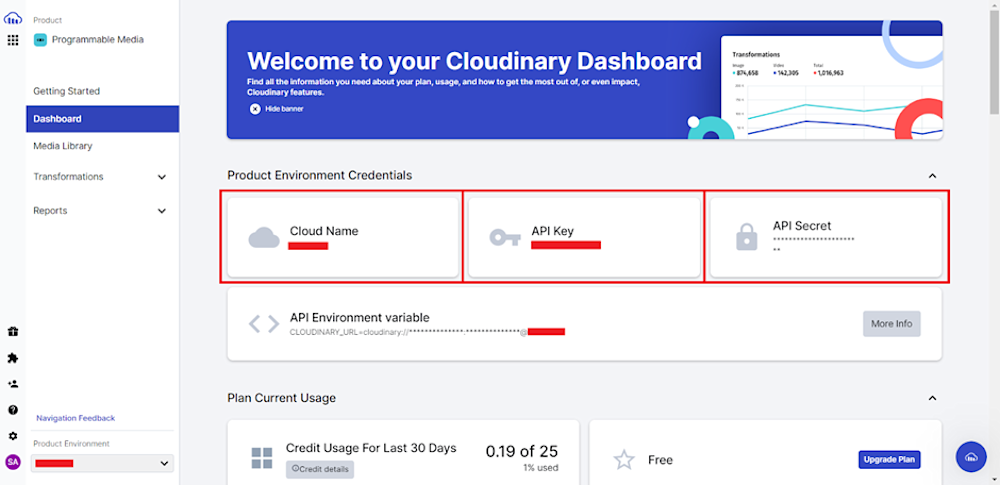
Now that our SDK is installed, we can set up our API. Log in to your Cloudinary account and head to the Cloudinary Dashboard. Copy your Cloud Name, API Key, and API Secret:
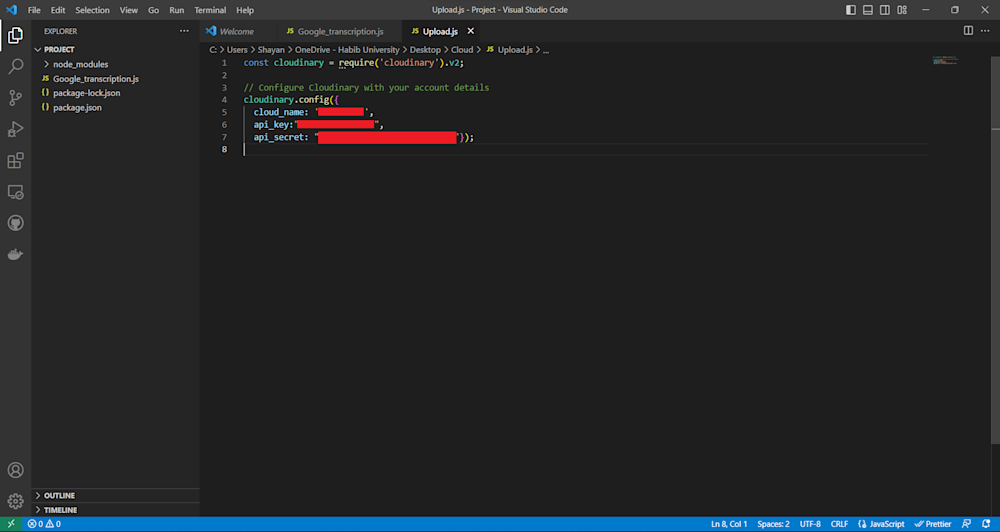
Now, open up the project folder in your favorite IDE, and create a new file named Google_transcription.js. Open up the file and start by importing the Cloudinary SDK and defining our API with our account details:
const cloudinary = require('cloudinary').v2;

// Configure Cloudinary with your account details
cloudinary.config({
    cloud_name: 'CLOUD_NAME',
    api_key: 'API_KEY',
    api_secret: 'API_SECRET'
  });
Now that we’ve set up our API to connect to Cloudinary, we’re ready to make API calls to their cloud. The next step is to send a sample video to the cloud, which can be done using either the Cloudinary website or the Node.js SDK.
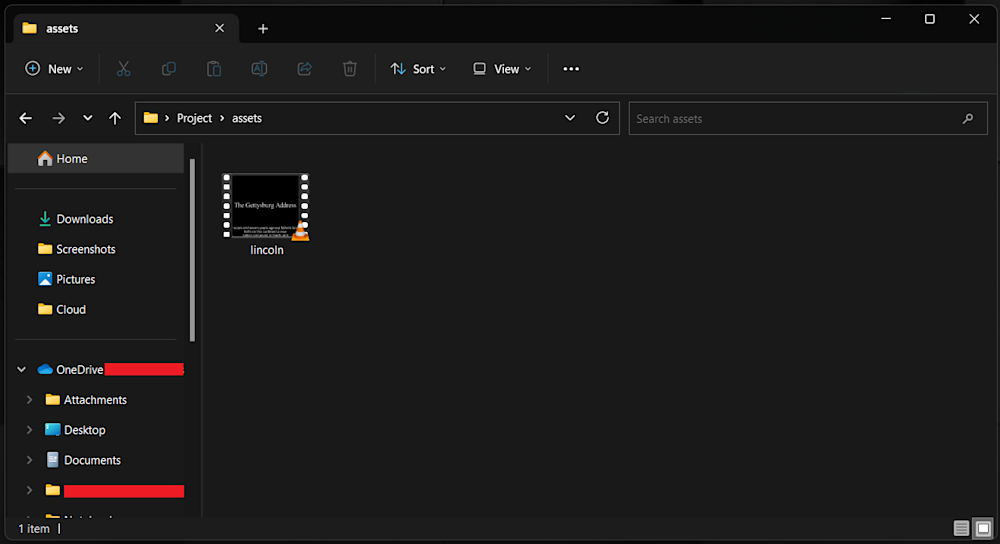
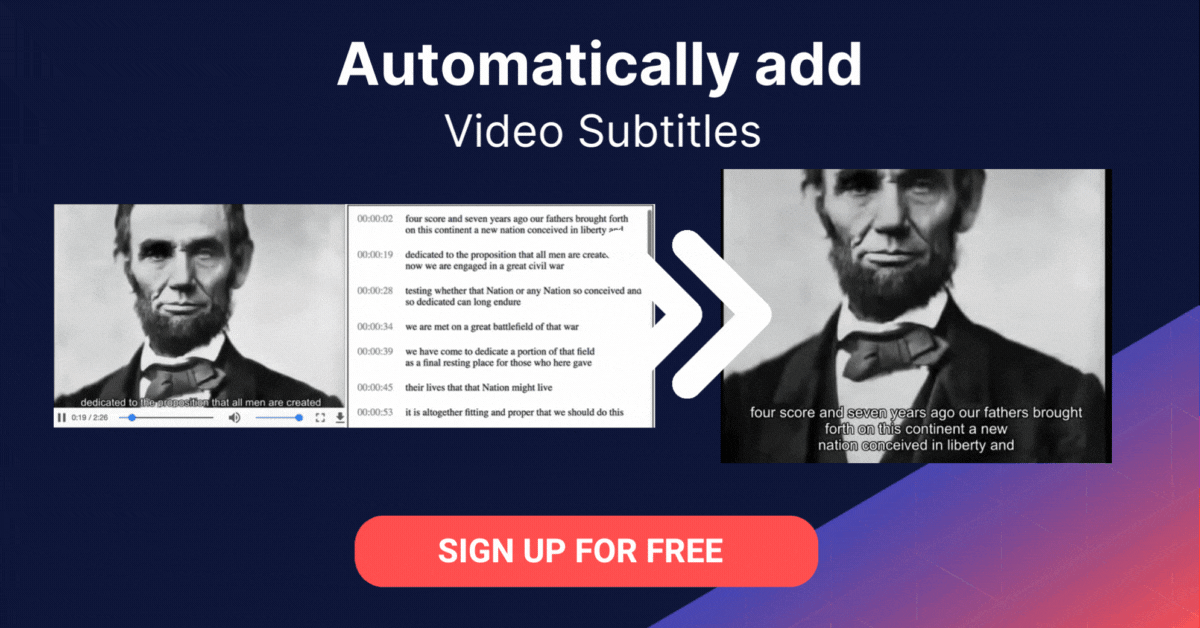
Open up your project’s folder and create an assets folder. Here add the videos you want to use to generate transcripts. We will be using lincoln.mp4:
Next, open up your code and specify the directory of the video:
...
// Specify the directory of the video
const direc = './assets/lincoln.mp4'
...
Finally, call the Google AI Video Transcription service using the Cloudinary API:
...
// Transcription with google addon
cloudinary.uploader.upload(
    direc, {
    public_id: 'lincoln',
    resource_type: 'video',
    raw_convert: 'google_speech'
  }
)
.then(result => console.log(result.info.raw_convert.google_speech))
.catch(error => console.error(error));
Here is what our final code looks like:
const cloudinary = require('cloudinary').v2;

// Configure Cloudinary with your account details
cloudinary.config({
    cloud_name: 'CLOUD_NAME',
    api_key: 'API_KEY',
    api_secret: 'API_SECRET'
  });

// Specify the directory of the video
const direc = './assets/lincoln.mp4'

// Transcription with google addon
cloudinary.uploader.upload(
    direc, {
    public_id: 'lincoln',
    resource_type: 'video',
    raw_convert: 'google_speech'
  }
)
.then(result => console.log(result.info.raw_convert.google_speech))
.catch(error => console.error(error));
In the code above, the cloudinary.uploader.upload() method is called to upload the video file to the cloud and generate a transcript using the Google Speech-to-Text API. This method takes two arguments: the path of the file to be uploaded (in this case, poem.mp4), and an options object that specifies the public ID of the file, the resource type (in this case, video), and the raw_convert parameter set to 'google_speech', which triggers the Google Speech-to-Text API to generate a transcript.
Now you can simply run the code using Node:
node Google_transcription.js
The output shows that Google AI Video Transcription is activated and is now transcribing your video asset.
By default, the code will generate an English transcript in a .transcript file format. Optionally, you can define the language of conversion by specifying the language of conversion in the raw_convert parameter. For example, here we are generating a transcript in French:
...
raw_convert: 'google_speech:fr-CA',
...
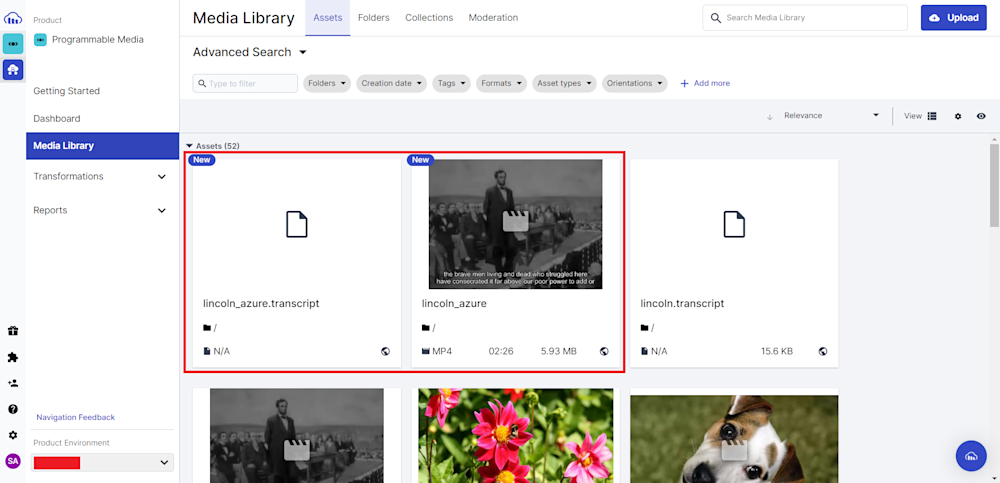
To confirm that your transcription has been successfully generated, navigate to the Media Library tab of your Cloudinary account after a few minutes. If the process has completed successfully, you can see your video and its associated transcription:
Transcribing Videos Using Microsoft Azure Video Indexer
If you’re not interested in using Google’s add-on, we’ve got another option for you. Cloudinary’s Microsoft Azure Video Indexer add-on is another powerful tool that enables users to generate accurate transcripts for their video content quickly and easily.
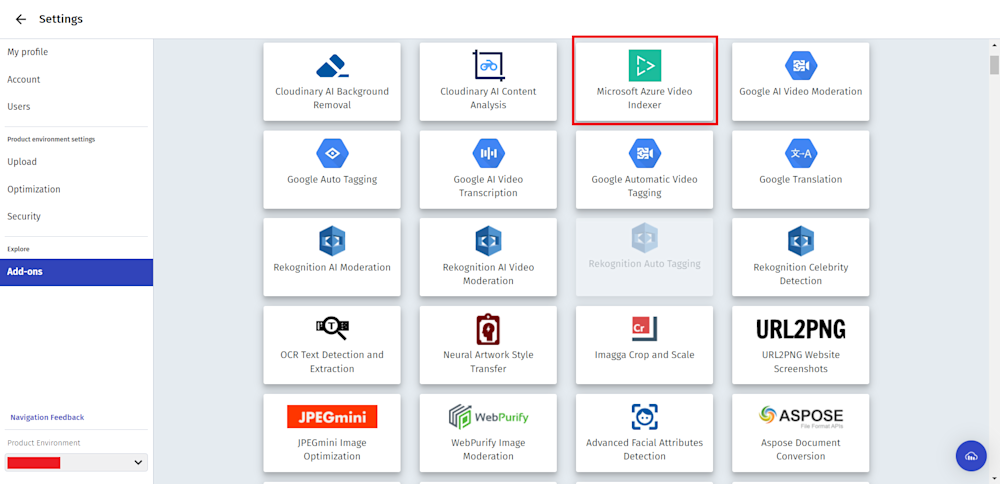
To use the Microsoft Azure Video Indexer, you’ll need an active subscription to Cloudinary. So as before, head on to your Cloudinary account Dashboard, navigate to the Add-on tab, and search for Microsoft Azure Video Indexer:
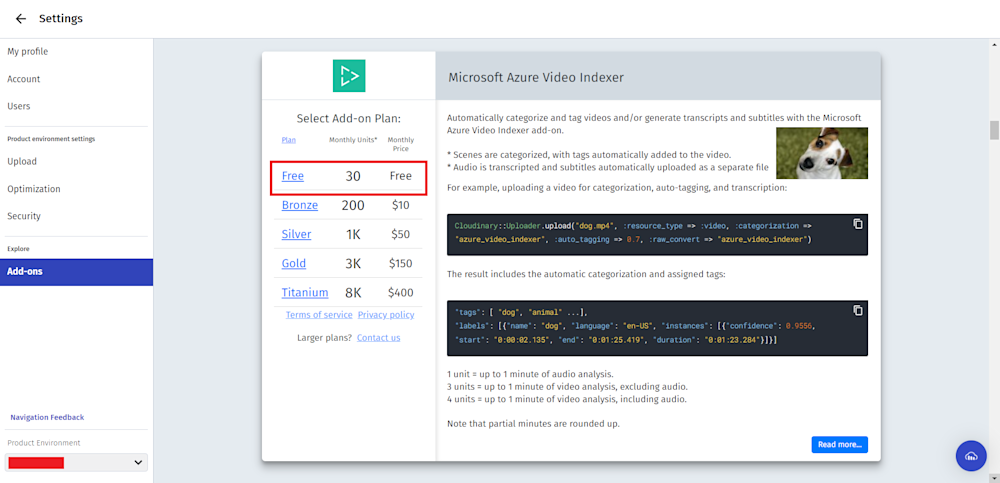
Click on the add-on and subscribe to the free plan:
Next, create a new js file in your project directory named Azure_transcription.js. Since we will be using the same image and API, you can copy and paste the entire contents of your Google_transcription.js.
Finally, change the raw_convert parameter to specify Azure’s Video Indexer service. Our final code looks like:
const cloudinary = require('cloudinary').v2;

// Configure Cloudinary with your account details
cloudinary.config({
    cloud_name: 'CLOUD_NAME',
    api_key: 'API_KEY',
    api_secret: 'API_SECRET'
  });

// Specify the directory of the video
const direc = './assets/lincoln.mp4'

// Transcription with azure addon
cloudinary.uploader.upload(
    direc,
    {
      public_id: 'lincoln_azure',
      resource_type: 'video',
      raw_convert: 'azure_video_indexer'
      // You can do one in some other language like french. By default it is english
    }
)
.then(result => console.log(result.info))
.catch(error => console.error(error));
Running the code yields the following output:
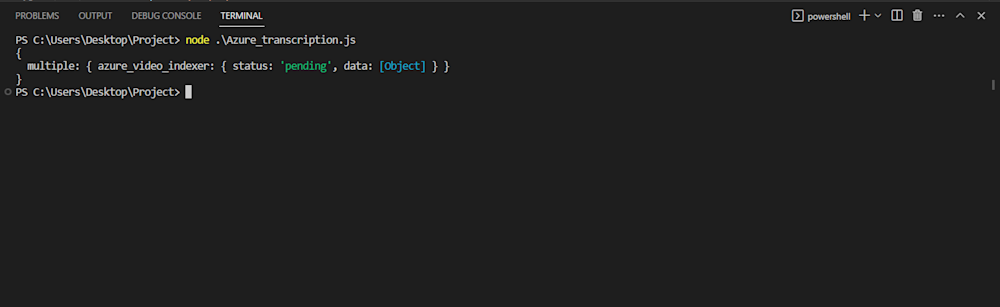
Again, you can verify your upload by checking out your Media Library tab on your Cloudinary account:
Transcribe with Ease Thanks to Cloudinary
Producing transcripts is an important and incredibly useful duty for content producers. The automatic transcription-generating tools provided by Cloudinary allow designers and developers to conserve time and money while guaranteeing their media is accessible.
Cloudinary offers a user-friendly interface, complex algorithms, and customizable styling options that make creating accurate transcripts and subtitles for your audio and video assets simple. So why not give Cloudinary a try?
Register for a free account to learn how automatic transcribing can enhance your content development process.
More from Cloudinary:

