What Is A Pre-Recorded Video?
A pre-recorded video is any video content that is created in advance and saved for future use. Unlike live video sessions, pre-recorded videos allow creators to record, edit, refine, and perfect their content before sharing it with their audience.
Pre-recorded videos can include:
- Tutorials
- Product Demonstrations
- Corporate Training Videos
- Marketing Campaigns
- Webinars (recorded for later viewing)
- Social Media Content
Because the content is pre-recorded, creators can ensure high-quality production, add graphics and animations, and edit out mistakes or distractions before publishing the video online or presenting it to their audience.

Where Is Pre-Recorded Video Used?
Pre-recorded videos are an extremely versatile medium, used across industries and platforms to accomplish a wide variety of goals. Some common use cases include:
Education and E-Learning
Teachers and educational institutions use pre-recorded videos for online courses, video tutorials, and learning modules. Students can watch the videos at their own pace, review material as often as needed, and pause to process complex concepts.
Corporate Training
Companies rely on pre-recorded videos for onboarding, employee training, and skill development programs. This saves time, reduces training costs, and ensures consistency in the delivery of information.
Marketing Campaigns
Marketers use pre-recorded promotional videos to showcase products, share success stories, or tell impactful brand narratives. These videos are designed to grab attention and drive engagement on social media, websites, or other digital platforms.
Events and Conferences
Pre-recorded video presentations can be used during virtual conferences or hybrid events where presenters aren’t available live. Organizers can pre-record keynote addresses, product launches, or demonstrations to ensure seamless execution.
Entertainment
Creators on platforms like YouTube, Twitch, and TikTok use pre-recorded videos to entertain, educate, and engage audiences. From comedy sketches to game reviews, these videos dominate the online entertainment space.
Benefits and Drawbacks of Pre-Recorded Video
While pre-recorded videos are highly effective, they come with their own set of pros and cons.
Let’s break them down:
Benefits
- Flexibility: Unlike live streaming video, pre-recorded videos give creators the freedom to record content at the most convenient time and location. There’s no pressure of performing live, allowing room for mistakes and corrections.
- High-Quality Production: With pre-recording, creators can use editing tools to enhance the video quality, add effects, and eliminate errors. These refinements result in more polished and professional output.
- Scalability: Pre-recorded videos can serve large audiences anytime and anywhere. Once published online, the content can reach hundreds or even thousands of viewers with minimal effort.
- Reusability: Pre-recorded videos can be reused multiple times: for training new employees, delivering consistent marketing messages, or sharing evergreen content. This reduces the need for repeated effort.
- Convenience for Viewers: Audiences can watch pre-recorded videos at their convenience, pause and review content, or refer back to it as needed.
Drawbacks
- Lack of Real-Time Interaction: Unlike live videos or events, pre-recorded videos don’t allow for instant audience interaction. Viewers cannot ask questions or receive immediate feedback during the session.
- Requires Production Resources: To create high-quality pre-recorded videos, you may need a decent camera, lighting equipment, microphones, editing software, and time for scripting and production. This can be costly for creators working on a tight budget.
- Time-Consuming: While live videos are in-the-moment productions, pre-recorded videos require time for planning, recording, and editing to deliver polished results.
- Less Authenticity: Pre-recorded videos may lack the raw, spontaneous energy of live videos, which some audiences find more engaging and relatable.
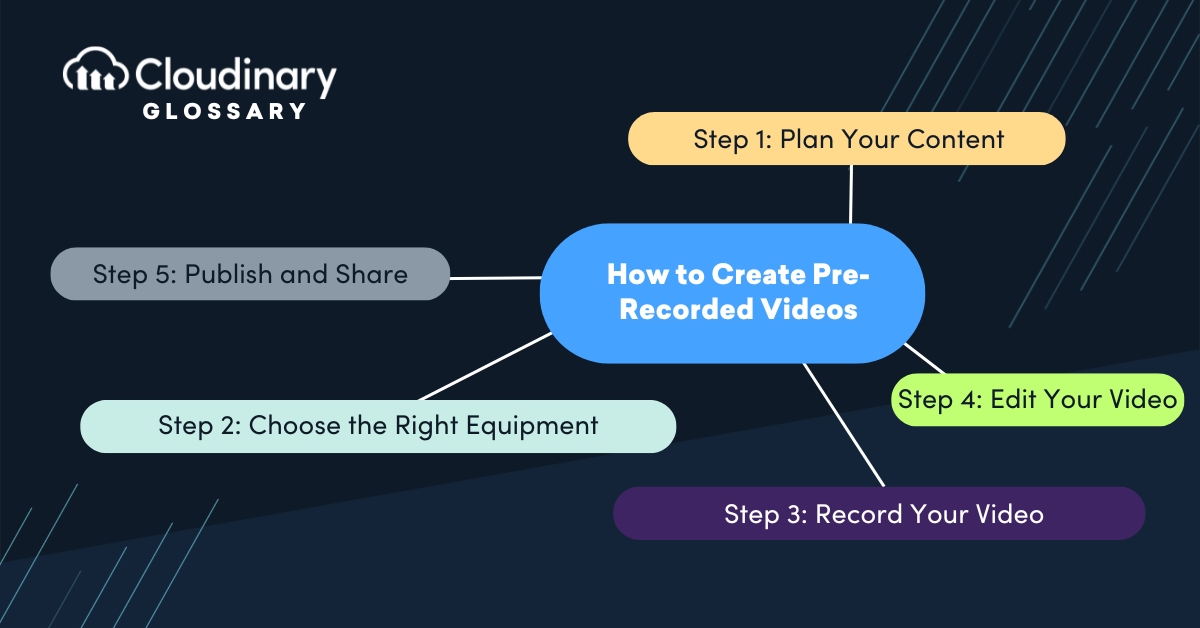
How to Create Pre-Recorded Videos
Creating a successful pre-recorded video involves planning, execution, and post-production. Here’s a step-by-step guide to get started:
Step 1: Plan Your Content
Define the purpose of your video and identify your target audience. Decide what message you want to convey and create an outline or script. Planning is key to ensuring your video is clear, concise, and impactful.
Step 2: Choose the Right Equipment
Invest in basic video creation tools:
- Camera: A DSLR, mirrorless camera, or even a smartphone with high video quality.
- Microphone: For clear audio, opt for an external mic instead of relying on the camera’s built-in one.
- Lighting: Softbox lighting or ring lights help brighten your video and eliminate shadows.
Step 3: Record Your Video
Find a quiet, distraction-free environment to record. Stick to your script but maintain a conversational tone to engage the audience. Always test your equipment before recording to avoid technical issues.
Step 4: Edit Your Video
Use video editing software such as Adobe Premiere Pro, Final Cut Pro, or beginner-friendly tools like iMovie or Canva. Edit out mistakes, add graphics, include subtitles, and optimize the video for clarity and impact.
Step 5: Publish and Share
Once your video is finalized, upload it to your desired platform: YouTube, social media, or a company website. Consider adding an engaging title, description, and necessary tags to make it discoverable.
How to Livestream Pre-Recorded Video
Livestreaming a pre-recorded video is useful when you want to share polished, high-quality segments without relying on real-time performance. It helps maintain consistency, reduce live errors, and deliver content such as tutorials, product demos, interviews, or announcements seamlessly within a live broadcast.
Steps to play a pre-recorded video on a livestream:
- Upload or import the file into your streaming software (e.g., OBS, vMix, StreamYard).
- Add the video to a scene or source so it can be triggered when needed.
- Test playback before going live to check audio levels, video quality, and sync.
- Cue the video during the broadcast by switching to the assigned scene or pressing play.
- Monitor the stream output to ensure the video plays smoothly for viewers.
- Transition back to live content once the video segment ends.
Last Thoughts
Pre-recorded video is a powerful medium that offers immense flexibility and control in content creation. From education to entertainment, this format allows creators to produce polished, professional videos that resonate with audiences globally. While it may lack real-time interaction, the benefits of quality, accessibility, and scalability outweigh its drawbacks.