Video has become one of the most effective ways to engage users on the modern web. From product demos and tutorials to marketing campaigns and social content, applications now rely on video as a core part of the user experience. At the same time, PHP continues to power a large share of websites and backend systems, making it a familiar and trusted language for many development teams.
Using a PHP video editing library allows developers to automate common video tasks directly within their applications. These libraries can handle actions like trimming clips, generating thumbnails, or converting formats without manual intervention.
By integrating video processing into PHP workflows, teams can streamline content creation, reduce repetitive work, and keep media logic close to their existing codebase. Understanding the available options helps developers choose the right approach for building reliable and scalable video features.
In this article:
- What a PHP Video Editing Library Is (and When to Use One)
- Popular Use Cases & Features
- Getting Set Up: Installing and Configuring a PHP Editing Library
- Authenticating and Editing Your First Video
- More Video Transformation Examples
- How to Pick the Right PHP Video Editing Library for Your Needs
What a PHP Video Editing Library Is (and When to Use One)
PHP video editing libraries enable you to write PHP code for creating, customizing, and distributing video content. They offer a wide range of features for common video editing tasks like resizing, cropping, adding watermarks, voiceover, text animations, and many others.
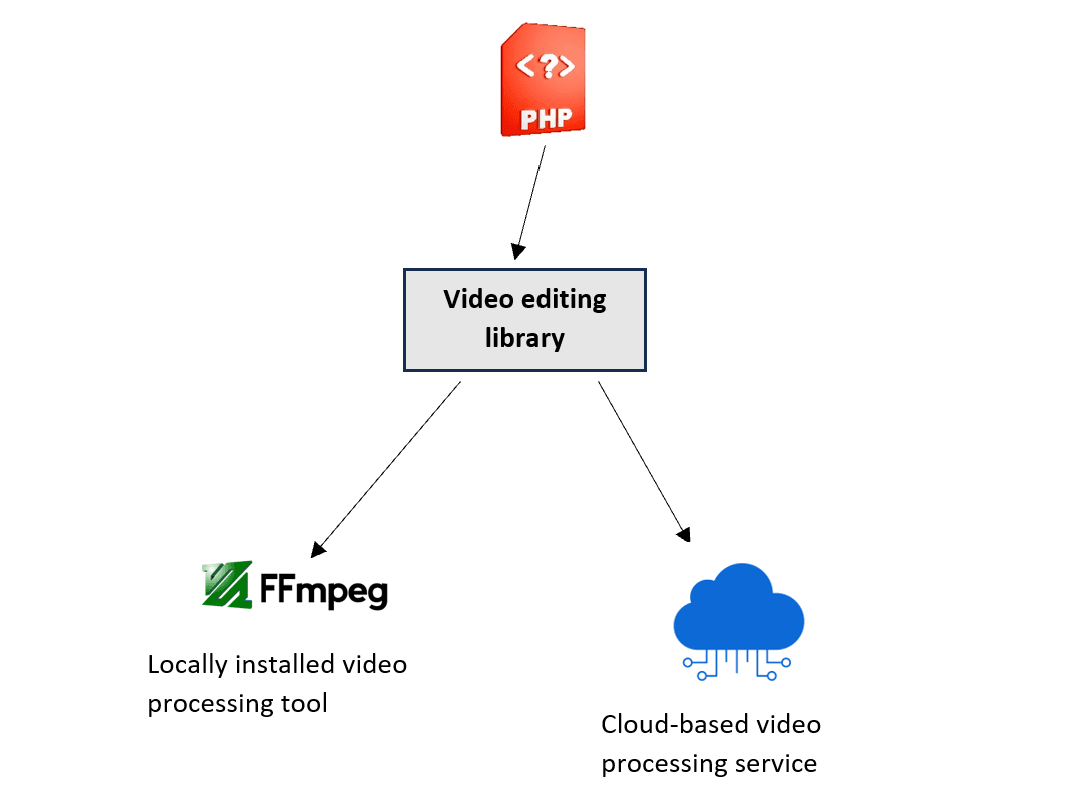
Because PHP itself isn’t designed for media creation and processing, what these libraries actually do is provide access to external services or tools that implement the video processing capabilities. They are wrappers that act as interfaces for accessing the features provided by these external services. These external services can be a video editing tool that’s hosted on a local infrastructure, or a cloud-based service that offers APIs and SDKs for integration.
In a typical scenario, these libraries are installed and imported into a PHP project, where they provide the different functions, objects, and other interfaces that can be used inside the application code for implementing different video processing tasks.
You can use these libraries to add video editing features to your application. For example, you can enable users to upload a video and trim or resize it through your app.
Popular Use Cases & Features
As we mentioned, video editing libraries provide access to a wide range of features. By using such libraries we can programmatically implement the following:
- Transcoding: Video transcoding enables converting videos from one format to another by modifying its properties like resolution, encoding, and bitrate.
- Rendering: Video rendering involves combining and processing different assets (including audio, effects, clips, etc) to produce the final playable video.
- Text-to-speech (TTS): Text-to-speech receives written text as input and converts it into spoken audio with a natural-sounding voice.
- Effects: Video effects include adding overlays, color corrections, blurring, sharpening, and many other options.
- Basic Editing Features: This includes things like trimming, resizing, rotating, scaling, splitting, etc.
While these are just some examples of what a library can provide, they should demonstrate the powerful video editing capabilities offered by these libraries.
However, not all libraries can provide every feature you need; it depends on the external service they rely on and what functionality it can implement. For example, a library that provides access to a locally installed editing tool that can only trim and resize videos will only provide these features, while another library can provide access to a cloud-based service with transcoding and TTS features.
So, it’s important to decide which features you want to implement inside your application, which will help you choose the appropriate libraries for your requirements.
Getting Set Up: Installing and Configuring a PHP Editing Library
Now that we understand what video editing libraries are and what features they provide, let’s walk through an example to see how we can use them. There are multiple libraries available for video editing in PHP; for our scenario, we’ll use Cloudinary’s libraries.
Cloudinary is a cloud-based platform that offers an end-to-end solution for media management. It automates the entire lifecycle of media content, including uploading, storing, editing, optimization, and delivery. It offers an API-first approach where you can integrate your applications with Cloudinary’s platform to take advantage of the different media capabilities it provides.
To follow along with the coming steps, you’ll need to create an account on Cloudinary. Once you sign up, you’ll get a default cloud environment and authentication APIs ready, which we’ll use in our example.
Installing via Composer
Assuming you already have PHP and composer installed, you can install the Cloudinary SDK and prepare the environment with the following steps:
Update the composer.json file and add the SDK.
composer require cloudinary/cloudinary_php

// If you open the composer.json after this command, it should look like this:

{
    "require": {
        "cloudinary/cloudinary_php": "^3.1"
    }
}

// Then, run this to install dependencies

composer install
After the Cloudinary PHP package and other dependencies are installed, you’re now ready to start working on your videos.
Authenticating and Editing Your First Video
To utilize Cloudinary’s features, your application needs to authenticate to the Cloudinary platform. So, you’ll need to pass your account credentials to the application somehow.
This can be done in different ways, whether using the credentials directly within the code (not recommended for security), adding them to a configuration file, or setting them in an environment variable. In our example, we’ll use the environment variable method.
1. Log in to your Cloudinary account from the console UI and navigate to the Home section.
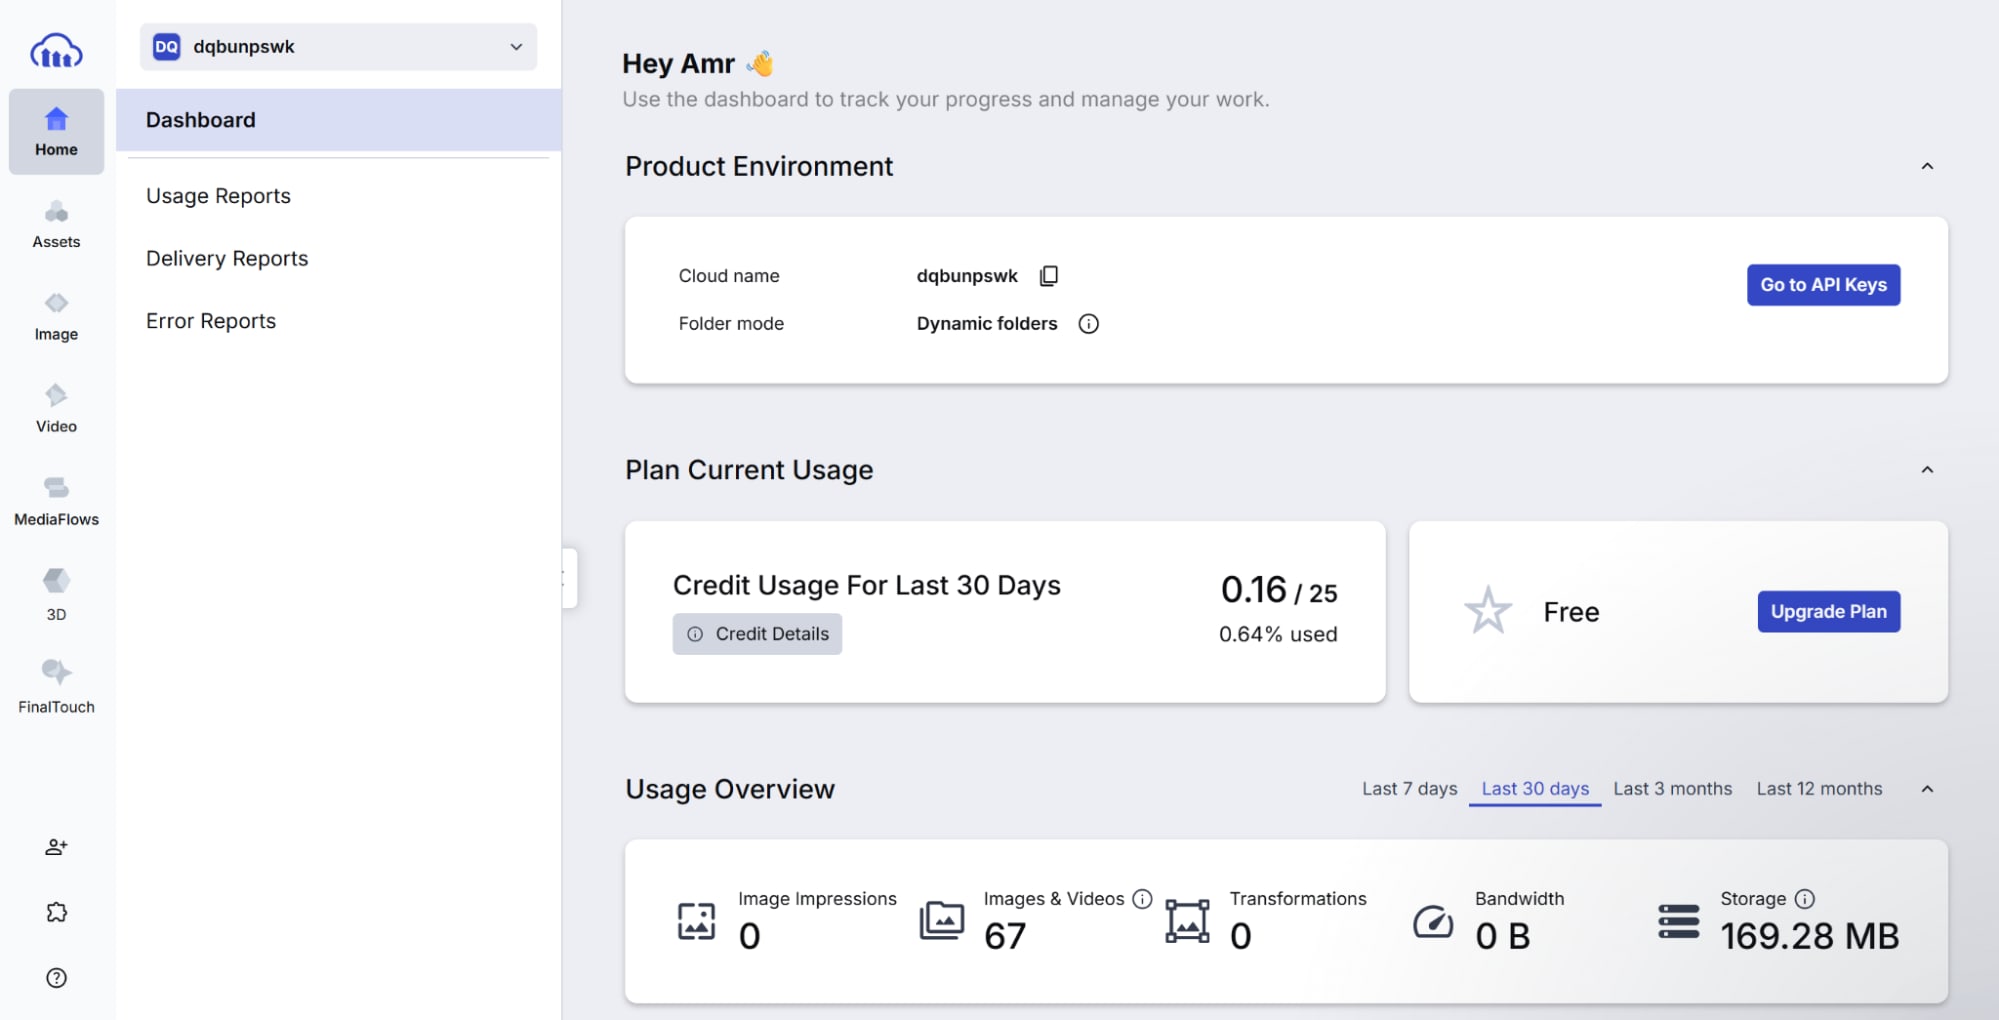
2. Click on Go to API Keys. From this page you can generate a new API key or see the current API keys you have.
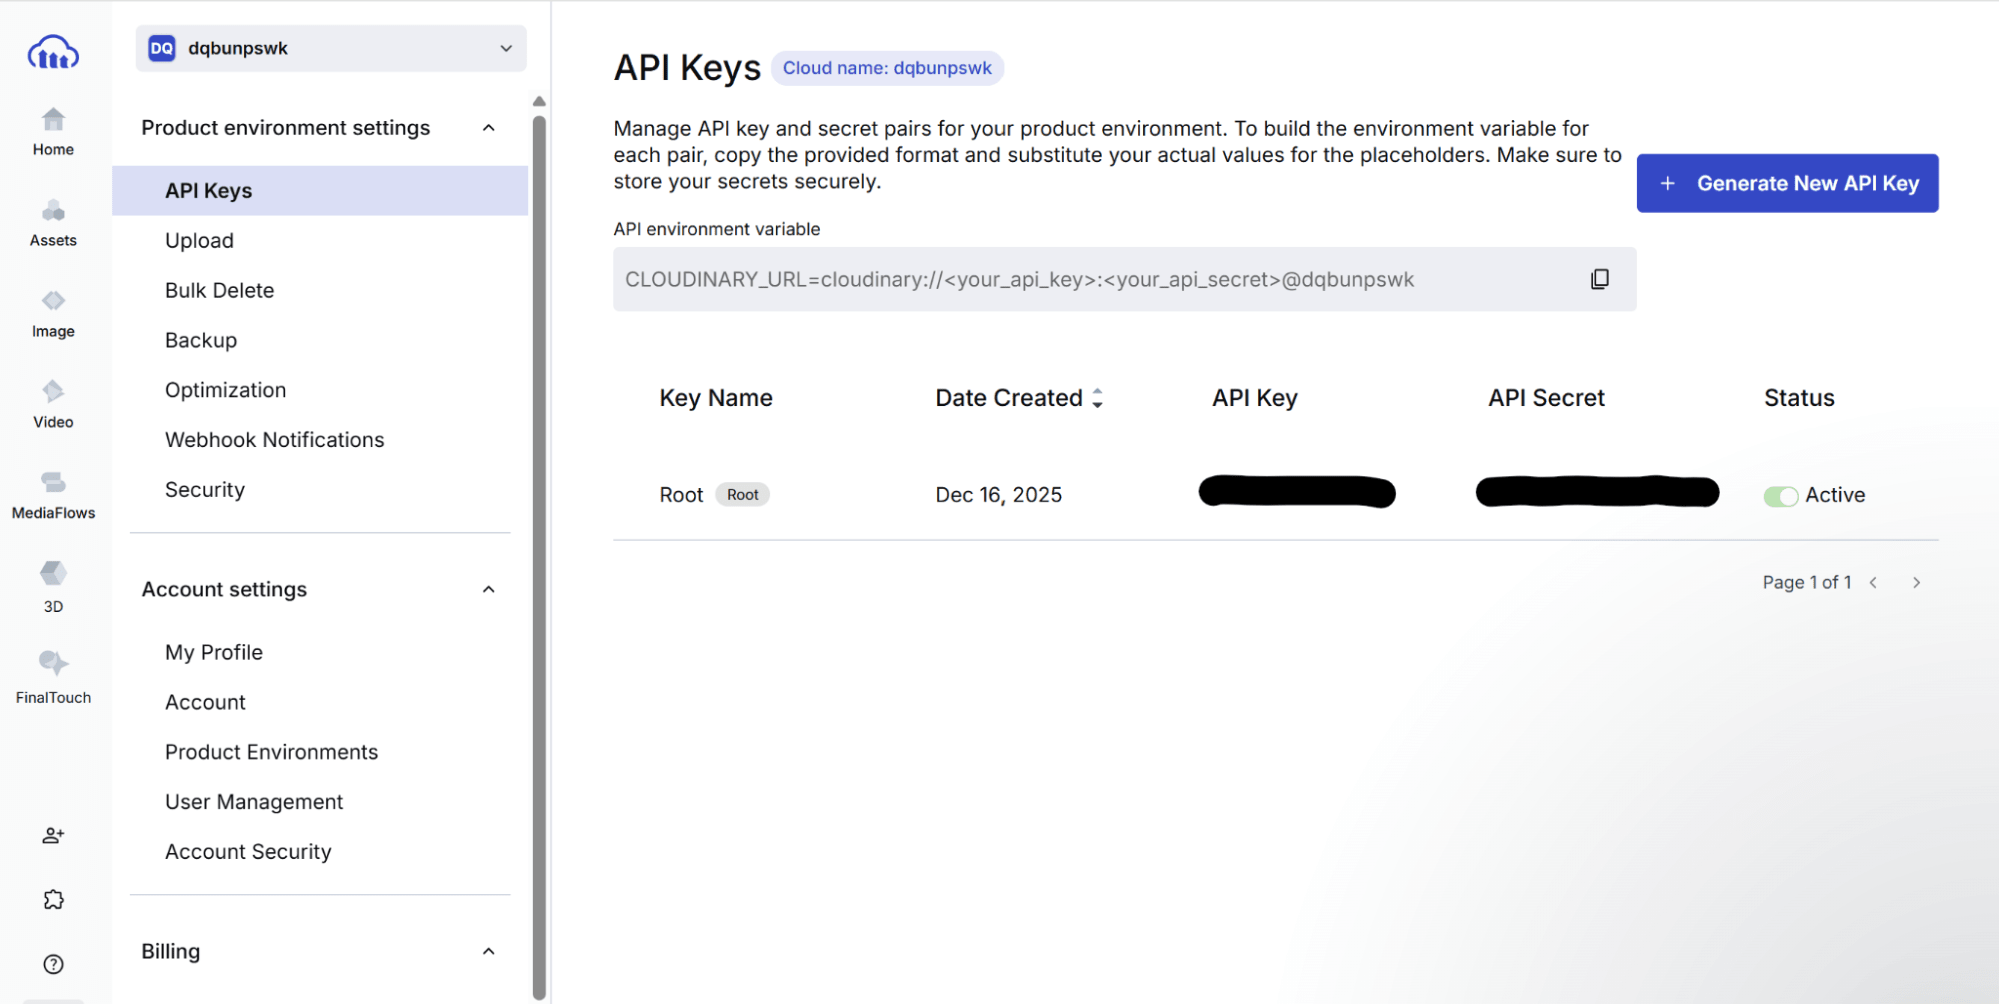
You’ll also find the CLOUDINARY_URL API environment variable structure displayed. Copy this and replace <your_api_key> and <your_api_secret> with the information from your generated API key.
3. Set the CLOUDINARY_URL environment variable with this structure in your environment.
Your application now should be able to authenticate to Cloudinary.
Now let’s start with a simple edit, the following code will generate a Transformation URL to trim the video using the provided start and end offsets:
<?php
require 'vendor/autoload.php';
use Cloudinary\Transformation\VideoEdit;
use Cloudinary\Transformation\Resize;
use Cloudinary\Transformation\Effect;
use Cloudinary\Cloudinary;
$cld = new Cloudinary();
$res = $cld-> Video('turtle.mp4')
    ->videoEdit(
        VideoEdit::trim()
            ->startOffset(7.5)
            ->endOffset(10.0)
    )->toUrl();
echo $res;
?>
The above Video helper method returns a direct URL. So, after you run the code, you should get an output that looks like this:
https://res.cloudinary.com/dqbunpswk/video/upload/eo_10.0,so_7.5/v1/turtle.mp4?_b=AAHNUID
When you use this URL you’ll get the final video after transformation.
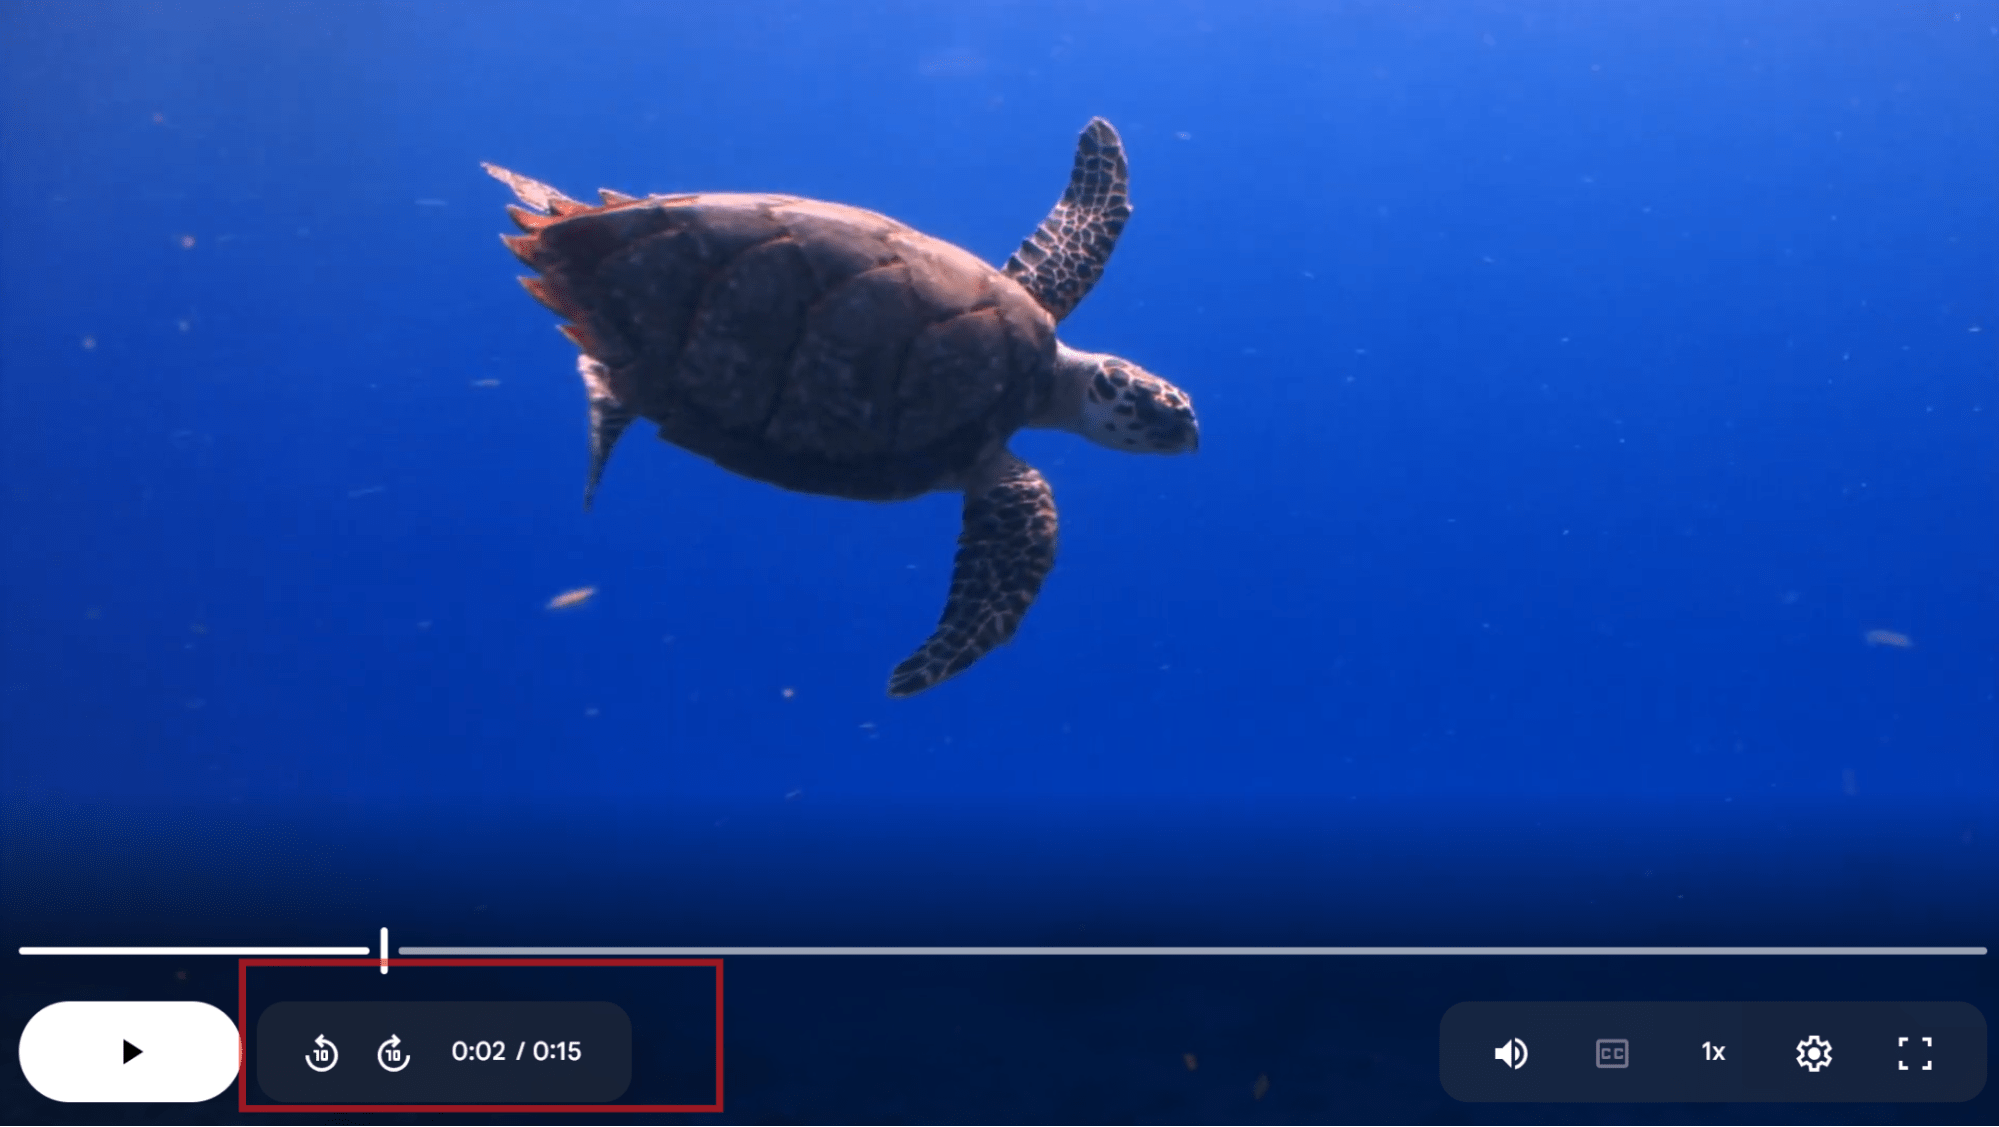
Original video:
Transformed video:

Instead of generating a direct URL, you can also generate an HTML video tag using the VideoTag helper method, which will include transformation URLs as sources with different formats supported by most web browsers:
<?php
require 'vendor/autoload.php';
use Cloudinary\Transformation\VideoEdit;
use Cloudinary\Transformation\Resize;
use Cloudinary\Transformation\Effect;
use Cloudinary\Cloudinary;
$cld = new Cloudinary();
$res = $cld-> VideoTag('turtle.mp4')
    ->videoEdit(
        VideoEdit::trim()
            ->startOffset(7.5)
            ->endOffset(10.0)
    );
echo $res;
?>

// Output:

<video poster="https://res.cloudinary.com/dqbunpswk/video/upload/eo_10.0,so_7.5/v1/turtle.mp4.jpg?_b=AAHNUID">
<source src="https://res.cloudinary.com/dqbunpswk/video/upload/eo_10.0,so_7.5/vc_h265/v1/turtle.mp4.mp4?_b=AAHNUID" type="video/mp4; codecs=hev1">
<source src="https://res.cloudinary.com/dqbunpswk/video/upload/eo_10.0,so_7.5/vc_vp9/v1/turtle.mp4.webm?_b=AAHNUID" type="video/webm; codecs=vp9">
<source src="https://res.cloudinary.com/dqbunpswk/video/upload/eo_10.0,so_7.5/vc_auto/v1/turtle.mp4.mp4?_b=AAHNUID" type="video/mp4">
<source src="https://res.cloudinary.com/dqbunpswk/video/upload/eo_10.0,so_7.5/vc_auto/v1/turtle.mp4.webm?_b=AAHNUID" type="video/webm">
</video>
More Video Transformation Examples
After we’ve covered the basics, now let’s try other code samples to apply more transformations.
Resizing and Cropping
There are different resize/crop modes that Cloudinary offers. In our example, we’ll use c_crop, which extracts a specific region from the video with the provided dimensions without resizing or scaling it:
<?php
require 'vendor/autoload.php';
use Cloudinary\Transformation\VideoEdit;
use Cloudinary\Transformation\Resize;
use Cloudinary\Transformation\Effect;
use Cloudinary\Cloudinary;
$cld = new Cloudinary();
$res = $cld-> Video('turtle.mp4')
    ->resize(Resize::crop()->width(200)
->height(200));
echo $res;
?>
Again, because we’re using the Video helper method, it will generate a transformation URL:
https://res.cloudinary.com/dqbunpswk/video/upload/c_crop,h_200,w_200/v1/turtle.mp4?_b=AAHNUID
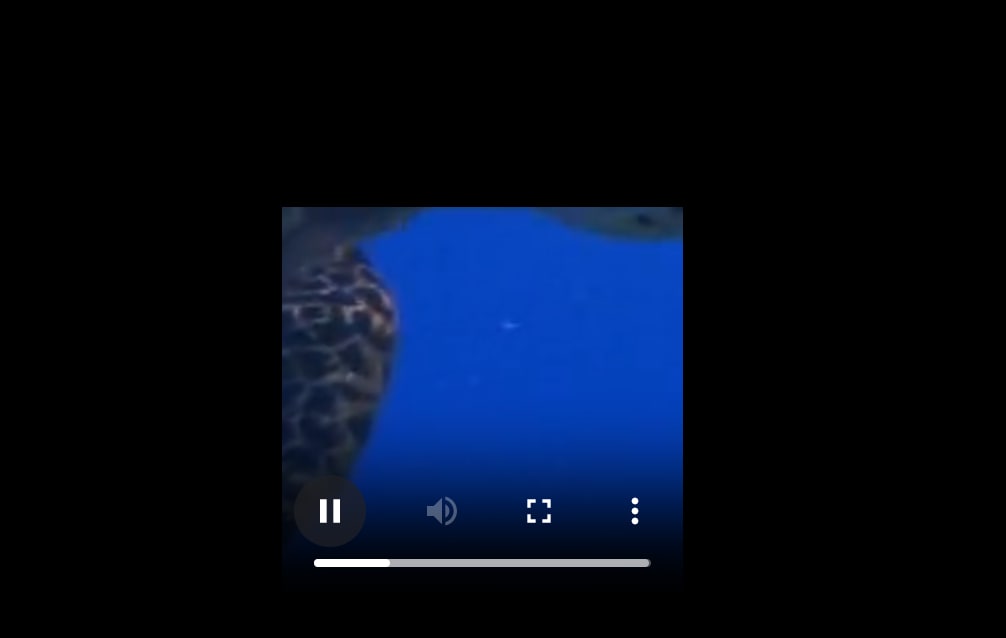
Cropped video:
Similar to the previous example, if we use the VideoTag helper method we’ll get an HTML video tag instead:
<?php
require 'vendor/autoload.php';
use Cloudinary\Transformation\VideoEdit;
use Cloudinary\Transformation\Resize;
use Cloudinary\Transformation\Effect;
use Cloudinary\Cloudinary;
$cld = new Cloudinary();
$res = $cld-> VideoTag('turtle.mp4')
    ->resize(Resize::crop()->width(200)
->height(200));
echo $res;
?>

// output

<video poster="https://res.cloudinary.com/dqbunpswk/video/upload/c_crop,h_200,w_200/v1/turtle.mp4.jpg?_b=AAHNUID">
<source src="https://res.cloudinary.com/dqbunpswk/video/upload/c_crop,h_200,w_200/vc_h265/v1/turtle.mp4.mp4?_b=AAHNUID" type="video/mp4; codecs=hev1">
<source src="https://res.cloudinary.com/dqbunpswk/video/upload/c_crop,h_200,w_200/vc_vp9/v1/turtle.mp4.webm?_b=AAHNUID" type="video/webm; codecs=vp9">
<source src="https://res.cloudinary.com/dqbunpswk/video/upload/c_crop,h_200,w_200/vc_auto/v1/turtle.mp4.mp4?_b=AAHNUID" type="video/mp4">
<source src="https://res.cloudinary.com/dqbunpswk/video/upload/c_crop,h_200,w_200/vc_auto/v1/turtle.mp4.webm?_b=AAHNUID" type="video/webm">
</video>
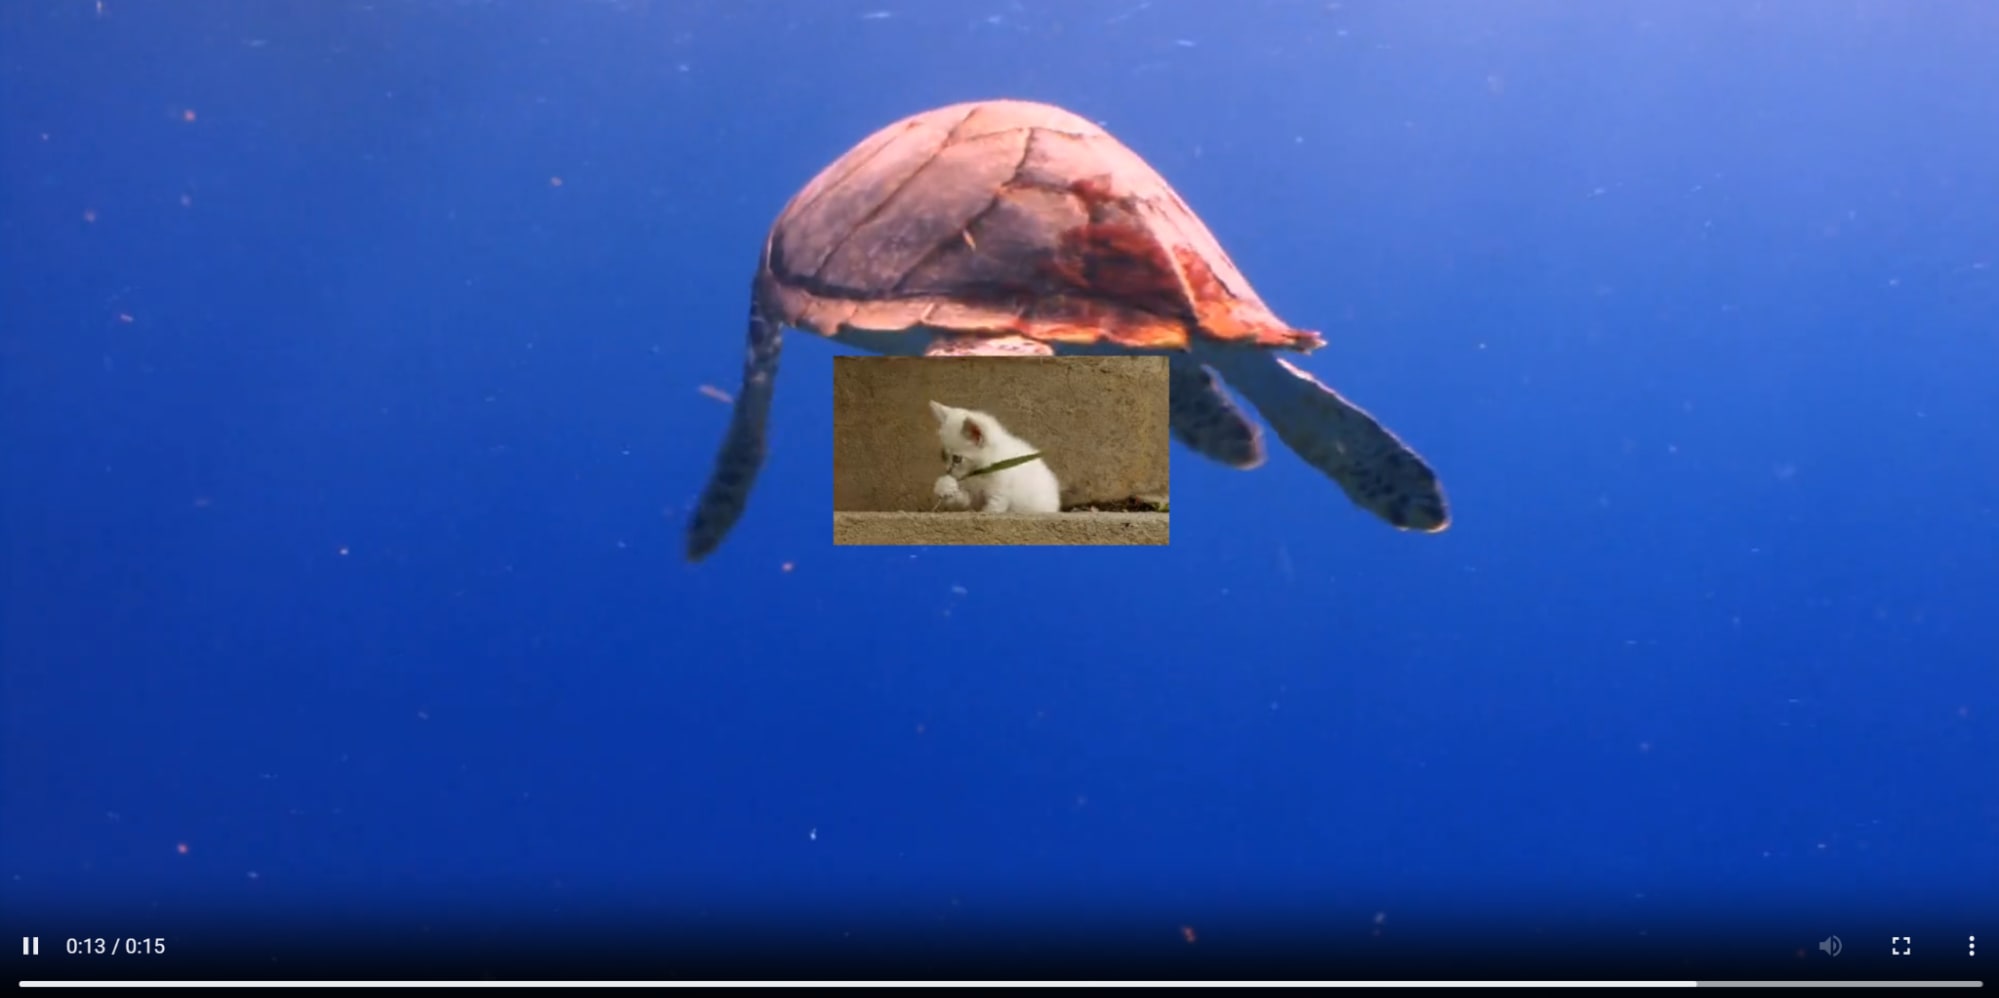
Overlays
Overlays enable adding an element like image or video, on top of the original content creating a multi-layer view. Let’s start by applying an image overlay to our video:
<?php
require 'vendor/autoload.php';
use Cloudinary\Transformation\VideoEdit;
use Cloudinary\Transformation\Resize;
use Cloudinary\Transformation\Effect;
use Cloudinary\Transformation\Overlay;
use Cloudinary\Transformation\Source;
use Cloudinary\Cloudinary;
$cld = new Cloudinary();
$res = $cld-> Video('turtle.mp4')
	->overlay(Overlay::source(
	Source::image("samples/animals/kitten-playing")));
echo $res;
?>
After running this code, you’ll get the transformation URL for applying the overlay:
https://res.cloudinary.com/dqbunpswk/video/upload/l_samples:animals:kitten-playing/fl_layer_apply/v1/turtle.mp4?_b=AAHNUID
Replacing the Video method with VideoTag will again get you an HTML tag result:
<video poster="https://res.cloudinary.com/dqbunpswk/video/upload/l_samples:animals:kitten-playing/fl_layer_apply/v1/turtle.mp4.jpg?_b=AAHNUID">
<source src="https://res.cloudinary.com/dqbunpswk/video/upload/l_samples:animals:kitten-playing/fl_layer_apply/vc_h265/v1/turtle.mp4.mp4?_b=AAHNUID" type="video/mp4;codecs=hev1">
<source src="https://res.cloudinary.com/dqbunpswk/video/upload/l_samples:animals:kitten-playing/fl_layer_apply/vc_vp9/v1/turtle.mp4.webm?_b=AAHNUID" type="video/webm; codecs=vp9">
<source src="https://res.cloudinary.com/dqbunpswk/video/upload/l_samples:animals:kitten-playing/fl_layer_apply/vc_auto/v1/turtle.mp4.mp4?_b=AAHNUID" type="video/mp4">
<source src="https://res.cloudinary.com/dqbunpswk/video/upload/l_samples:animals:kitten-playing/fl_layer_apply/vc_auto/v1/turtle.mp4.webm?_b=AAHNUID" type="video/webm">
</video>
Now let’s try to add a video overlay on top of our original video. To make things more interesting, we’ll apply a transformation on the overlay video itself to resize it:
<?php
require 'vendor/autoload.php';
use Cloudinary\Transformation\VideoEdit;
use Cloudinary\Transformation\Resize;
use Cloudinary\Transformation\Effect;
use Cloudinary\Transformation\Overlay;
use Cloudinary\Transformation\Source;
use Cloudinary\Cloudinary;
$cld = new Cloudinary();
$res = $cld-> Video('turtle.mp4')
	->overlay(Overlay::source(
	Source::video("turtle.mp4")
	->resize(Resize::scale()->width(500)
	->height(500))));
echo $res;
?>
We should get a transformation URL where another instance of our video is resized and added as an overlay:
https://res.cloudinary.com/dqbunpswk/video/upload/l_video:samples:sea-turtle/c_scale,h_500,w_500/fl_layer_apply/v1/turtle.mp4?_a=BAAE6HH8

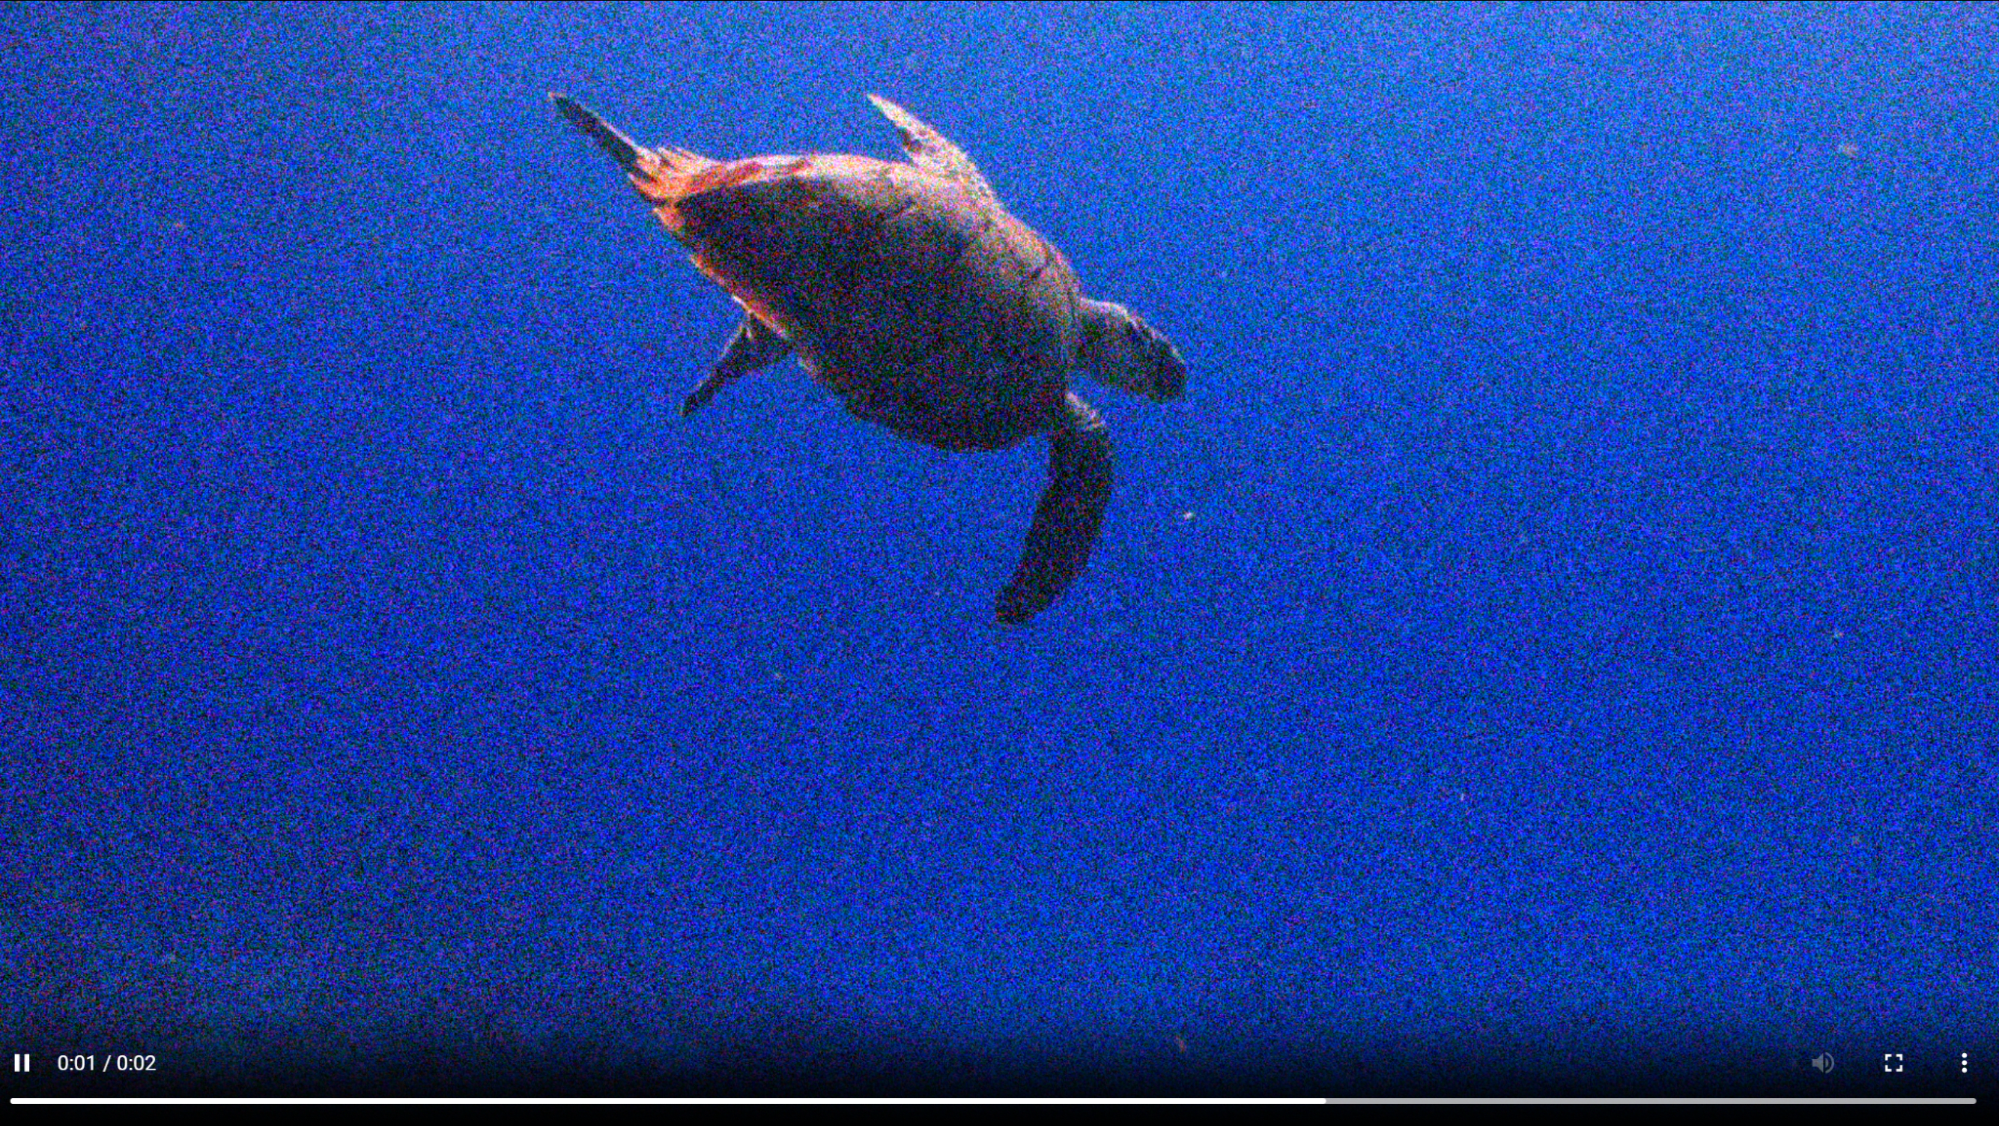
Effects and Enhancements
There are a lot of video effects that we can apply with Cloudinary including Fade-in/out, Blur, Reverse, Loop, and many others. In our example, let’s add some noise to our video:
<?php
require 'vendor/autoload.php';
use Cloudinary\Transformation\VideoEdit;
use Cloudinary\Transformation\Resize;
use Cloudinary\Transformation\Effect;
use Cloudinary\Transformation\Overlay;
use Cloudinary\Transformation\Source;
use Cloudinary\Cloudinary;
$cld = new Cloudinary();
$res = $cld-> Video('turtle.mp4')
	->effect(Effect::noise(100));
echo $res;
?>
You’ll get the transformation URL where you can access the video with the added noise:
https://res.cloudinary.com/dqbunpswk/video/upload/e_noise:100/v1/turtle.mp4?_b=AAHNUID
Let’s try another effect, which is blurring our image:
<?php
require 'vendor/autoload.php';
use Cloudinary\Transformation\VideoEdit;
use Cloudinary\Transformation\Resize;
use Cloudinary\Transformation\Effect;
use Cloudinary\Transformation\Overlay;
use Cloudinary\Transformation\Source;
use Cloudinary\Cloudinary;
$cld = new Cloudinary();
$res = $cld-> Video('turtle.mp4')
	->effect(Effect::blur()->strength(1500));
echo $res;
?>
And we get our blurring URL:
https://res.cloudinary.com/dqbunpswk/video/upload/e_blur:1500/v1/turtle.mp4?_b=AAHNUID
How to Pick the Right PHP Video Editing Library for Your Needs
As we saw, a video editing library can provide a lot of features and capabilities to integrate within your application, and choosing the best library for your needs is an important decision for the success of your product.
So, we’ve created a comprehensive list for the main criteria upon which you can evaluate the different libraries and pick the right one for your requirements:
- Project Scope & Required Features: The main consideration when choosing a library is to know what features you want to include in your app. You might need to add a simple video player, provide some basic editing functionality, or offer a full suite of advanced capabilities for professional designers.
- Ease of Use and Integration: A library that’s complex to use will slow down your application development, cause maintenance overhead, and complicate debugging. So, it’s important to check whether the library provides user-friendly interfaces and well-structured, easy to follow documentation.
- Cloud-based vs Locally Hosted: As we mentioned, libraries allow communication with external services to apply the required video editing. A cloud-based service will typically remove a lot of the overhead like storing and managing the content, or setting up your own infrastructure. On the other hand, a locally hosted tool will require manual installation and setup, in addition to taking care of its availability and scalability, but will give you more control over your content data, especially if you need to satisfy certain data compliance requirements.
- Cost: Some libraries can incur additional costs. These are typically not direct costs for getting the library itself, but rather for the amount of usage for the tool or cloud service. For example, Cloudinary provides different pricing plans depending on how much you use the service and what features you utilize. Other tools, like FFmpeg can be totally free to use.
- Community and Support: Finding answers/advice when using a library is crucial to get the most out of it and resolve any issues that you face. You’ll definitely prefer a library with a strong community base where you can find tutorials, forums, or access to a dedicated customer support representative.
Wrapping Up
PHP video editing libraries enable accessing video transformation functionalities provided by external services. They provide interfaces that you can implement inside your code to integrate these video transformation capabilities within your application.
Generally, there are two categories of services which these libraries provide access to, the first one is cloud-based services, and the second is locally installed tools. Cloud-based services remove the overhead of configuring the local infrastructure for content processing and storage, but typically come at an additional cost. Local tools need to be self-managed and configured, but can provide lower costs and more control over data placement.
Dive into effortless video handling and see the difference Cloudinary makes. Sign up today and discover the ease of managing your video content with Cloudinary.
Frequently Asked Questions
What is a PHP video editing library and how does it work?
A PHP video editing library is a set of prebuilt functions that lets developers manipulate and process video files within PHP applications. It typically wraps command‑line tools like FFmpeg, enabling tasks such as trimming, resizing, and format conversion without writing low‑level media code.
What features should you look for in a PHP video editing library?
Key features include support for common video formats, the ability to cut and merge clips, add watermarks or filters, extract audio or thumbnails, and handle encoding options. Performance, documentation quality, and community support also impact how effectively you can integrate video editing into your PHP project.
Which popular PHP video editing libraries are available?
Popular options often act as FFmpeg wrappers, such as PHP‑FFMpeg, which provides an object‑oriented interface for encoding and transformations. Other tools or composer packages may offer simplified APIs for common tasks, depending on your project requirements.

