
Allowing users to upload video files is a core requirement for many web applications, especially those used for content sharing or video editing. PHP simplifies this process by providing a set of functions and variables for handling file uploads. At a high-level, uploading files in PHP involves creating a client-side HTML form for selecting the file from the client machine, and a server-side PHP script to handle processing and storing this file.
In this guide, we’ll walk through the steps for creating a simple video upload application using PHP. We’ll set the required PHP configuration to allow file uploads, create the client-side HTML, and the server-side PHP script.
In this article:
- Requirements and php.ini Upload Settings
- How to Build an HTML5 Video Upload Form
- Writing the PHP Upload Handler
- Validating File Size, MIME Types, and Upload Errors
- Saving Files Securely with Unique Filenames
- Storing Video Metadata in MySQL
- Adding Upload Progress Bar
- Security Best Practices and Common Upload Risks
Requirements and php.ini Upload Settings
To write PHP code that accepts uploading a video file, we first need to adjust some configuration in the php.ini file. This configuration will enable file uploads and set the required parameters for accepting the file.
- file_uploads has to be set to on to allow HTTP file uploads.
- upload_max_filesize needs to be set for the maximum allowed size for the uploaded file. If you plan to limit the video file size to 100Mb, set it here.
- post_max_size sets the maximum size of data sent in a POST request. This has to be set higher than the
upload_max_filesize. - memory_limit specifies the maximum amount of memory a script may consume. This needs to be set higher than the
post_max_sizeto allow for any in-memory file processing needed. - max_execution_time sets the maximum time that a script can take to execute. Setting this option to a higher value prevents timeouts during long video uploads.
- max_input_time specifies the maximum time a script can take to parse request data. It’s also needed to increase this value for video uploads to prevent parsing timeouts.
- upload_tmp_dir is a directory path that will be used for temporarily storing the file during upload.
After setting this configuration, we’re ready to start creating our client-side and server-side script.
How to Build an HTML5 Video Upload Form
The simplest way to implement the client-side video upload is through an HTML form. Inside your index.html add the following code:
<!DOCTYPE html>
<html>
<body>

<form action="upload.php" method="post" enctype="multipart/form-data">
    <label for="videoFile">Select video to upload:</label>
    <input type="file" name="videoFile" id="videoFile" accept="video/*" required>
    <input type="submit" value="Upload Video" name="submit">
</form>

</body>
</html>
This is a simple HTML form element, there are 3 main parts here that we need to note:
- The
actionattribute specifies the server-side script needed to process the data in the request. In our case, this is the PHP script that should handle the video file upload. - The
postmethod specifies the type of the HTTP request that will be sent to the server. - The
enctypeattribute specifies how the form data should be encoded when it’s sent to the server. Themultipart/form-dataencoding is used when the form input type is file.
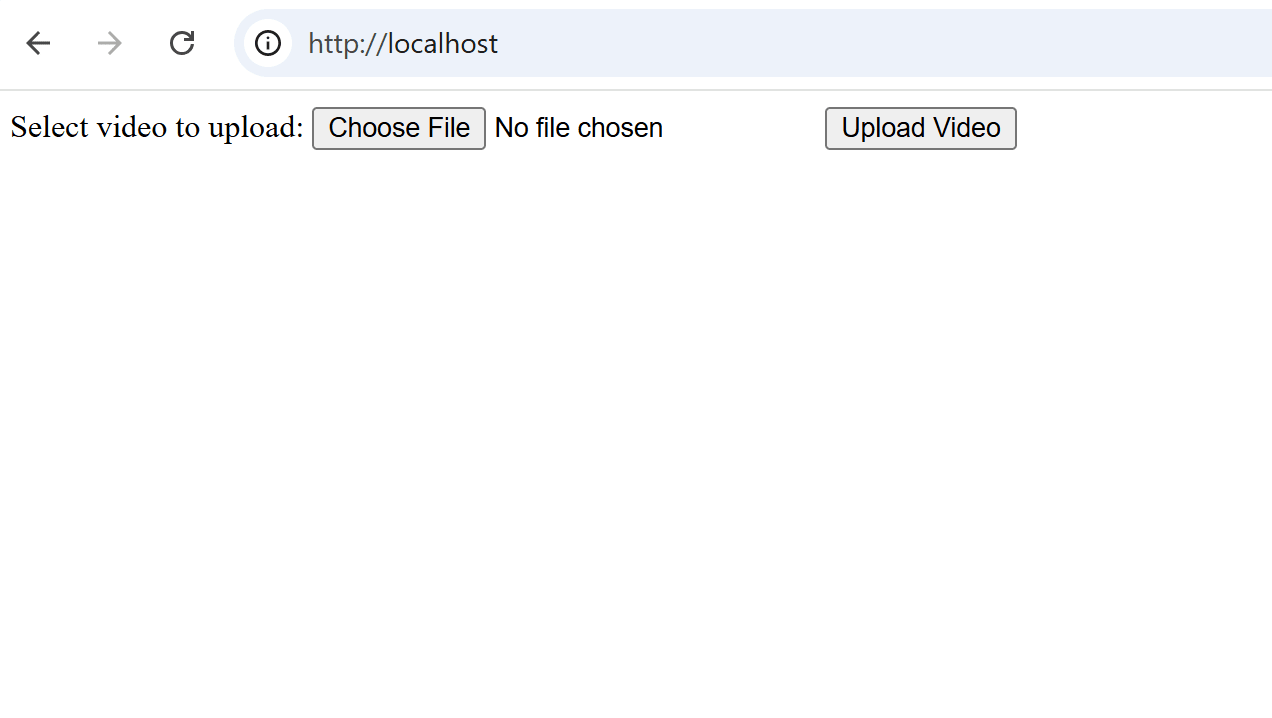
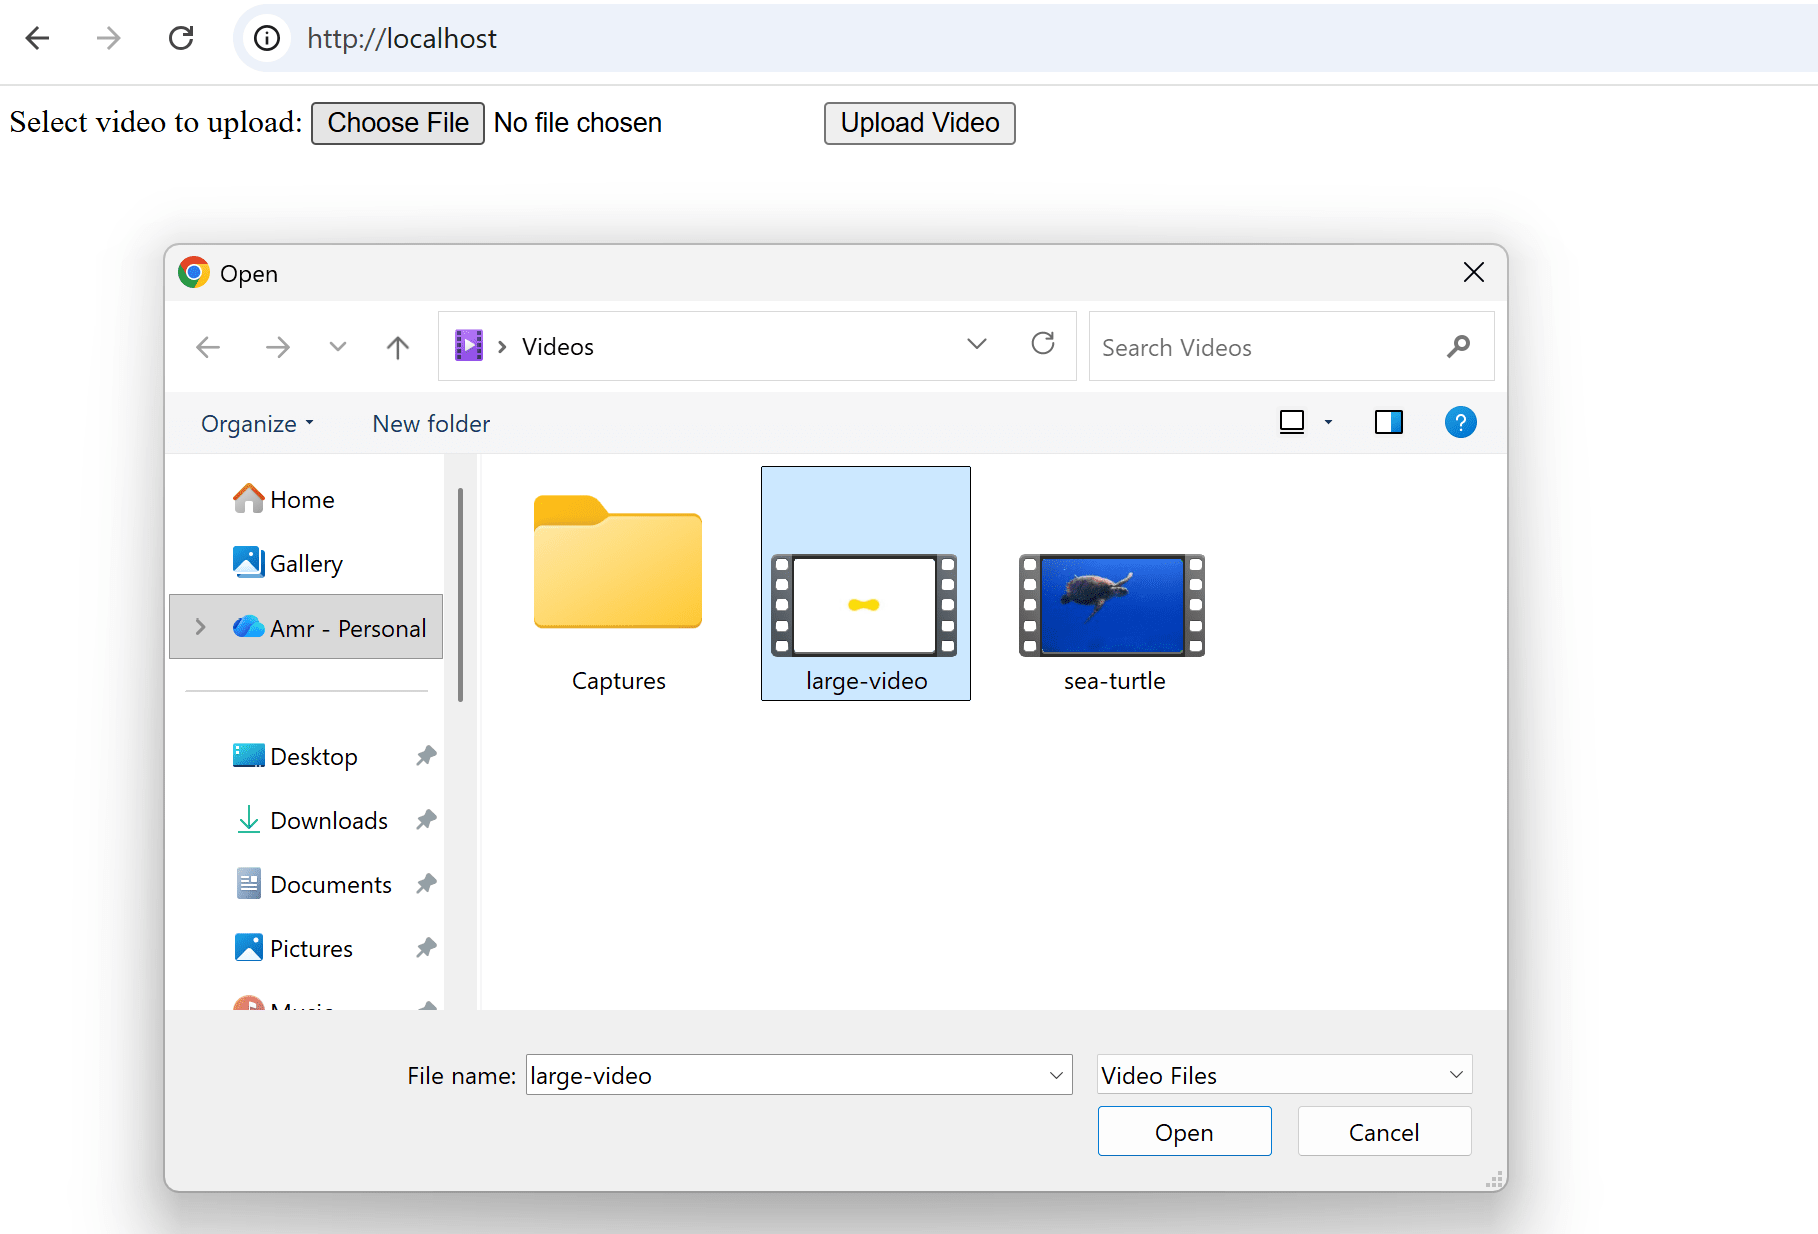
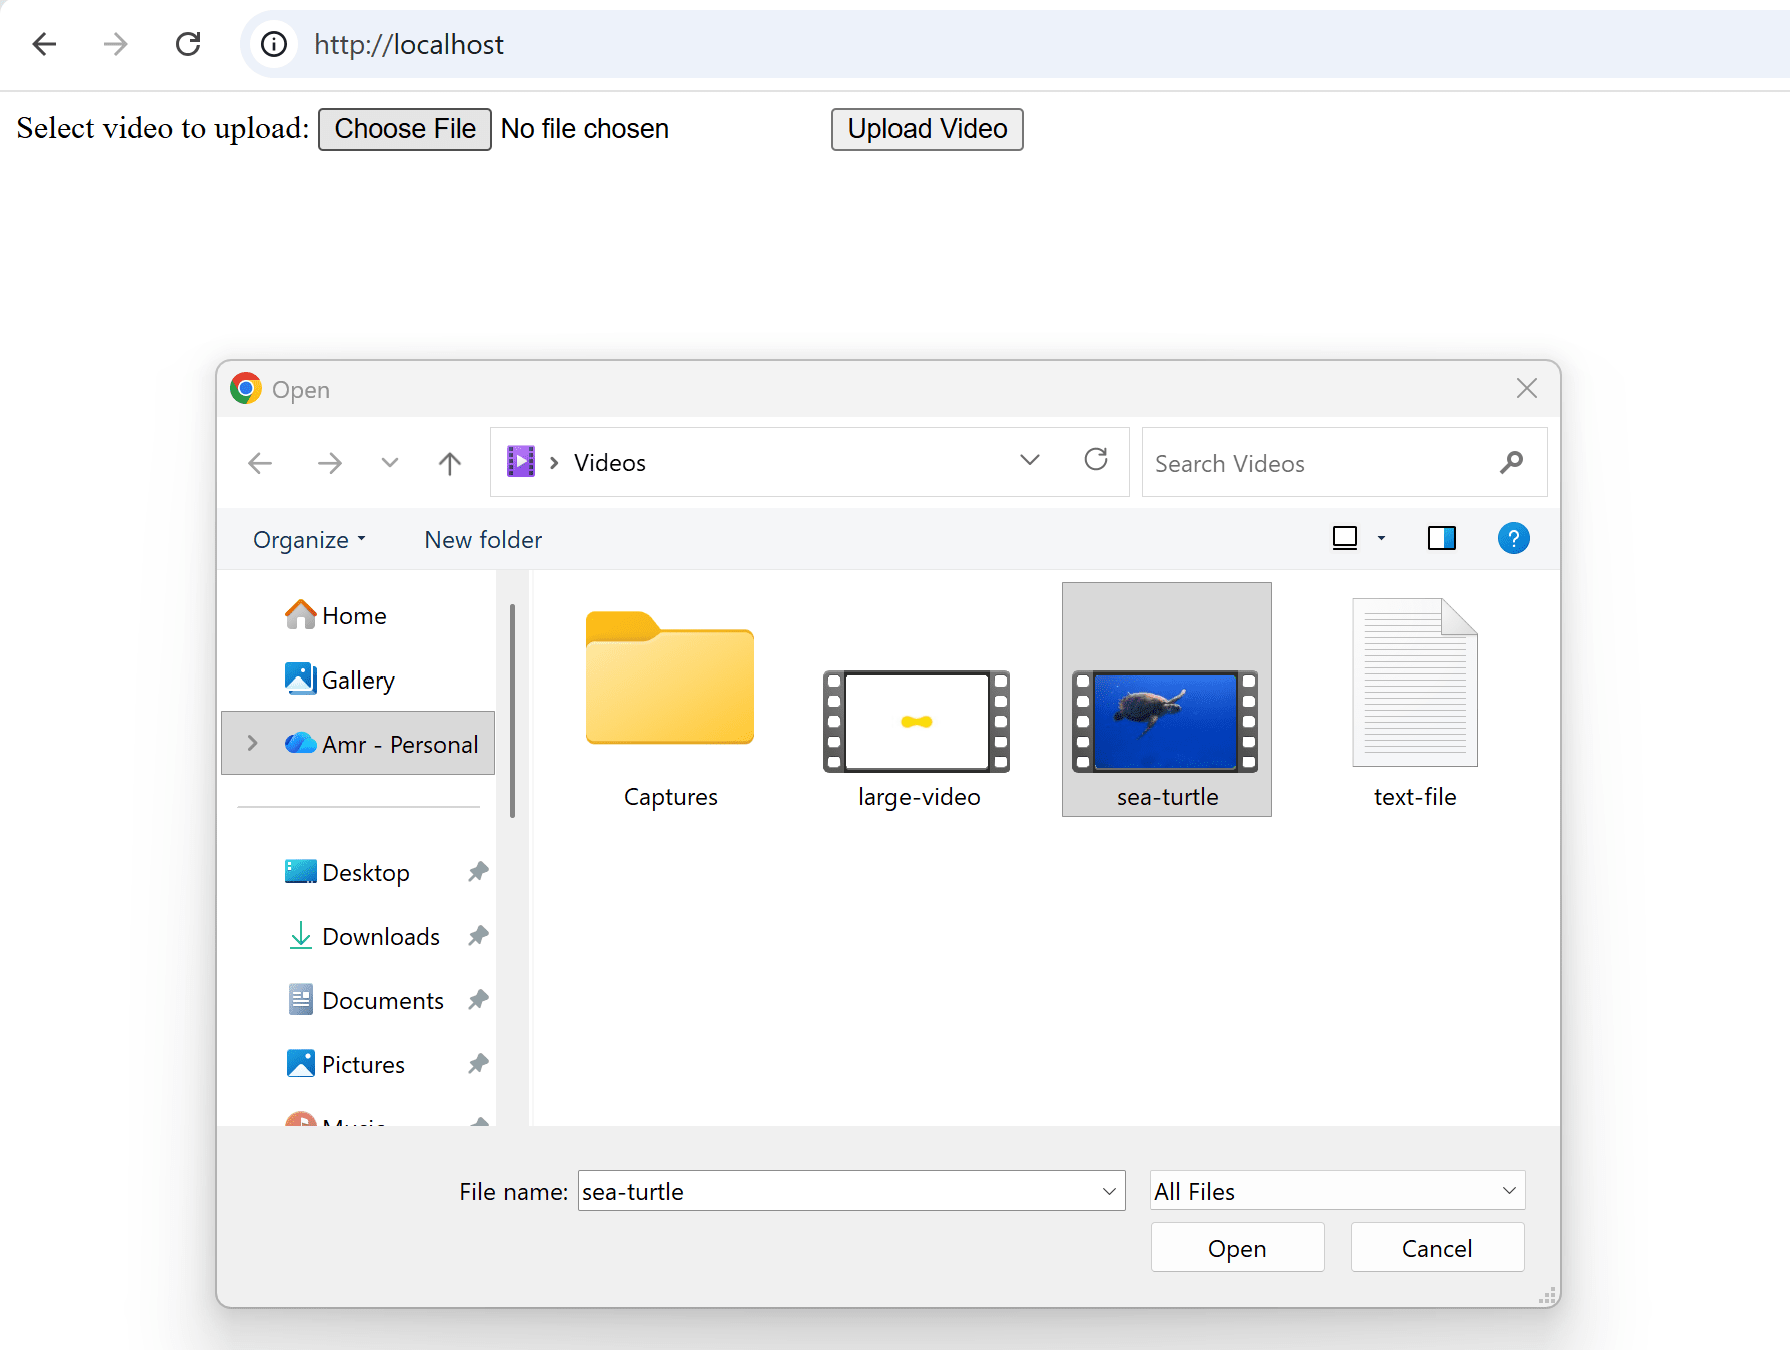
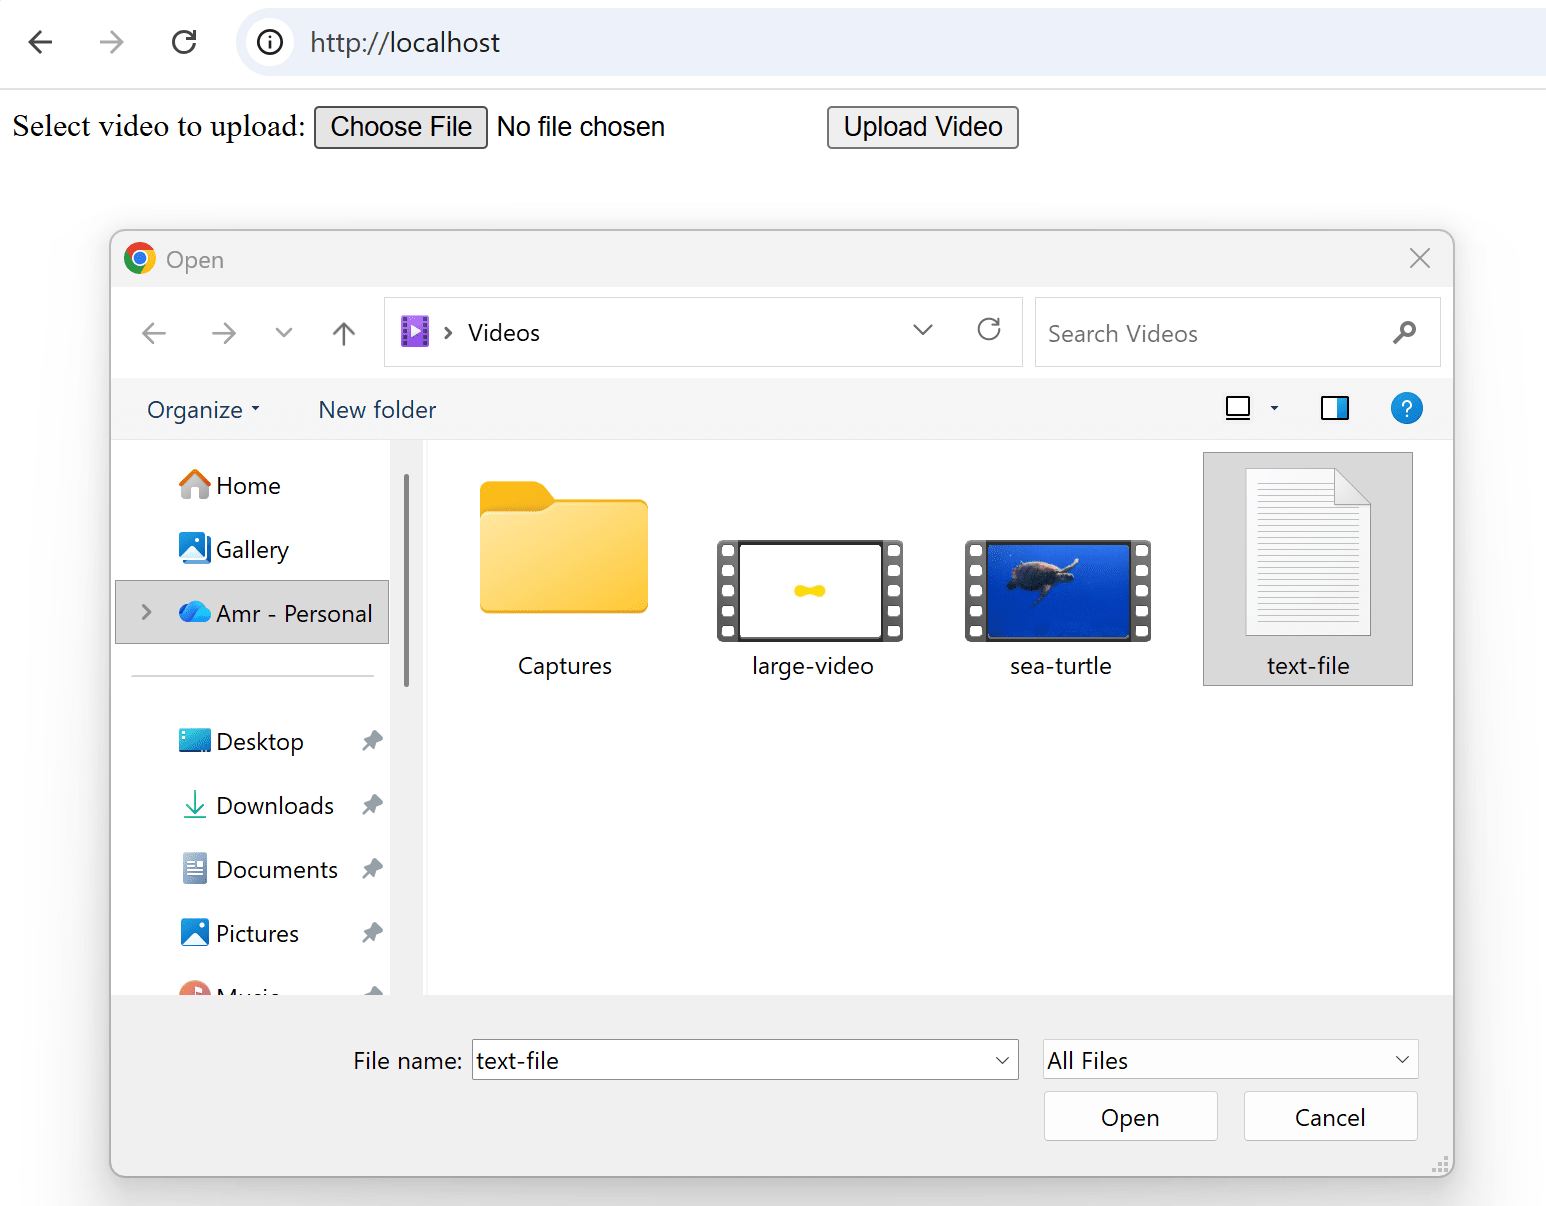
When you try to access the server now you should get a file upload form that looks like this:
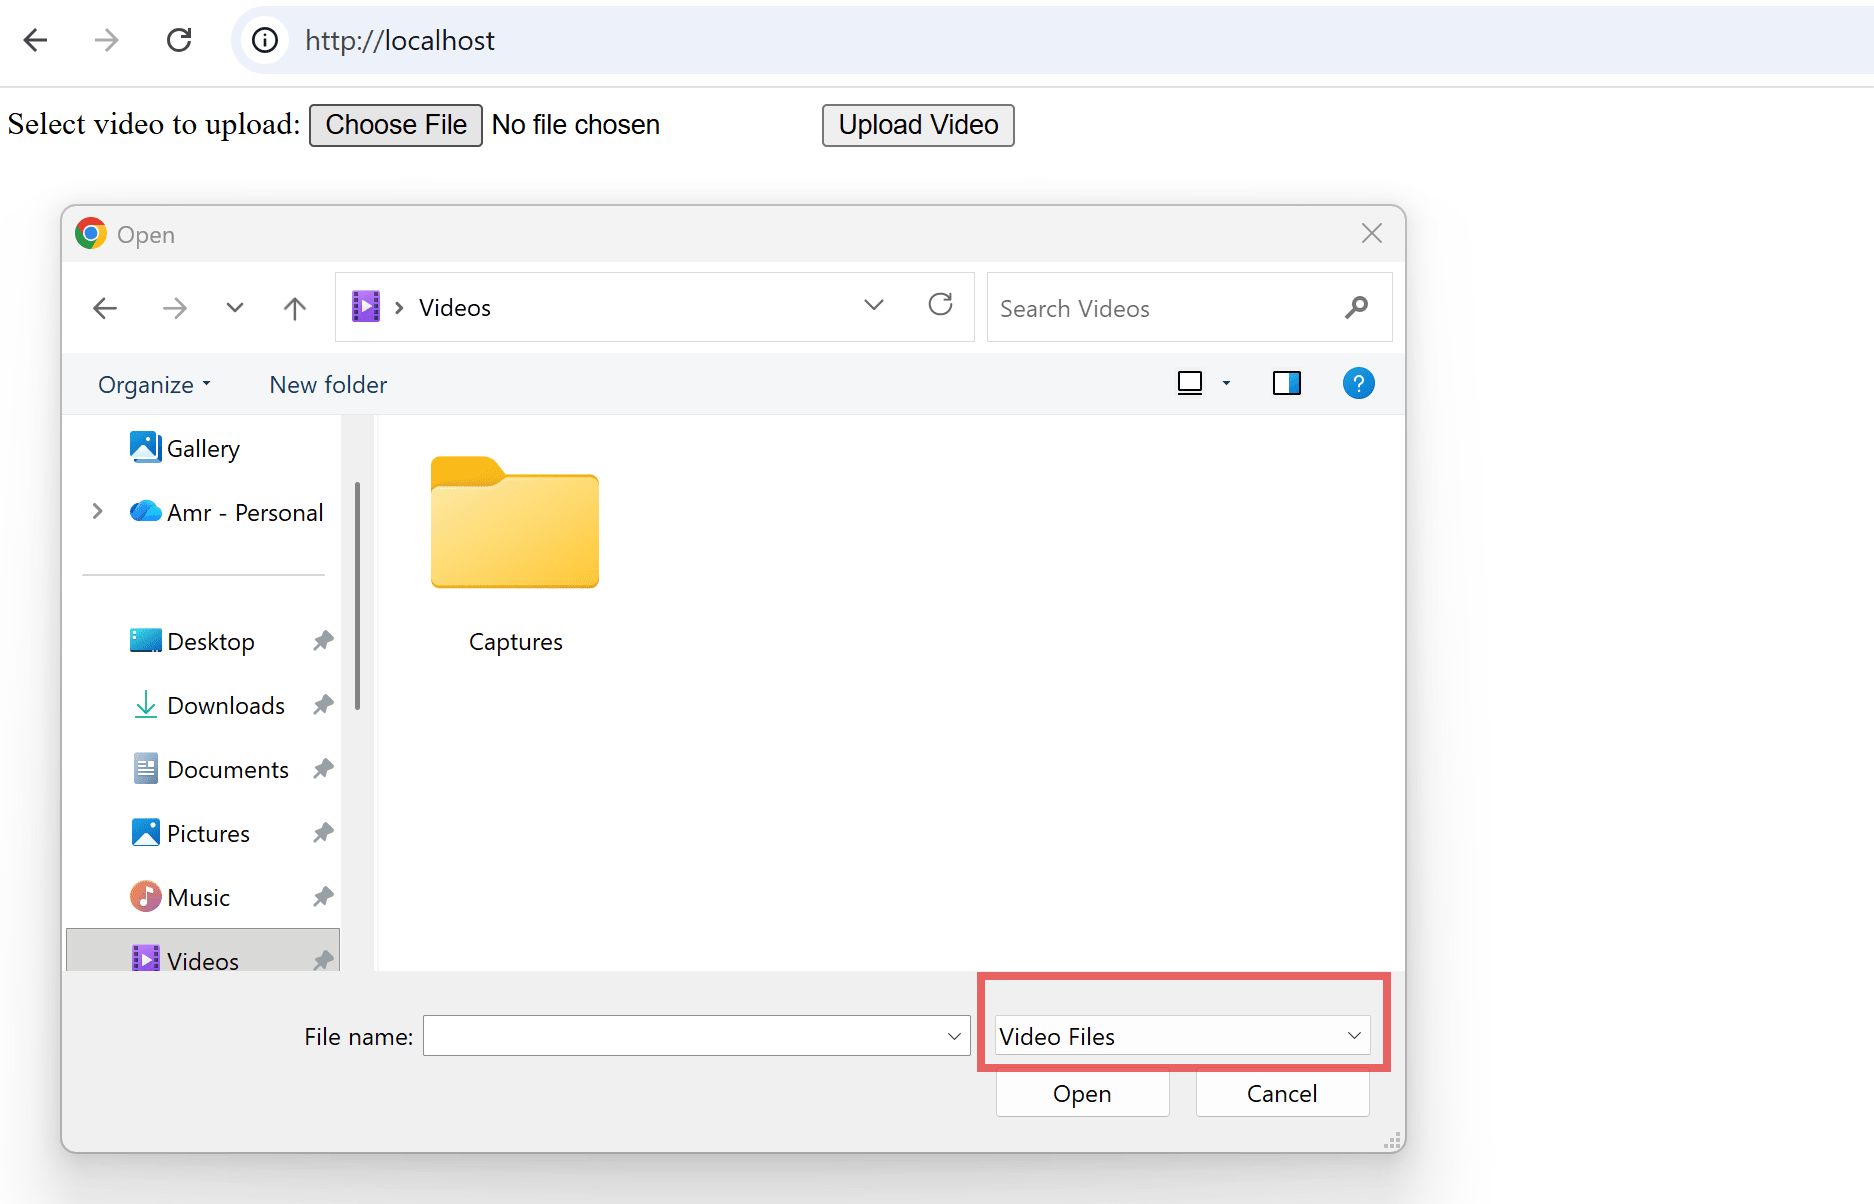
If you click on the Choose File button, it will open a pop-up to choose a file from your machine for upload. You’ll notice that it defaults to video file types, this is because we set the accept attribute in the input element to video/*
After you choose the file, when you click on the Upload Video button, the form will send the file in a POST request to the server-side script specified in the action attribute. So, our next step is to create this PHP file for handling the file upload.
Writing the PHP Upload Handler
Create a file with name upload.php to match the file name in the action attribute, and add the following code inside it:
<?php
$filename = $_FILES['videoFile']['name'];
$location = "upload/".$filename;
if ( move_uploaded_file($_FILES['videoFile']['tmp_name'], $location) ) {
  echo 'File uploaded successfully';
} else {
  echo 'Error uploading the file';
}
?>
In the above code, we:
- Use the $_FILES super global variable to get the original file name of the uploaded file.
- Then, we use the move_uploaded_file function in PHP to move the file from its temporary directory location to a permanent location.
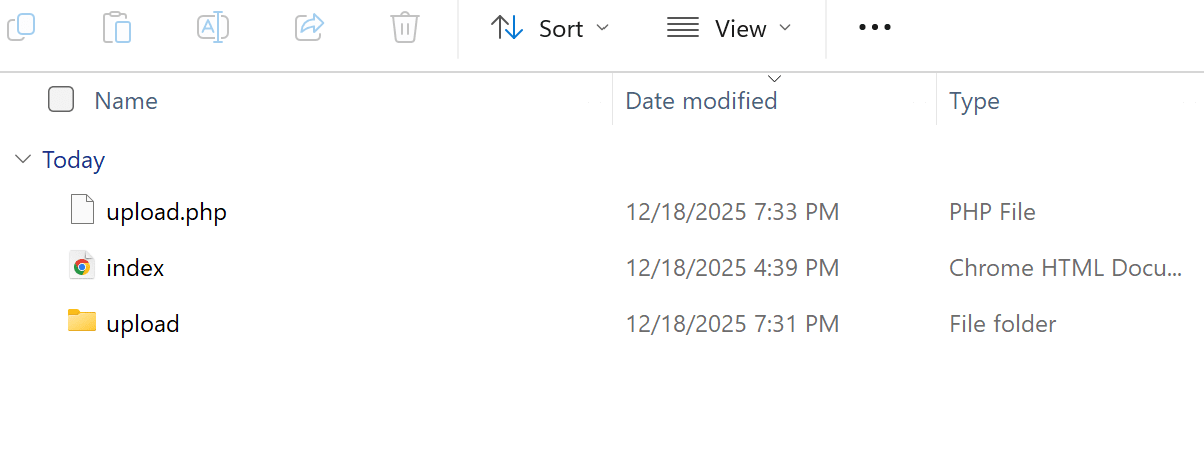
- We defined the permanent location in the
$locationvariable as"upload/", which means we need to create a directory with this name in the same location of theupload.phpscript:
You also need to ensure that the temporary directory and the permanent directory have the correct write permissions for the user which the PHP script runs as.
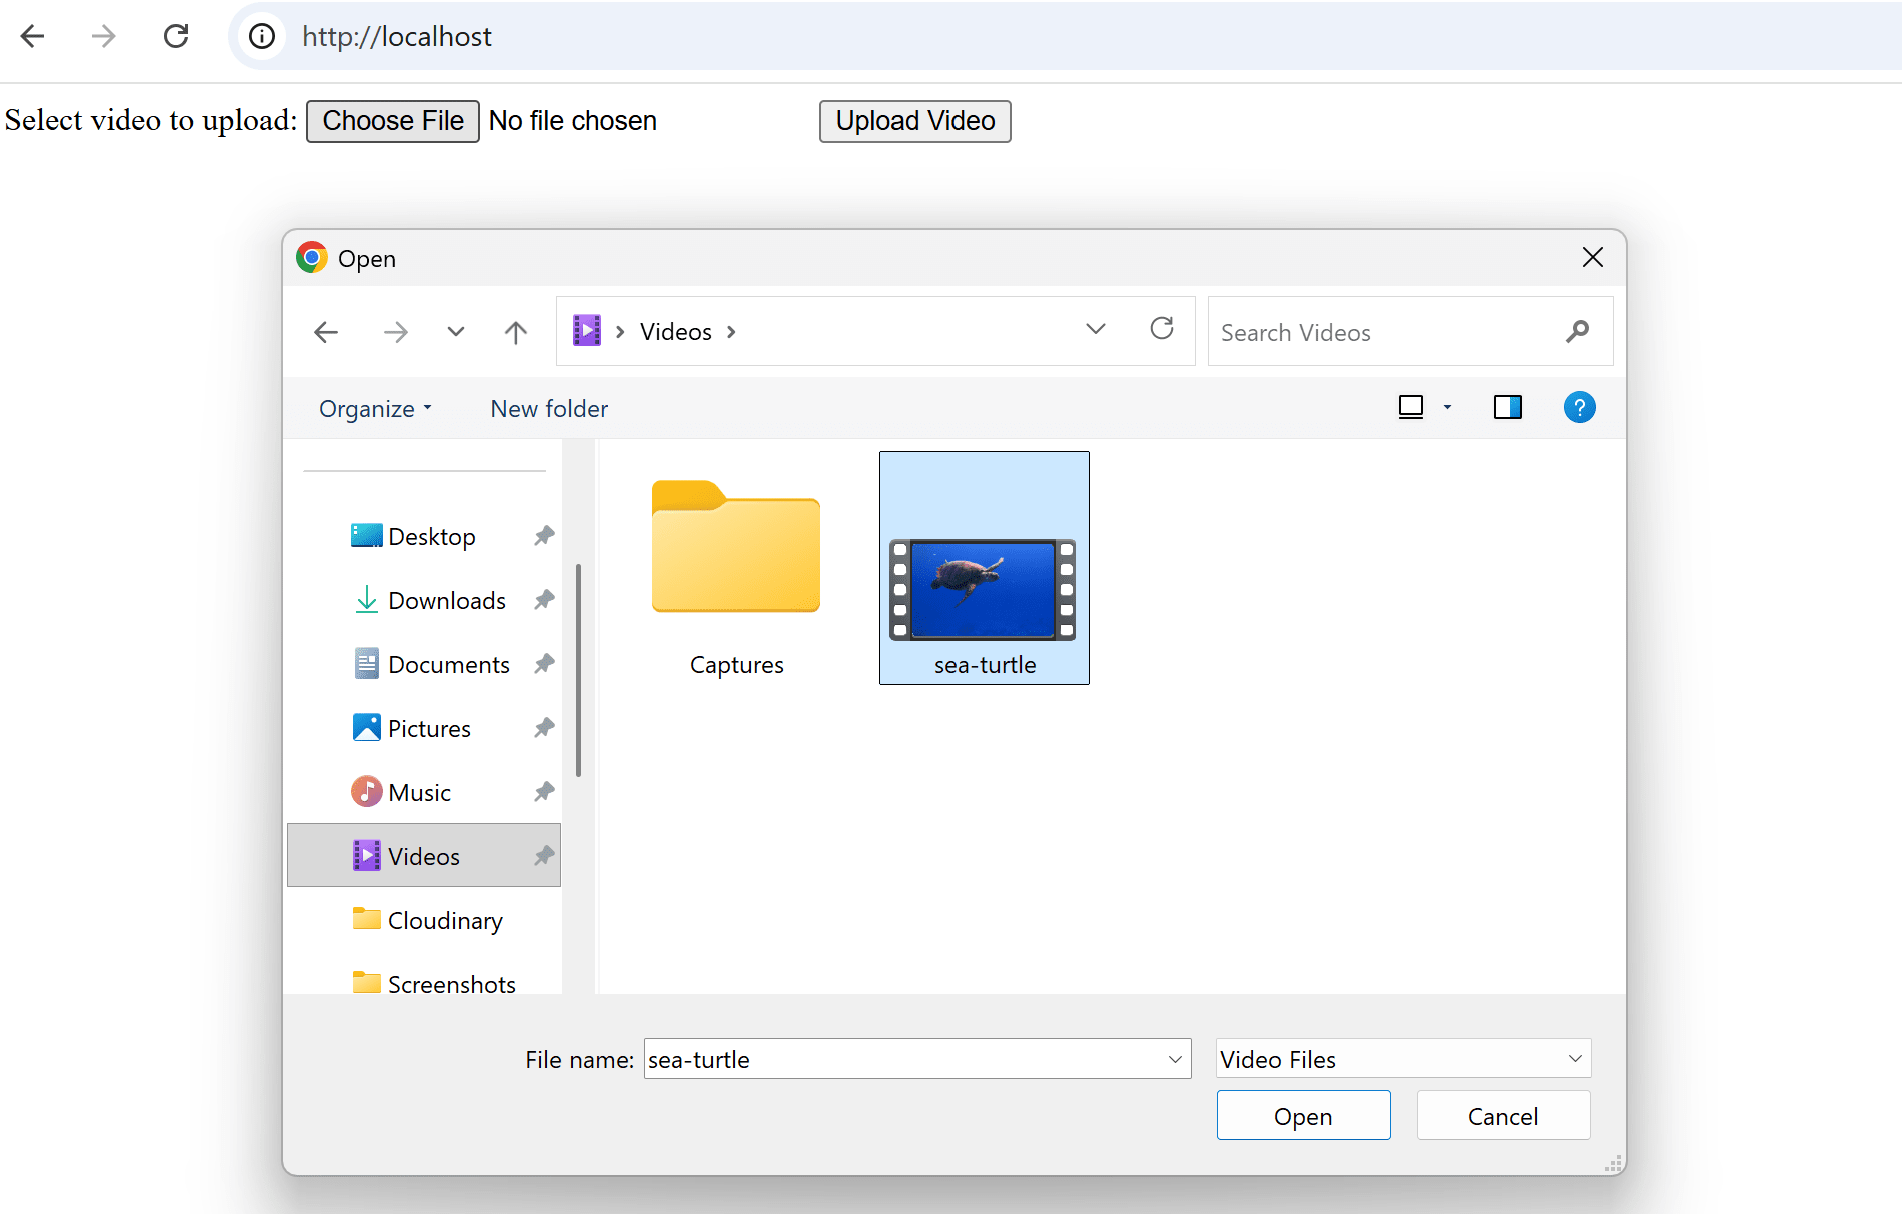
Now we’re ready to start testing our video file upload. First we’ll access our HTML upload form and choose the file to upload:
Next click on the Upload Video button, you should get one of the success or error messages specified in the PHP script:
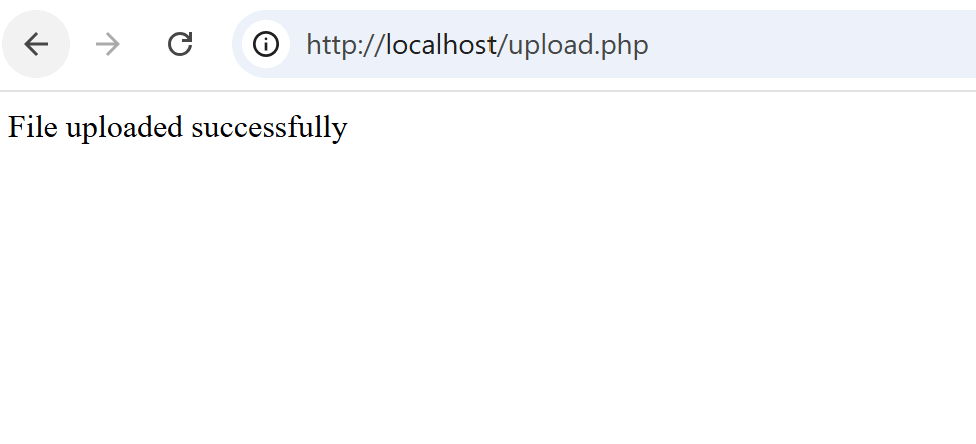
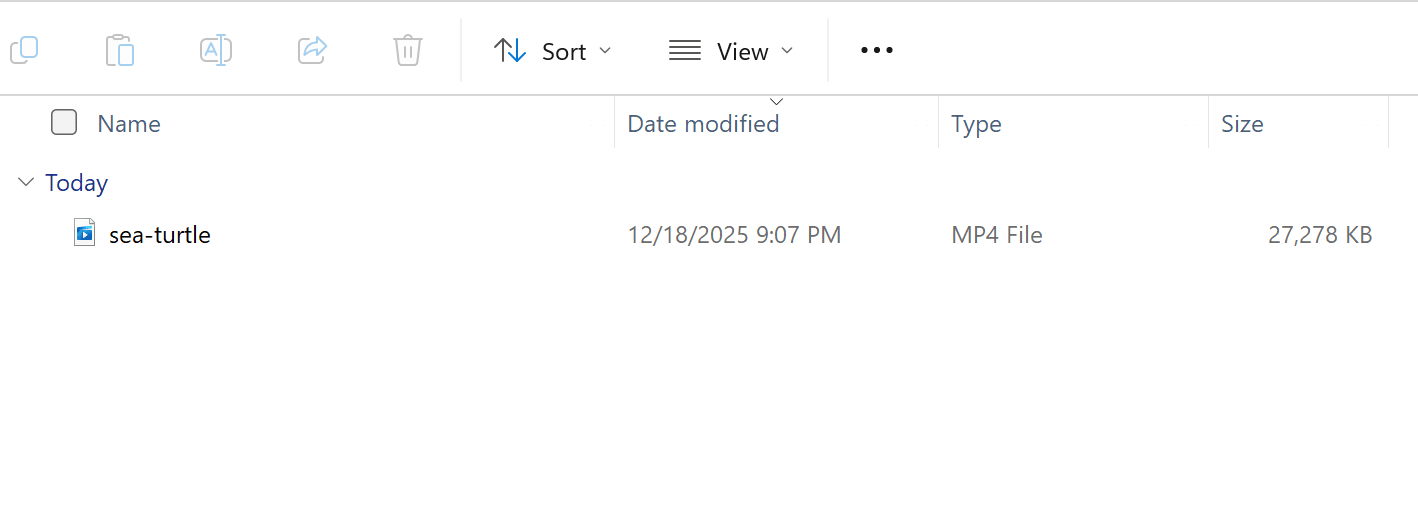
We got the success message, which means that the file now should be stored under the upload/ directory:
Validating File Size, MIME Types, and Upload Errors
Now we will improve our PHP script further to do some additional validations. We need to check the file size, MIME type, and any upload errors that happened.
First let’s modify our code to validate the uploaded file size:
<?php
$filename = $_FILES['videoFile']['name'];
$location = "upload/".$filename;
if ( move_uploaded_file($_FILES['videoFile']['tmp_name'], $location) ) {
echo 'File uploaded successfully <br><br>';
} else {
echo 'Error uploading the file';
}
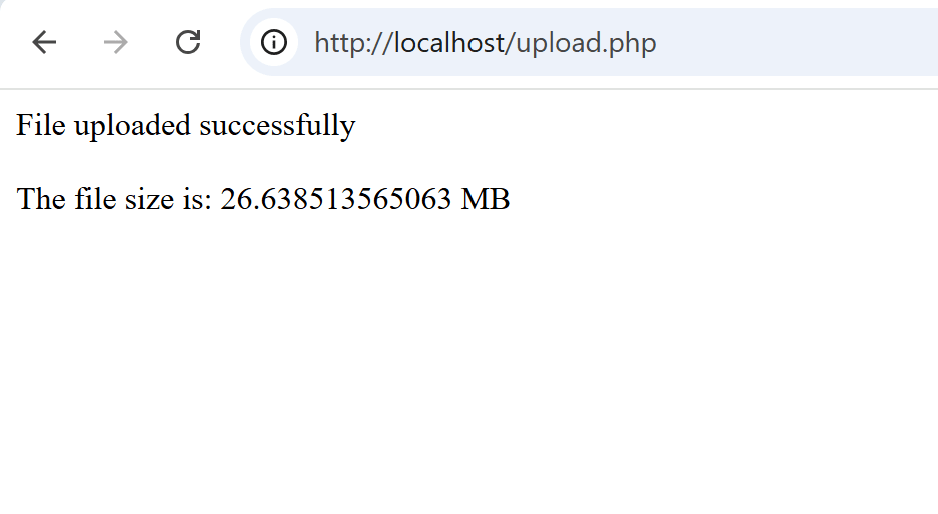
$file_size = ($_FILES['videoFile']['size']) / 1048576;
echo "The file size is: $file_size MB";
?>
Again, we used the $_FILES super global variable to get the size attribute of the videoFile uploaded from the HTML form. If we upload our file now we should get an output like this:
Next we need to check for upload errors. To do this, we’ll use the error attribute of the $_FILES. This attribute can have an integer value that represents one of the predefined error codes. In our example, we’ll provide a larger file size than the configuration specified in the php.ini file, which should produce an error code of 1. We’ll validate this by the following code:
<?php
$filename = $_FILES['videoFile']['name'];
$location = "upload/".$filename;
if ( move_uploaded_file($_FILES['videoFile']['tmp_name'], $location) ) {
  echo 'File uploaded successfully <br><br>';
  $file_size = ($_FILES['videoFile']['size']) / 1048576;
  echo "The file size is: $file_size MB <br><br>";
} else {
  echo 'Error uploading the file <br><br>';
  $uploadError = $_FILES['videoFile']['error'];
  switch ($uploadError) {
    case 1:
    echo "File size too large, please check the php.ini configuration";
    break;
    default:
    echo "unknown error occurred: $uploadError";
  }
}
?>
Now let’s try to upload a large video file:
When we upload the video, we should get the error message we specified in the code:
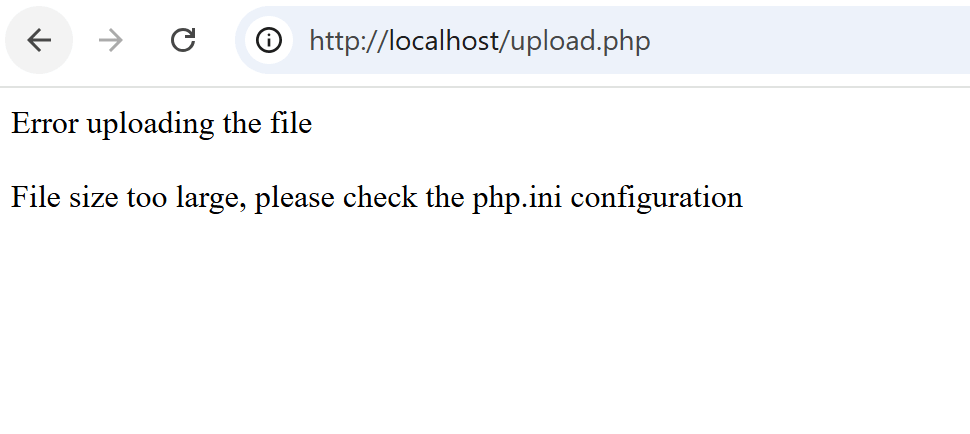
Of course, in a typical scenario you should check for all the possible error codes. In this example we only checked for the exceeded maximum file size just for illustration, because we intentionally used a larger file to verify the error validation behavior.
Now let’s apply our final validation to check the MIME type of the uploaded file. The MIME type validation also has an attribute in the $_FILES super global variable, however, it’s generally not recommended to validate the content type using this attribute because this attribute is actually sent from the HTML form and it can be spoofed by an attacker who intercepts the traffic.
A more secure alternative is to validate the MIME type from the file content itself. To do this, we’ll use the PHP Fileinfo extension.
We’ll need to enable the extension first from the php.ini file:
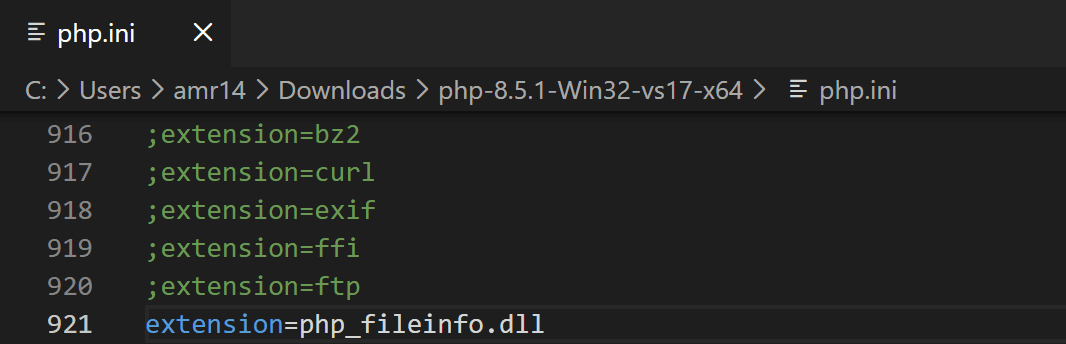
Then we’ll modify our code to check if the uploaded file MIME type is video:
<?php
$filename = $_FILES['videoFile']['name'];
$finfo = new finfo(FILEINFO_MIME_TYPE);
$mime_type = $finfo->file($_FILES['videoFile']['tmp_name']);
if (strpos($mime_type, 'video/') === 0) {
    echo "The file type is $mime_type <br><br>";
    $location = "upload/".$filename;
    if ( move_uploaded_file($_FILES['videoFile']['tmp_name'], $location) ) {
      echo 'File uploaded successfully <br><br>';
      $file_size = ($_FILES['videoFile']['size']) / 1048576;
      echo "The file size is: $file_size MB <br><br>";
    } else {
      echo 'Error uploading the file <br><br>';
      $uploadError = $_FILES['videoFile']['error'];
      switch ($uploadError) {
        case 1:
        echo "File size too large, please check the php.ini configuration";
        break;
        default:
        echo "unknown error occurred: $uploadError";
      }
  }} else {
        echo "Uploaded file is not a valid video file";
  }
?>
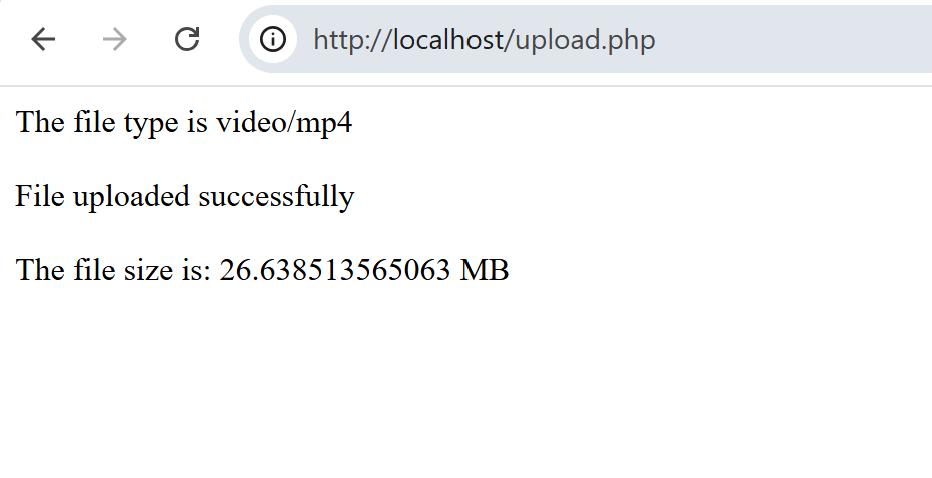
Here we use the finfo class (part of the Fileinfo extension) to check the MIME type of the file. Video files MIME type starts with video/ and then the file format, so, from the temporary file upload location we first check if the MIME type of the uploaded file has this structure before accepting and moving it to its permanent location. We also print the MIME type as an informational message.
First let’s try to upload a valid video file:
We should get a successful upload message:
Now if we try to upload a different file type:
The upload should fail because of the incorrect file MIME type:

Saving Files Securely with Unique Filenames
While validating file size, MIME type, and upload errors adds some security to our application, we need to enhance this further with additional security checks. Two of the most common techniques for achieving this is to provide a unique, unguessable name for the uploaded file, and move the file to a location outside the document root of the web server.
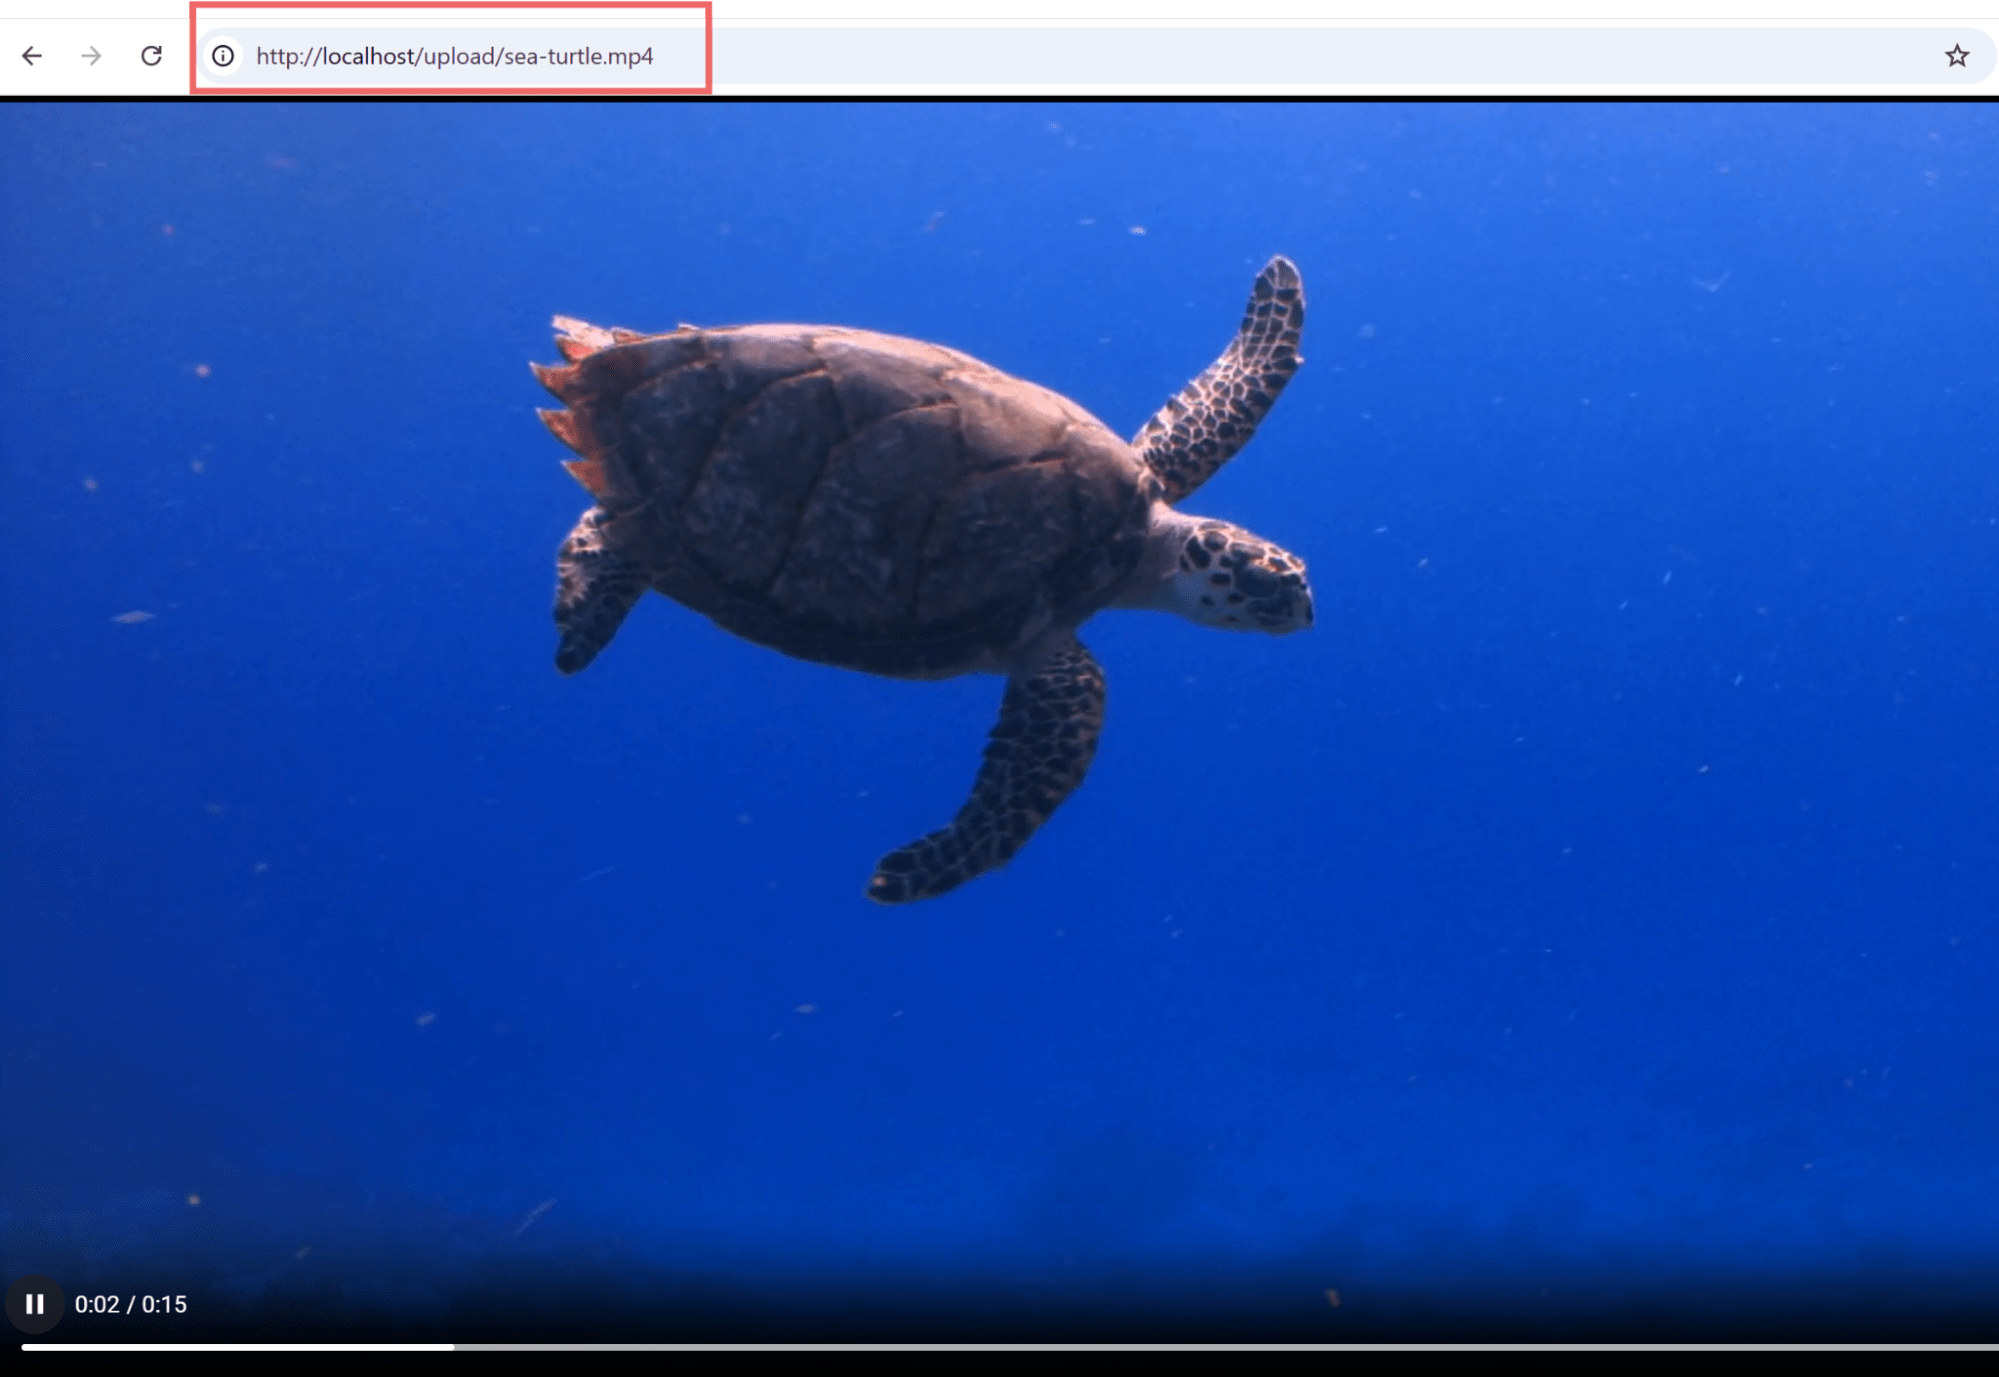
Currently, our code is saving the uploaded video file to the upload/ directory which is in the same location as the PHP script under the web server document root. Which means that anyone can access the video file directly from the browser by providing the file path and name:
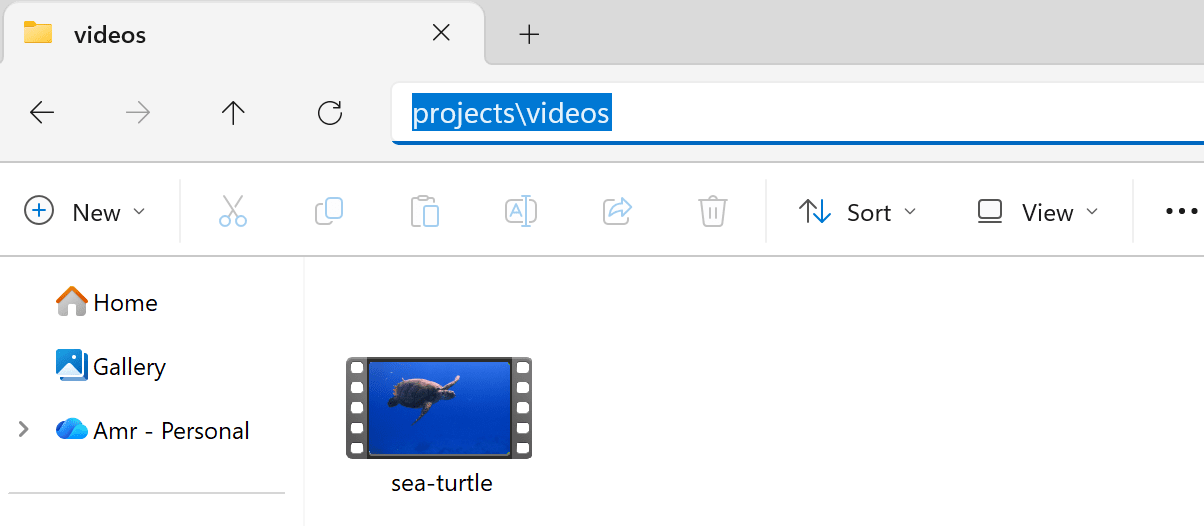
To prevent this from happening, let’s change the location where we save our uploaded file simply by changing the value of our $location variable in the code to "/projects/videos/".$filename;
Now, the file should be uploaded under the specified directory outside the document root.
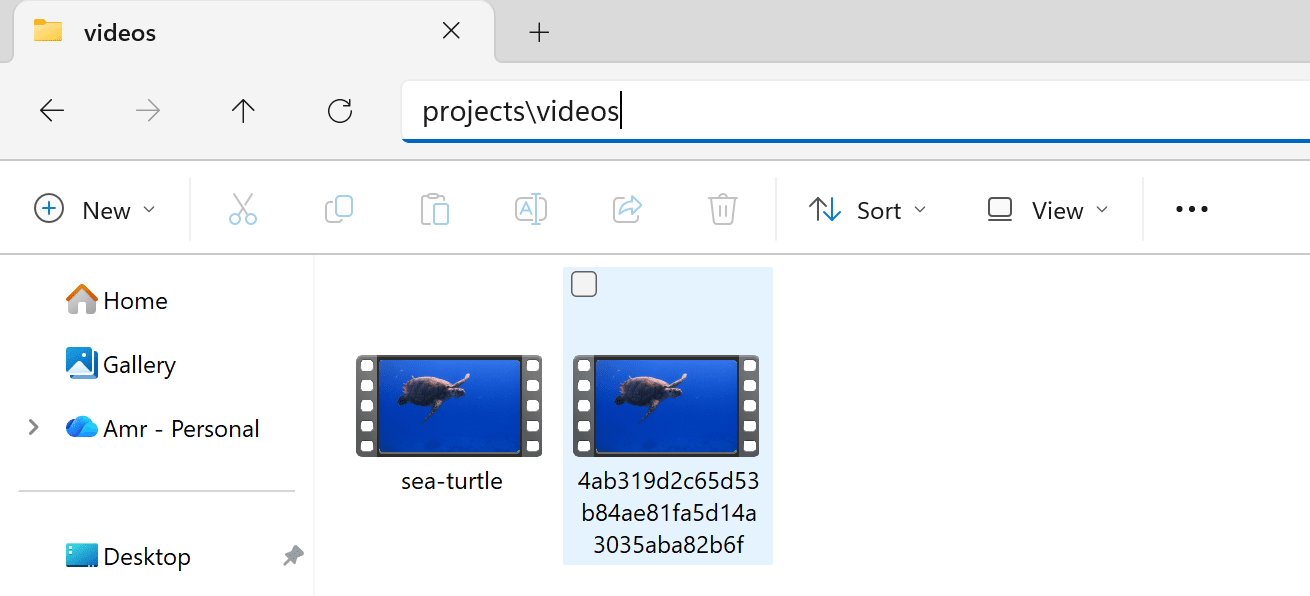
The next step is to provide a unique name for the uploaded file. Currently we’re using the name attribute of the $_FILES variable, which provides the same name as the file name on the client device.
We can use the sha1_file PHP function to generate a hash value based on the file contents:
$filename = sha1_file($_FILES['videoFile']['tmp_name']).".mp4";
Now if we try to upload the file again, it should be stored with this hash result as the name:
Storing Video Metadata in MySQL
Let’s add more functionality to our application by persisting the uploaded video metadata in a database. We’ll use MySQL for our scenario but the same concepts should apply for other SQL databases supported by PHP.
Assuming you already have MySQL installed and a database ready inside it, create a table for storing the video metadata with the following SQL query:
CREATE TABLE video_metadata (
    id INT AUTO_INCREMENT PRIMARY KEY,
    original_name VARCHAR(255) NOT NULL,
    stored_name VARCHAR(255) NOT NULL,
    mime_type VARCHAR(100) NOT NULL,
    size INT UNSIGNED NOT NULL,
    file_path VARCHAR(255) NOT NULL
);
Each of the above columns in the created table represents one of the video file metadata. We’ll save the original file name, stored file name, MIME type, file size, and file location. Depending on your needs, you can store additional metadata also as long as you’re able to extract it in the PHP script.
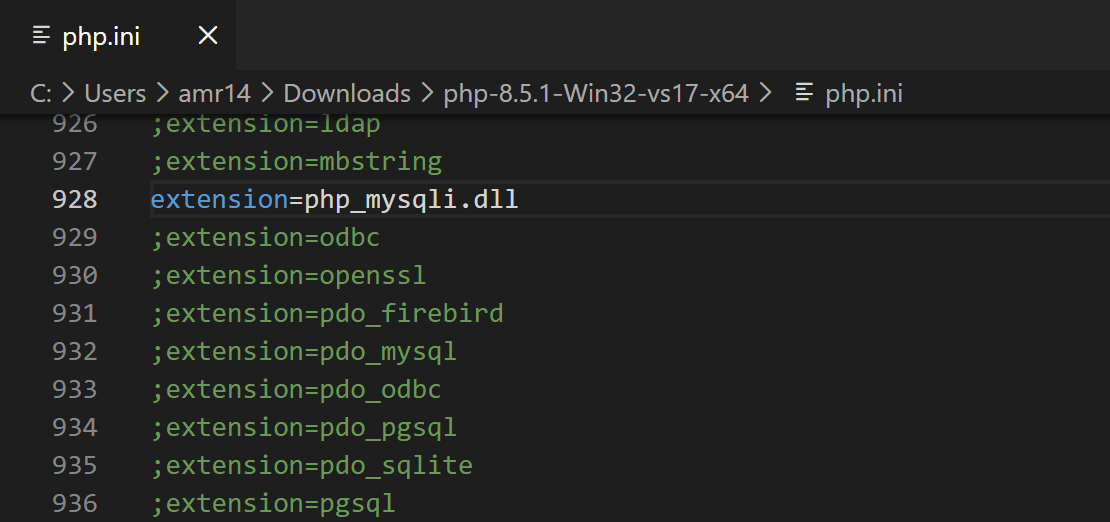
We’ll use the MySQLi driver to connect to the database from PHP. So first we need to enable the MySQLi extension from the php.ini configuration:
Next let’s modify our PHP code to connect to the database and store the video metadata:
<?php
$filename = sha1_file($_FILES['videoFile']['tmp_name']).".mp4";
$finfo = new finfo(FILEINFO_MIME_TYPE);
$mime_type = $finfo->file($_FILES['videoFile']['tmp_name']);
$original_name = $_FILES['videoFile']['name'];
$final_path = "/projects/videos";
if (strpos($mime_type, 'video/') === 0) {
    echo "The file type is $mime_type <br><br>";
    $location = "/projects/videos/".$filename;
    if ( move_uploaded_file($_FILES['videoFile']['tmp_name'], $location) ) {
      echo 'File uploaded successfully <br><br>';
      $file_size = ($_FILES['videoFile']['size']) / 1048576;
      echo "The file size is: $file_size MB <br><br>";
      $conn = new mysqli("localhost", "myapp", "mypassword", "uploaded_files");
      if ($conn->connect_error) {
          die("Connection failed: " . $conn->connect_error);
      }
      else {
        echo "successfully connected to the database <br><br>";
        $sql = "INSERT INTO video_metadata (original_name, stored_name, mime_type, size, file_path) VALUES (?, ?, ?, ?, ?)";
        $stmt = $conn->prepare($sql);
        $stmt->bind_param("sssis", $original_name, $filename, $mime_type, $file_size, $final_path);
        if ($stmt->execute()) {
          echo "New record created successfully <br><br>";
        } else {
          echo "Error: " . $stmt->error;
        }
      }
    } else {
      echo 'Error uploading the file <br><br>';
      $uploadError = $_FILES['videoFile']['error'];
      switch ($uploadError) {
        case 1:
        echo "File size too large, please check the php.ini configuration";
        break;
        default:
        echo "unknown error occurred: $uploadError";
      }
  }} else {
        echo "Uploaded file is not a valid video file";
  }
?>
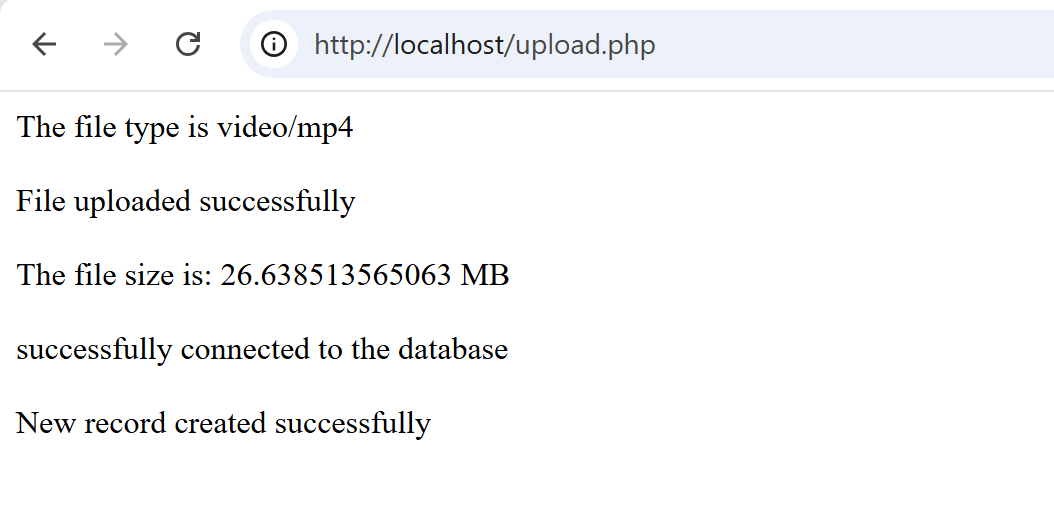
Replace the database connection details like myapp, mypassword, and uploaded_files with your user, password, and database name respectively. If we uploaded a video file now, we should see its record created in the database with the metadata information:

Adding Upload Progress Bar
To make our application more interactive and user friendly, we can add a progress bar that tells the user the percentage of the video file uploaded and remaining. We’ll need to modify our frontend code by adding JavaScript and AJAX to track the upload status and update the progress bar view.
First, we’ll modify our HTML code to include the AJAX library, our JavaScript code file (app.js), and add a progress bar with the <progress> tag:
<!DOCTYPE html>
<html>
<head>
    <script src="https://ajax.googleapis.com/ajax/libs/jquery/3.7.1/jquery.min.js"></script>
    <script src="app.js"></script>
</head>
<body>
<form action="upload.php" method="post" enctype="multipart/form-data">
    <label for="videoFile">Select video to upload:</label>
    <input type="file" name="videoFile" id="videoFile" accept="video/*" required>
    <input type="submit" value="Upload Video" name="submit" onclick="uploadFile()">
    <progress id="progressBar" value="0" max="100" style="width:300px;"></progress>
    <h3 id="status"></h3>
    <p id="loaded_n_total"></p>
</form>
</body>
</html>
Next, create the app.js file and add the following code inside it:
function _(el) {
  return document.getElementById(el);
}
function uploadFile() {
  var file = _("videoFile").files[0];
  var formdata = new FormData();
  formdata.append("videoFile", file);
  var ajax = new XMLHttpRequest();


  ajax.upload.addEventListener("progress", progressHandler, false);
  ajax.addEventListener("load", completeHandler, false);
  ajax.addEventListener("error", errorHandler, false);
  ajax.addEventListener("abort", abortHandler, false);


  ajax.open("POST", "upload.php");
  ajax.send(formdata);
}
function progressHandler(event) {
  _("loaded_n_total").innerHTML = "Uploaded " + event.loaded + " bytes of " + event.total;
  var percent = (event.loaded / event.total) * 100;
  _("progressBar").value = Math.round(percent);
  _("status").innerHTML = Math.round(percent) + "% uploaded... please wait";
}
function completeHandler(event) {
  _("status").innerHTML = event.target.responseText;
  _("progressBar").value = 0;
}
function errorHandler(event) {
  _("status").innerHTML = "Upload Failed";
}
function abortHandler(event) {
  _("status").innerHTML = "Upload Aborted";
}
Here we create a FormData and add our uploaded video file to it, then use AJAX to send the file to our upload.php script using a POST request.
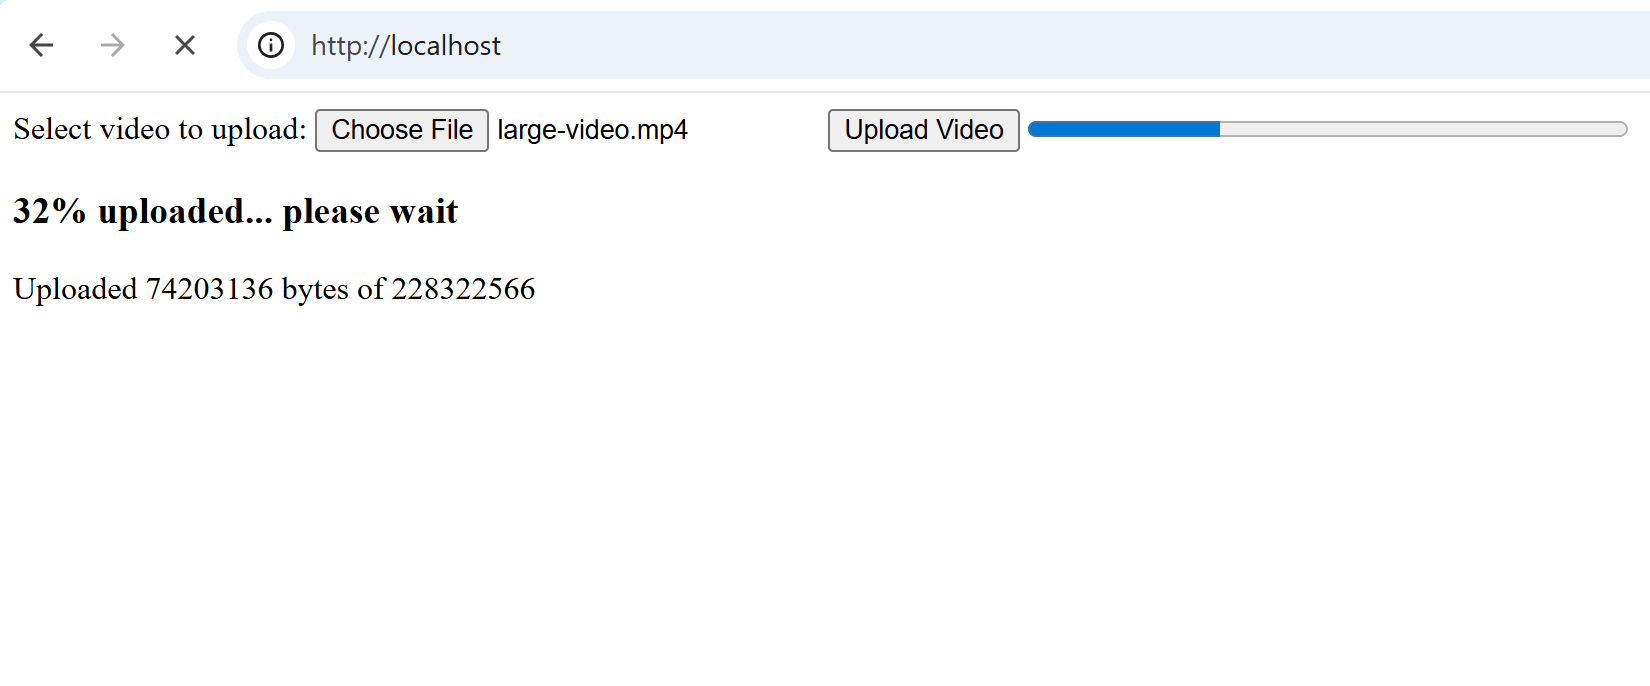
Now if we upload a file, we should see the progress bar appears:
Security Best Practices and Common Upload Risks
Now that we covered how to implement video upload functionality in an application, it’s important to highlight the security risks associated with file uploads and the best practices to overcome these risks. Some of the common security risks include:
- Remote Code Execution: An uploaded file that contains malicious script which can be executed to provide the attacker access to the server. This can happen if the uploaded file content type was not checked.
- Denial of Service: Excessive file uploads or large file sizes that can consume the server resources impacting server performance and causing application failures.
- Path traversal: The uploaded file name can be set to include a specific path like
/dir1/dir2/filewhich tricks the server to save the file in this location, maybe causing an overwrite to other critical system files. - Cross-Site Scripting: A malicious script can be embedded in the uploaded file, like in an image metadata, when a user tries to view this file the script gets executed in the user’s browser.
And the best practices to prevent against these attacks include:
- Validating file MIME type: Check the uploaded file MIME type from the file content itself (as we did with the finfo PHP extension) and don’t rely on the provided content-type header from the client.
- Limit uploaded file sizes: Configure strict limits for the maximum size of the uploaded files to prevent overwhelming the server and exhausting its resources.
- Provide unique file names: Rename the uploaded files with unique names to prevent path traversal attacks.
- Save files to a secure directory: Avoid storing the uploaded file in the document root to prevent unwanted access to the file.
- Authentication: Only allow authenticated users to upload files.
Wrapping Up
Video file uploads is a core feature for many web applications that allow content sharing and editing. It typically requires handling in different application components including frontend, backend, and database. Implementing such feature needs close attention to performance and security as it includes many challenges in these areas.
Frequently Asked Questions
What is PHP video upload and how does it work?
PHP video upload refers to the process of allowing users to submit video files through a web form and having PHP handle the file on the server. PHP checks the file type and size, moves the uploaded video to a server directory, and can store metadata in a database for later use.
How do you implement video upload in PHP?
To implement video upload, create an HTML form with enctype="multipart/form-data", then use PHP’s $_FILES array to validate and save the uploaded file. You should check file size, type (e.g., MP4, AVI), and handle errors before moving the file with move_uploaded_file().
What are best practices for secure PHP video uploads?
Ensure you validate file extensions and MIME types, set appropriate file size limits, and store uploads outside the web root if possible. Renaming files to unique names and implementing user authentication also helps prevent unauthorized access and conflicts.

