What Is Angular eCommerce?
Angular is an open source framework for building one-page client and web applications using TypeScript and HTML. The Angular platform implements all functionality (including core and optional components) as TypeScript libraries imported into an application. Google’s Angular Team released the Angular framework to replace AngularJS.
You can use Angular to build eCommerce websites and applications, leveraging TypeScript, a JavaScript-based language, to support strong tooling at scale. It uses strong, or static, typing, making it easier to use than plain JavaScript and less error-prone.
This is part of a series of articles about eCommerce Platforms.
In this article:
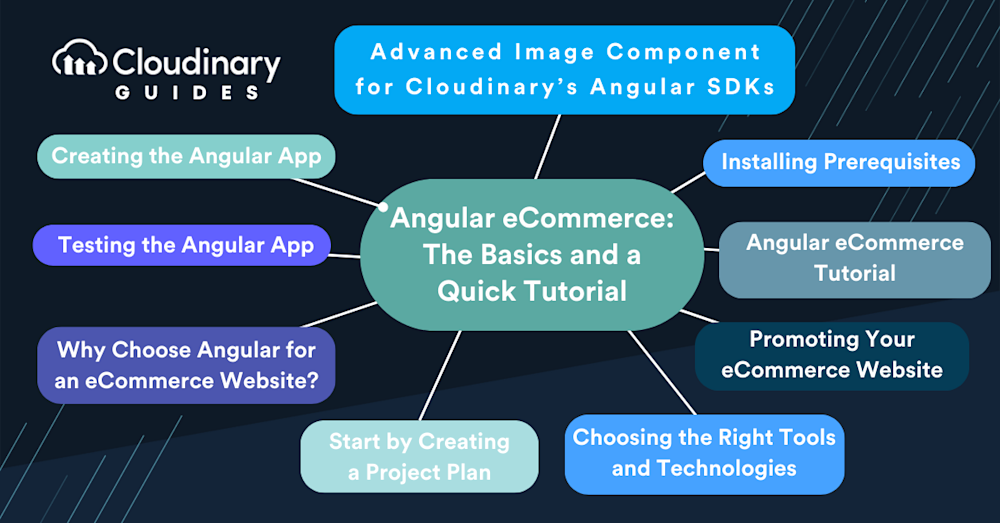
- Why Choose Angular for an eCommerce Website?
- Start by Creating a Project Plan
- Choosing the Right Tools and Technologies
- Promoting Your eCommerce Website
- Angular eCommerce Tutorial: Creating an eCommerce App with Angular and Firebase
Why Choose Angular for an eCommerce Website?
Angular offers flexible coding, allowing developers to build eCommerce websites easily with minimal expertise. There is no need for redundant web pages—each web page retains a high quality, attracting more prospective customers. The Angular framework helps produce applications with less code and lower effort than other model-view-controller architectures.
Start by Creating a Project Plan
Before diving into the technical aspects, it’s crucial to create a project plan. This will help you stay on track, ensuring you don’t miss any vital steps in the development process. A well-laid-out plan can be the difference between a successful project and one that faces numerous challenges.
An eCommerce website involves online financial transactions, relying on consumers to make payments over the Internet. Security is the primary concern for users. Each purchase leaves an online trail of transaction data from the customer, which organizations must protect. Ensuring the confidentiality of customer data is essential for maintaining customer trust and loyalty.
Choosing the Right Tools and Technologies
While Angular provides a robust framework for building your eCommerce site, it’s essential to choose the right tools and technologies that complement it. If you’re new to Angular or eCommerce development, consider seeking help from experienced developers. Their insights can help you avoid common pitfalls and ensure your project’s success. Additionally, using a content management system (CMS) can simplify the process of adding and managing content on your site. For secure transactions, integrate a trusted payment processor, ensuring your customers can safely purchase products. And don’t forget about shipping – partnering with a reliable shipping provider ensures your products reach your customers efficiently.
Angular allows you to protect customer information and prevent fraud through your eCommerce website. The Angular platform lets you meet industry security standards and organizational policies using secure code variables and attributes such as HTTP.
Testing is an essential part of the application development pipeline. Angular supports unit tests with a setup that facilitates testing and generates expected outputs. Angular helps testers run code and efficiently check the application’s quality, providing actionable insights into complications and bugs present in the application.
HTML is a declarative web design language that helps create attractive website styles. Angular offers features to extend HTML’s attributes, helping developers to create engaging web page designs. Thus Angular makes it easier to deliver an engaging, interactive user experience for your eCommerce website.
Promoting Your eCommerce Website
Once your website is up and running, it’s essential to promote it to attract new customers. Utilizing marketing tools can help increase your site’s visibility and drive more traffic. Whether it’s through search engine optimization, social media marketing, or paid advertising, the right marketing strategies can boost your site’s success.
Related content: Read our guide to headless eCommerce
Angular eCommerce Tutorial: Creating an eCommerce App with Angular and Firebase
Installing Prerequisites
Creating an Angular app requires that Node.js and npm both be installed. In case they aren’t, Node.js can be downloaded from the official link and installed. NPM will be automatically installed with Node.js. Next, you have to install Angular’s command line interface.
To install Angular CLI through NPM:
Use the following command to download and install Angular CLI:
npm i -g @angular/cli
The CLI comes in handy for generating Angular components, services, routes, directives, and pipes.
Creating the Angular App
This tutorial will create a demo eCommerce application with Angular. It will have a frontend made with Bootstrap and basic functionalities such as user sign up and log in, adding products to a cart, etc.
To create a new Angular application:
Use the following command to create an Angular application and enable routing for it:
ng new DemoNgApp --routing
The above command creates the necessary directory named DemoNgApp, which is the Angular application’s name. The --routing flag generates the app-routing.module.ts file that will hold the information about the application’s routes.
The files created by the above command have these uses:
- The app component’s CSS code will go in
app.component.css - The app component’s HTML code will go in
app.component.html - The app component’s logic and functionality will go in
app.component.ts - The app.module.tscontains all the packages that the app will use
To create the frontend of the Angular application:
- Paste the following in the index.htmlfile before </head> tag to include the Bootstrap CDN for the application’s CSS:
<link rel="stylesheet" href="https://maxcdn.bootstrapcdn.com/bootstrap/4.0.0/css/bootstrap.min.css" integrity="sha384-Gn5384xqQ1aoWXA+058RXPxPg6fy4IWvTNh0E263XmFcJlSAwiGgFAW/dAiS6JXm" crossorigin="anonymous">
- Paste the following in the index.htmlfile before </body> tag to include the Bootstrap CDN for the application’s JS:
<script src="https://code.jquery.com/jquery-3.2.1.slim.min.js" integrity="sha384-KJ3o2DKtIkvYIK3UENzmM7KCkRr/rE9/Qpg6aAZGJwFDMVNA/GpGFF93hXpG5KkN" crossorigin="anonymous"></script>
  <script src="https://cdnjs.cloudflare.com/ajax/libs/popper.js/1.12.9/umd/popper.min.js" integrity="sha384-ApNbgh9B+Y1QKtv3Rn7W3mgPxhU9K/ScQsAP7hUibX39j7fakFPskvXusvfa0b4Q" crossorigin="anonymous"></script>
  <script src="https://maxcdn.bootstrapcdn.com/bootstrap/4.0.0/js/bootstrap.min.js" integrity="sha384-JZR6Spejh4U02d8jOt6vLEHfe/JQGiRRSQQxSfFWpi1MquVdAyjUar5+76PVCmYl" crossorigin="anonymous"></script>
- Go to the application’s root directory (
/DemoNgApp) and use the following command to run the app:
ng serve -o
The -o command directly opens the browser and shows a greeting page from Angular.
To create the Angular application’s components:
- Navigate to the Angular application’s root directory, which is /DemoNgAppin this case.
- Use the following commands to generate the necessary components:
ng generate component demoAdmin
ng generate component demoProducts
ng generate component demoUser
Each command will create a directory with the same name as the component but in lowercase. It also updates the app.module.ts file and creates the following relevant files within the directory:
*.component.css*.component.html*.component.spec.ts*.component.ts
- Go inside the admindirectory from the root directory and create sub components with the following commands:
cd src/app/demoadmin/
ng g c demoadminProducts
ng g c demoadminUsers- Go inside the productsdirectory from the root directory, generate a servicesfolder, and create a cart-servicecomponent with the following commands:
cd src/app/demoproducts/
ng g c services
ng g c cart
cd src/app/demoproducts/services
ng g services cart- Go to the root directory and use the following commands to generate the Usercomponent and create its sub components:
cd src/app/demouser
ng g c signIn
ng g c signUp
mkdir services
cd services/
ng g service user
Angular CLI imports all the components made with these steps and imports them in the app.module.tsfile.
To add routes to the Angular application:
- Copy the import statements from the
app.module.tsfile app-routing.module.tsfile:
import { AppComponent } from ‘./app.component’;
import { demoAdminComponent } from ‘./admin/admin.component’;
import { demoAdminProductsComponent } from ‘./demoadmin/demoadmin-products/demoadmin-products.component’;
import { demoAdminUsersComponent } from ‘./demoadmin/demoadmin-users/demoadmin-users.component’;
import { ProductsComponent } from ‘./products/demoproducts.component’;
import { CartComponent } from ‘./demoproducts/cart/cart.component’;
import { demoUserComponent } from ‘./demouser/user.component’;
import { SignInComponent } from ‘./demouser/sign-in/sign-in.component’;
import { SignUpComponent } from ‘./demouser/sign-up/sign-up.component’;
- Paste the following code before the
@NgMoulekeywordin the file:
const routes: Routes = [
{ path: '', component: demoUserComponent},
{ path: 'user', component: demoUserComponent,
  children: [
   { path: '', component: SignInComponent },
   { path: 'signin', component: SignInComponent},
    { path: 'signup', component: SignUpComponent}
  ]
},
{ path: 'products', component: demoProductsComponent,
 children: [
   { path: 'cart', component: CartComponent }   ]
},
{ path: 'admin', component: demoAdminComponent,
 children: [
   { path: 'products', component: demoAdminProductsComponent },
   { path: 'users', component: demoAdminUsersComponent }
  ]
}];
- In the
demouser.component.html, demoproducts.component.htmland demoadmin.component.htmlfiles, add the following code:
<router-outlet></router-outlet>
- Erase all the app.component.htmlcode in the file and paste the following code in it:
<router-outlet></router-outlet>
Testing the Angular App
To test the Angular application and its routes:
- Use the following command to open the application’s window in the browser:
ng serve -o
The command will open a window in the browser that looks like the following:
- Use the following URLs to check each route:
localhost:4200/user
  localhost:4200/user/signup
  localhost:4200/user/signin
  localhost:4200/admin/products
  localhost:4200/admin/users
Advanced Image Component for Cloudinary’s Angular SDKs
With Cloudinary’s current Angular client side SDK, you can manage images in numerous amazing ways, for example, making use of media from Cloudinary for your project, transforming media, and enhancing the responsivenessof your site. A new and exciting feature in our Angular SDK, called the Advanced Image component, takes image management to the next level by handling many common front-end (FE) tasks, such as lazy loading, placeholding, accessibility, and, coming soon, zooming. Just ask the component to perform any of those tasks by adding the appropriate attributes and it’ll do the rest.
Cloudinary’s Advanced Image Component’s automated capabilities for common FE tasks spell significant time savings and peace of mind for developers. High on our priority list is the component’s availability for the React JavaScript SDK and the Vue.js JavaScript SDK. Additionally, we’ll continue to stay alert to front-end needs and to enhance our image components with features geared toward easing the life of FE developers. That’s a promise. Be sure to give Cloudinary a try!


