
What Is a React Image Gallery?
A React image gallery is a web-based photo gallery or image slider component built using the React JavaScript library. React is a popular library for building user interfaces, particularly for single-page applications, and it enables developers to create modular, reusable, and performant UI components.
These galleries display a collection of images in a visually appealing and organized manner, allowing users to browse through the images, and sometimes enlarge or interact with them. These galleries are often used in websites and applications to showcase products, display portfolios, or present visual content.
Developers can create their own custom image gallery components or utilize existing open-source React image gallery libraries, which often include additional features such as responsive design, touch gestures support, lazy loading, thumbnail navigation, and customizable appearance.
This is part of a series of articles about image editing.
In this article:
- React Image Gallery Use Cases
- Popular React Photo Gallery Libraries
- Tutorial #1: Building an Image Gallery with react-image-gallery (Do It Yourself)
React Image Gallery Use Cases
A React image gallery is a customizable component that can be used in various scenarios to enhance user experience and engagement in web applications. Some common use cases for React image galleries include:
- Portfolio websites. Artists, photographers, and designers can use a React image gallery to showcase their work in an organized and visually appealing manner, allowing users to browse through the content with ease.
- eCommerce platforms. Online stores can use a React image gallery to display product images, providing users with a comprehensive view of the products and enabling them to zoom in on details or see multiple angles.
- Blog posts and articles. Writers and content creators can use a React image gallery to incorporate relevant images within their articles, making their content more engaging and visually appealing to readers.
- Travel websites. Travel agencies and tourism websites can use a React image gallery to showcase destination images or user-generated content, inspiring users to explore new destinations and book trips.
- Educational platforms. Educational websites can use React image gallery to display images related to courses, subjects, or other learning materials, enriching the learning experience for students.
- Social media applications. Social media platforms can use a React image gallery to allow users to create and share image galleries, fostering user engagement and interaction within the community.
Popular React Photo Gallery Libraries
While it’s certainly possible to create one from scratch, why reinvent the wheel when there are so many great third-party React libraries available? Using these libraries can save you valuable time, offer robust functionality, and let you focus on putting your unique touch to the project. Here’s a brief introduction of some of the most popular libraries:
- react-photo-gallery: This library is designed to handle images in a responsive grid with a view option for larger resolution images. It utilizes srcset to serve the right image to the right device. It’s highly customizable, allowing for the implementation of custom image rendering, clickable thumbnails, and more.
- Lightbox.js: While not a React-specific library, Lightbox.js is widely used for creating overlay modals for viewing images and galleries. It’s simple, easy to use, and creates an immersive experience by dimming the rest of the webpage to focus on the images. In the context of React, there are several wrappers available for Lightbox, such as “react-image-lightbox”.
- react-responsive-carousel: This library is an excellent tool for creating responsive carousels in React. It supports a wide variety of features, including autoplay, infinite looping, custom animations, and much more. It’s also highly customizable, allowing you to create a carousel that fits your specific needs.
- react-grid-gallery: As its name suggests, React Grid Gallery is a React component for creating a responsive and stylish grid gallery. Each image in the grid can be expanded in a Lightbox view, and the images’ thumbnails are customizable.
- react-spring-lightbox: This library is a flexible Lightbox component for displaying an array of images in a “carousel-like” lightbox modal. It’s built using react-spring for smooth, customizable animations and offers features such as image zooming and panning.
Read our guide to overlay text on image
Pro Tip!Consider Cloudinary’s Digital Asset Management
Looking for a centralized location to manage all your media assets? Cloudinary’s Media Library makes it easy to upload, store, manage, and deliver images and videos efficiently.
Building an Image Gallery with the react-image-gallery Library
Now that we understand what a React image gallery is, how about we roll up our sleeves and create one ourselves? This section will guide you through the process of adding an image gallery to your application with the react-image-gallery library.
Installation and Initial Setup
Before we start coding, we need to set up our development environment. The first step is to install Node.js and npm if you haven’t already. Node.js is a JavaScript runtime that allows you to run JavaScript on your machine, while npm is a package manager for Node.js packages.
Once you have Node.js and npm installed, you can create a new React application by running the following command in your terminal:
This command uses the create-react-app boilerplate to set up a new React application in a directory named react-image-gallery. Navigate into your new project directory with cd react-image-gallery.
Clean up to Create an Image Gallery
Now that we have our initial setup, let’s clean up our project directory to make space for our image gallery.

In the src directory, remove all the files except index.js and App.js. Your project structure should now look like this:

In index.js, remove all the unnecessary imports and keep only the essential ones. Your index.js file should look like this:
Adding CSS Reset File
To ensure our image gallery looks consistent across different browsers, we need to reset the default browser styles. For this, we’ll use a CSS reset file. Create a new file in the src directory named reset.css, and add the following CSS:
Next, import the reset.css file at the top of your index.js file with import './reset.css';.

Installing and Configuring react-image-gallery
With our environment ready, we can now install the react-image-gallery package. Run the following command in your terminal:
This package provides a ready-to-use image gallery component that we can customize to fit our needs. Import it into your App.js file with import ImageGallery from 'react-image-gallery';.
The react-image-gallery package expects an array of objects as a prop, where each object represents an image in the gallery. Each object should have properties for the original image, the thumbnail, and the fullscreen image.
With your images array ready, you can now render your image gallery in the App component:
Test the Image Gallery
In order to test the functionality, run React Application using the following command from the src folder:

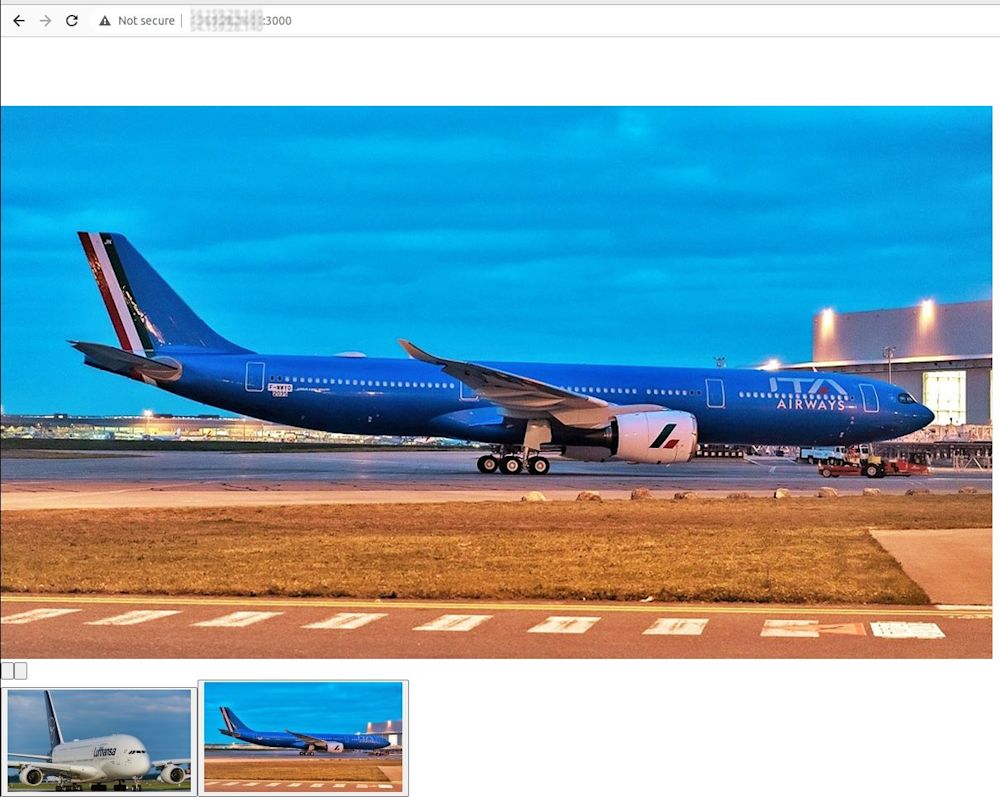
Point your browser to http://localhost:3000 and you should see the gallery in action:
Managing Images in React with Cloudinary
Venturing into the world of image management in React, you might often find yourself grappling with complexities related to storing, uploading, and, most importantly, efficiently delivering images to your applications. Enter Cloudinary – a cloud-based service that significantly simplifies these tasks, allowing you to focus more on creating fantastic user experiences.
Cloudinary provides developers with a plethora of solutions. Its storage and upload features are wonderfully straightforward, giving you easy-to-use APIs to store your images in cloud and handle upload processes in your React apps. This means less time fussing with server-side logic and more time spent on your app’s responsiveness and UI.
But what makes Cloudinary truly remarkable is its delivery capabilities. It uses a global CDN, ensuring your images load at lightning-fast speeds irrespective of users’ geographical location. Also, it offers on-the-fly optimization, providing high-quality, appropriately-sized images based on the requesting device’s conditions, thereby providing an optimal user experience. To sum it up, with Cloudinary, image management in React could potentially be an uncomplicated, efficient, and rewarding affair.
Related content: Read our guide to 3d model from images

