 Ask AI
Using OAuth 2.0 to access Cloudinary APIs
Last updated: Jul-21-2026
Cloudinary supports the OAuth 2.0 protocol to authenticate and authorize access to its APIs. Use it for integrations that act on behalf of a Cloudinary user, with that user's role and permissions.
Create and manage OAuth apps yourself in the Cloudinary Console without filing a support ticket. Generate a client secret, set redirect URIs and scopes, and rotate or delete credentials when you need to.
Overview of the OAuth 2.0 flow
Cloudinary OAuth apps use the OAuth 2.0 authorization code grant type. When a user accesses their Cloudinary resources through an application:
- The application makes an authorization request to Cloudinary, on the user's behalf.
- Cloudinary returns an authorization page for the user to grant access to their Cloudinary account.
- The user's credentials and authorization are returned to Cloudinary's authorization server.
- Cloudinary's authorization server issues an access token and refresh token to the application (this step may involve a redirect to a specified URI in order to handle the callback).
- The application uses the access token when making calls to Cloudinary's APIs, to authorize access to the user's resources.
Create and manage OAuth apps
Go to Settings > Developers > OAuth Apps in the Cloudinary Console to see every OAuth app on your account along with its client ID and when it last issued a token. From this page you can create a new app, edit an existing one, regenerate its client secret, or delete it.
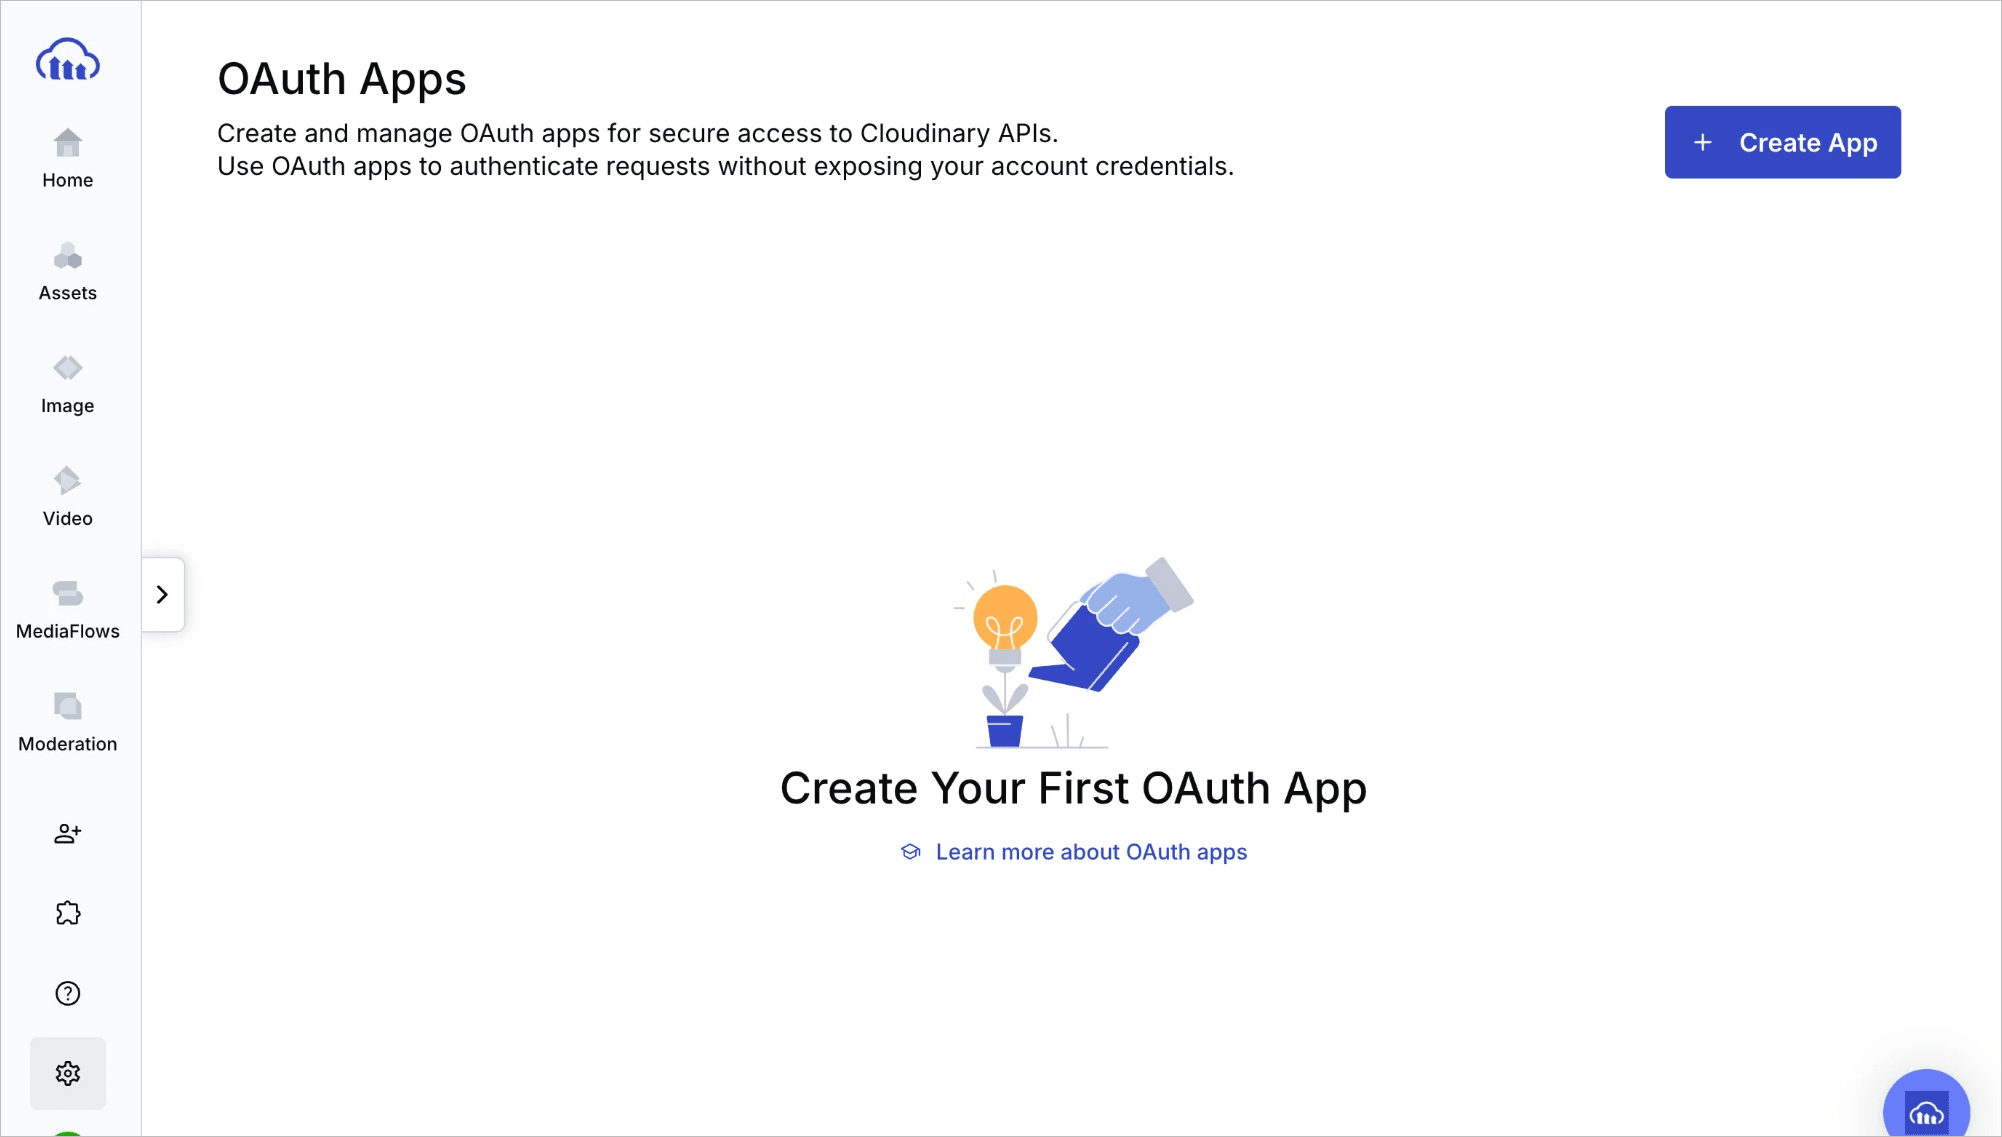
Create an OAuth app
To create an OAuth app:
- On the OAuth Apps page, click Create App.
- Enter an App Name. Names must be unique within your account.
- Click Create App.
Cloudinary generates a Client ID for the app and opens the Edit OAuth app page so you can finish configuring it. The app doesn't have a client secret yet. See Generate and rotate a client secret for how to create one.

Configure an OAuth app
The Edit OAuth app page is organized into sections:
- Activity: When the app was created and the last time it issued an access token (or Never if it hasn't issued one yet).
- Display Information: The app Name (required) and an optional Description. The name appears to users on the OAuth consent page, so use one they'll recognize.
-
App Authentication: The Token authentication method, which controls how your app proves its identity when it exchanges an authorization code or refresh token at the token endpoint:
- Client secret basic: Your app sends its client ID and client secret in the HTTP Authorization header using HTTP Basic authentication. Choose this for a confidential, server-side app that can store a secret securely.
- Client secret post (default): Your app sends its client ID and client secret as form parameters in the request body. Choose this for a confidential, server-side app that can store a secret securely but can't send credentials in the Authorization header.
- None: Your app authenticates without a client secret and relies on PKCE instead. Choose this for a public client, such as a single-page application or mobile app, that can't store a secret securely.
- Authentication Details: The Client ID (read-only, with a copy button) and the Client Secret, when your token authentication method uses one. See Generate and rotate a client secret.
- Authentication Redirects: The Redirect URIs and Post logout redirect URIs lists. Add the callback URLs your app uses to receive the OAuth code and to send users to after sign-out.
- Origin Security: The Allowed origins (CORS) list. Add the exact origins (scheme, host, and port) allowed to make browser-side OAuth requests on behalf of this app.
-
Scopes: The permissions this app can request when calling Cloudinary APIs. Select only the scopes the app needs. The signed-in user's roles and permissions still determine which actions are allowed:
- Upload: Upload new assets and apply upload-related settings, such as presets and tags. Select it for integrations that ingest media into Cloudinary.
- Asset Management: View, modify, organize, and delete assets already in the Media Library. Select it for integrations that manage existing assets, such as DAM syncs or bulk-editing tools.
- Offline Access: Issue a refresh token along with the access token, so the app can obtain new access tokens after the user is no longer present. Select it for background jobs, scheduled syncs, and other long-lived integrations.
- OpenID: Issue an ID token with the signed-in user's identity information (such as their user ID and email), in addition to the access token. Select it when the app needs to know who the user is, not only call Cloudinary APIs on their behalf.
- A Delete App button, below the Scopes section.
After you change a field, Save becomes active. Click it to apply, or click Discard Changes to revert.

Generate and rotate a client secret
The Client secret basic and Client secret post authentication methods require a client secret. The None method doesn't.
To generate a client secret for the first time:
- In the Authentication Details section of the Edit OAuth app page, click Generate a client secret.
- Copy the secret and store it in a password manager or your secret store.
To rotate the client secret:
- Click Regenerate Secret.
- Confirm in the dialog. The current secret is invalidated immediately, so any app still using the old secret can't obtain new tokens until you update it.
- Copy the new secret and update every system that uses the old one.

Delete an OAuth app
You can delete an app from the options (⋮) menu on the OAuth Apps page, or from the Delete App button at the bottom of the Edit OAuth app page.
When you confirm the deletion:
- No new tokens are issued for the app.
- The client ID and secret can no longer be used to obtain new tokens.
- Existing access tokens keep working until they expire naturally.
This action can't be undone.
App limits
Each account can have up to 10 OAuth apps. When you reach the limit, Create App is disabled. Delete an existing app to free up a slot.
Who can create OAuth apps
The permission required depends on whether granular Roles and Permissions are enabled for your account:
- Roles and Permissions enabled: Users with the Master Admin, Admin, Technical Admin, or MediaFlows Admin system role, or a custom role that includes the Manage OAuth clients permission.
- Legacy permissions: Master Admins only.
Requesting an access token from Cloudinary
Once you have a client ID, and a client secret if your selected token authentication method uses one, use an OAuth 2.0 library to implement the OAuth 2.0 protocol in your application.
Your application should:
- Provide a way to log in to Cloudinary that starts the OAuth 2.0 flow using the authorization code grant type.
- Use your client ID, and your client secret if required by your token authentication method, to request a cloud-specific access token from the Cloudinary Authorization Server (
https://oauth.cloudinary.com/oauth2/auth). Cloudinary first issues an authorization code that your application exchanges for an access token at the token endpoint (https://oauth.cloudinary.com/oauth2/token). - Keep the access token to use in API calls.
Using an access token to make API calls
Your application should send the access token in an HTTP Authorization request header for every request to a Cloudinary API endpoint.
For example, requesting all images from the product environment with cloud name demo, given an access token of MTQ0NjJkZmQ5OTM2NDE1ZTZjNGZmZjI4:
Using an access token in SDK API calls
If you're using one of the Cloudinary SDKs, you can authenticate with an access token instead of your API key and secret. Assign the token to the oauth_token parameter.
- If both the token and API key and secret are configured, the token takes precedence.
- Only the SDKs shown in the examples currently support the
oauth_token. - The PHP SDK does not yet support the
oauth_tokenfor upload API calls.
You can set oauth_token in your configuration parameters, or in some SDKs, you can pass oauth_token as an optional parameter to API calls.
Example 1
Set oauth_token in your configuration parameters, then make API calls as normal:
Example 2
Pass oauth_token to an Upload API method (without setting oauth_token in configuration parameters):
Example 3
Pass oauth_token to an Admin API method (without setting oauth_token in configuration parameters):
Refreshing an access token
Access tokens are short-lived. When an access token expires, your application can request a new one by making a token request to the token endpoint (https://oauth.cloudinary.com/oauth2/token), as described in Refreshing an Access Token.
Refresh tokens are issued only when the app is granted the Offline Access scope. If your app needs to keep access after the access token expires, select that scope when you configure the app.
The expiry times of the tokens are as follows:
| Token type | Expiry time |
|---|---|
| Access token | 5 minutes |
| Refresh token | 3 months |
Refresh tokens are single-use. When you exchange a refresh token for a new access token, Cloudinary issues a new refresh token and invalidates the previous one, so your application must store the latest refresh token after each refresh.
Revoking OAuth 2.0 access
To revoke an application's OAuth 2.0 access to the Cloudinary APIs, delete the OAuth app from the Cloudinary Console. After deletion, Cloudinary stops issuing new tokens for the app, and existing access tokens keep working until they expire naturally.
To rotate credentials without removing the app (for example, after a suspected secret leak), regenerate the client secret instead. The previous secret is invalidated immediately, and any system still using it can no longer obtain new tokens.
Error
Rate this page:
