
Video cropping is a video manipulation technique that provides several benefits that can significantly improve the focus and composition of your video, helping you highlight important elements in your footage so that your viewers can pay their attention to what is really important, and ensuring your videos fit specific platform aspect ratios.
Today, different social media platforms and websites have specific requirements for video dimensions and aspect ratios. Cropping allows you to tailor your video to these requirements, ensuring it displays correctly without being stretched or distorted. If you’re building an application where video cropping is required, one of the most efficient and versatile tools at your disposal is FFmpeg – a free and open-source tool for handling video, audio, and other multimedia files and streams.
Key Takeaways:
- FFmpeg is a free tool that works on different systems to edit and manage video, audio, and images. It’s popular with professionals because it can handle many formats and tasks like cutting, resizing, and streaming using simple commands.
- The basic syntax for cropping a video using FFmpeg is
ffmpeg -i input.mp4 -filter:v "crop=out_w:out_h:x:y" output.mp4 - While FFmpeg is great for cropping videos (and a wealth of other tasks), other solutions make it easier to streamline video cropping and management when you need to work at a larger scale.
In this article:
- What is FFmpeg?
- Basic FFmpeg Crop Video Command
- Crop a Video with FFmpeg
- Using FFmpeg to Crop to Center
- Crop Based on Aspect Ratio
- Cropping Videos at Scale with Cloudinary
What is FFmpeg?
FFmpeg is a free, cross-platform tool that handles multimedia data, including video, audio, and images. It supports a wide range of codecs, formats, and protocols, making it a go-to solution for all kinds of multimedia processing tasks by developers, video editors, and technical professionals. FFmpeg is highly versatile, allowing users to perform tasks such as cropping, resizing, encoding, muxing, demuxing, streaming, and more all through a CLI.
To use FFmpeg locally, you’d need to install it on your computer. You can download it from the official website or install it via package managers like apt (Linux), brew (macOS), or chocolatey (Windows).
To verify the installation, run the following command in your terminal:
ffmpeg -version
If FFmpeg is installed, you should see an output similar to the following:

Great! Now you’re ready to explore the capabilities of FFmpeg.
Basic FFmpeg Crop Video Command
FFmpeg provides simple commands for working with media files, making it a great choice for developers. The basic syntax for cropping a video using FFmpeg looks like this:
ffmpeg -i input.mp4 -filter:v "crop=out_w:out_h:x:y" output.mp4
Here’s a description of the parameters in the snippet above:
-i input.mp4: This specifies the input file you want to crop,input.mp4in this case.-filter:v: This is the command that tells FFmpeg we want to perform a cropping operation. Alternatively, you can use-vf, which is an alias for-filter:v:
ffmpeg -i input.mp4 -vf "crop=out_w:out_h:x:y" output.mp4
- out_w: Specifies the output width of the cropped video.
out_h: Specifies the output height of the cropped video.x: The horizontal pixels offset from the left corner of the cropped region.y: The vertical pixels offset from the top of the cropped region.
Note that if you don’t specify out_w and out_h, FFmpeg will use in_w and in_h instead, which are the original width and height of the input video.
Crop a Video With FFmpeg
Take the following video with black borders for example:
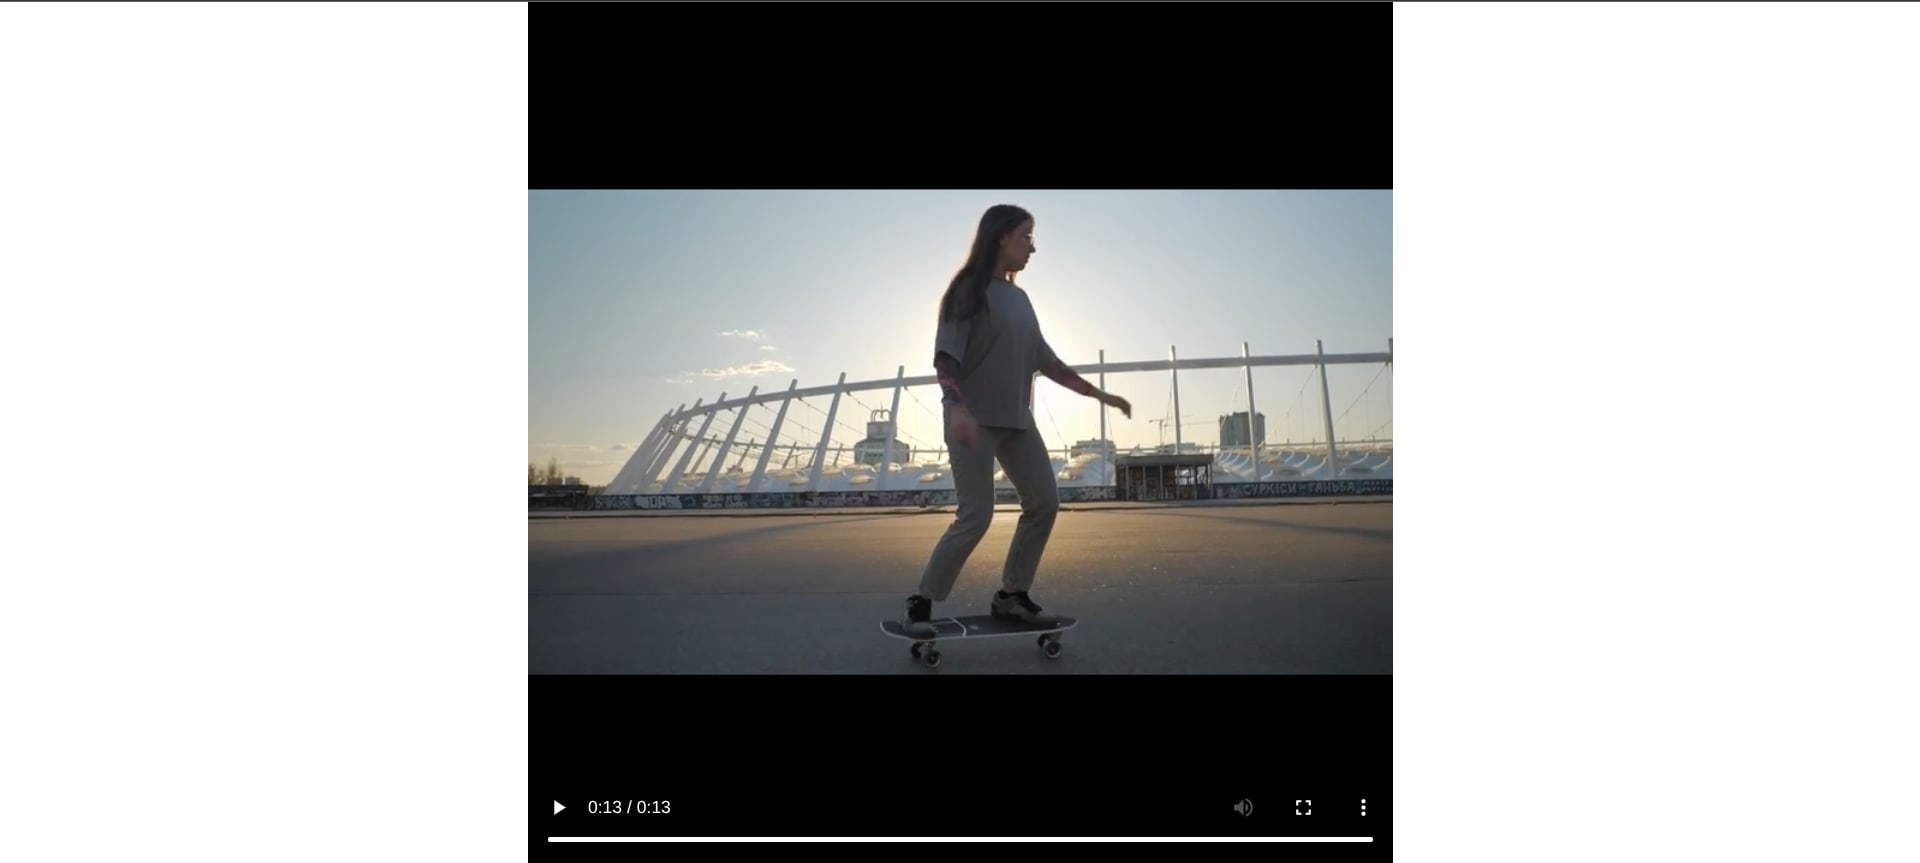
Now, let’s say we want to remove these black borders in the video. To do this, we need to determine the x, y, width, and height values that we’ll pass to the crop filter. Luckily, FFmpeg has a command called cropdetect that automatically determines black bars around a video.
First, download and save the sample video (we saved it as sample-video.mp4), then run the command below to get the values for cropping:
ffmpeg -i sample-video.mp4 -vf cropdetect -frames:v 1 -an -f null -
Here’s a breakdown of the above command:
-i sample-video.mp4specifies the input file, in this casesample-video.mp4.-vf cropdetectapplies a video filter (-vf) calledcropdetect.-frames:v 1limits the analysis to 1 video frame since the scene is consistent throughout the video. This is important to consider because scenes do change in some videos and you might accidentally crop out sections that contain video when cropping.-andisables audio processing.-f null -tells the command to discard all output and just print analysis logs to the terminal.
In the output in the terminal, note this output:
[Parsed_cropdetect_0 @ 0x5f321fa85a80] x1:0 x2:719 y1:156 y2:559 w:720 h:400 x:0 y:158 pts:1536 t:0.120000 limit:0.094118 crop=720:400:0:158
We are only interested in this part:
x1:0 x2:719 y1:156 y2:559 w:720 h:400 x:0 y:158 crop=720:400:0:158
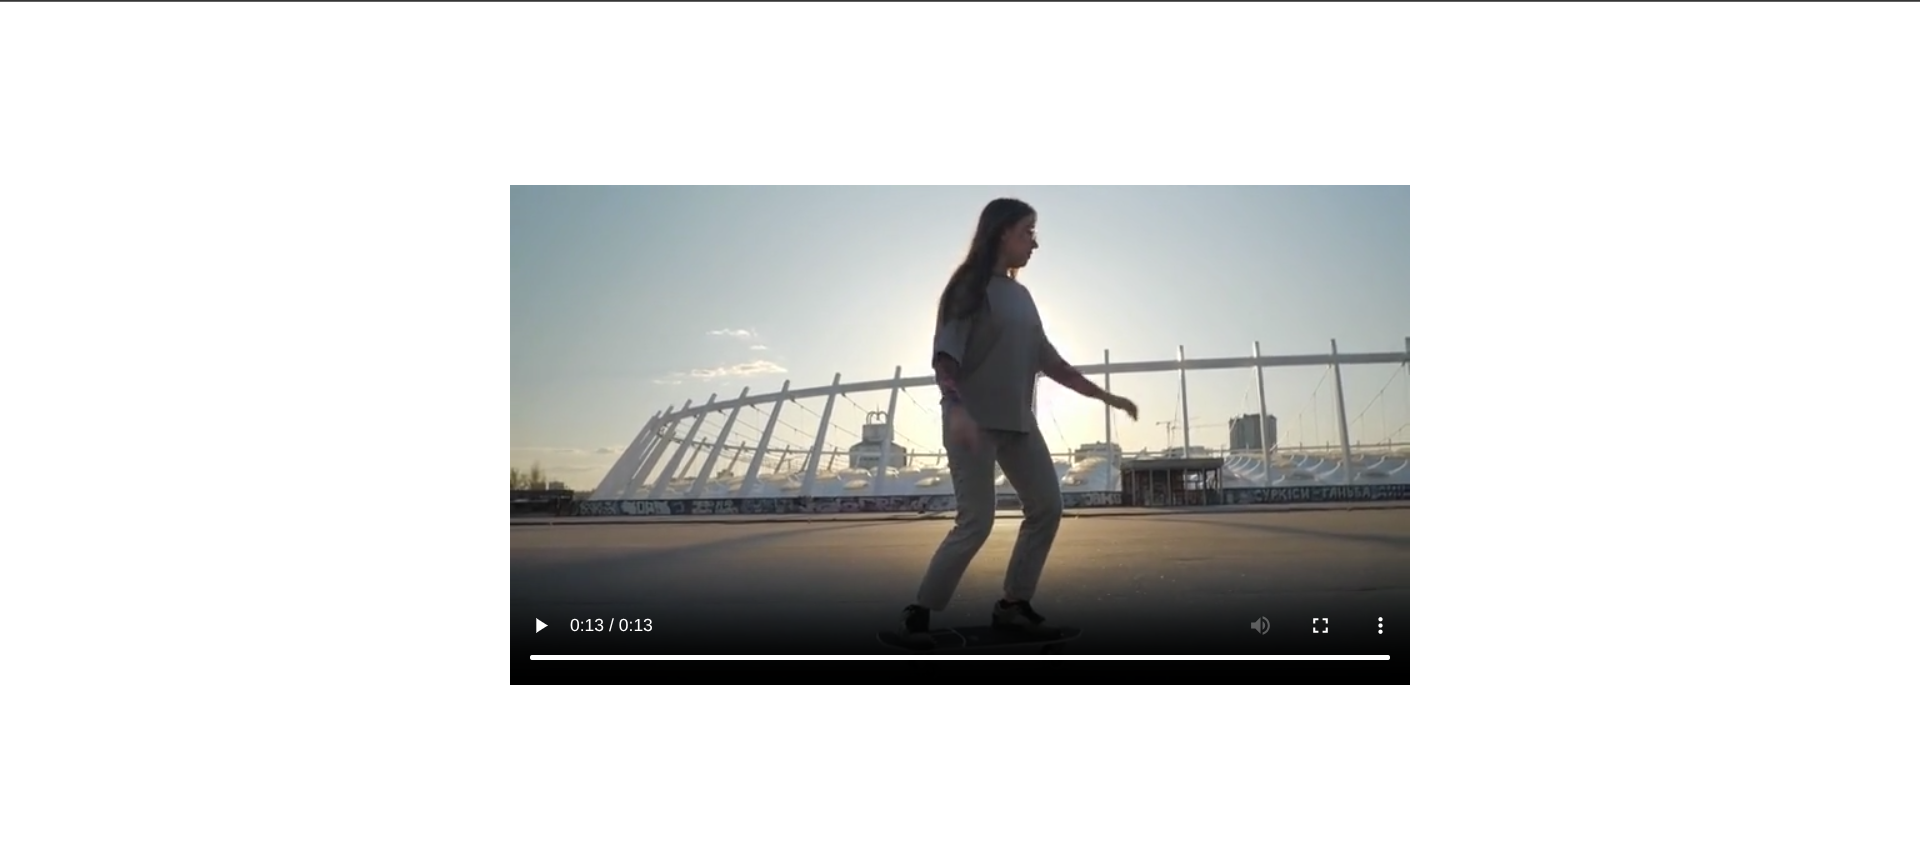
As you can see, cropdetect has automatically detected the values we need to crop the video so we can go ahead and crop the video by running the following command:
ffmpeg -i sample-video.mp4 -vf "crop=720:400:0:158" -c:a copy output.mp4
In the snippet above:
-vf "crop=720:400:0:158"removes the black bars at the top and bottom.-c:a copykeeps the audio unchanged (no re-encoding).
Here’s a link to the cropped video.
Using FFmpeg to Crop to Center
There are scenarios where you may need to crop a video to the center. This can be useful for creating thumbnails or focusing on the main subject in certain scenes. To do this, FFmpeg allows us to perform calculations within the crop filter, so we can set x and y to (iw - w)/2 and (ih - h)/2, respectively.
Take the following video with an original dimension of 1280 x 720:
https://res.cloudinary.com/cloudinarymich/video/upload/v1752003418/beach_t8dvws.mp4
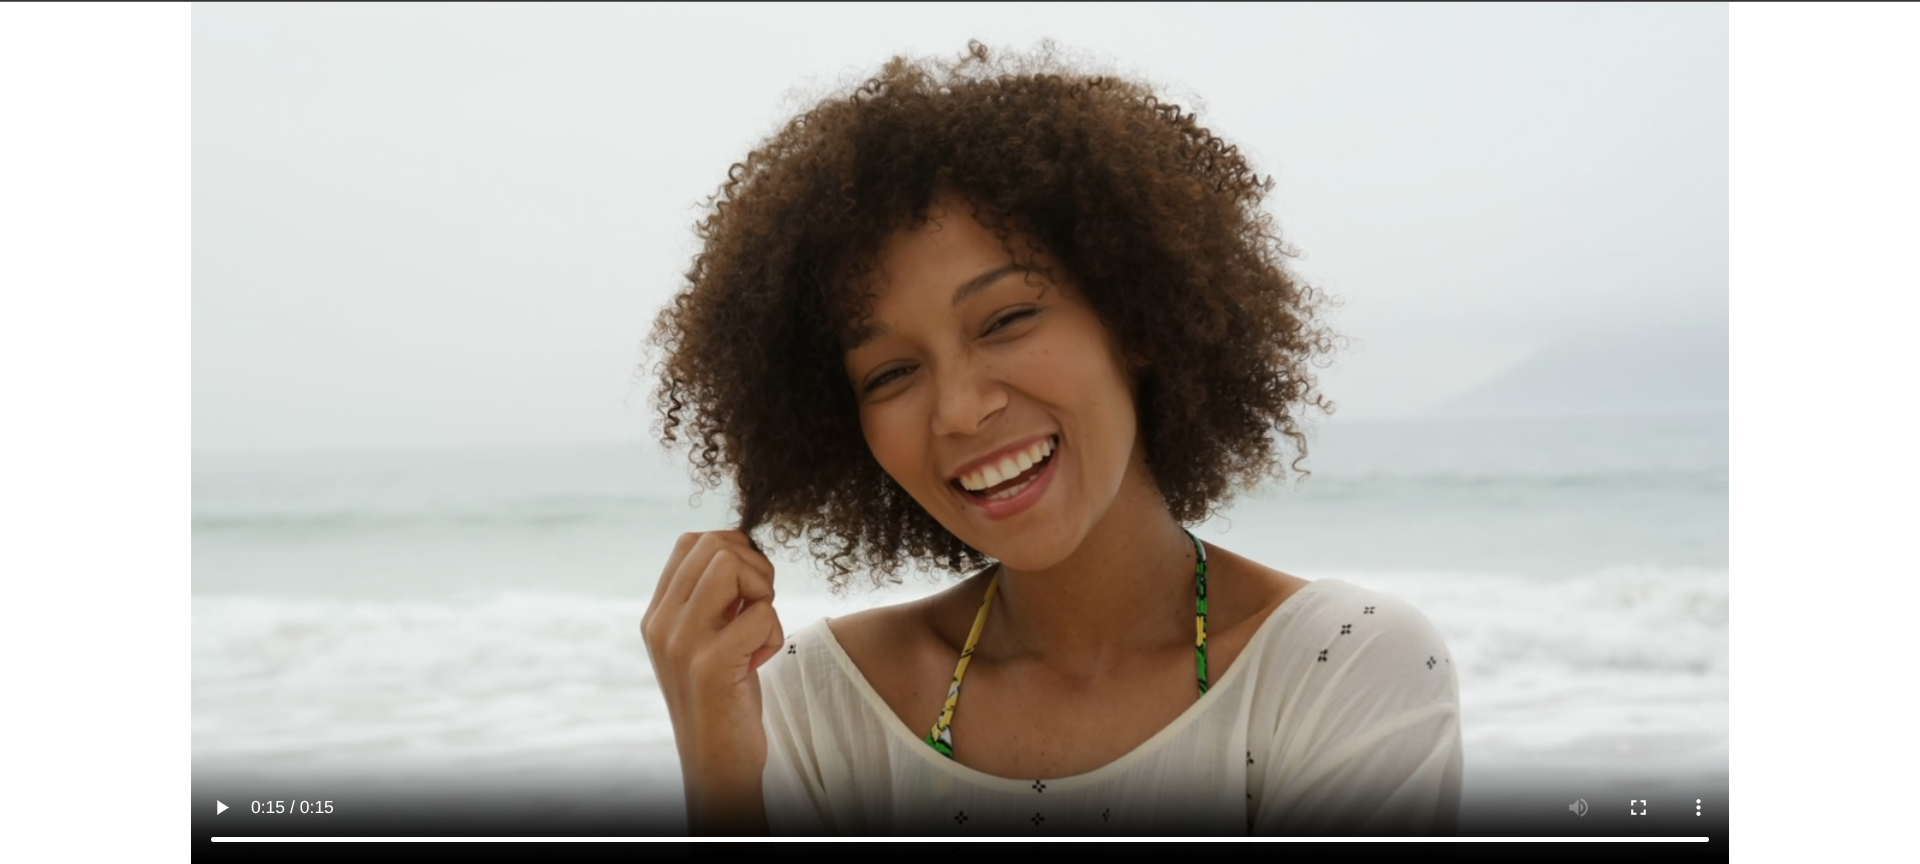
Here’s the FFmpeg command to crop to the center of the video:
ffmpeg -i beach.mp4 -vf "crop=in_w:in_h:(iw-1280)/2:(ih-720)/2" output.mp4
Crop Based on Aspect Ratio
In the last example, the in_w (input width) and in_h (input height) parameters in the command means we want to preserve the original dimension of the video:
ffmpeg -i beach.mp4 -vf "crop=in_w:in_h:(iw-w)/2:(ih-w)/2" output.mp4
Say you want to crop a video, and you need the output to have a different aspect ratio:
- First, you’ll need to determine the input video dimension.
- Next, choose a target aspect ratio (e.g., 1:1 for Instagram) to crop the video to.
- Finally, calculate what crop dimensions to use. For example, to crop to a 1:1 aspect ratio from a video with 1920×1080 dimensions, use 1080×1080. You can also use an aspect ratio calculator to get the dimensions to pass to the crop command.
# Example: Crop 1920x1080 video to 1:1 aspect ratio
ffmpeg -i input.mp4 -vf "crop=1080:1080:(iw-1080)/2:(ih-1080)/2" output.mp4

# Example: Crop to 4:3 aspect ratio
ffmpeg -i input.mp4 -vf "crop=1440:1080:(iw-1440)/2:(ih-1080)/2" output.mp4
Cropping Videos at Scale with Cloudinary
While FFmpeg can meet most of your basic video cropping needs, you’d most definitely need a more robust solution for large scale video processing. Cloudinary is an Image and Video API that offers video manipulation functionality with an intuitive API, making it ideal for cropping videos in bulk or within complex applications.
Cropping videos with Cloudinary is easy. You can use any of Cloudinary’s programmable SDKs or add transformation parameters directly to your video’s Cloudinary URL.
How to Remove Black Borders From Videos Using c_fill
The c_fill crop mode allows you to fill the exact specified dimensions without distorting the video. To allow Cloudinary to remove the black borders automatically, you need to specify at least one of the following: width, height, or aspect ratio, when using the c_fill parameter.
Taking the previous sample video as an example, here’s the resulting cropped video with the black borders removed using Cloudinary’s URL transformation parameters.
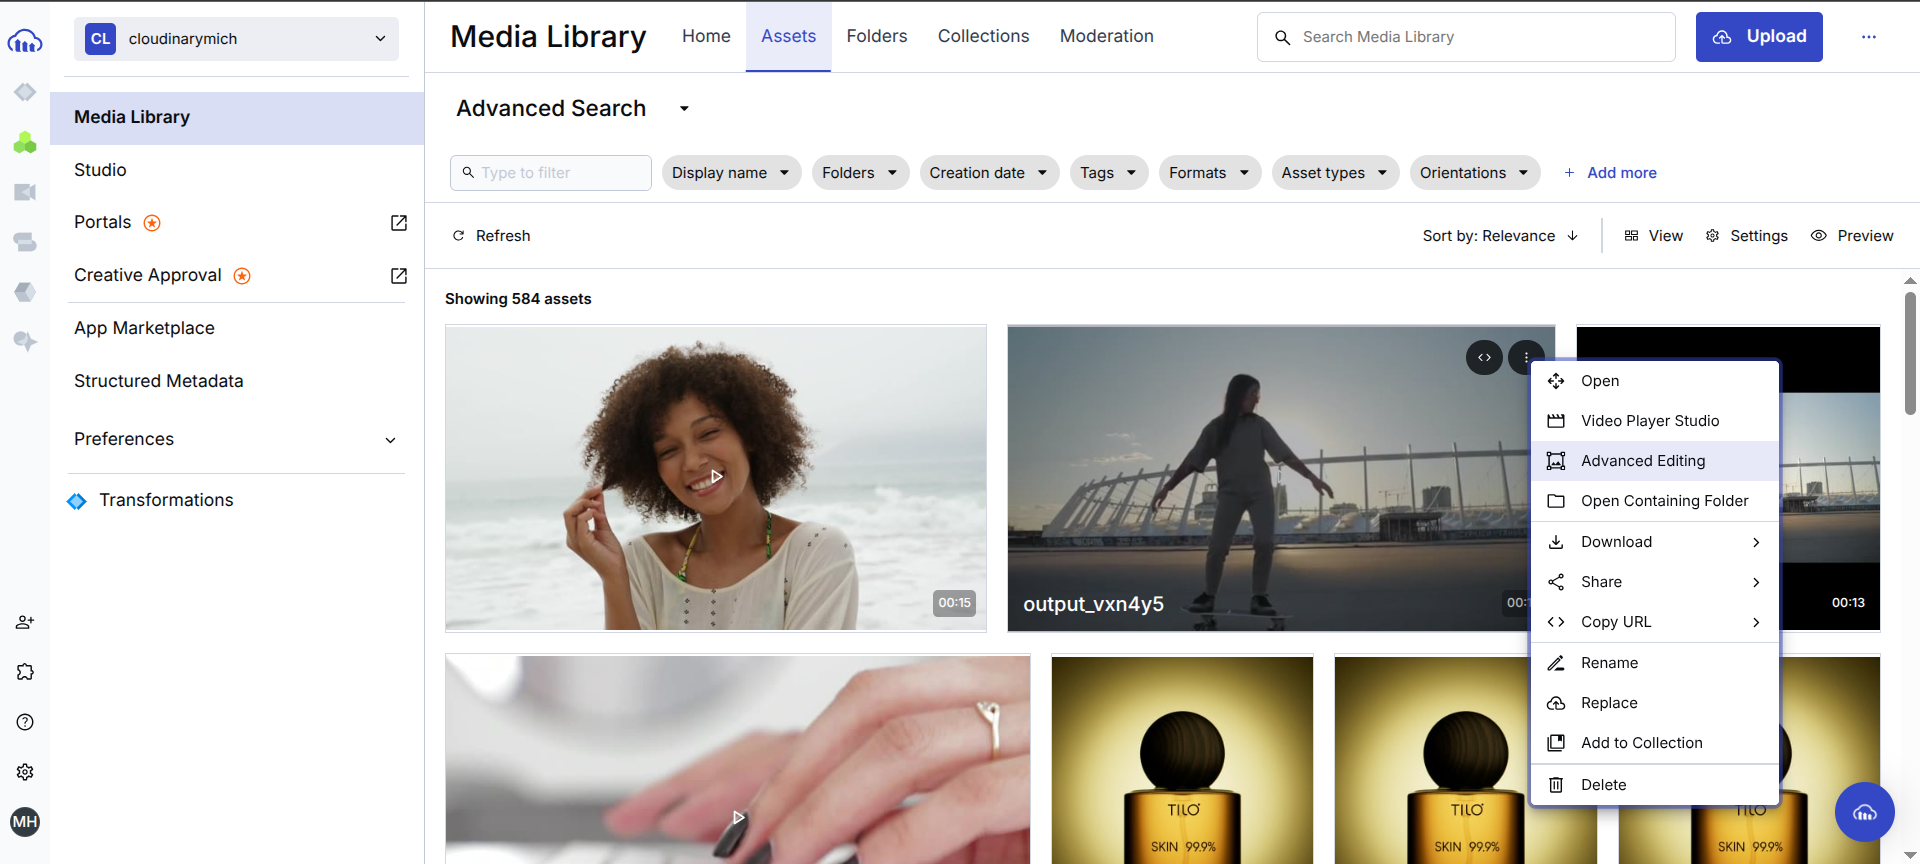
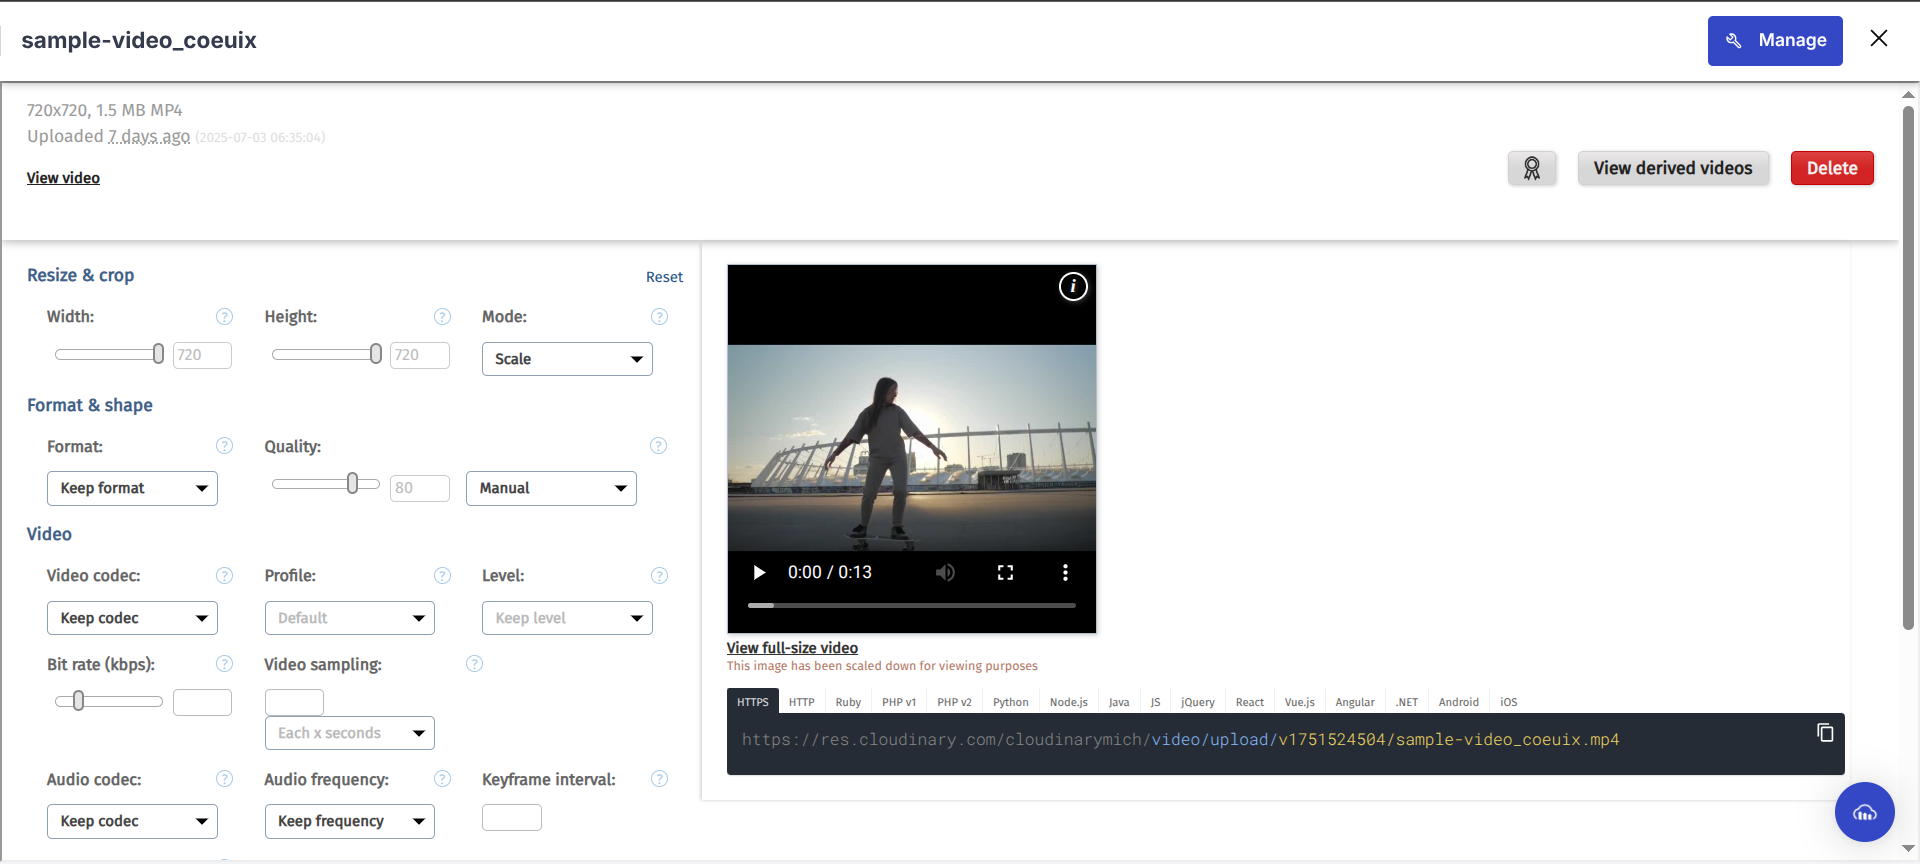
TIP: You can click on the hamburger menu icon on a video and then select Advanced Editing in Media Library > Assets in your Cloudinary dashboard to open a playground that allows you to apply different video transformations to your video and see the result on the fly.
Wrapping Up
Cropping videos is a powerful way to fine-tune your content for presentation, remove distractions, or tailor it for social media platforms. Whether you’re editing a single file or hundreds at scale, FFmpeg offers low-level control while services like Cloudinary provide a high-level, scalable API interface. This article explored the capabilities of FFmpeg for video cropping and highlighted the advantages of using Cloudinary to crop video at scale.
Ready to experience the capabilities of Cloudinary in your video cropping workflows? Sign up for a free Cloudinary account today to get started.
Frequently Asked Questions
How do I convert 1080p to 720p in FFmpeg?
Converting a video from 1080p to 720p typically means changing its dimension or aspect ratio. FFmpeg uses the scale video filter for this purpose. Here’s the basic command:
ffmpeg -i input_video.mp4 -vf scale=1280:720 output_720p.mp4
How do I trim a part of a video in FFmpeg?
Trimming and cropping are two distinct operations. Trimming involves cutting off the beginning or end of a video (or both), which shortens its duration. Cropping, on the other hand, changes the visible dimensions of the video frame, removing parts of the frame itself. FFmpeg provides the -ss (start time) and -t (duration) or -to (end time) flags which allow us to efficiently trim videos. Here’s a basic example to trim the input video starting from the 1-minute mark for a duration of 1 minute and 30 seconds:
ffmpeg -i input-video.mp4 -ss 00:01:00 -t 00:01:30 -c:v copy -c:a copy trimmed_output.mp4

