
Importance of Displaying Images in Python Applications
There are many reasons you might display images in Python applications. For example:
- In an application that requires image processing, the ability to display these images at various stages of processing helps developers debug and improve their algorithms.
- In the field of data science and machine learning, Python is extensively used for tasks like image recognition and object detection. Here, the ability to display images is not a core part of the application, which allows developers to visualize the output of their models and make necessary adjustments.
- In web development, a key aspect of creating user-friendly applications is the ability to handle and display images efficiently.
Displaying images in Python is straightforward, but the process is slightly different depending on the image processing library you are using. We’ll review the most common options.
(!) Before we start
Working with images in Python? There’s an easy, automatic way to resize and crop them
Cloudinary is a cloud-based image management platform with a generous free plan and a Python SDK. Cloudinary can:
- Resize your images on the server side so they load faster for users
- Automatically crop images with AI-based object and face recognition
You can sign up free and try it for yourself or learn more below.
This is part of a series of articles about image optimization
In this article:
- Importance of Displaying Images in Python Applications
- Displaying Images in Popular Python Libraries

Displaying Images in Popular Python Libraries
Let’s see how to display an image in Python using the most popular image-related Python libraries.
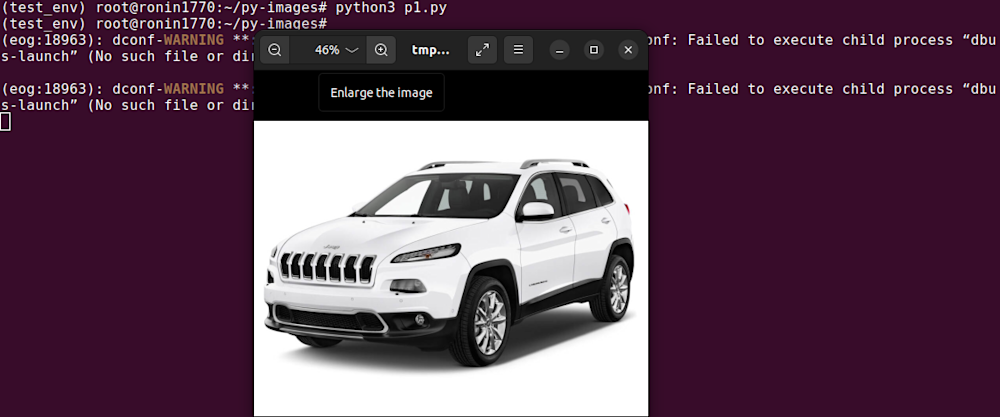
1. Using Pillow to Display Images in Python
Pillow, also known as PIL (Python Imaging Library), offers extensive file format support, an efficient internal representation, and powerful image processing capabilities.
To install Pillow, simply type pip install pillow in your terminal. To display an image, you can use the Image module’s open function to load the image and the show function to display it.
from PIL import Image
# Load an image
img = Image.open('image.jpg')
# Display the image
img.show()
In this code, Image.open('image.jpg') opens and identifies the given image file, while img.show() displays it. If the file cannot be opened and identified, an OSError exception is raised.
2. Using OpenCV to Display Images in Python
OpenCV is a library of programming functions for real-time computer vision applications. It’s a powerful tool for image processing that allows you to manipulate images in various ways, including resizing, cropping, and rotating, and apply thousands of machine learning algorithms to images and videos. A basic feature of OpenCV is its ability to display images.
To start with, you need to install OpenCV. You can do this by typing pip install opencv-python in your terminal. After installation, we can use the imread function to read the image and imshow function to display the image.
import cv2


# Load an image
img = cv2.imread('image.jpg')


# Display the image
cv2.imshow('image', img)
cv2.waitKey(0)
cv2.destroyAllWindows()
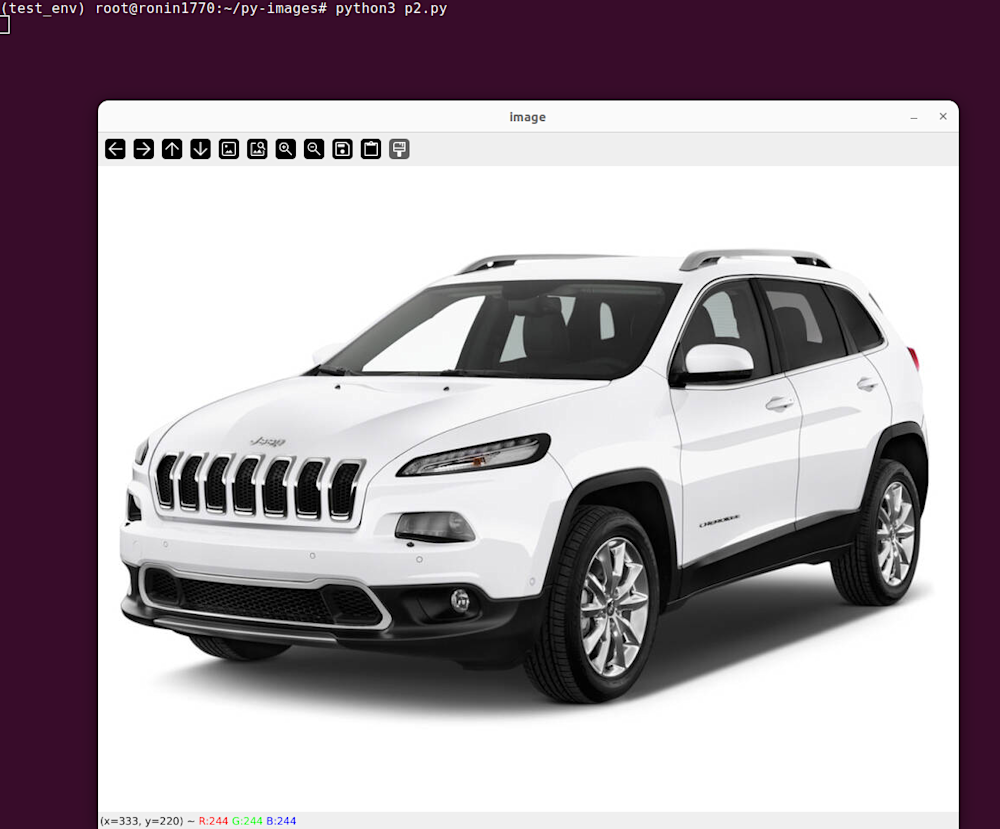
In the code above, the waitKey(0) function waits until the user presses a key, while destroyAllWindows() closes all the windows we created. If the image path is wrong, imread will return an empty matrix.
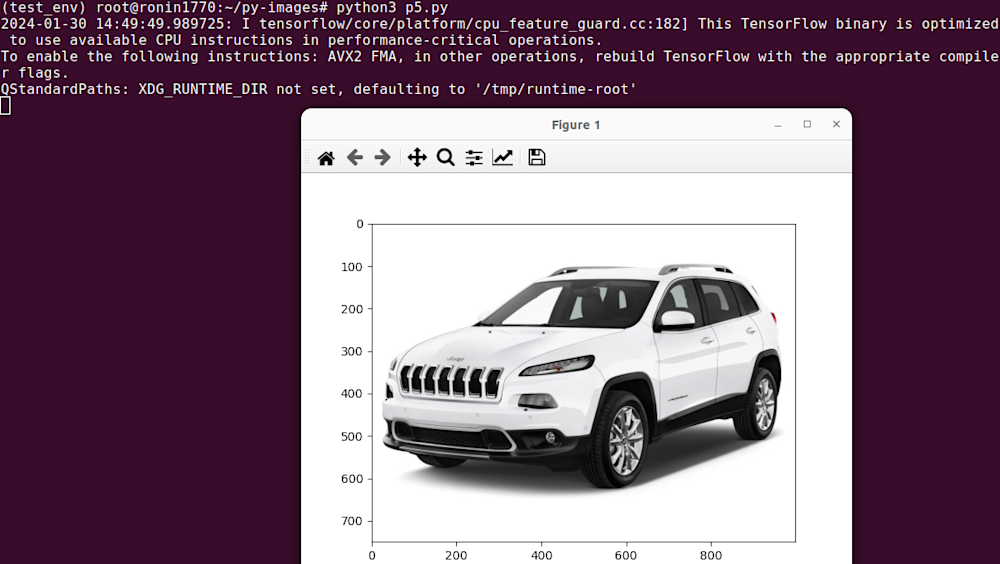
3. Using Matplotlib to Display Images in Python
Matplotlib is a plotting library for Python and is often used for data visualization. However, it also offers functionality for image reading and displaying. Unlike OpenCV, it displays images in RGB mode, making it more suitable for image processing tasks that require color differentiation.
Firstly, you need to install Matplotlib with pip install matplotlib. After that, you can use the pyplot module’s imshow function to display the image.
import matplotlib.pyplot as plt
import matplotlib.image as mpimg


# Load an image
img = mpimg.imread('image.jpg')


# Display the image
imgplot = plt.imshow(img)
plt.show()
In this code, mpimg.imread('image.jpg') reads the image, and plt.imshow(img) displays the image. plt.show() finally renders the image.
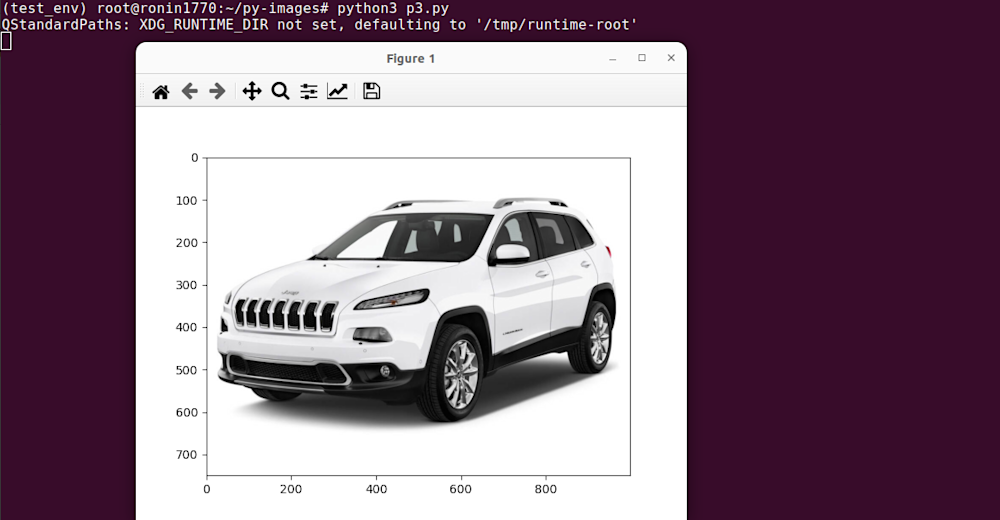
Note: If you get the warning “FigureCanvasAgg is non-interactive”, use the following command in Linux/Debian: pip install PyQt5
4. Using Scikit-Image to Display Images in Python
Scikit-Image is another powerful library for image processing in Python. It provides a comprehensive set of tools for image processing, including utilities to display images.
First, install Scikit-Image with pip install scikit-image. After that, you can use io.imread to read an image and io.imshow to display it.
from skimage import io


# Load an image
img = io.imread('image.jpg')


# Display the image
io.imshow(img)
io.show()
In this code, io.imread('image.jpg') reads the image, and io.imshow(img) displays it. io.show() renders the image.
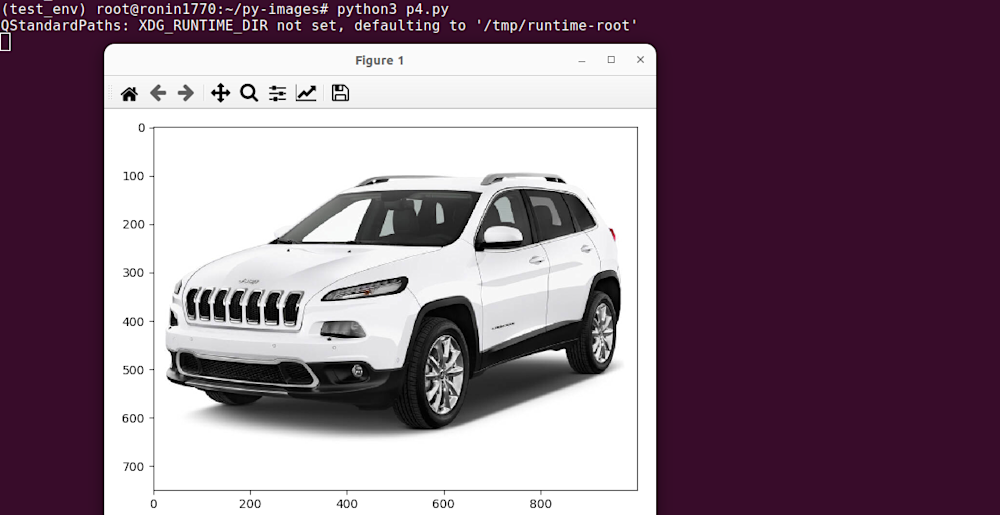
5. Using Tensorflow to Display Images in Python
Tensorflow is a powerful framework for machine learning and neural networks, and it also supports image processing. You can read and display images using the Tensorflow Keras API’s load_img and imshow functions.
First, install Tensorflow with pip install tensorflow. To install the CPU version, use pip install tensorflow-cpu. Then, use the load_img function to load an image and imshow function to display it.
import tensorflow as tf
from tensorflow.keras.preprocessing import image
import matplotlib.pyplot as plt
# Load an image
img = image.load_img('image.jpg')


# Display the image
plt.imshow(img)
plt.show()
In this code, image.load_img('image.jpg') loads an image in PIL format. plt.imshow(img) and plt.show() are used to display the image.
Related content: Read our guide to image management
Fully Automated Python Image Resize and Cropping with Cloudinary
Displaying images in Python is simple enough, but when you need to crop, resize, or apply other manipulations in standard Python libraries, you’ll find it can be quite difficult, especially at large scale.
Cloudinary is a cloud-based service for managing images and videos, which offers a generous free plan and a Python SDK. It lets you upload your images and apply built-in effects, filters, and modifications. You can also resize images automatically, focusing on the most important elements with AI or adapt them to your website design without having to manually crop or scale them.
You can set the target dimensions of your resized image by specifying width, height, and/or the target aspect ratio as qualifiers of your resize transformation.
You can change the dimensions of an uploaded image by setting the image’s height, width, and/or aspect ratio, and Cloudinary automatically resizes or crops the image to fit into the requested size.
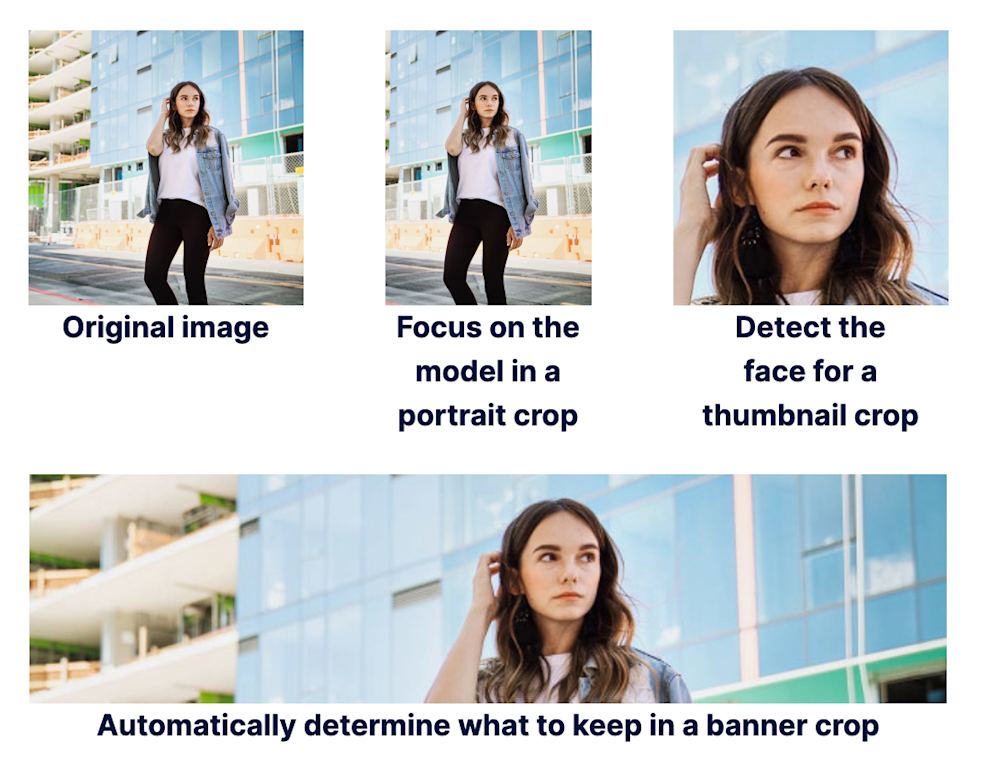
For example, this original image is 1200 x 1200 pixels:

Resizing the image to 200 x 200 pixels, using crop, scale, fill and pad results in the following images:
Get started with automated resize and cropping today!
- Get a free Cloudinary account
- Install the Python SDK
- Deliver the crop transformations shown above as follows:
    # Focus on the model in a portrait crop.

    CloudinaryImage("docs/model.jpg").image(gravity="person", height=600, width=450, crop="fill")

    # Detect the face for a thumbnail crop.

    CloudinaryImage("docs/model.jpg").image(gravity="face", height=250, width=250, crop="thumb")

    # Crop to a banner, automatically focusing on a region of interest.

    CloudinaryImage("docs/model.jpg").image(gravity="auto", height=150, width=600, crop="fill")
Learn more in Cloudinary’s Python quick start guide

