In today’s digital landscape, audio content is increasingly important for engaging and retaining users. From background music to sound effects, audio can add a new dimension to your website or application, creating a more immersive and interactive experience.
With PHP audio manipulation, you can create custom audio content tailored to your specific needs, whether you’re creating a podcast, a music streaming service, or a game.
One of the key benefits of audio manipulation in PHP is its versatility.
This lesson will show you how to manipulate the audio in videos and make original audio-video compositions using a PHP SDK.
What Are Audio Overlays?
An audio overlay in a video is an additional audio track played on top of the existing audio track. The purpose of an audio layover is to add supplementary or alternative audio content to a video, like using an audio overlay to add background music or sound effects to a video. Alternatively, one could add a voiceover or commentary track to a video.
Video editing software can add audio overlays to a video during post-production. The software allows the user to adjust the volume of the overlay, synchronize it with the video, and fade it in and out as needed. This can be useful for creating engaging and informative videos with multiple audio layers, each serving a different purpose.
Why Add Audio Overlay to a Video?
Adding an audio overlay can increase a video’s overall effect and engagement. This allows you to include narration, background music, sound effects, and other audio components that enhance the visuals and give the spectator a more engaging experience.
Why Would You Need to Add an Audio Overlay?
You may need to add an audio overlay to a video in various situations, such as:
- If the original audio is poor quality or includes unwelcome background noise, you can add a new overlay to improve audio quality.
- A video’s message, atmosphere, or emotions can all be improved by adding new audio layers. In video advertisements or promotional videos, this is particularly helpful.
- If a video was initially silent, you might occasionally need to add audio to it if you want to add voiceover instructions to a tutorial.
How to Programmatically Add PHP Audio to Video
Now that we understand how an audio overlay can enhance videos let’s explore how we can simplify the process with PHP audio.
Pre-requisites
Before we can dive into this tutorial, you will need to create a Cloudinary account. Next, you’ll need a PHP development environment. Luckily, XAMPP is a free, easy-to-install Apache distribution with a development environment. You can install it easily by visiting their official website.
Finally, you will need to install Composer to manage your PHP dependencies. You can easily install it by visiting their page and following the directions.
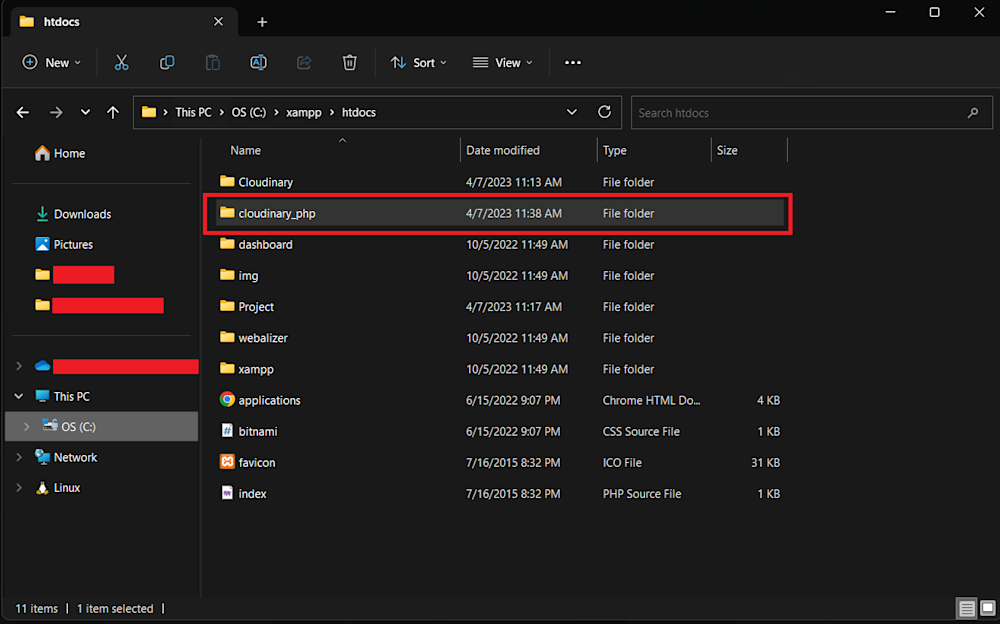
Once you have everything installed, the last thing you’ll need is to create your project. Head over to the htdocs folder in your XAMPP directory. Open up this folder and create a sample project folder. Here we are creating a folder named cloudinary_php.
Next, open up this folder in your terminal and install the Cloudinary PHP SDK using Composer:
composer require cloudinary/cloudinary_php
Now that everything is ready, we can start coding with PHP.
Adding A PHP Audio Overlay to Your Video
First, open a new PHP file in your project directory in your favorite IDE. Next, import the PHP SDK using the require_once statement:
require_once __DIR__ . '/vendor/autoload.php';
Then, we import the required classes from the SDK using the use statement:
use Cloudinary\Configuration\Configuration;
use Cloudinary\Api\Upload\UploadApi;
use Cloudinary\Asset\Video;
use Cloudinary\Transformation\Source;
use Cloudinary\Transformation\Overlay;
Here the Configuration class helps us configure our Cloudinary environment with our API credentials. The UploadApi will help us upload our assets to the cloud. Finally, the Video, Source, and Overlay will help us with our overlay transformation.
The next step will be to define our API. So first, head to the Cloudinary website and log in to your account. Copy your Cloud Name, API Key, and API Secret:

Start by configuring the API using the Configuration::instance() method. This method takes your Cloudinary API credentials as a parameter and configures your SDK instance:
Configuration::instance('cloudinary://my_key:my_secret@my_cloud_name');
Replace my_key, my_secret, and my_cloud_name with your actual API credentials. Alternatively, you can set them as environment variables.
Now that our API is ready, we need to upload our assets to the cloud. Create a new folder named assets in your project directory, And add the video and audio that you want to use:
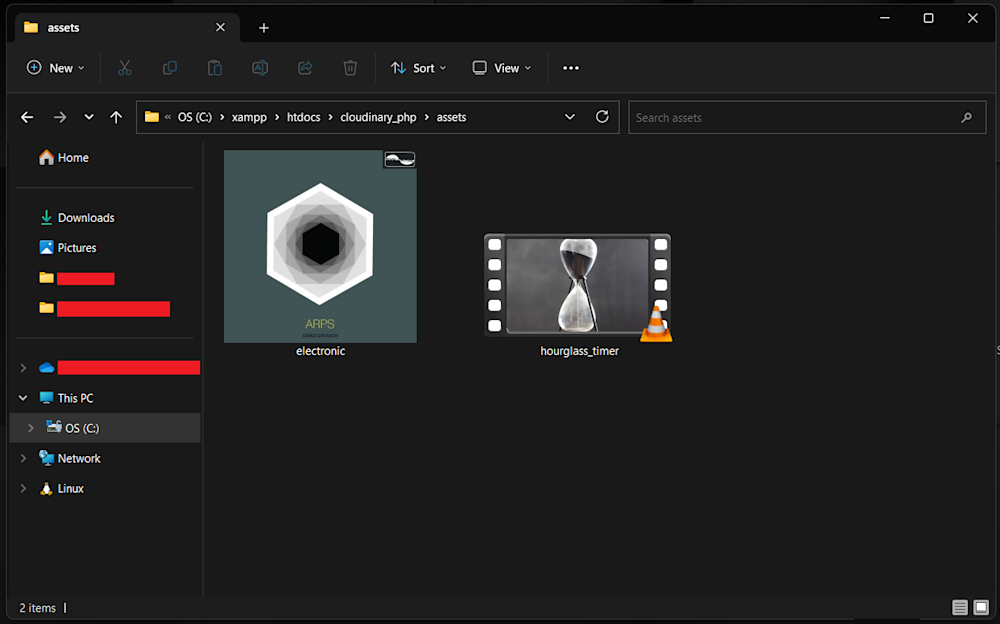
We’ll use electronic.mp3 and hourglass_timer.mp4 from the Cloudinary demo cloud.
Next, we create an instance of the UploadApi class, which is used to upload the files. We then call the upload() method to upload our assets to the cloud. The method takes the file path and some additional parameters as arguments.
In this case, we are setting the resource_type to video for the video file and auto for the audio file. Additionally, we are defining the public_id parameter to set the public ID of the uploaded files. This unique identifier will help us access the file on our Cloudinary cloud:
// Upload the video and the audio files
$uploadApi = new UploadApi();
$videoUpload = $uploadApi->upload('.\assets\hourglass_timer.mp4', ['resource_type' => 'video', 'public_id' => 'hourglass']);
$audioUpload = $uploadApi->upload('.\assets\electronic.mp3', ['resource_type' => 'auto', 'public_id' => 'electronic']);
We can add our overlay to our video now that we have uploaded our assets.
First, we generate a Video object. This represents a Cloudinary video asset and can be used to apply various transformations to the video. Next, we add an audio overlay to the video using the overlay() method and the Overlay::source() method. The Overlay::source() method takes a Source object as an argument, created using the Source::video() method. The Source::video() method takes the public ID of the audio file as an argument. We then generate a URL using the toUrl() function:
// Generate the HTML video tag with the transformed video URL
$my_video = (new Video('hourglass'))
    ->overlay(Overlay::source(
        Source::video("electronic")
    ))->toUrl();
You can learn more about PHP audio overlays by visiting the Audio Transformations documentation.
Finally, we generate an HTML video tag using the echo statement. Here we set the src attribute of the <source> tag to the transformed video URL:
echo "<video controls><source src=\"$my_video\" type=\"video/mp4\"></video>";
Here is what our final code looks like:
<?php
require_once __DIR__ . '/vendor/autoload.php';

use Cloudinary\Configuration\Configuration;
use Cloudinary\Api\Upload\UploadApi;
use Cloudinary\Asset\Video;
use Cloudinary\Transformation\Source;
use Cloudinary\Transformation\Overlay;


// Replace `cloudinary://my_key:my_secret@my_cloud_name` with your environment variable
Configuration::instance('cloudinary://my_key:my_secret@my_cloud_name');

// Upload the video and the audio files
$uploadApi = new UploadApi();
$videoUpload = $uploadApi->upload('.\assets\hourglass_timer.mp4', ['resource_type' => 'video', 'public_id' => 'hourglass']);
$audioUpload = $uploadApi->upload('.\assets\electronic.mp3', ['resource_type' => 'auto', 'public_id' => 'electronic']);

// Generate the HTML video tag with the transformed video URL
$my_video = (new Video('hourglass'))
    ->overlay(Overlay::source(
        Source::video("electronic")
    ))->toUrl();

echo "<video controls><source src=\"$my_video\" type=\"video/mp4\"></video>";
Now that we have everything set up, we only need to run our PHP audio script. Start by opening up your XAMPP control panel and starting your Apache server:
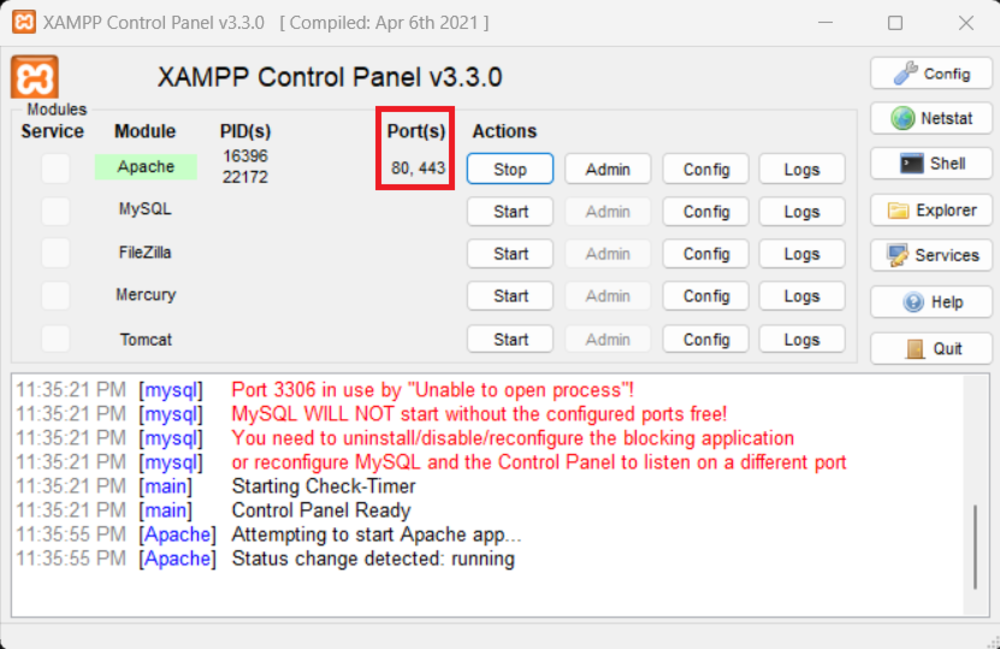
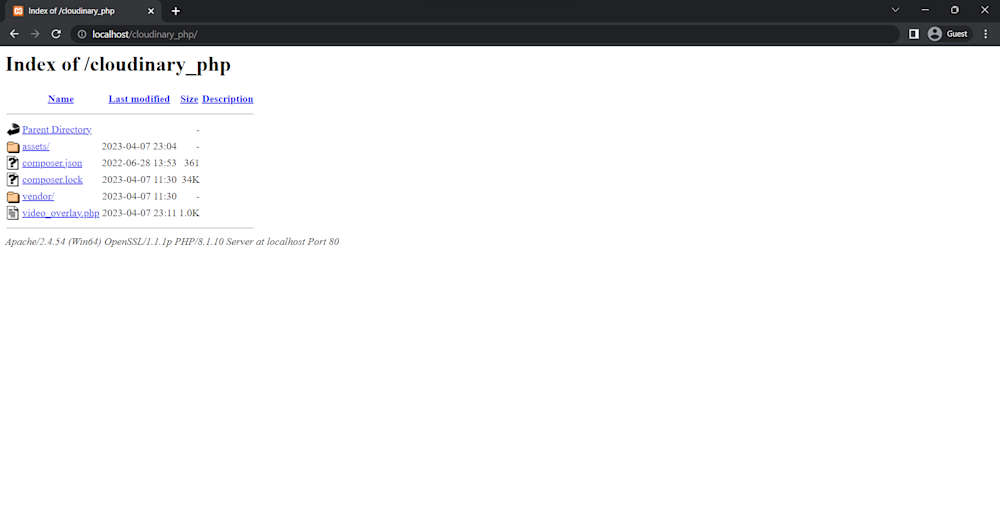
As you can see, our server is running on ports 80 and 443. Next, open up your browser and navigate to http://localhost/your-project-folder-name. This will take you to your project’s index page:
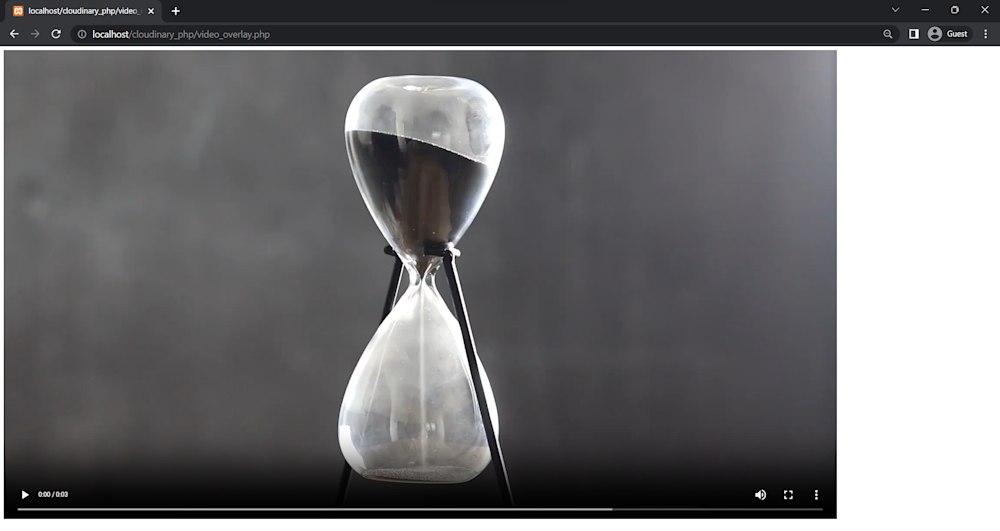
Now, you just need to run your PHP file by clicking on it. Here is what your output should look like:


Final Thoughts
With the help of Cloudinary’s audio manipulation features, you can enhance your videos and produce distinctive, dynamic content that sticks out. Using PHP code to interact with Cloudinary’s API and SDK, you can make unique audio-video compositions that suit your requirements. Join Cloudinary now to start adding stunning audio effects to your videos!
Learn more:

