
Downloading files from a URL to your local machine is a common task in Python, whether you’re working with images, documents, or other resources. Python offers several methods for this, including the user-friendly requests library and the built-in urllib.request module.
The requests library is popular for its simplicity and robust error handling, supporting chunked downloads for large files. Meanwhile, urllib.request is part of Python’s standard library and provides a straightforward way to retrieve files directly from the web. Both approaches allow you to save files locally with custom filenames and handle exceptions gracefully.
In this article, you’ll learn how to use these methods and others to efficiently download files from URLs, with practical code examples and explanations to help you choose the best approach for your needs.
Why Download an Image from a URL?
A URL (Uniform Resource Locator) is a reference to a web resource that specifies its location on a network. When you download an image from a URL, you are retrieving that image file from its location on the Internet and saving it to your local device.
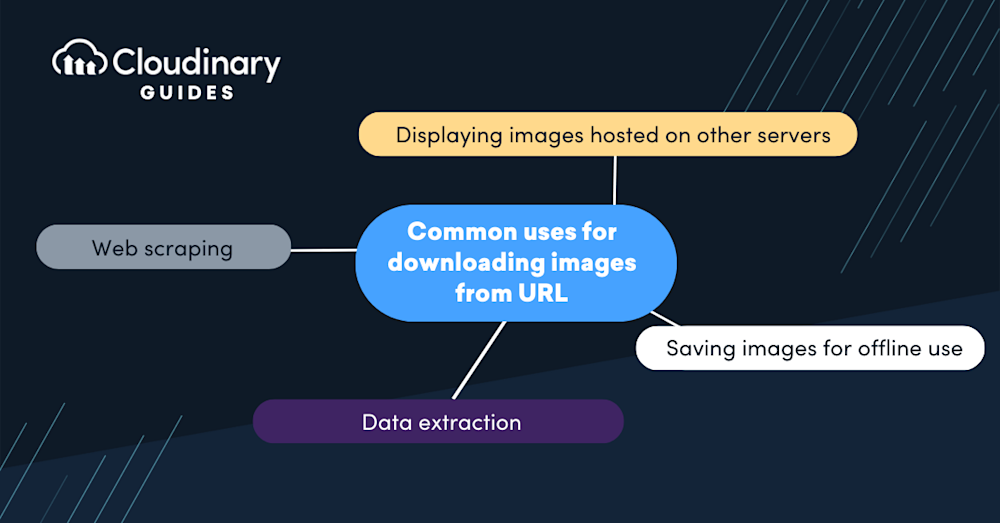
Here are a few common uses for downloading images from URLs:
- Web scraping and data extraction
- Saving images for offline use
- Displaying images hosted on other servers
Technical considerations for downloading images include understanding file formats (JPEG, PNG, etc.), managing file sizes and compression, and handling potential issues like broken URLs or restricted access. Automating this process through scripts can save developers time and provide more control over how images are downloaded and used.
Before we start
Working with images in Python? There’s an easy, automatic way to resize and crop them
Cloudinary is a cloud-based image management platform with a generous free plan and a Python SDK. Cloudinary can:
- Resize your images on the server side so they load faster for users
- Automatically crop images with AI-based object and face recognition
You can sign up free and try it for yourself or learn more below.
This is part of a series of articles about image optimization
In this article:
5 Ways to Downloading an Image from a URL with Python
Python provides a versatile and efficient approach to a wide range of tasks, including web scraping and automation. Whether you’re gathering data for a machine learning project, developing a web scraper, or automating the download of media files, Python offers the tools and flexibility to get the job done.
Python’s ecosystem offers a wide range of solutions, from built-in libraries to advanced third-party tools. In this guide, we explore five different methods you can use to download images from URLs.
1. Using urllib.request
urllib.request is a Python module used for accessing and reading URLs, especially those using HTTP. It’s a component of the broader urllib package, which offers tools for handling URLs and web-related tasks. This module includes functions that allow you to open URLs and download images or other files directly from the web.
Here is a simple code snippet that shows how we can use urllib.request to download an image from a URL:
import urllib.request

def download_image(url, save_as):
    urllib.request.urlretrieve(url, save_as)

image_url = 'http://example.com/image.jpg'
save_as = 'image.jpg'

download_image(image_url, save_as)
In the above code, we define a function called download_image that takes in a URL and a filename as parameters. The urllib.request.urlretrieve function is used to download the file at the specified URL and save it as the given filename.
Pro Tip!
Consider Cloudinary’s URL Transformations
Cloudinary allows you to easily transform your images on the fly to any required format without the need for coding skills. Simply upload your images to Cloudinary and deliver them in your desired format via URL.
2. Using the Requests Library
The Requests library is a widely used Python tool for making HTTP requests. It offers a more intuitive and user-friendly interface compared to urllib, simplifying the process of interacting with web services. By handling the underlying complexities, Requests lets you focus on retrieving and working with data in your application. Its simplicity and flexibility make it a go-to choice for tasks like web scraping, consuming REST APIs, and general web development in Python.
Here is how we can use the Requests library to download an image from a URL:
import requests

def download_image(url, save_as):
    response = requests.get(url)
    with open(save_as, 'wb') as file:
        file.write(response.content)

image_url = 'http://example.com/image.jpg'
save_as = 'image.jpg'

download_image(image_url, save_as)

In this example, we send a GET request to the URL using requests.get. The response from this request is an object that contains the server’s response to our request. We then open the file in write mode (wb stands for write binary) and write the response’s content to the file.
3. Using urllib3
urllib3 is a Python module designed for managing URLs and making HTTP requests. It enhances the capabilities of the standard libraries by offering a more powerful, reliable, and user-friendly way to handle web requests. Many other Python libraries, including requests, rely on urllib3 for processing HTTP and HTTPS communication.
Here’s how we can use urllib3 to download an image from a URL:
import urllib3

def download_image(url, save_as):
    http = urllib3.PoolManager()
    response = http.request('GET', url)
    with open(save_as, 'wb') as file:
        file.write(response.data)

image_url = 'http://example.com/image.jpg'
save_as = 'image.jpg'

download_image(image_url, save_as)
In this code, we first create an instance of the PoolManager class. This class handles all of the details of connection pooling and thread safety, allowing us to focus on the task at hand. We then use the request method to send a GET request to the URL and write the response data to the file.

4. Using wget
The wget library in Python is a lightweight, easy-to-use tool designed for downloading files from the web. It mirrors the functionality of its Unix namesake, wget, offering a simple way to download files via HTTP, HTTPS, and FTP protocols with minimal code. The library is particularly appreciated for its simplicity, allowing one-line commands to retrieve and save files locally. This simplicity makes it an excellent choice for scripts and applications that need to download resources from the Internet without the overhead of more complex libraries.
Here’s an example of how to use wget to download an image from a URL with Python:
import wget

def download_image(url, save_as):
    wget.download(url, save_as)

image_url = 'http://example.com/image.jpg'
save_as = 'image.jpg'

download_image(image_url, save_as)

In the code above, we use the wget.download function to download the image from the URL and save it as the given filename.
5. Using PyCURL
PyCURL is a Python wrapper for the libcurl library, offering robust functionality for data transfers using URL syntax. It brings libcurl’s speed and flexibility to Python, making it a strong choice for handling advanced networking tasks such as multipart uploads, form handling, and managing session cookies. However, its lower-level interface can be more complex compared to libraries like Requests, which may make it less approachable for beginners or those seeking a simpler solution.
Here’s a code snippet that demonstrates how to use PyCURL to download an image from a URL:
import pycurl

def download_image(url, save_as):
    with open(save_as, 'wb') as file:
        curl = pycurl.Curl()
        curl.setopt(curl.URL, url)
        curl.setopt(curl.WRITEDATA, file)
        curl.perform()
        curl.close()

image_url = 'http://example.com/image.jpg'
save_as = 'image.jpg'

download_image(image_url, save_as)

In this code, we first open the file in write mode. We then create an instance of the Curl class and use the setopt method to set the options for the curl object. Finally, we perform the download operation with the perform method and close the curl object with the close method.

Optimizing and Editing Images at Scale with Cloudinary
We delved into how Python facilitates downloading images in bulk from URLs. As a web developer, however, your task doesn’t end there. Often, you need to go a step further—resize, crop, apply filters, or even add watermarks to those images, all while not losing sight of preserving their quality. That’s where Cloudinary, an end-to-end image and video management solution, comes in here.
Cloudinary is a cloud-based platform designed to handle nearly all aspects of image and video management for websites. It provides powerful tools for transforming, optimizing, and delivering media content, all accessible through APIs that integrate smoothly with your existing projects.
Straight out of the box, Cloudinary allows you to manipulate media files programmatically—a remarkable game changer for those dealing with large-scale transformations. With its Python SDK, you can easily integrate Cloudinary into your Python scripts, adding a whole new layer of functionality to your bulk downloaded images.
But how exactly can you leverage all this power and optimize your media with Cloudinary? Let’s dive into how you can programmatically edit an image using Cloudinary’s impressive suite of transformations.
Editing an Image with Cloudinary
Here is an easy-to-follow guide to demonstrate the editing capacity of Cloudinary using Python.
NOTE: This guide assumes you have a Cloudinary account and Python installed on your workspace. If you don’t already have an account, you can sign up for free to get started.
- Install Cloudinary’s Python library. First things first, let’s install Cloudinary’s Python library. You can do it with pip:
pip install cloudinary
- Configure Cloudinary’s settings. Next, configure your Cloudinary settings. Create a
.envfile within your project and copy your credentials there, which can be found in your account dashboard.
CLOUDINARY_URL=cloudinary://API_Key:API_Secret@Cloud_Name
Replace ‘API_Key’, ‘API_Secret’, and ‘Cloud_Name’ with your Cloudinary details, which you can all get from your Cloudinary dashboard.
- Open and Transform the Image: Now, let’s open and transform an image. Say you want to resize an image to a width of 500px while maintaining its aspect ratio. Here’s how you can do it:
# Set your Cloudinary credentials
# ==============================
from dotenv import load_dotenv
load_dotenv()

import cloudinary.uploader

response =
cloudinary.uploader.upload('path/to/your/image', width=500,
crop="scale")
Replace ‘path/to/your/image’ in the above command with the real file path.
You can use cloudinary.uploader.upload() function to upload an image from any web location by providing its URL as parameter or upload images from your local file system.
Check out How to Upload images in Python tutorial for more details.
And voilà! You’ve just programmatically transformed your image. The response dictionary will contain the URL of the updated image stored in your Cloudinary account.
With just Python and Cloudinary’s powerful set of tools, you can handle image editing tasks that would have once required complex maneuvering. The power is at your fingertips—how will you optimize the media on your websites?
Take your digital experience to the next level with Cloudinary’s powerful media optimization tools. Sign up for free today.
Learn more in Cloudinary’s Python quick start guide

