
What Is Image Saving in Python?
Image saving is a process where images are written to a file in a specific format, such as JPEG, PNG, or BMP. With its rich library ecosystem, Python offers several ways to save images. Python libraries provide functions to handle image data, convert it into various formats, and write it to files.
The choice of library and method depends on the task’s requirements, such as the desired image format, the level of image quality, and the need for additional image processing features.
Before we start
Working with images in Python? There’s an easy, automatic way to resize and crop.
Cloudinary is a cloud-based image management platform with a generous free plan and a Python SDK. Cloudinary can:
- Resize your images on the server side so they load faster for users
- Automatically crop images with AI-based object and face recognition
You can sign up free and try it for yourself or learn more below.
This is part of a series of articles about image optimization.
In this article:
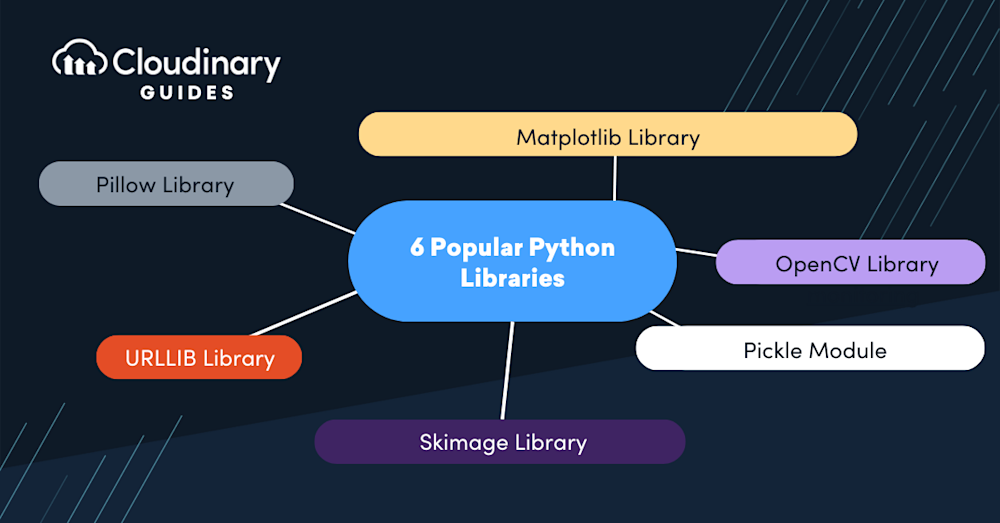
Saving Images with Popular Python Libraries
In Python, manipulating and saving images is a common task encountered across various domains, from web development to data science. Thankfully, Python offers a plethora of powerful libraries tailored for this. Whether you’re a seasoned developer or just diving into the world of image processing, exploring these libraries opens up a world of possibilities.
Here are 6 ways on how to save an image in Python:
1. Using the Pillow Library
PIL (Python Imaging Library), now known as Pillow, is a widely-used Python library for image processing tasks. It provides comprehensive functions for opening, manipulating, and saving images in various formats. When it comes to saving images, Pillow offers simple yet powerful methods for writing images to disk in formats such as JPEG, PNG, and BMP. Its ease of use and compatibility with a wide range of image formats make it a go-to choice for many Python developers seeking to save images efficiently and effectively.
To install Pillow, run pip install pillow
To save an image with PIL, you use the save() function. The save() function requires one parameter: the name of the image file (including the format). Here is an example:
from PIL import Image
img = Image.open('image.jpg') # Load the image
img.save('new_image.jpg') # Save the image

2. Using the URLLIB Library
The urllib library in Python is primarily used for making HTTP requests and handling URLs. While it’s not specifically designed for image manipulation, it can download images from the web by fetching their URLs. By combining urllib with other libraries like os or io, you can save the downloaded image data to your local filesystem. While it provides basic functionality for downloading images, more specialized image processing tasks may require additional libraries like Pillow or OpenCV.
Note: In Python 3.5, you’ll need to install the requests library by running pip3 install requests
Here is how to save an image from a URL using urllib:
import urllib.request
url = 'http://example.com/image.jpg' # The image URL
urllib.request.urlretrieve(url, 'new_image.jpg') # Save the image

In this example, we specified the image URL and then saved the image to our local system using the urlretrieve() function.

3, Using the OpenCV Library
OpenCV, an open-source computer vision and image processing library, is a powerhouse for handling and manipulating images in Python. While its primary focus lies in tasks like object detection, image segmentation, and feature extraction, OpenCV also provides robust functionality for saving images. With its imwrite() function, you can effortlessly save pictures in various formats, including JPEG, PNG, and BMP. OpenCV’s efficiency and versatility make it a popular choice for basic image processing tasks and complex computer vision projects, offering a seamless experience for saving images alongside its myriad other capabilities.
To install OpenCV, run the command pip install opencv-python. Once you’ve installed OpenCV, you can start manipulating and saving images.
To save an image with OpenCV, use the imwrite() function. The imwrite() function requires two parameters: the name of the image file (including the format) and the image you want to save. Here’s a basic example:
import cv2
img = cv2.imread('image.jpg', 1) # Load the image
cv2.imshow('image', img) # Display the image
k = cv2.waitKey(0) # Wait for a key press

if k == 27: # wait for ESC key to exit
    cv2.destroyAllWindows() # destroy all windows
elif k == ord('s'): # wait for 's' key to save and exit
    cv2.imwrite('new_image.jpg', img) # Save the image
    cv2.destroyAllWindows() # Destroy all windows
In this example, we loaded an image, displayed it, and then waited for a key press. If the key pressed was s, we saved the image and destroyed all windows.
4. Using the Pickle Module
The Pickle library in Python is primarily used for serializing and deserializing Python objects. However, it’s not suitable for saving images directly. Pickle is designed to handle Python objects and is not optimized for binary data like images. Attempting to save images using Pickle may result in larger file sizes and potential data corruption. For saving images, it’s recommended to use libraries like Pillow or OpenCV, which are specifically designed for image manipulation and file I/O operations. These libraries offer more efficient and reliable methods for saving images in various formats.
Here is how to save an image with Pickle:
import pickle
import cv2
img = cv2.imread('image.jpg') # Load the image
pickle.dump(img, open('new_image.pkl', 'wb')) # Save the image
In this example, we used OpenCV to load the image and then saved it with Pickle.

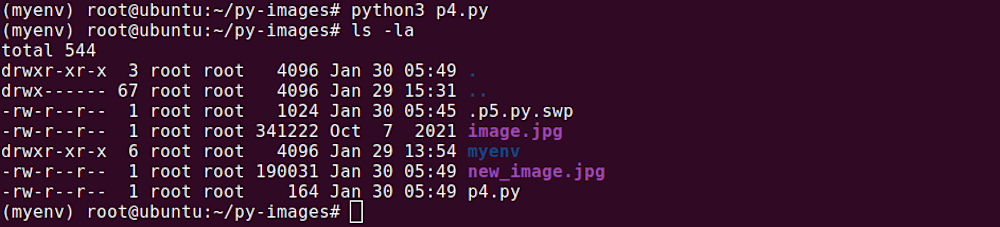
5. Using the Matplotlib Library
Matplotlib is renowned for its capability to create an array of visualizations in Python, but it can be used for more than just generating plots. With Matplotlib, you can effortlessly load an image, manipulate it, and then save the modified version. Whether it’s adjusting colors, adding annotations, or applying filters, Matplotlib provides a convenient framework for these tasks.
You can install Matplotlib by running the command pip install matplotlib.
To save an image with Matplotlib, you use the imsave() function. Here is an example:
import matplotlib.pyplot as plt
import matplotlib.image as mpimg
img = mpimg.imread('image.jpg') # Load the image
plt.imsave('new_image.jpg', img) # Save the image
In this example, we loaded an image and then saved it using the imsave() function.
6. Using the Skimage Library
The Scikit-image (skimage) library in Python is a comprehensive toolbox for image processing tasks, offering a wide range of functions for tasks such as filtering, segmentation, and feature extraction. While its primary focus is on image manipulation and analysis, skimage also provides utilities for saving images in various formats. Whether you’re working with medical images, satellite imagery, or photographs, skimage’s intuitive interface makes it easy to apply transformations and enhancements before saving the results to disk.
You can install skimage by running the command: pip install scikit-image.
To save an image with Skimage, you use the imsave() function. Here is an example:
from skimage import io
img = io.imread('image.jpg') # Load the image
io.imsave('new_image.jpg', img) # Save the image
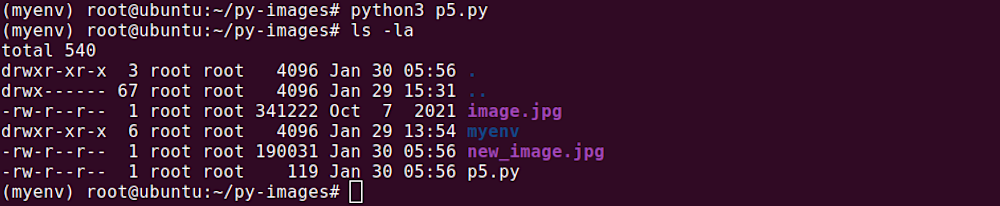
In this example, we loaded an image and then saved it using the imsave() function.
Related content: Read our guide to Python image optimization
Pro Tip!Transform Images On-The-Fly
Manually transforming a large number of images can be tasking and time-consuming. Cloudinary allows you to easily transform your images on the fly to any required format, style and dimension, and apply effects and other visual enhancements.
Managing Images At Scale with Cloudinary and Python
From enhancing user experience to improving website performance, efficient handling of images can make a significant difference. This is where Cloudinary, a robust media management platform, comes into play, offering developers a seamless solution for managing, transforming, and delivering images at scale.
One of the standout features of Cloudinary is its seamless integration with Python, enabling developers to automate and scale their image processing workflows with ease. By leveraging Cloudinary’s Python SDK, developers can effortlessly upload images in bulk, apply transformations and edits programmatically, and seamlessly integrate media optimization into their existing Python scripts.
Let’s walk through a step-by-step tutorial to demonstrate how to edit an image with Cloudinary using Python:
Step 1: Install Cloudinary SDK for Python
First, ensure you have Python installed on your system. Then, install Cloudinary’s Python SDK using pip:
pip install cloudinary
Step 2: Set Up Cloudinary Account and API Credentials
If you haven’t already, sign up for a free account and obtain your API credentials (cloud name, API key, and API secret). These credentials will be used to authenticate your requests to the Cloudinary API.
Step 3: Upload Image to Cloudinary
Using Python, upload the image to your Cloudinary account:
import cloudinary.uploader

cloudinary.config(
    cloud_name = "your_cloud_name",
    api_key = "your_api_key",
    api_secret = "your_api_secret"
)

# Upload image
result = cloudinary.uploader.upload("your_image.jpg")
Step 4: Apply Image Transformations
Now, let’s apply some transformations to the uploaded image. For example, let’s resize the image to a width of 500 pixels and apply a sepia filter:
# Apply transformations
transformations = {
    "width": 500,
    "effect": "sepia"
}

# Generate URL with transformations
transformed_url = cloudinary.CloudinaryImage(result['public_id']).build_url(**transformations)
Step 5: Display or Download Transformed Image
You can now display the transformed image on your website or download it programmatically:
# Display image URL
print("Transformed Image URL:", transformed_url)

# Download transformed image
cloudinary.utils.download_url(transformed_url, "transformed_image.jpg")
By following these simple steps, you can effortlessly manage and optimize images at scale using Cloudinary and Python. Whether you’re building a dynamic web application or managing a content-heavy website, Cloudinary empowers developers to deliver visually stunning experiences while optimizing performance and efficiency.
Integrating Cloudinary into your Python workflow not only simplifies media management but also enhances your ability to deliver high-quality visuals that captivate and engage your audience. Stay tuned for more tips and tutorials on media optimization and image transformations to elevate your web development projects to new heights.
Learn more in Cloudinary’s Python quick start guide

