In a world where the average viewer spends 17 hours a week watching digital videos, the ability to manipulate video content is more important than ever. One way is flipping videos. This technique allows developers to enhance video content’s visual appeal and user experience.
Flipping videos, both horizontally and vertically, can transform how content is perceived, making it a powerful tool for developers and creatives. This article aims to guide you in creating an Android flip video app using Cloudinary, a cloud-based service that provides solutions for image and video management.
Step-by-Step Guide to Flip Video on Android
For this tutorial, we will start by creating an Android script, which requires you to install Android Studio. You can download the latest version from the Android Studio website if you don’t have it installed.
We’ll also use Cloudinary to power our app and host our videos. Go ahead and sign up for a free account if you haven’t already done so.
Once you’ve signed up, go to the Cloudinary website and log in. You will be greeted by the Cloudinary Media Library. Now click on the media button in the top left corner of your screen and go to the Dashboard tab.
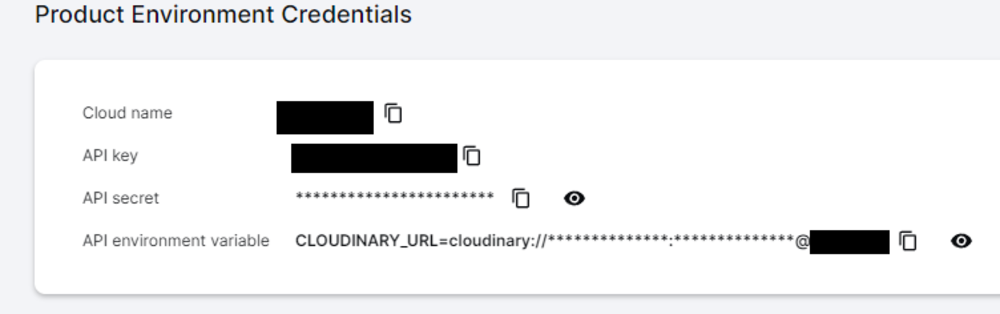
Now copy your Cloud Name, API Key, and API Secret to your clipboard, as we need them later. With this, we’re now ready and can create our Android Project.
Setting Up Our Android Studio Project
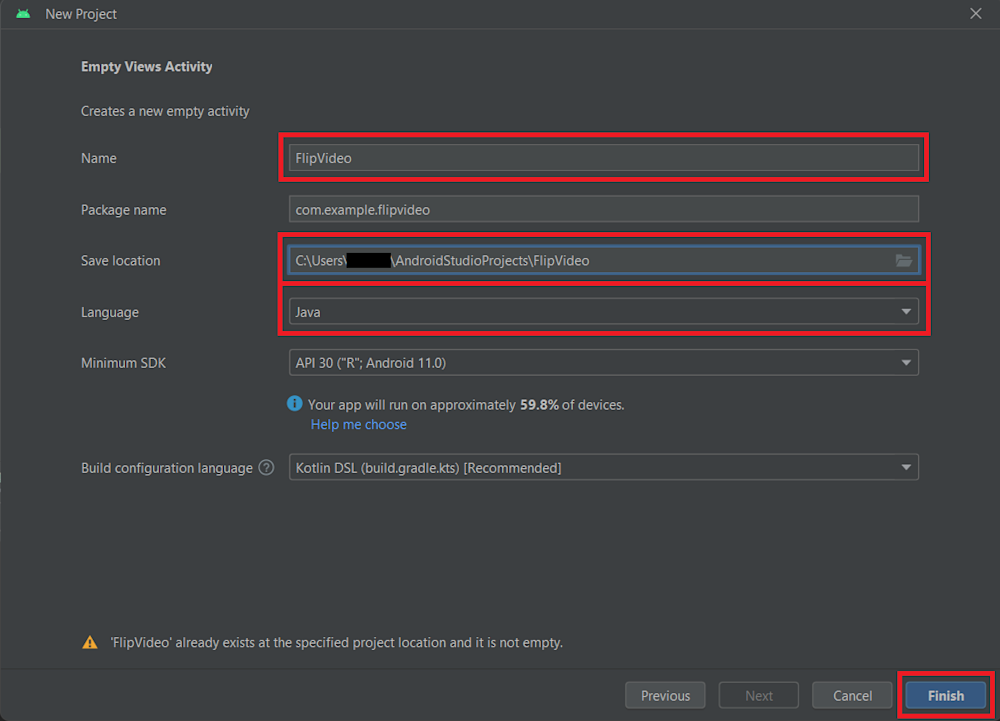
Now open Android Studio and start by selecting an Empty Activity project.
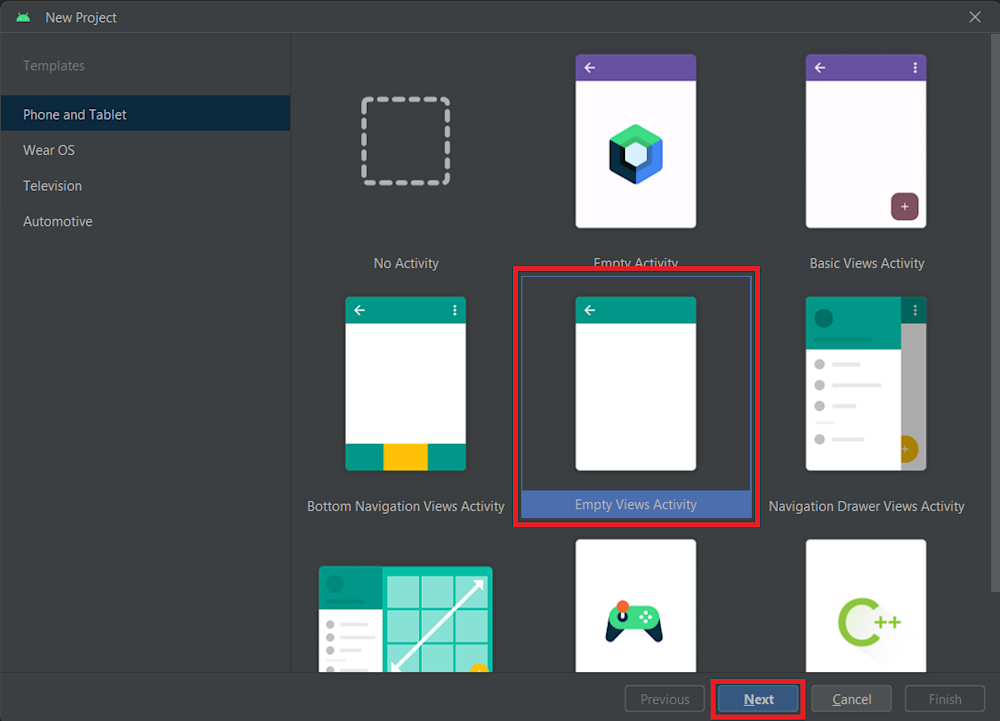
It is important that you select the Empty Views Activity instead of the Basic Views Activity. The former supports both Java and Kotlin development, whereas the latter only supports Kotlin development. This is an important step since we will use Java for this project.
Click on Next to navigate to the next window.
Next, rename your project as appropriate. Here, we have named our project FlipVideo. Select the directory to save your project and select Java as the project language. Finally, click on Finish to finish setting up your project.
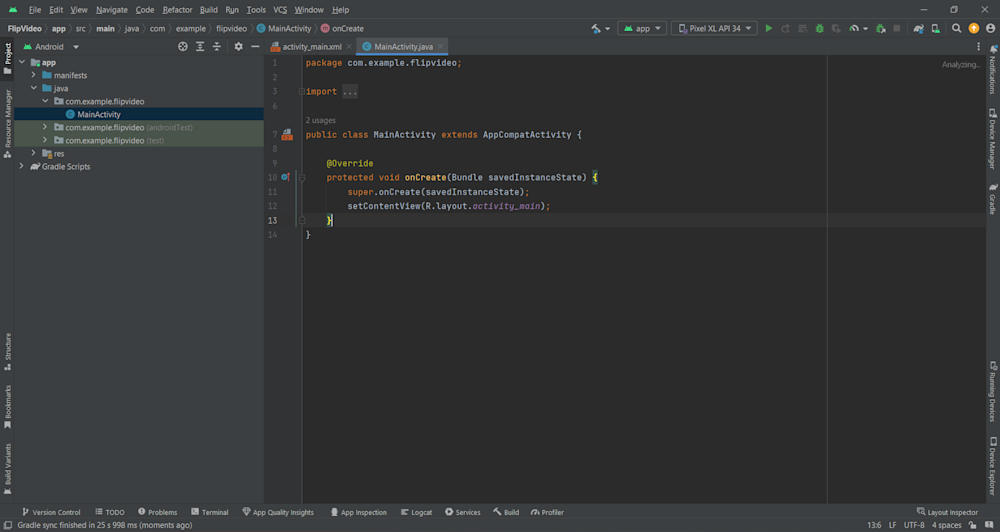
It will take some time to build your Gradle and download the requirements, but your project should open once completed.
Once finished, head over to the build.gradle file and add in your imports. Here, we will be importing Picasso, an image downloading and caching library for Android, as well as the Cloudinary Android SDK:
implementation("com.squareup.picasso:picasso:2.8")
implementation("com.cloudinary:cloudinary-android:2.5.0")
Next, we will add some app permissions that will allow our app to access local files on a user’s Android device. To do this, head over to the AndroidManifest.xml file and add in permissions for reading image and video files along with accessing the internet:
<!-- Read Storage -->
<uses-permission android:name="android.permission.READ_MEDIA_IMAGES" />
<uses-permission android:name="android.permission.READ_MEDIA_VIDEO" />

<!-- Access Internet -->
<uses-permission android:name="android.permission.INTERNET" />
Creating A UI For Our App
Now that we’ve completed setting up our project, we can create an appealing UI for our Android app.
To create a UI, go to activity_main.xml, which is located in the res/layout folder. This will open up your main app screen.
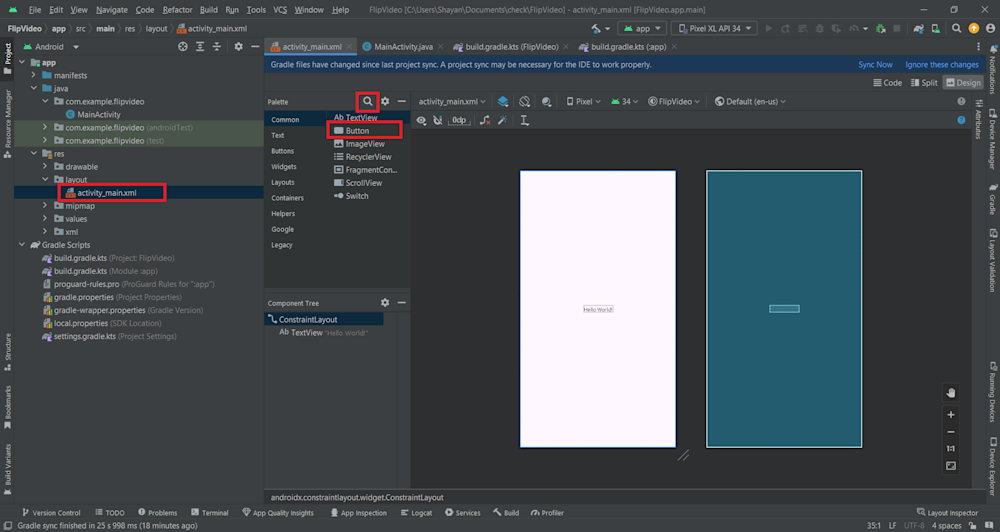
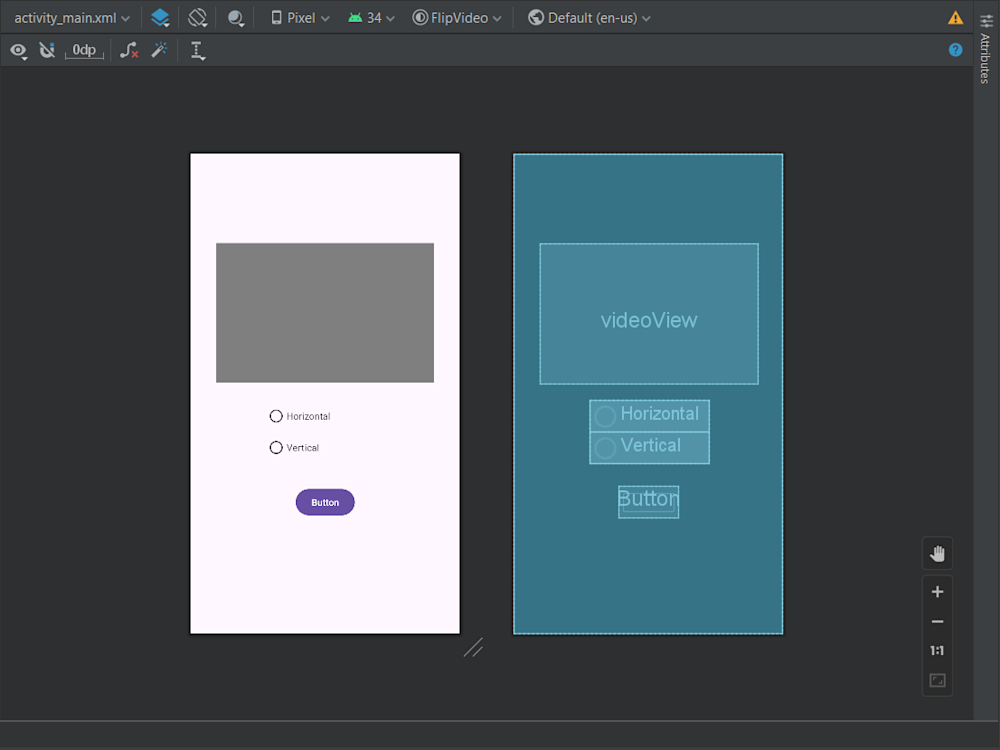
Here, we will start by adding a button, which will call our video transformations. Next, using the search bar, we will search for and add a VideoView as well as a few radio buttons. The VideoView will be used to select our video, whereas the radio buttons will toggle between vertical or horizontal flips.
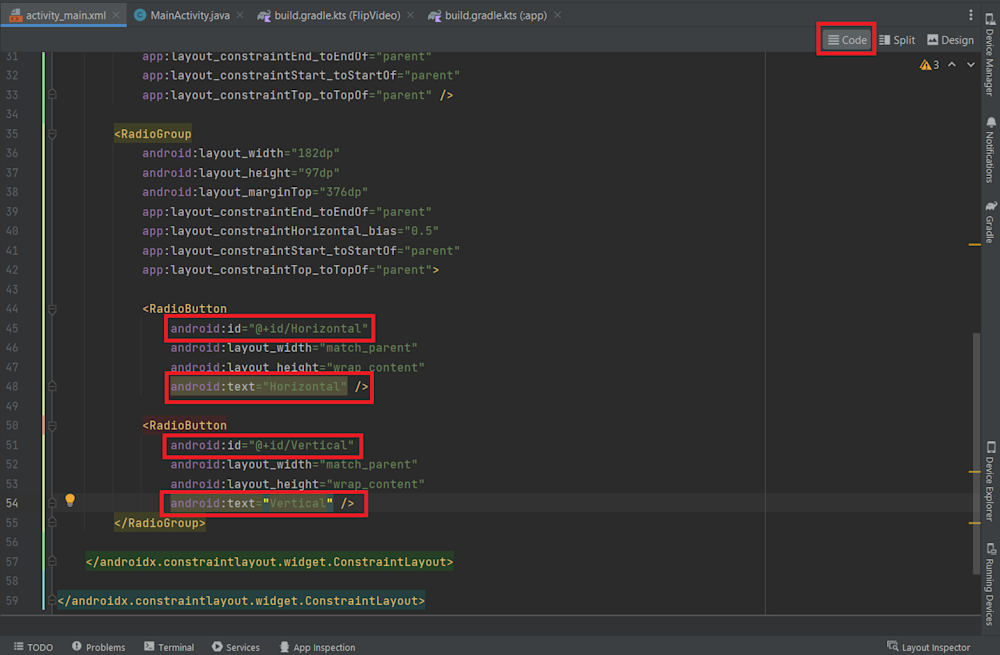
Finally, open the XML code for the UI and redefine your UI objects according to your needs. Here, we have changed the radio buttons’ ids and text.
Here is what our app interface looks like:
Coding Our Android Flip Video App
Now that our UI is complete, we can start writing the main logic for our app. We will begin by navigating to MainActivity.java in the com.example.cloudinary folder of our project. Here, we will start our program by creating several new environment variables for the program:
public class MainActivity extends AppCompatActivity {

   private Uri videoPath;
   Map config = new HashMap();

   private VideoView Video;
   private Button button;
   private RadioButton Horizontal;
   private RadioButton Vertical;
Here, the VideoView variable displays our selected video, whereas videoPath stores the video’s path. The button variable refers to our Flip button, which triggers the flip transformations. The radio buttons are used to add choices for vertical and horizontal transformations, and finally, the HashMap() will be used to configure our Cloudinary API.
Now that we’ve set up our variables let’s go to the onCreate() function. We will start by retrieving our objects from the XML UI document.
@Override
protected void onCreate(Bundle savedInstanceState) {
   super.onCreate(savedInstanceState);
   setContentView(R.layout.activity_main);

   Video = findViewById(R.id.videoView);
   button = findViewById(R.id.button);
   Horizontal = findViewById(R.id.Horizontal);
   Vertical = findViewById(R.id.Vertical);
   Horizontal.toggle();
In OnCreate(), we also call the Horizontal.toggle() function to set the default transformation to Horizontal.
Next, we configure our Cloudinary API using our config hashmap:
...
       config.put("cloud_name", "...");
       config.put("api_key","...");
       config.put("api_secret","...");
//        config.put("secure", true);
       MediaManager.init(this, config);
...
Finally, we will add an onclick listener function to both our button and VideoView. The view’s onclick function will call another function called requestPermission(), which we will define later.
In the button’s on-click function, we will start by retrieving the video file’s last segment and naming it as vidID. Next, we use MediaManger to upload our video to the cloud, with its public ID defined as the vidID. Finally, we create a new Handler, which creates a Cloudinary transformation based on which radio button is selected and creates a new video URL. It then calls an intent to display the video in a new browser tab after a delay of 15 seconds to ensure a successful upload. Here is what our complete OnCreate() function looks like:
   @Override
   protected void onCreate(Bundle savedInstanceState) {
       super.onCreate(savedInstanceState);
       setContentView(R.layout.activity_main);

       Video = findViewById(R.id.videoView);
       button = findViewById(R.id.button);
       Horizontal = findViewById(R.id.Horizontal);
       Vertical = findViewById(R.id.Vertical);
       Horizontal.toggle();

       config.put("cloud_name", "...");
       config.put("api_key","...");
       config.put("api_secret","...");
//        config.put("secure", true);
       MediaManager.init(this, config);

       Video.setOnClickListener(v -> {
           requestPermission();
       });

       button.setOnClickListener(v -> {

           Log.d("Selection", "Selected Button");

           String vidID = videoPath.getLastPathSegment();

           MediaManager.get().upload(videoPath).option("public_id", vidID).option("resource_type", "video").dispatch();
           new Handler(Looper.getMainLooper()).postDelayed(() -> {
               String angle = "";

               if (Horizontal.isChecked())
               {
                   angle = "hflip";
               }
               else
               {
                   angle = "vflip";
               }

               String url = MediaManager.get().url().transformation(new Transformation()
                       .angle(angle)).resourceType("video").generate(vidID);

               Intent myIntent = new Intent(Intent.ACTION_VIEW, Uri.parse(url));
               startActivity(myIntent);
//
               Log.d("URL", url);
           }, 15000); // Delay in milliseconds


       });

   }
Now that we’ve completed our OnCreate function, we will need to define our requestPermission() function. The function works as its name suggests. It triggers an Android System request to the user, requesting permission to access user files and internet usage. If permission is granted, the function calls in a select() function, which we will define next. This function’s code is as follows:
private void requestPermission() {
   if(ContextCompat.checkSelfPermission(MainActivity.this, Manifest.permission.READ_MEDIA_VIDEO)
                   == PackageManager.PERMISSION_GRANTED) {
       select();

   } else {
       // Request for permissions
       ActivityCompat.requestPermissions(MainActivity.this, new String[]{
               Manifest.permission.READ_MEDIA_VIDEO,
               Manifest.permission.READ_EXTERNAL_STORAGE
       }, VID_REQ);
   }
}
Now let’s define the selectImage() function.
We start by creating a new intent inside the function. Here, we use the intent to launch an activity, which we will define next. We also use .setType("video/*") to filter our files based on videos. Finally, we use the .launch() method to launch our activity. Here is our complete select() function:
private void select() {
   Intent intent=new Intent();
   intent.setType("video/*");
   Log.d("Selection", "Filtering Video");
   intent.setAction(Intent.ACTION_GET_CONTENT);
   someActivityResultLauncher.launch(intent);
}
Finally, we define our activity as follows:
ActivityResultLauncher<Intent> someActivityResultLauncher = registerForActivityResult(
       new ActivityResultContracts.StartActivityForResult(),
       new ActivityResultCallback<ActivityResult>() {
           @Override
           public void onActivityResult(ActivityResult result) {
               if (result.getResultCode() == Activity.RESULT_OK) {
                   // There are no request codes
                   Intent data = result.getData();
                   Log.d("Selection", "Selecting Video");
                   videoPath = data.getData();
                   // Use 'selectedVideoUri' with your VideoView
                   Video.setVideoURI(videoPath);
                   Video.start();
                   Log.d("Selection", String.valueOf(videoPath));
               }
           }
       });
Here, the activity is simply used to define our video path. It simply uses the result of the user’s selection to get the video’s data. It then uses the data to populate the videoPath variable with the actual path of the video.
With this, our code is now complete. Here is what our final MainActivity.java file looks like:
package com.example.flipvideo;

import androidx.activity.result.ActivityResult;
import androidx.activity.result.ActivityResultCallback;
import androidx.activity.result.ActivityResultLauncher;
import androidx.activity.result.contract.ActivityResultContracts;
import androidx.appcompat.app.AppCompatActivity;
import androidx.core.app.ActivityCompat;
import androidx.core.content.ContextCompat;

import android.Manifest;
import android.app.Activity;
import android.content.Intent;
import android.content.pm.PackageManager;
import android.net.Uri;
import android.os.Bundle;
import android.os.Handler;
import android.os.Looper;
import android.util.Log;
import android.widget.Button;
import android.widget.ImageView;
import android.widget.RadioButton;
import android.widget.VideoView;

import com.cloudinary.Transformation;
import com.cloudinary.android.MediaManager;

import java.util.HashMap;
import java.util.Map;

public class MainActivity extends AppCompatActivity {

   private static int VID_REQ=1;
   private Uri videoPath;
   Map config = new HashMap();

   private VideoView Video;
   private Button button;
   private RadioButton Horizontal;
   private RadioButton Vertical;


   @Override
   protected void onCreate(Bundle savedInstanceState) {
       super.onCreate(savedInstanceState);
       setContentView(R.layout.activity_main);

       Video = findViewById(R.id.videoView);
       button = findViewById(R.id.button);
       Horizontal = findViewById(R.id.Horizontal);
       Vertical = findViewById(R.id.Vertical);
       Horizontal.toggle();

       config.put("cloud_name", "...");
       config.put("api_key","...");
       config.put("api_secret","...");
//        config.put("secure", true);
       MediaManager.init(this, config);

       Video.setOnClickListener(v -> {
           requestPermission();
       });

       button.setOnClickListener(v -> {

           Log.d("Selection", "Selected Button");

           String vidID = videoPath.getLastPathSegment();

           MediaManager.get().upload(videoPath).option("public_id", vidID).option("resource_type", "video").dispatch();
           new Handler(Looper.getMainLooper()).postDelayed(() -> {
               String angle = "";

               if (Horizontal.isChecked())
               {
                   angle = "hflip";
               }
               else
               {
                   angle = "vflip";
               }

               String url = MediaManager.get().url().transformation(new Transformation()
                       .angle(angle)).resourceType("video").generate(vidID);

               Intent myIntent = new Intent(Intent.ACTION_VIEW, Uri.parse(url));
               startActivity(myIntent);
//
               Log.d("URL", url);
           }, 15000); // Delay in milliseconds


       });

   }

   private void requestPermission() {
       if(ContextCompat.checkSelfPermission(MainActivity.this, Manifest.permission.READ_MEDIA_VIDEO)
                       == PackageManager.PERMISSION_GRANTED) {
           select();

       } else {
           // Request for permissions
           ActivityCompat.requestPermissions(MainActivity.this, new String[]{
                   Manifest.permission.READ_MEDIA_VIDEO,
                   Manifest.permission.READ_EXTERNAL_STORAGE
           }, VID_REQ);
       }
   }


   // Select the video from the gallery
   private void select() {
       Intent intent=new Intent();
       intent.setType("video/*");
       Log.d("Selection", "Filtering Video");
       intent.setAction(Intent.ACTION_GET_CONTENT);
       someActivityResultLauncher.launch(intent);
   }

   // You can do the assignment inside onAttach or onCreate, i.e, before the activity is displayed
   ActivityResultLauncher<Intent> someActivityResultLauncher = registerForActivityResult(
           new ActivityResultContracts.StartActivityForResult(),
           new ActivityResultCallback<ActivityResult>() {
               @Override
               public void onActivityResult(ActivityResult result) {
                   if (result.getResultCode() == Activity.RESULT_OK) {
                       // There are no request codes
                       Intent data = result.getData();
                       Log.d("Selection", "Selecting Video");
                       videoPath = data.getData();
                       // Use 'selectedVideoUri' with your VideoView
                       Video.setVideoURI(videoPath);
                       Video.start();
                       Log.d("Selection", String.valueOf(videoPath));
                   }
               }
           });
}
Testing Our Android Video Flip App
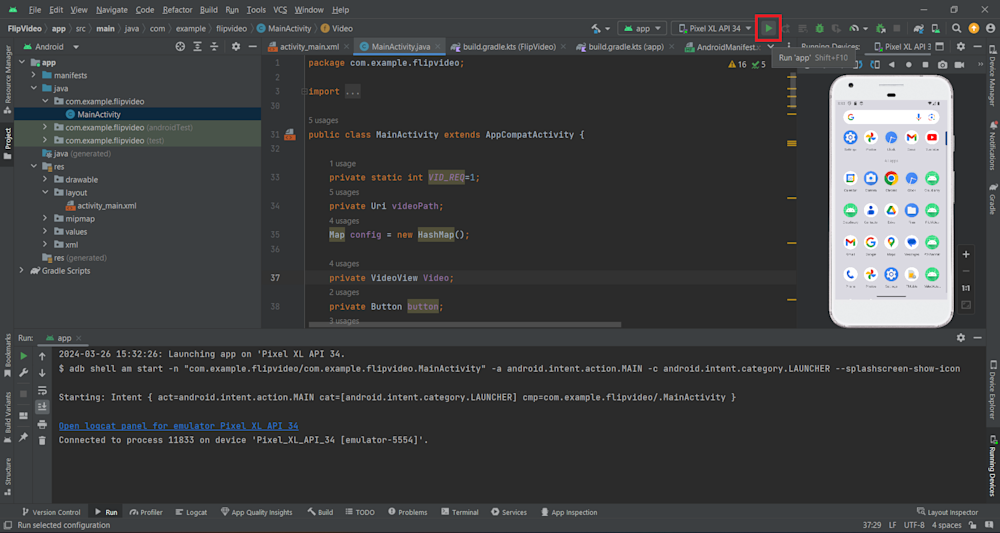
Now, all we need to do is run our app. To do this, simply press Shift+F10 on your keyboard or click the Play button at the top-right corner of your screen. This will launch your mobile emulator and run your Android flip video app.
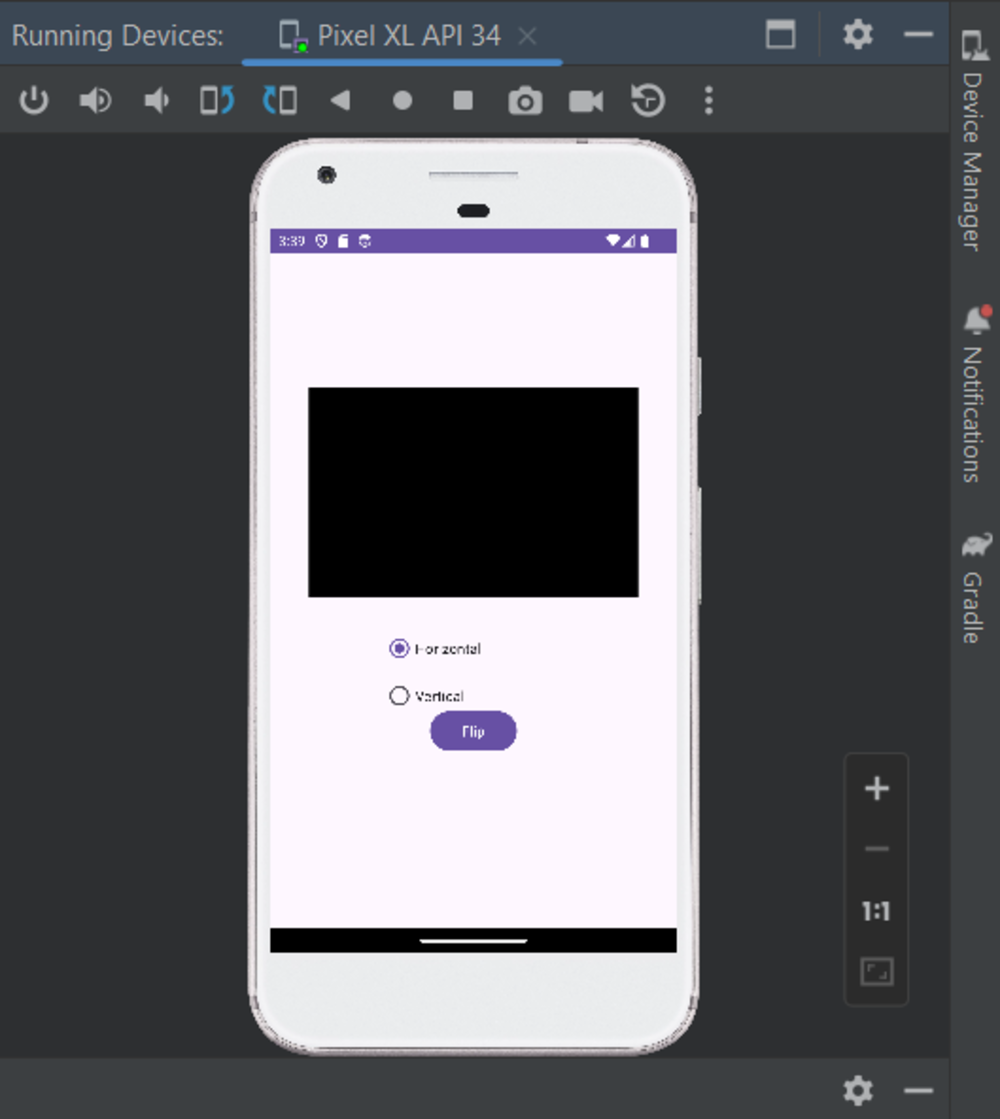
Here is what our app looks like:
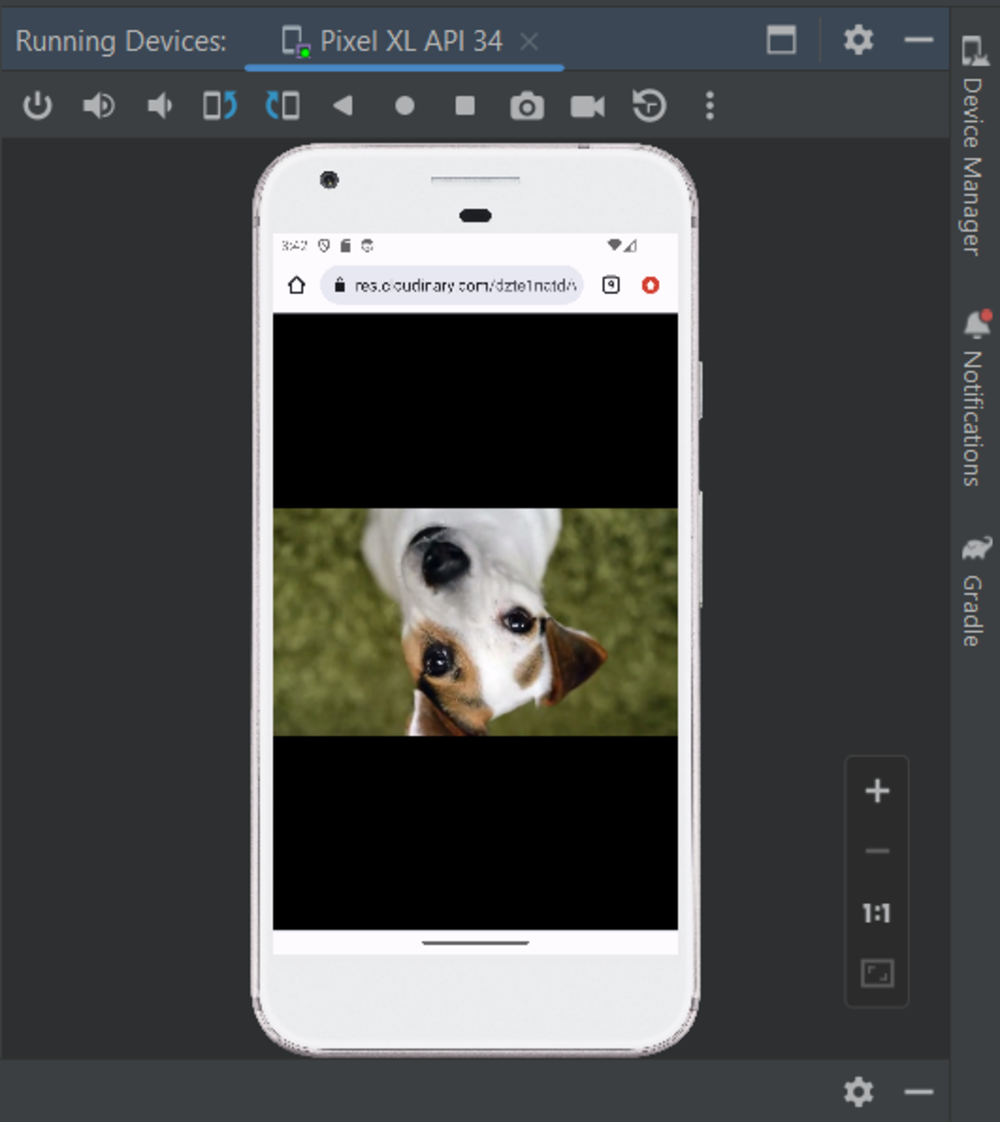
Next, click on the VideoView and select the video you want to transform. For this guide, we will be choosing dog from the Cloudinary demo cloud:
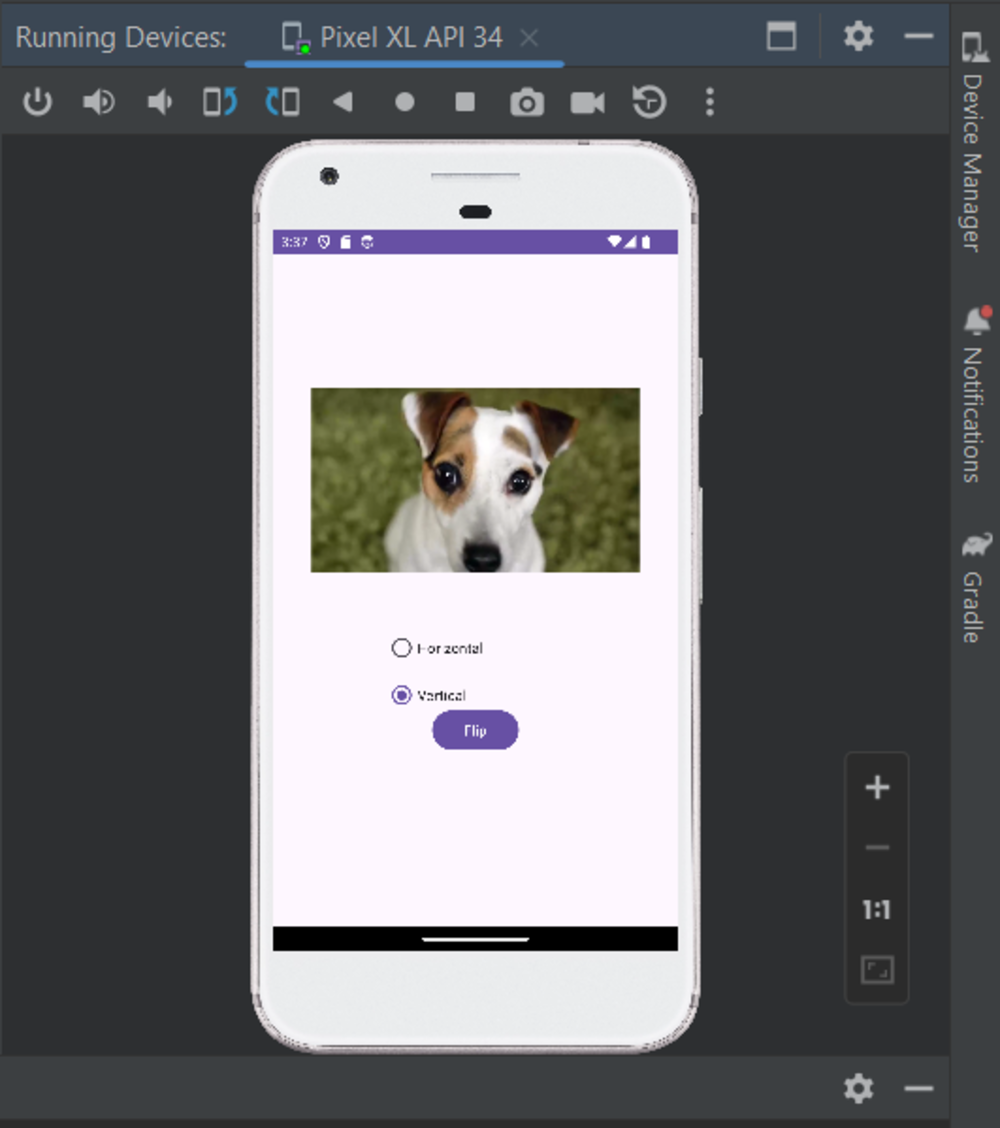
Finally, select a radio button to choose your transformation, then click the Flip button. This will launch our result video in a new browser tab.
Wrapping Up
The ability to flip videos opens up a myriad of possibilities for content presentation. It allows developers to create unique and engaging visual experiences, enhancing the overall appeal of their applications.
Cloudinary is a comprehensive cloud-based service that provides solutions for image and video management. It offers a wide array of functionalities that go beyond just flipping videos. With Cloudinary, you can perform a variety of transformations on your media files. This includes resizing, cropping, rotating, adjusting brightness, contrast, saturation, and much more. It also allows for more advanced transformations, such as adding filters, effects, or watermarks to your images and videos.
Additionally, Cloudinary supports automatic optimization and responsive delivery. This means it can automatically adjust the quality and format of your media files to deliver the best possible version based on the end user’s device, browser, and location. So, sign up for a Cloudinary account to create your own Android flip video app and discover how Cloudinary can elevate your development process.
More from Cloudinary:
How to Apply Gravity Transformations to Images
Adding Watermarks, Credits, Badges, and Text Overlays to Images

