Converting PDF files to JPG is a regular occurrence in many aspects of today’s information age, such as digital content creation, preparing a presentation, compiling a report, or enhancing a website. However, various drawbacks, such as device compatibility, rendering inconsistencies, and web usability, make working directly with PDF files not the most practical solution.
While several online tools can be used to convert PDF to JPG, in some cases, you might need to do it programmatically or want control over the conversion process. This article explores the different methods of converting PDF files to JPGs programmatically in Python.
In this article:
Python Libraries for Converting PDF to JPG
There are a number of Python libraries out there that can be used to convert PDF files to JPGs. These libraries offer different levels of functionality and ease of use, so you may want to choose the one that best fits your use cases and preferences. Let’s look at one of the most popular ones out there.
pdf2image
pdf2image is a Python module that wraps pdftoppm and pdftocairo to convert PDF files to a PIL (Python Imaging Library) image object. In this section, we will guide you through installing pdf2image, loading a PDF file, converting it to JPG, and saving the images.
Step 1 – Create a Virtual Environment
Create a new directory where you’d like to have the project and run the command below in your terminal to create a virtual environment:
python3 -m venv env
source env/bin/activate
If you’re using Windows, the command is slightly different:
python -m venv env
env/Scripts/activate
Step 2 – Install pdf2image
To install pdf2image on Linux, run the command below:
pip install pdf2image
For other platforms, you can simply install it using Conda as follows:
conda install -c conda-forge poppler
pip install pdf2image
Step 3 – Convert the PDF
Here’s a link to the PDF file we’ll convert to JPG in this tutorial.
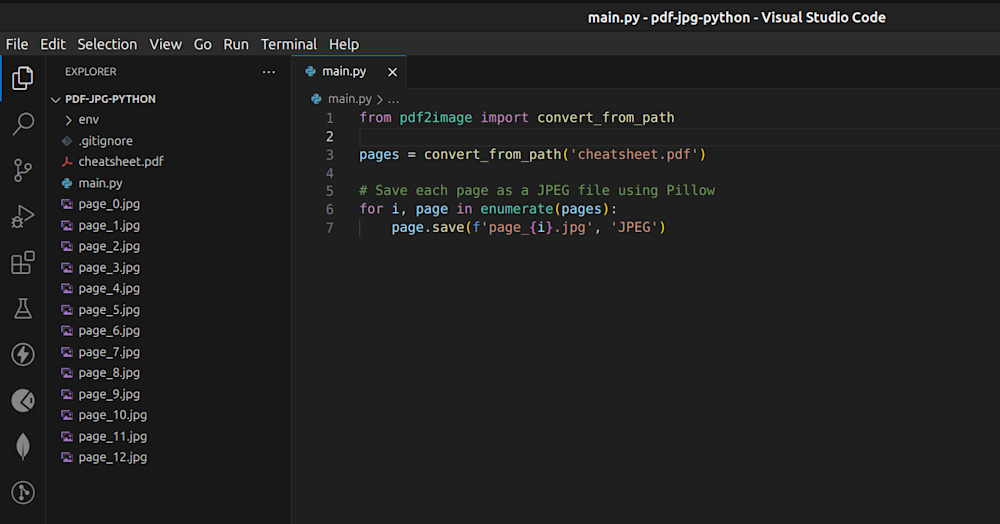
Create a new file, “main.py“ in the project and add the following code to it:
from pdf2image import convert_from_path

pages = convert_from_path('cheatsheet.pdf')

# Save each page as a JPEG file using Pillow

for i, page in enumerate(pages):
	page.save(f'page_{i}.jpg', 'JPEG')
Now, when we run the code, we can see the generated JPG files in the root directory, as shown below:
Step 4 – Convert a Custom Number of Pages
Apart from converting all the pages of the PDF file, we can also specify a custom range of pages to convert to JPG.
from pdf2image import convert_from_path
import os

# Create a folder to dump the jpegs
os.makedirs("jpegs", exist_ok=True)

pages = convert_from_path('cheatsheet.pdf', first_page=1,
last_page=5,fmt='jpeg', output_file='page', paths_only=True,
output_folder="jpegs")
The above code converts the first five pages of the PDF file to JPG and then dumps them in a folder named jpegs.

Converting PDF to JPG with Cloudinary
The simplest way to convert a PDF to JPG with Cloudinary is to simply switch the extension of the PDF file from .pdf to a .jpg or any image format of your choice when uploading it to Cloudinary.
In the following sections, we’ll walk you through how you can leverage the built-in file conversion features in Cloudinary to convert single and multi-page PDF files to JPG in Python.
Converting a Multi-Page PDF to JPG with Cloudinary
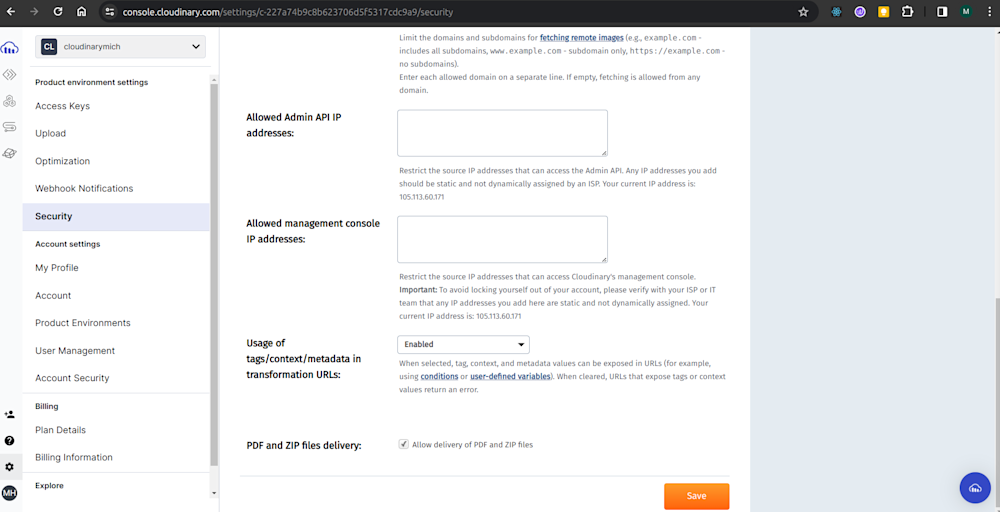
By default, free Cloudinary accounts are blocked from delivering files in PDF format for security reasons. So, to make this application work, we have to configure Cloudinary to allow us to provide PDF files so we can convert them. To do this, navigate to the Security page of the Console Settings and enable Allow delivery of PDF and ZIP files as shown below:
Let’s start with a simple FastAPI application:
from fastapi import FastAPI
from fastapi import FastAPI, File, UploadFile
from pydantic_settings import BaseSettings
import cloudinary
from cloudinary import CloudinaryImage
import os


class Settings(BaseSettings):
    CLOUDINARY_CLOUD_NAME: str
    CLOUDINARY_API_KEY: int
    CLOUDINARY_API_SECRET: str
    class Config:
        env_file = ".env"

settings = Settings()

config = cloudinary.config(cloud_name = settings.CLOUDINARY_CLOUD_NAME, api_key = settings.CLOUDINARY_API_KEY, api_secret = settings.CLOUDINARY_API_SECRET)

import cloudinary.uploader
import cloudinary.api

app = FastAPI()


@app.get("/")
async def root():
    return {"message": "Hello World"}


async def cloudinary_upload(file):
    uploaded_file =  cloudinary.uploader.upload(file);
    converted_file = cloudinary.uploader.explode(uploaded_file["public_id"], page = "all", format = 'jpg', notification_url = 'https://webhook.site/bd5f4555-fd4b-42a2-aae6-775e9bd03f6a')
    return converted_file

@app.post("/upload")
async def create_image(pdf: UploadFile = File(...)):
    os.makedirs("pdfs", exist_ok=True)

    file_location = f"pdfs/{pdf.filename}"
    with open(file_location, "wb+") as file_object:
        file_object.write(pdf.file.read())

    result = await cloudinary_upload(file_location)
    return result;
Here’s what is happening in the code above.
- The cloudinary.uploader.explode method creates derived images for all of the individual pages in a multi-page PDF file. Each derived image from the PDF is then stored with the same public ID as the original file and can be accessed using the
pageparameter. - In this example, we set
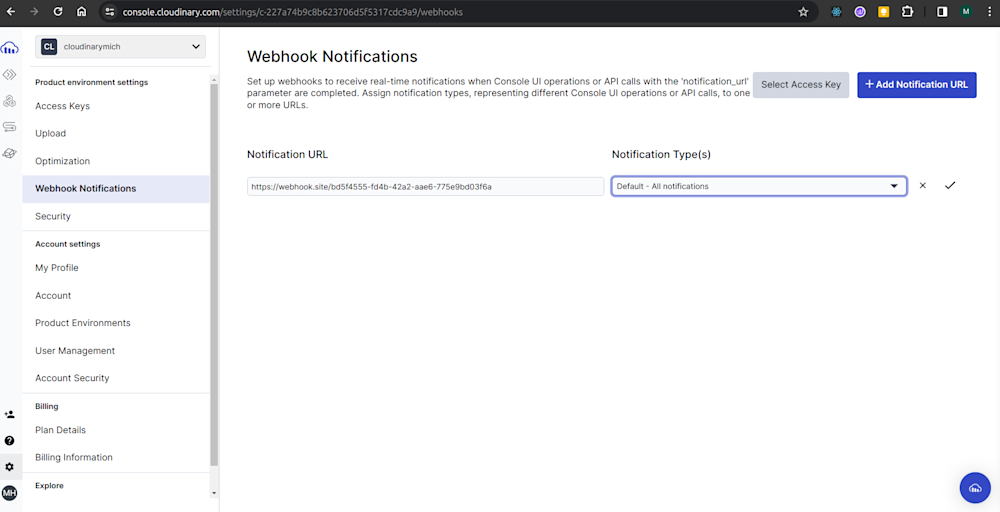
page = "all"since we want to convert all the pages in the PDF to JPG. To convert only specific pages in the PDF, please check out Cloudinary’s documentation. - Also, we need to add a Webhook URL to our Cloudinary account to receive the generated JPGs’ URLs. You can add the Webhook to your Cloudinary account by navigating to Settings > Webhook Notifications in your dashboard, as shown in the image below:
- The
notification_urlparameter is the webhook URL connected to our Cloudinary account that receives the result when thecloudinary.uploader.explodefunction is completed. (Make sure to change the value to your own custom webhook URL. The webhook URL in this example was generated on Webhook.site).
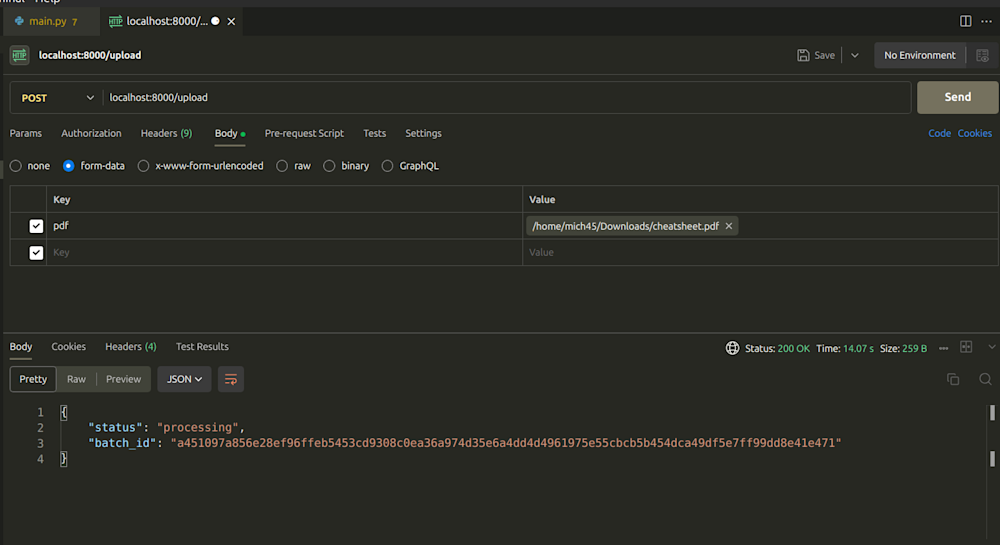
Now we can try out the code by uploading a PDF file to the /upload endpoint as shown in the Postman request below:
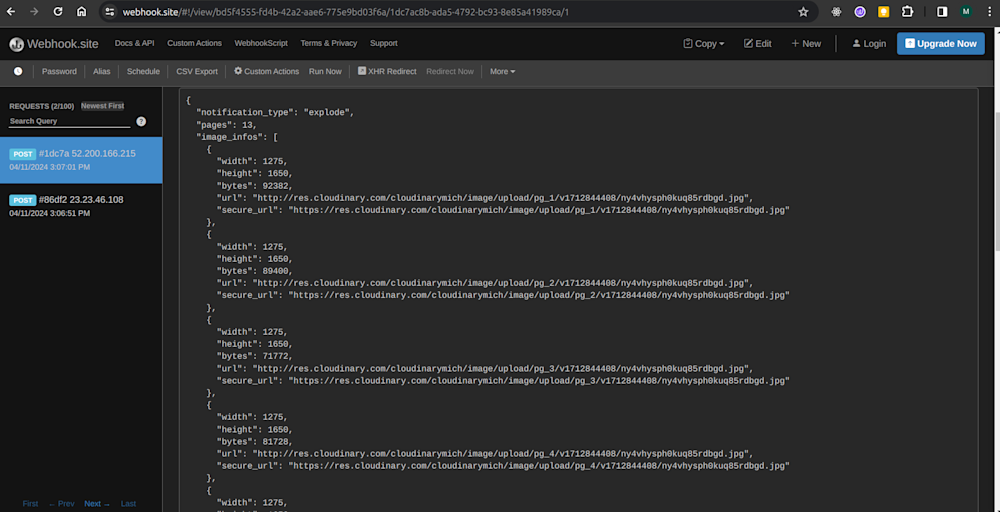
After sending the request, the generated JPGs are sent to the webhook URL on Webhook.site as shown below:
Converting a Single-Page PDF to JPG with Cloudinary
To convert a single-page PDF to JPG with Cloudinary, we can simply change the file extension using the format parameter:
cloudinary.CloudinaryImage("single_page.pdf").image(format = "jpg")
Wrapping Up
This article explored how to leverage Python libraries and Cloudinary to convert PDF files to individual JPG images. We hope that with this knowledge, you can effectively convert PDFs to JPGs using Python and Cloudinary to improve the functionalities of your applications.
Experience the future of digital asset management with Cloudinary’s innovative cloud platform. Sign up for free today!

