In the digital age, image formats are crucial in delivering high-quality visuals while optimizing file sizes. However, WebP’s advanced features come with a caveat: they’re not supported universally across all platforms and browsers. This is where the need to convert WebP images back to the more popular PNG format becomes apparent.
PNGs are renowned for their lossless compression, allowing impeccable image clarity without compromising compatibility. Plus, they account for over 33% of all images on the web. Knowing how–and when–to convert WebP to PNG can be incredibly important if you’re looking to optimize your website.
This article explores the differences between WebP and PNG formats and the best way to convert images from one format to another seamlessly.
In this article:
The Differences Between WebP and PNG
While WebP and PNG are excellent image formats, they have distinct differences. WebP is known for its superior compression efficiency, resulting in smaller file sizes. PNG, on the other hand, is preferred when lossless compression and transparent backgrounds are essential. Understanding these differences helps determine the appropriate format for different use cases.
What is WebP?
WebP is a modern image format developed by Google. Introduced in 2010, it employs lossless and lossy compression techniques to provide high-quality images with smaller file sizes than formats like JPEG and PNG. WebP supports transparency and animation and offers excellent performance for web applications.
What is PNG?
PNG, which stands for Portable Network Graphics, is a widely used raster graphics file format. Developed as an improvement over GIF, PNG supports lossless compression and features transparency. PNG is favored for its ability to maintain image quality without sacrificing detail, making it suitable for various applications, including graphics and photography.
Best Way to Convert WebP File to PNG
When converting WebP to PNG, selecting the right method is crucial to maintaining image quality and efficiency. One approach uses Cloudinary, a cloud-based media management solution that simplifies image manipulation and conversion tasks.
As a comprehensive cloud-based solution for image and video management, Cloudinary is more than a conversion tool: it’s a complete media handling powerhouse that can seamlessly integrate into your workflow. Its user-friendly interface makes conversions as easy as appending .png to the image URL. Cloudinary does the rest, instantly serving the converted image without losing quality. Plus, you can automate the process and save time with its inbuilt features, like intelligent cropping and efficient resizing, while still delivering great results.
Converting WebP to PNG With Cloudinary
Cloudinary offers a user-friendly interface for converting WebP files to PNG effortlessly. Before we begin, you’ll need to have an active Cloudinary account. If you’re new to Cloudinary, sign up for a free account.
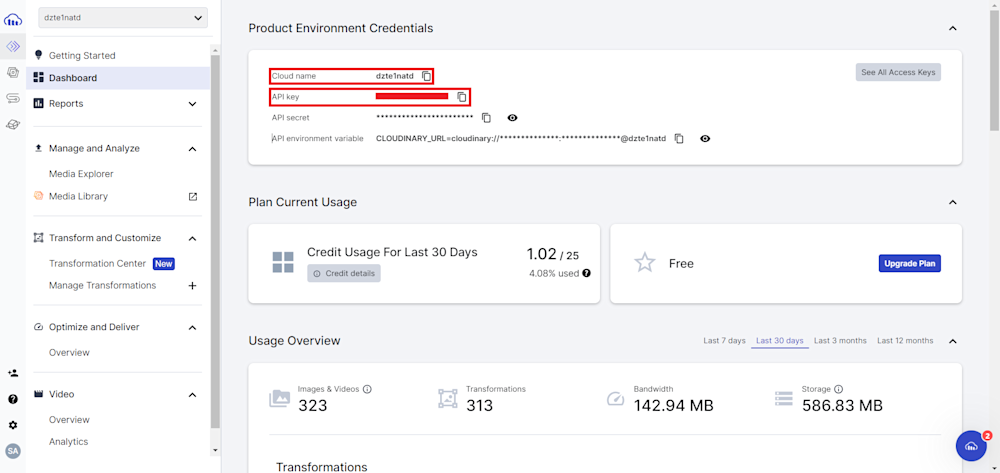
Next, log in to your Cloudinary account and retrieve your Product Environment Credentials.
Now, open your project directory and install the Cloudinary Python SDK using the following pip command pip:
pip install cloudinary
Create a .py file and start by configuring Cloudinary:
import cloudinary
import cloudinary.uploader
import os

# Configure Cloudinary with your account details
cloudinary.config(
    cloud_name="your-cloud-name",
    api_key="your-api-key",
    api_secret="your-api-secret"
)
Remember to replace your-cloud-name, your-api-key, and your-api-secret with your Cloudinary credentials.
Now that our environment is ready let’s look at how you can change WebP to PNG. Create an Assets folder in your project directory and add an image to that path. For this article, we will use bike.webp, available in Cloudinary’s demo cloud.

Next, create a function named convert_webp_to_png() and pass in the path of your image as the function parameter. Next, in a try-except block, start by extracting the file name from the image path.
def convert_webp_to_png(image_path):
    try:
        # Extract the filename from the image_path
        filename = os.path.basename(image_path)
Next, upload the image using the upload() method with the public_id parameter set as the file name. Finally, retrieve your image using the cloudinary_url() method with the format parameter "png".
        # Upload the WEBP image with the original filename as the public ID
        upload_result = cloudinary.uploader.upload(image_path, resource_type="image", public_id=os.path.splitext(filename)[0])

        # Convert the WEBP to PNG and retrieve the image URL
        image_url = cloudinary.utils.cloudinary_url(upload_result['public_id'], format="png")[0]

        # Print out the PNG Image URL
        print("PNG Image URL:", image_url)

        print("Image conversion successful.")
Here is what our final function looks like:
def convert_webp_to_png(image_path):
    try:
        # Extract the filename from the image_path
        filename = os.path.basename(image_path)

        # Upload the WEBP image with the original filename as the public ID
        upload_result = cloudinary.uploader.upload(image_path, resource_type="image", public_id=os.path.splitext(filename)[0])

        # Convert the WEBP to PNG and retrieve the image URL
        image_url = cloudinary.utils.cloudinary_url(upload_result['public_id'], format="png")[0]

        # Print out the PNG Image URL
        print("PNG Image URL:", image_url)

        print("Image conversion successful.")
    except Exception as e:
        print(e)
Finally, call your function with the image path as the parameter:
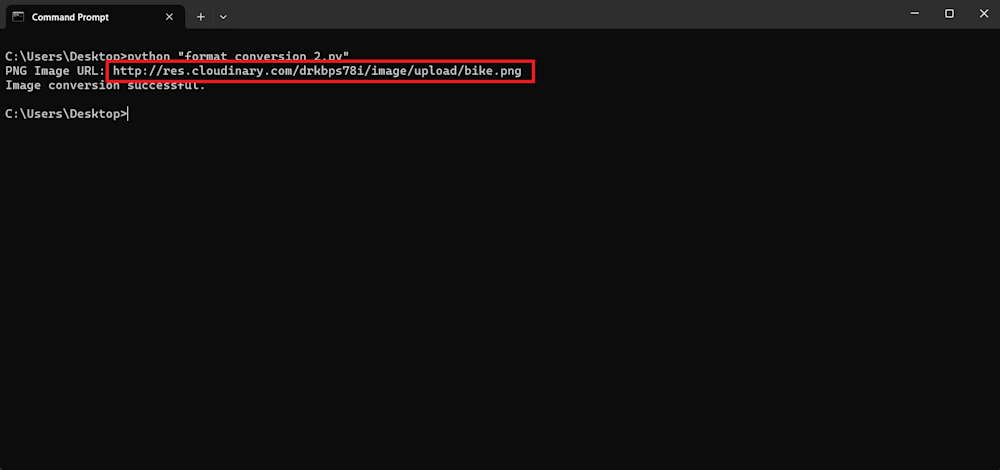
Now, simply run your code using Python to change WebP to PNG. Here is what the output looks like:
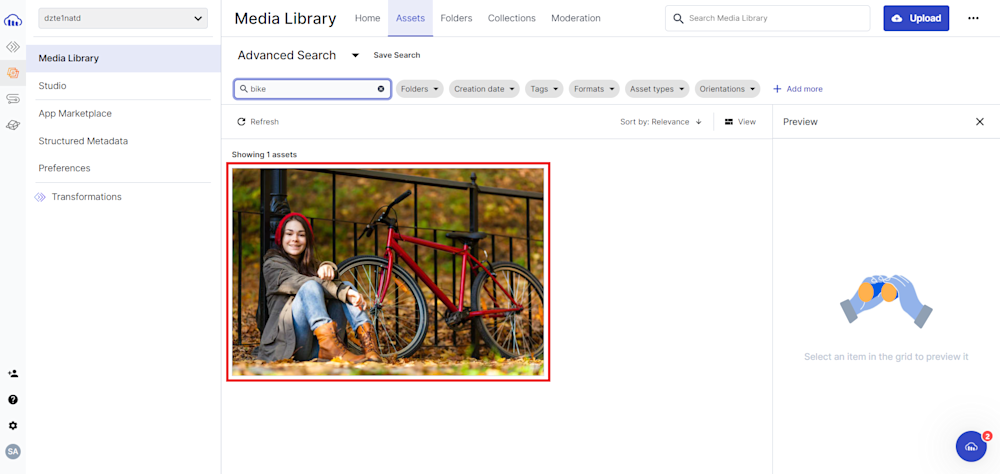
To verify your upload, you can either follow the URL given in the terminal output or go to the Media Library tab on your Cloudinary account:
Wrapping Up
Converting WebP to PNG involves understanding the strengths of each format and selecting the right tools for the task. While WebP excels in compression efficiency, PNG remains reliable for lossless quality and transparency. Cloudinary’s user-friendly platform makes the conversion process seamless, allowing you to adapt images to your needs. Consider these insights and tools when dealing with WebP to PNG conversions to enhance your image workflow.
Ready to optimize your image workflow and take advantage of these capabilities? Sign up for Cloudinary today to experience a transformative approach to image management and conversion.
Learn more:
- Image Formats: Getting it Right
- Convert Image to PDF – All the Options
- Working with Video? Check Video API

