Every business craves aesthetically pleasing websites, and using GIF image formats is now a common strategy. A GIF is an animated file format that merges separate image frames to form a motion or still graphic. Understanding how to convert JPG to GIF files is a great way to build beautiful websites without using large-sized images.
In this article:
- What are GIFs?
- Why should you convert a JPG file to a GIF?
- How do you convert JPG files to GIFs with Cloudinary?
- Transforming JPG to GIF Without Code
- Closing It Out
What are GIFs?
A GIF, otherwise known as a Graphic Interchangeable File, is an image format used to make still or motion images. GIFs are similar to JPGs and PNGs; however, GIFs are best known for their support for animation, effectively allowing a single ‘image’ to be a short, looping sequence of frames, often used to convey movements or expressions without the need for video.
What sets GIFs apart from many other image formats, such as JPEG, is that they deploy lossless data compression. This means there is no loss of quality when the file size is reduced. However, GIFs only support a limited color palette of 256 colors, making them less suitable for full-color photographic images but an excellent choice for simpler graphics and animations. The combination of these features has significantly contributed to the popularity and widespread use of GIFs on the web today.
Why Should You Convert JPG to GIF?
JPG is one of the popular image formats and is ideal for creators and developers. But when we think about building web pages and designs that combine multiple messages and simplify them into a single frame that is small in size and retains its quality even when compressed, GIFs come to mind.
Let’s go on to explore the benefits associated with converting JPG files to GIFs.
- Small file size. GIFs can often result in a smaller file size than JPEGs, specifically for simpler images and animations, leading to faster load times for online content.
- Widespread compatibility. GIFs are universally supported across browsers and platforms, ensuring virtually anyone can view your image on any device.
- Transparency Support. GIFs can display transparent backgrounds, enabling seamless integration of images into web pages without the rectangular borders typical of JPGs.
- Lossless compressions. One of the most significant advantages of converting JPG files to GIFs is retaining the image quality. Even though GIFs are small-sized, you can still compress them without disrupting the quality of the images.
- Messages are conveyed more easily. GIFs are useful to developers and creatives as multiple messages can be conveyed easily. Emotions can be shown, stories can be told, and ideas can be shared in just a single GIF frame.
How do you convert JPG files to GIFs with Cloudinary?
Converting JPG to GIF files can be done manually or with online tools. However, not all of these platforms are designed to meet the needs of developers and creatives regarding quality and scalability.
Cloudinary provides a dynamic solution for developers, helping them change image formats and resize, transform, and optimize them through their API. Converting JPG files to GIFs is a simple process that involves uploading the image to Cloudinary, reformatting it to a GIF, and adding any optimizations or transformations.
Setting Up Our App
The first step to changing an image format with Cloudinary is creating and setting up an account. If you don’t have an account yet, you can sign up for free.
After installing Node, create a React application on your desktop and add Cloudinary’s JavaScript and React packages using NPM.
npx create-react-app example-app

npm i @cloudinary/url-gen @cloudinary/react
Then, run npm start on your example-app directory.
Proceed to your App.js file in src, and use this code to set up our Cloudinary app with React.
import React from 'react'
import {Cloudinary} from "@cloudinary/url-gen";
const App = () => {
  // Create a Cloudinary instance and set your cloud name.
  const cld = new Cloudinary({
    cloud: {
      cloudName: 'demo'
    }
  });
};
export default App;
Additionally, you’ll need to change the cloud name to yours using the credentials from your Cloudinary dashboard.
Upload the JPG File and Convert it to GIF
First, we need to upload our JPG file to Cloudinary to change the image format. We’ll use a dancing_kitten image with a JPG extension to further illustrate this.
After setting the file name as the public ID, a function to help display the image is imported with the command below.

import './App.css';

import React from 'react';
import {Cloudinary} from "@cloudinary/url-gen";
import {AdvancedImage} from '@cloudinary/react';
...
The image can now be added to the app with the prompt below:
...
  const myImg =  cld.image("dancing_kitten", {format : 'jpg'});
...
You can now convert the image format in Cloudinary by simply changing the extension. It should look something like this:
...
const myImg =  cld.image("dancing_kitten", {format : 'gif'});
...
Our resulting GIF image will be returned to the React component we placed it in. This code sequence below is what we should have.
import './App.css';
import React from 'react';
import {Cloudinary} from "@cloudinary/url-gen";
import {AdvancedImage} from '@cloudinary/react';

const App = () => {

  // Create a Cloudinary instance and set your cloud name.
  const cld = new Cloudinary({
    cloud: {
      cloudName: 'dancing_kitten'
    }
  });
  // Create a Cloudinary instance and set your cloud name.
  const myImg =  cld.image("dancing_kitten", {format : 'gif'});

  return (
    <div>
      <AdvancedImage cldImg={myImg} controls/>
    </div>
  )

};
export default App;
Transforming JPG to GIF Without Code
JPG files can be easily transformed and converted to GIFs without using code. With Cloudinary’s dashboard, you can optimize and convert images on the fly without a single line of code. All you need to do is create an account, upload your JPG, and transform it!
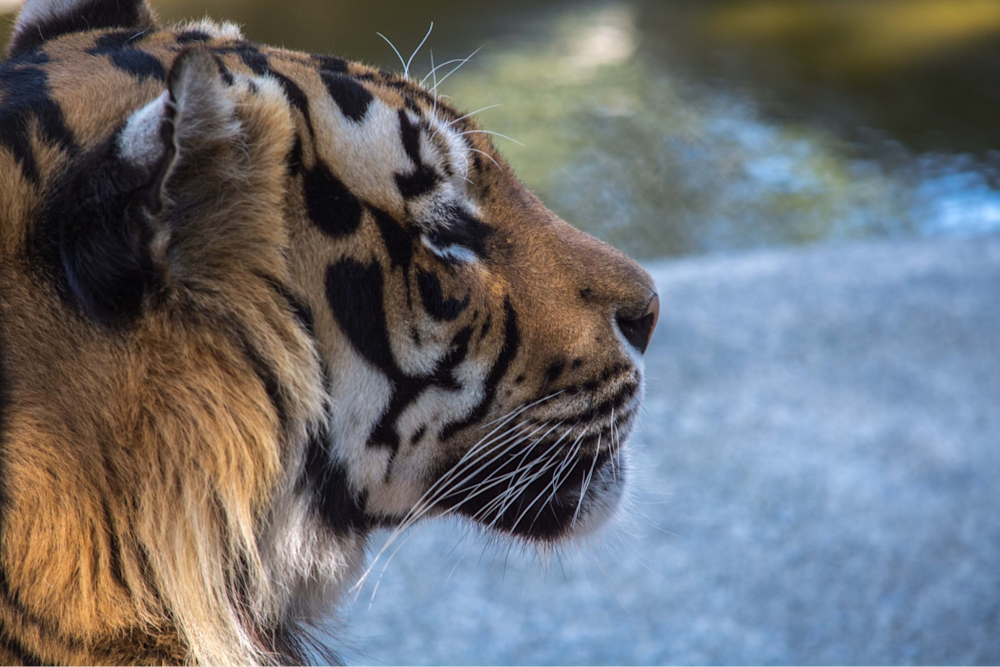
Once you log in, head to the Media Explorer under Programmable Media. Hit the “Upload” button in the top right to upload your JPG if you don’t already have one. For this example, we’ll be using this image of a tiger:
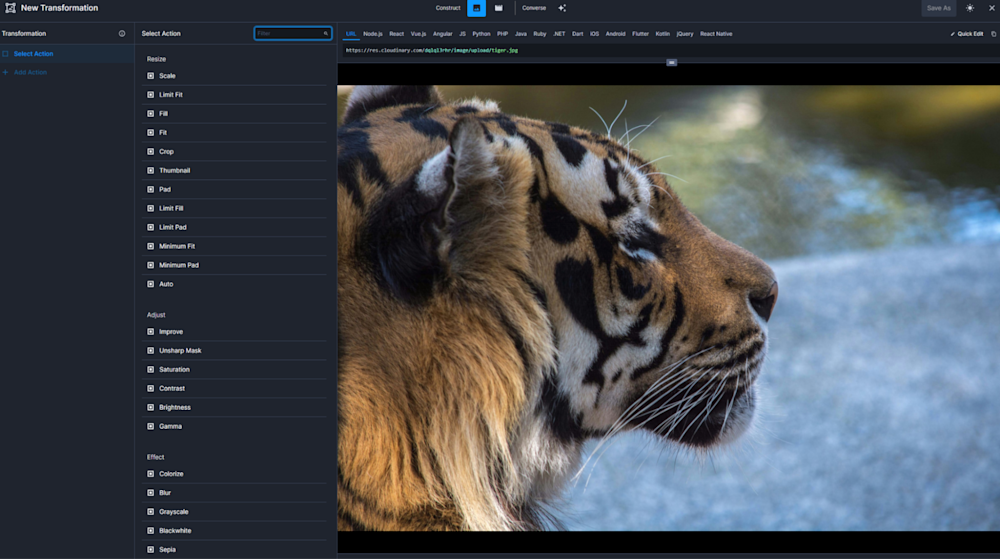
Now that our image is uploaded, we can transform it in the same window. Right click our image and hit “Transform” to see this screen:
From here, scroll down to “Delivery -> Format”, use the dropdown menu to select GIF, then hit Apply. And that’s it! You’re able to download the image or use the URL to embed it into your webpage.
Closing It Out
Transforming your images for optimal website or business page performance is the first step toward creating an aesthetically pleasing brand.
Every image format has its unique features. GIFs are loved because they convey vast information in just a small frame. Unlike JPG files, GIFs are supported by diverse websites, making them a valuable extension for developers with creativity, scalability, and optimization in mind.
Take your digital experience to the next level with Cloudinary’s powerful media optimization tools. Sign up for free today!


