
For developers, fast, responsive apps are critical, especially when images are involved. 47% of users won’t wait longer than two seconds for a website to load, showing how important page speed is to the average user.
Whether it’s a product catalog, a media-rich dashboard, or a customer-facing portal, React projects thrive on performance. And with React being the second most popular web framework among developers, knowing how to keep frontends running smoothly is essential.
This guide will cover how to cache images in React: what it is, why it’s critical, and how to implement it effectively in React. We’ll show you how to optimize your app’s speed and scalability with practical steps and insights, drawing on real-world experience and Cloudinary’s tools.
In this article:
- What is Image Caching (and Why It Matters)
- How to Cache Images in React
- 4 Tips for Better Image Caching in React
What is Image Caching (and Why it Matters)
Image caching, at its core, is about storing image data strategically so our applications don’t redundantly fetch the same assets from the server. Picture it as a local vault: once an image is downloaded, it’s tucked away—whether in browser memory, device storage, or a distributed system like a CDN—so it’s ready to load instantly on demand. For developers, this means less network chatter, fewer server hits, and a leaner app footprint.
Remember that performance directly impacts user happiness, and images typically account for the majority of data transfer in modern web apps. Without caching, every page load or component refresh risks a sluggish experience, higher bandwidth costs, and strained servers—issues that scale painfully as traffic grows. Caching flips that script. It accelerates delivery, trims resource use, and can even enable offline access. For large-scale players like Cloudinary, it’s a cornerstone of their ability to serve millions of optimized assets daily, and it’s just as vital for us to harness in our own projects to meet enterprise-grade expectations.
Why is Caching Images Important in React?
React’s component-driven architecture empowers us to build dynamic, interactive UIs, but it doesn’t inherently optimize image handling. Each render cycle—triggered by state updates, navigation, or user actions—can prompt fresh image requests if we don’t intervene. For image-intensive features like galleries, dashboards, or e-commerce views, this repetition drags down performance, spikes load times, and risks losing users who won’t wait.
How to Cache Images in React
Caching images in React can significantly improve your application’s performance by reducing load times and minimizing server requests. So let’s take a look at a simple solution on how to cache images in React.
Setting up our React Project
Before we begin, we need to set up a React project. If you don’t already have one, you can set one up quickly using NPM. So open your terminal and run the following commands:
npx create-react-app image-caching-demo
cd image-caching-demo
npm start
This will create a new React project and launch it in your browser at http://localhost:3000. You’ll see the default React welcome page.
For this tutorial, we’ll be building a simple gallery app that displays images. So start by creating a new component called ImageGallery.js in the src folder and add some sample image URLs. Now create a simple component that returns the images in separate div containers. Here is what our file should look like:
import React from 'react';

const imageUrls = [
  'https://res.cloudinary.com/demo/image/upload/w_400/cld-sample',
  'https://res.cloudinary.com/demo/image/upload/w_400/cld-sample-2',
  'https://res.cloudinary.com/demo/image/upload/w_400/cld-sample-3',
];

function ImageGallery() {
  return (
    <div>
      {imageUrls.map((url, index) => (
        <img key={index} src={url} alt={`Image ${index + 1}`} style={{ margin: '10px' }} />
      ))}
    </div>
  );
}

export default ImageGallery;
Now open up the App.js file located in the src directory of your project and replace its contents with the following:
import React from 'react';
import ImageGallery from './ImageGallery';
import './App.css';

function App() {
  return (
    <div className="App">
      <h1>Image Caching Demo</h1>
      <ImageGallery />
    </div>
  );
}

export default App;
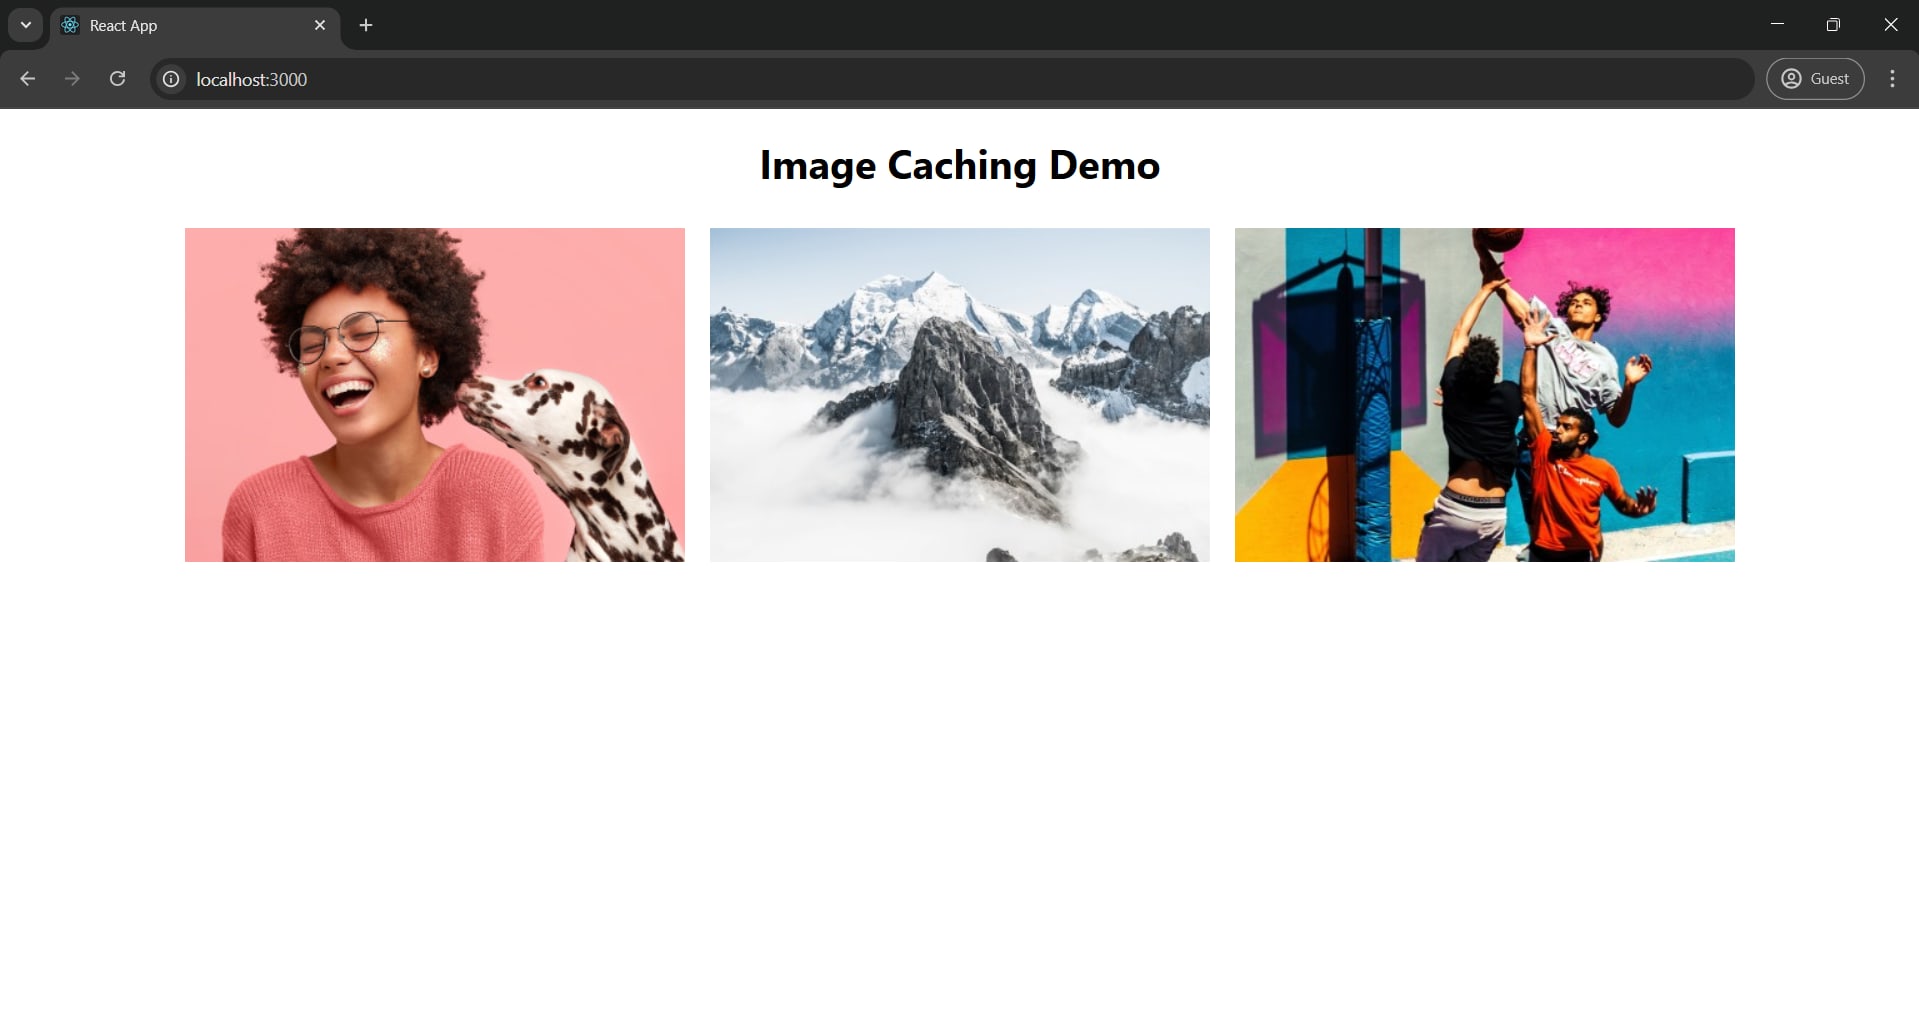
Next, run npm start, and you’ll see three placeholder images displayed.
However, every time you refresh the page, the browser re-downloads these images unless the server provides caching headers. So, let’s implement a client-side caching solution to help speed up our app.
Implementing Basic Image Caching with useEffect and Local Storage
To cache images on the client side, we can use the browser’s localStorage to store image data as base64 strings after fetching them. This ensures that subsequent renders load the images from memory rather than the network.
To do this, we’ll use React’s useState hook. So start by importing it and set up a state variable:
function ImageGallery() {
  const [cachedImages, setCachedImages] = useState({});

  return (
    <div>
      <h1>Image Gallery</h1>
    </div>
  );
}
Here the cachedImages is an object where keys are image URLs and values are cached data (we’ll store images as base64 strings), while the setCachedImages updates this state.
Next, replace the heading with a list of <img> tags generated from imageUrls. Each image will try to use cached data if available, falling back to the original URL if not. We will also add some basic styling:
...
function ImageGallery() {
  const [cachedImages, setCachedImages] = useState({});

  return (
    <div>
      {imageUrls.map((url, index) => (
        <img
          key={index}
          src={cachedImages[url] || url}
          alt={`Image ${index + 1}`}
          style={{ margin: '10px' }}
        />
      ))}
    </div>
  );
}

export default ImageGallery;
Here the src={cachedImages[url] || url} logic is key to check for cache images first.
Now, import useEffect and add logic to fetch images, convert them to base64 strings, and cache them in localStorage. This runs once when the component mounts, ensuring images are cached for future use.
...
function ImageGallery() {
  const [cachedImages, setCachedImages] = useState({});

  useEffect(() => {
    const loadImages = async () => {
      const cache = { ...cachedImages };

      for (const url of imageUrls) {
        try {
          const response = await fetch(url);
          const blob = await response.blob();
          const reader = new FileReader();
          reader.onloadend = () => {
            const base64data = reader.result;
            localStorage.setItem(url, base64data);
            cache[url] = base64data;
            setCachedImages({ ...cache });
          };
          reader.readAsDataURL(blob);
        } catch (error) {
          console.error('Error caching image:', error);
        }
      }
    };

    loadImages();
  }, []);
...
Finally, we can modify the useEffect logic to check localStorage before fetching. If an image is already cached, we’ll use it instead of re-downloading, making the app faster on subsequent loads. Here is what our complete code looks like:
import React, { useState, useEffect } from 'react';

const imageUrls = [
  'https://res.cloudinary.com/demo/image/upload/w_400/cld-sample',
  'https://res.cloudinary.com/demo/image/upload/w_400/cld-sample-2',
  'https://res.cloudinary.com/demo/image/upload/w_400/cld-sample-3',
];

function ImageGallery() {
  const [cachedImages, setCachedImages] = useState({});

  useEffect(() => {
    const loadImages = async () => {
      const cache = { ...cachedImages };

      for (const url of imageUrls) {
        const cachedImage = localStorage.getItem(url);
        if (cachedImage) {
          cache[url] = cachedImage;
        } else {
          try {
            const response = await fetch(url);
            const blob = await response.blob();
            const reader = new FileReader();
            reader.onloadend = () => {
              const base64data = reader.result;
              localStorage.setItem(url, base64data);
              cache[url] = base64data;
              setCachedImages({ ...cache });
            };
            reader.readAsDataURL(blob);
          } catch (error) {
            console.error('Error caching image:', error);
          }
        }
      }
      setCachedImages(cache);
    };

    loadImages();
  }, []);

  return (
    <div>
      {imageUrls.map((url, index) => (
        <img
          key={index}
          src={cachedImages[url] || url}
          alt={`Image ${index + 1}`}
          style={{ margin: '10px' }}
        />
      ))}
    </div>
  );
}

export default ImageGallery;
Now all we need to do is run our app using npm start. After the first load, you’ll see base64 strings stored. Refreshing the page will load the images instantly from cache.

This approach caches images locally, reducing network requests on subsequent loads.
Issues You May Encounter and Solutions when Caching Images in React
Caching images in React can run into trouble with storage limits, especially when using localStorage, which only holds about 5-10 MB. Big images or lots of them can fill it up fast, causing caching to fail or the app to glitch. A better option is to switch to IndexedDB, which gives you much more room to store data.
That’s not the only issue—loading all those images right away can slow things down. When your app fetches and caches them on the first visit, users might wait too long to see anything, stuck with blank spots on the screen. The fix is easy: add loading="lazy" to your <img> tags. This tells the browser to wait on loading images that aren’t visible yet, speeding up the start and making the app feel quicker for users.
Even with faster loads, outdated caches can still cause headaches. If an image changes on the server but your app keeps showing the old one, it can confuse people or mess up how things work. To keep everything up to date, add a version tag like ?v=2 to your image URLs and update it when needed. Or, let the server handle it by setting cache headers to signal changes—either way, your app stays current with little effort.
On top of that, caching can get messy across different sessions or devices. Without a solid plan, users might see slow reloads or odd behavior depending on how they use your app. A service worker can tidy this up by managing caches smoothly, even offline. Better yet, a Content Delivery Network (CDN) can take over the job entirely, delivering images fast and consistently so your app runs smoothly no matter what.

4 Tips for Better Image Caching in React
To elevate your image caching strategy in React beyond the basics, consider the following pointers to help you make more robust and efficient solutions:
- Tap into Browser Caching Headers: Configure your server to include Cache-Control headers like
Cache-Control: public, max-age=31536000for static images. This uses the browser’s built-in caching, reducing the need for custom client-side logic and ensuring images persist across sessions. - Harness Service Workers: For fine-tuned control, implement a service worker to intercept and cache image requests dynamically. Tools like Workbox make this straightforward, enabling offline support and faster reloads by serving cached assets directly from the browser.
- Prioritize Modern Image Formats: Optimize file sizes with formats like WebP or AVIF, which deliver high quality at lower bandwidth. Use libraries such as sharp during asset preparation or automate this with tools like Cloudinary to lighten the load on your app.
- Offload to a CDN: A CDN can transform how you handle images in React. Through CDN caching, you can offload caching logic to them, saving your dev team time.
Becoming an Expert in Image Caching in React
Efficient React image caching is key to building high-performing, amazing applications that scale effectively. Each layer builds your ability to optimize not just speed, but also reliability and efficiency. React’s flexibility gives you room to innovate, and pairing it with industry-grade solutions elevates your work further.
Ready to take the next step? Dive deeper by exploring Cloudinary’s developer resources—sign up for the platform and see firsthand how caching can transform your performance.
Learn more:

