Have you ever considered that nearly 39% of users will stop engaging with a website if the images take too long to load? A visually captivating yet efficient website is desirable and essential in the digital age. Image scaling, a practice that significantly improves site load speed and user experience, is crucial for these performance enhancements and boosting SEO rankings.
WordPress offers several built-in methods to help you achieve optimal results. You can visually resize images using the block editor, input precise dimensions in block settings, or use the Media Library’s image editor to scale and save new versions.
This streamlined guide aims to simplify image scaling for you. With a focus on WordPress’s integral methods and Cloudinary, we’ll ensure you gain a solid grasp of image optimization.
In this article:
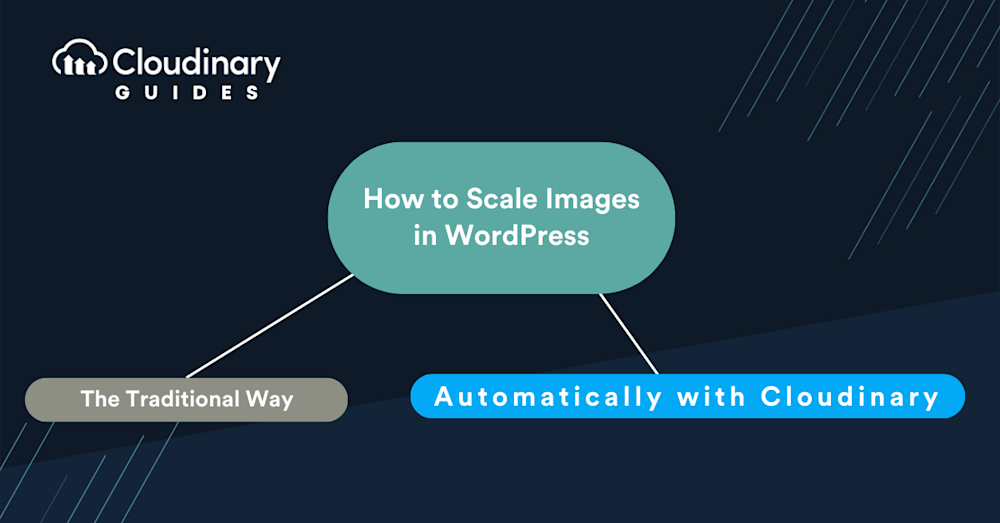
- How to Scale WordPress Images the Traditional Way
- How to Resize an Image in a WordPress Post or Page
- Scale Images Automatically with Cloudinary
How to Scale WordPress Images the Traditional Way
Have you ever struggled with large, unoptimized images slowing down your website? Let’s show you how you can manually scale WordPress images:
- Go to your WordPress admin dashboard – Start by logging into your WordPress site. Once you’re in, you’re one step closer to optimizing those images.
- Go to Settings > Media – This is the hub for all media-related settings. It’s where you’ll find the tools to scale your images.
- In Media Settings, edit the width and height dimensions – Think of this as giving WordPress a rulebook. By setting these dimensions, you’re telling WordPress the maximum size you want your images to be. Then, click “Save Changes”.
- WordPress will automatically create scaled versions of each image using these sizes – Instead of manually resizing every image, WordPress does the heavy lifting for you. Whenever you upload a new image, WordPress will create multiple versions, each scaled to your set sizes.
- Choose which size you want to insert from the WordPress editor – When crafting a post or page, you can choose the perfect image size for your content. Whether it’s a thumbnail for a blog post summary or a full-sized image for a detailed guide, you’ve got options.
To stop WordPress from scaling images, change all the image sizes to zero. Maybe there’s a time when you don’t want any scaling. No problem! Set those dimensions to zero, and WordPress will upload your images as-is.
As a rule of thumb, ensure all images on your site are only as large as they need to be. Large images can slow down your site, leading to a less-than-stellar user experience. The largest image size recommended is 1920×1080. This size strikes a balance between quality and performance. It’s large enough to look crisp on most screens but won’t reduce your site’s load times.
How to Resize an Image in a WordPress Post or Page
When working within the WordPress block editor, you can easily resize images directly in your posts or pages:
- Select the Image: Click on the image block you want to resize.
- Use Resize Handles: Small circular handles appear on the image. Drag these handles to visually adjust the width and height.
- Use Block Settings: In the right-hand Block settings panel, find the “Image settings” or “Dimensions” section. Here, you can enter specific pixel values for width and height or use percentage options to scale the image relative to its container.
- Update the Post/Page: After resizing, click “Update” or “Publish” to save your changes.
Changing Default Image Sizes for Future Uploads
To set default image sizes for all future uploads:
- Access Media Settings: In your dashboard, go to “Settings” > “Media.”
- Adjust Dimensions: Change the default dimensions for “Thumbnail,” “Medium,” and “Large” image sizes as needed.
- Save Changes: Click “Save Changes” to apply your new defaults.
Scale Images Automatically with Cloudinary
Why manually scale each image when Cloudinary can automate the process for you? Imagine the time you’ll save, the consistency you’ll achieve, and the peace of mind of knowing every image is optimized to perfection.
With Cloudinary, you’re scaling images and optimizing your entire media library for the best performance and user experience. Whether you have ten images or ten thousand, Cloudinary ensures each is perfectly optimized for your site.
The Benefits of Cloudinary for Image Scaling
Now that you understand the essential role of image optimization and scaling, let’s switch gears toward one of the most reliable tools available. Picking the right tools can be the turning point in your optimization efforts. Cloudinary shines through with features that stand out from standard WordPress functionalities.
- Automated Image Optimization. With Cloudinary, you don’t have to be an image expert to get the best results. It automatically detects the optimal settings for each image, ensuring they load quickly without sacrificing quality.
- Adaptive Image Delivery. Different devices and screen sizes require different image resolutions. Cloudinary detects the user’s device and delivers the best image version, ensuring a seamless experience across all devices.
- Bulk Image Processing. Do you have a library full of images that need scaling? Cloudinary can process and optimize them in bulk, saving you countless hours of manual work.
- Advanced Image Manipulation. Beyond just scaling, Cloudinary offers a suite of image manipulation tools. Add a watermark, adjust brightness, or apply a filter with a few clicks.
- CDN Delivery. Cloudinary’s integrated Content Delivery Network (CDN) ensures your images are delivered from the nearest server to your users. This means faster load times and a better user experience.
Setting Up Cloudinary with WordPress
Now that you know what Cloudinary can do let’s set it up with your WordPress site. We’ll walk you through the step-by-step process of using the Cloudinary WordPress plugin to optimize your images.
1. Sign Up for a Cloudinary Account. Head over to Cloudinary’s website and sign up for a free account.
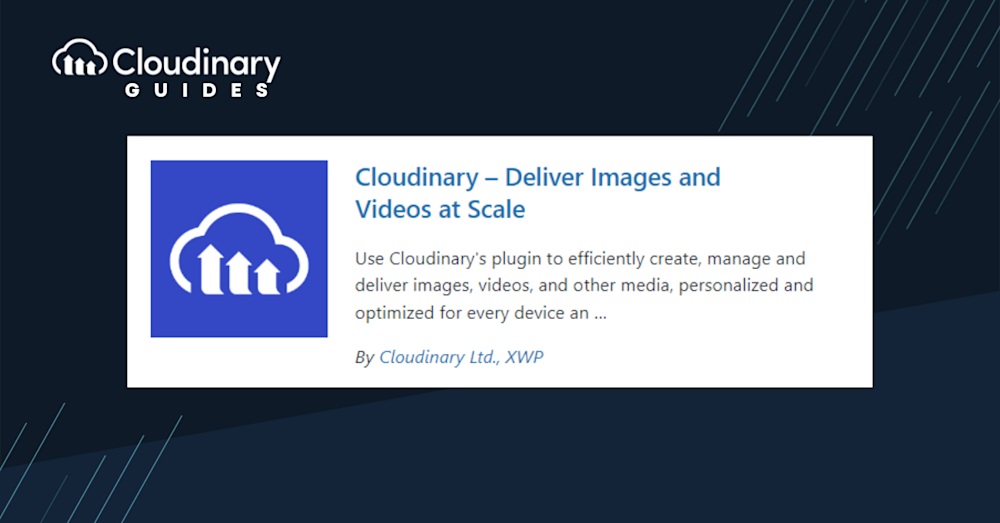
2. Install the Cloudinary WordPress Plugin. Navigate to the ‘Plugins’ section in your dashboard. Search for ‘Cloudinary’ and install the official plugin.
3. Configure the Plugin. Once installed, you’ll need to link your Cloudinary account. Go to the Cloudinary settings in your WordPress dashboard and enter your account details. This will sync your media library with Cloudinary
4. Start Uploading and Optimizing. With everything set up, you can now upload images as you usually would in WordPress. Behind the scenes, Cloudinary will automatically optimize and deliver them for you.
Why Cloudinary Stands Out
There are several image optimization tools out there, but Cloudinary offers a unique blend of features that make it a top choice for WordPress users.
- Reliability. Cloudinary’s robust infrastructure ensures your images are always available, regardless of traffic spikes or server issues.
- Flexibility. Whether you’re a blogger, e-commerce store owner, or a large enterprise, Cloudinary scales to meet your needs.
- Cost-Effective. With a generous free tier and affordable plans, Cloudinary offers excellent value for money. You get premium features without breaking the bank.
- Support & Documentation. Cloudinary boasts a vast library of tutorials, guides, and a responsive support team. Whether you’re a newbie or a seasoned developer, help is always available.
Final Thoughts
Image scaling, a significant cog in the wheel of successful website performance, is built right into the heart of WordPress. By using its in-built mechanisms, you’re on track to providing an interactive, user-friendly experience on your site.
But what about the task of scaling numerous images in one go? That’s where Cloudinary comes into the picture. This powerful tool’s capabilities extend beyond single images—Cloudinary can efficiently scale bulk images with relative ease, making it a stress-free process to optimize your entire gallery and ensure a smooth and engaging browsing experience.
Don’t let bulky images slow you down. Try Cloudinary and ensure your visuals are always in top form.
