Have you ever wondered why your website images sometimes appear blurry or take forever to load? It might be the image resolution. Optimizing your images is not just about making them look good; it’s about enhancing your website’s performance and user experience.
In this guide, we’ll delve into WordPress image resolution and why it’s crucial for your site. Stick around, and by the end, you’ll discover how Cloudinary can be your secret weapon in this optimization journey.
The Importance of Image Resolution
Image resolution plays a pivotal role in the world of web development, and more specifically within the WordPress ecosystem. Defined as the quantifiable number of pixels that comprise an image (commonly expressed as PPI – Pixels Per Inch), resolution dictates how much detail an image can present to the viewer. High-resolution images are dense with pixels, therefore offering a sharper and more detailed visual experience. However, the importance of image resolution doesn’t end with aesthetics.
Accurately managing image resolution can significantly affect your site’s performance: more pixels in an image translate into larger file sizes and, consequently, slower loading times – a detriment to user experience and SEO. The relevance of image resolution extends beyond crafting a visually appealing website. Balancing high-quality visuals with excellent site speed is the sweet spot, resulting in a more engaged audience, better search engine rankings, and an inviting site to revisit.
Default Image Sizes in WordPress
WordPress automatically creates multiple versions of your images. Different sections of your website require different image dimensions. For instance, a blog post image and a thumbnail serve other purposes and need distinct sizes.
You’ll find options to tweak these default sizes in the WordPress dashboard. Go to Settings > Media, and you’ll see dimensions for “Thumbnail,” “Medium,” and “Large.” Adjusting these is a breeze. Here are some standard image sizes for WordPress:
Blog post image: 1200 x 630 pixels
Header image: Banner size 1048 x 250 pixels
Featured image: Landscape 1200 x 900 pixels, portrait 900 x 1200 pixels
Background image: 1920 x 1080 pixels
Thumbnail: 150 x 150 pixels
Medium: Maximum 300 x 300 pixels
Large: Maximum 1024 x 1024 pixels
Full size: The original size of the image
Aim for at least 600 x 600 pixels for themes that use square-featured images. And a quick tip: the standard resolution for the web is 72 DPI.
Best Practices for Image Optimization
In optimizing your images for WordPress, a key factor to consider is resolution. Image resolution essentially refers to the amount of detail an image can hold, measured in pixels. The right balance of size and resolution ensures that your images are high quality without compromising your site speed – a crucial detail in our fast-paced digital world.
It’s important to note that better resolution doesn’t necessarily equate to a better image. Although higher-resolution images contain more detail, they are also larger in size and can slow down your website. Therefore, striking a balance is critical. Here are some best practices to guide you toward optimal image resolution:
- Prioritize JPEG or WebP formats for images, as these maintain a nice balance between quality and size.
- Implement responsive images to ensure users only download what their device can present.
- Use a compression tool to reduce file size without losing quality.
- Resize images before you upload them. WordPress can auto-resize, but doing so beforehand gives you more control.
- When deciding on image dimensions, consider the maximum display size on your website and your audience’s devices.
Remember, the ultimate goal is to achieve an optimal user experience. Great visuals coupled with excellent website performance go a long way towards enhancing that.
Common Image Resolution Misconceptions
As you navigate your path through the landscape of WordPress image resolution, you may encounter a couple of common misconceptions that could impede your journey. One of the most prevalent myths is the belief that “more pixels = better image”. While it’s true that higher-resolution images indeed contain more detail, this doesn’t always mean they’ll look better on your website. Depending on the viewing device, excessive pixels may be compressed or unutilized, wasting resources without visual gain.
Additionally, the often-overlooked relationship between larger file sizes and slower loading times unfolds another misconception: that high-resolution images equate to top-notch website quality. While they can certainly enhance aesthetics, high-resolution images can significantly hamper your site’s speed and performance.
Responsive Design and Image Resolution
People access websites from many devices – desktops, tablets, smartphones, and more. Each device has a different screen size and resolution. Your images need to adapt accordingly. A high-res image that looks stunning on a 4K monitor might be overkill for a smartphone screen.
WordPress and Cloudinary both offer solutions for responsive images. With the srcset attribute in WordPress, you can define multiple versions of an image for different screen sizes. Cloudinary, on the other hand, automates this process. It detects the user’s device and delivers the most suitable image version, ensuring clarity without wasting bandwidth.
Maximize Your Images with Cloudinary
Prized for its versatility, Cloudinary has emerged as a favorite among WordPress users seeking to optimize their image resolution. Our cloud-based service offers an array of features that significantly enhance the management and delivery of your site’s visuals. But why should you consider integrating Cloudinary with your WordPress site?
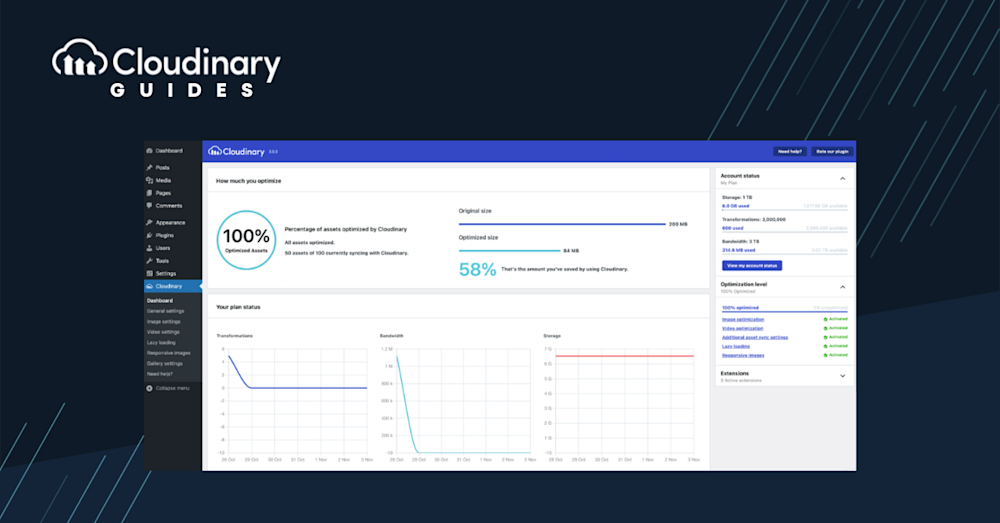
Firstly, Cloudinary automates image optimization, ensuring images are served in the most optimal format, size, and resolution for every viewer’s device. It’s as simple as uploading your image to the platform, and Cloudinary takes care of the rest. From intelligent compression and format selection to responsive resizing and fast CDN delivery, every aspect of image optimization is tailored to improve your site’s speed, user experience, and SEO performance.
Secondly, the platform also provides an intuitive interface for administering transformations to your images, giving you the power to edit, apply filters, and add overlays without requiring additional software. By integrating Cloudinary into your WordPress workflow, you can unlock a new level of finesse on your site — both in terms of image quality and overall performance.
Closing Thoughts
Image resolution is crucial to consider regarding WordPress site design and performance. Website owners can’t afford to overlook the delicate balance between image detail and file size. Mastering the art of optimizing image resolution will improve your site’s visual appeal and impact user experience, page loading times, and search engine rankings. To achieve this level of control and optimization, it’s essential to stay informed about best practices, dispel common misconceptions, and utilize the right tools and resources that cater to various levels of expertise.
Incorporating Cloudinary into your WordPress environment presents an opportunity to elevate your site to new heights of visual optimization and performance. This powerful, user-friendly platform is designed to simplify the complexities of image management and delivery, making it an invaluable resource for any developer or site owner.
If you’re ready to take your WordPress site to the next level, explore Cloudinary today and experience the benefits of a well-executed image optimization and resolution strategy. Sign up now to try Cloudinary for free!


