Visitors take only seconds to decide if they’ll stay on your website or leave. That’s why it’s crucial to capture their attention right away and persuade them to explore further.
One powerful way to engage and impress your audience is by using a video background. In this guide, we’ll explore the advantages of adding a video background to your site. Then, we’ll cover key best practices and show you four simple ways to implement it in WordPress.
What is a Video Background?
A video background is an engaging website design element where a video is placed as the backdrop behind the main content of a webpage. Unlike traditional static images or solid color backgrounds, video backgrounds offer a dynamic and visually appealing experience that can capture visitors’ attention more effectively.
These videos typically loop continuously, ensuring that the motion is seamless and that there is no interruption in the visual experience. By adding movement and life to what would otherwise be a still background, these videos can create a more immersive environment that enhances the overall aesthetics of a webpage.
Learn more about WordPress Video Background in the video below.
Why Adding a Video Background Matters
Adding a video background to your WordPress website can enhance visual appeal and engagement. It’s a great way to grab your visitor’s attention immediately and make a solid first impression. However, if you’re still getting familiar with the process, it might seem daunting. Don’t worry, it’s pretty straightforward.
In this tutorial, we will guide you through different ways to add a video background to your WordPress website, and by the end, you will see that it’s easier than you might have thought.
Let’s get started!
Smart Tips for Using a Video Background in WordPress
If you’ve decided to enhance your site with a video background, there are a few key guidelines to follow.
Start by using videos selectively and purposefully; too many large files can slow down your WordPress site and reduce their visual impact. In most cases, you’ll also want to mute the audio. Unexpected sound can frustrate users, especially if they’re casually browsing or in a quiet environment.
When adding content such as text or buttons over your video, make sure there’s enough contrast to ensure readability. This is especially crucial for users with visual impairments. A helpful tool like a color contrast checker can quickly assess your site and highlight areas that need improvement. Just enter your URL for instant feedback.
Lastly, always include a fallback image. This image acts as a backup visual if your video fails to load, ensuring your site design still looks polished and complete.
Selecting a Theme with Video Background Support
One way to add a video background is by choosing a WordPress theme with built-in support for video backgrounds. This method simplifies the process and might be more suitable for those who prefer a more integrated solution.
- Go to your WordPress dashboard.
- Click on ‘Appearance’ and then ‘Themes’.
- Click ‘Add New’ and search for themes with “video background” functionality.
- Select a theme that supports video backgrounds.
- After activating the theme, use the Post editor area to select ‘Video Source’.
- You can choose from Self-hosted, Vimeo, or YouTube videos.
- Upload or add your video link in the corresponding field.
- Apply all the necessary settings and publish your post.
This method is particularly useful for users looking for a streamlined way to incorporate video backgrounds without additional plugins.
Using the Built-in Cover Block
A simple way to add a video background to your WordPress website is using the built-in Cover Block. This method doesn’t require any additional plugins and is relatively straightforward.
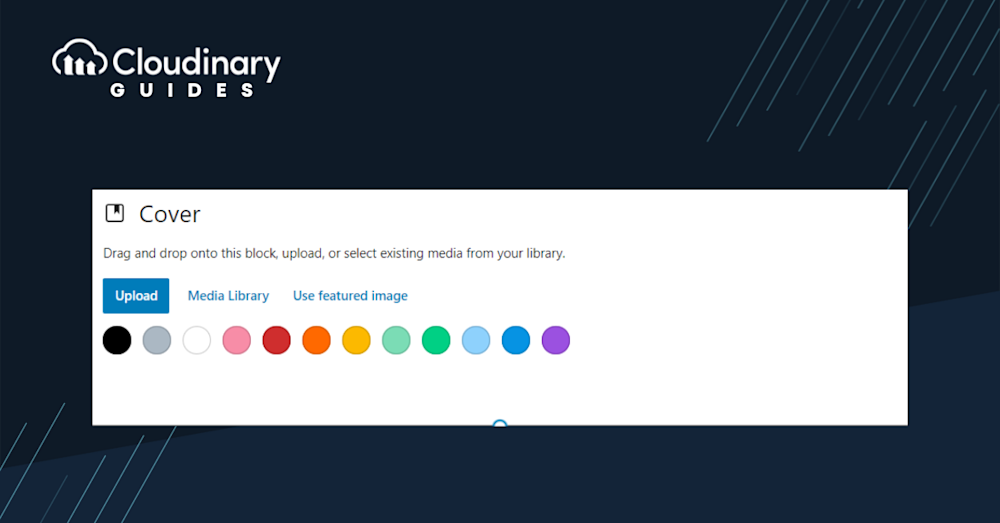
1. Select the Cover Block
Open the page or post where you want to add the video background. In the WordPress editor, click the ‘+’ icon to add a new block and select the ‘Cover’ block.
2. Add a Video
Once you have added the Cover block, click the ‘Upload’ button to upload a video from your computer or insert a video from your media library.
3. Add Foreground Content
At this point, a preview of the background video should be visible. Feel free to add foreground elements to the Cover, like text or buttons.
4. Adjust the Settings
After adding the video, you can adjust the settings of the Cover block. You can change the alignment of the content position and add an overlay color if needed. Preview your changes to see how it looks on your website.
And that’s it! You have successfully added a video background to your WordPress website using the built-in Cover Block. This method is relatively easy and doesn’t require any additional plugins. However, if you are looking for more advanced features or customization options, you might want to consider using a plugin.
The Video Background Plugin
You can also use the Video Background plugin, which is free and easy to use. (Although it has a premium version that includes more features, if you’re looking for specific functionality). To configure the plugin, you need to fill in four mandatory fields:
- Container: Specify the location where you want the video background.
- .mp4: Provide the link to the .mp4 file for Safari and IE support.
- .WEBM: Provide the link to the .webm file for Chrome, Firefox, and Opera support.
- Link to fallback image: This will be used as the fallback image if the video background is not supported, for example, on mobile devices.
Additionally, there are five optional fields to enhance the appearance of your video background:
- Overlay: Add a color overlay over the video, which helps optimize the text’s readability.
- Overlay Color: If the overlay is enabled, you can choose the overlay color using the color picker.
- Overlay Alpha: If the overlay is enabled, you can determine the level of transparency.
- Loop: Enable or disable the looping of the video background.
- Tap to Unmute: Add a “Tap to unmute” button to your video backgrounds to allow your users to engage with the sound. This feature is compatible with Chrome’s latest autoplay policies.
After configuring these settings, your video background will be set up and ready for optimal performance and user engagement.
Using the AWB Plugin
The Advanced WordPress Backgrounds (AWB) plugin is another excellent tool for adding a video background to your WordPress website.
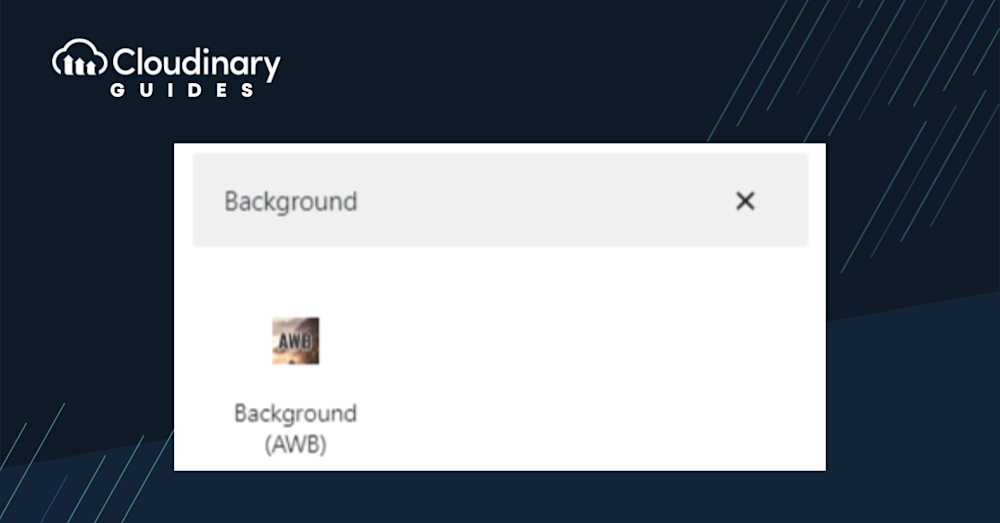
1. Install AWB and Add Its Content Block
First, install the AWB plugin. Once installed and activated, go to the page or post where you want to add the background video. Using the WordPress editor, click to add a content block and search for and select the Background (AWB) block.
2. Add Your Video
The AWB plugin allows adding color, image, or video backgrounds to the element. Select ‘Video’, then paste a URL from YouTube or Vimeo. Alternatively, the plugin has a ‘Self Hosted’ tab for uploading local videos.
3. Adjust the Height and Width of the Video Background
Initially, the content block is designed to occupy only a portion of the page area. To adjust this, click the editor’s ‘Full Height’ button. There’s also a button to extend the video background to full width.
You can also drag or insert content, such as text, buttons, or images, on top of the background video.
4. Modify the Video Background Settings
Adjust the settings you want in the Block tab: start time, end time, looping, always playing, and video opacity.
It’s advisable to add a background color overlay with decreased opacity; this makes the overlaying text easier to read. Do this by navigating to the ‘Block’ tab and selecting white or black as the ‘Background Color’. Then, slightly decrease the ‘Opacity’ using the slider to ensure the background remains visible.

Pro Tip Consider Cloudinary’s Digital Asset Management
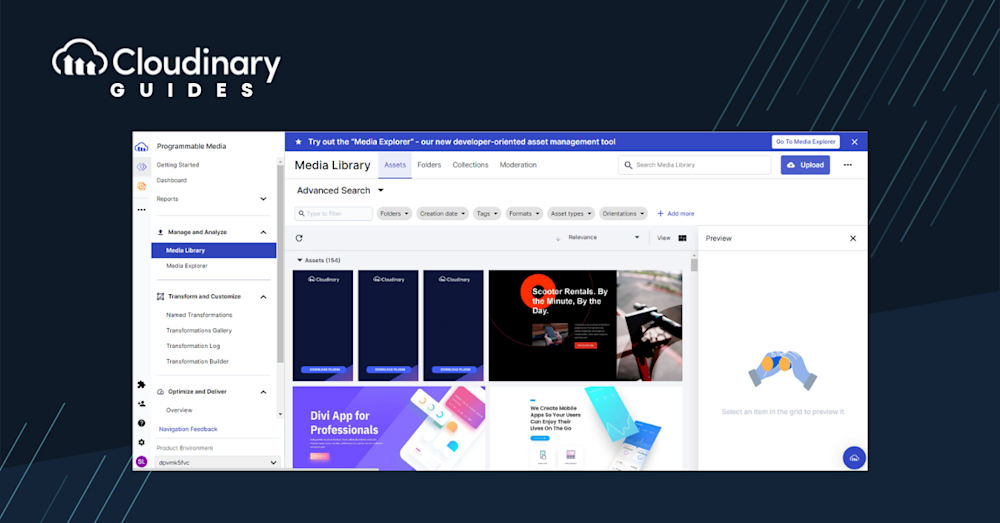
Looking for a centralized location to manage all your media assets? Cloudinary’s Media Library makes it easy to upload, store, manage, and deliver images and videos efficiently.
Using Cloudinary
Using Cloudinary to add a background to videos in WordPress involves a few steps. Here’s how you can do it:
1. Upload Your Video and Background Image
Go to your Cloudinary dashboard, click on ‘Media Library’, and then click on ‘Upload’ to upload your video and the background image.
2. Transform Your Video
Once you have uploaded your video and background image, you can use Cloudinary transformation features to add the background image to your video. To add a background image to a video, you can use the “l” parameter in the Cloudinary URL syntax to add a background image to a video. The “l” parameter allows you to overlay an image on top of the base video. You can adjust the dimensions and position of the overlay using the “w” (width), “h” (height), “x” and “y” (x & y coordinates), and “g” (gravity) parameters.
3. Get the Transformed Video URL
After transforming your video, you can get the transformed video URL from the Cloudinary dashboard. Now that you have the transformed video URL, you can add it to your WordPress website. You can use any method to add a video to your WordPress website, such as the WordPress media library, a video block, or a video background plugin.

4. Preview and Publish
After adding the transformed video URL to your WordPress site, preview your changes to see how the video background looks on your website. If satisfied with the result, you can publish or update your page or post to save your changes.
And that’s it! You have successfully added a background to your video in WordPress using Cloudinary. Cloudinary allows you to host and manage your videos and offers various transformation and optimization options to enhance your videos and improve your website’s performance.
Powerful Visual Experiences with Cloudinary
Incorporating video backgrounds into your WordPress site enhances its visual appeal, engages users, and conveys messages dynamically. By following user-friendly methods and utilizing tools like Cloudinary, you empower your content to resonate effectively and create a more captivating online experience.
Ready to Transform Your Site’s Visual Experience?
Unlock the full potential of your website with Cloudinary’s advanced video management and transformation solutions. Sign up now and start creating more engaging and visually appealing content today! Why wait? Join Cloudinary today and bring your website to life!
FAQs
Will a video background slow down my site?
Large video files can slow down your website’s performance. The good news is that you can use a tool like Cloudinary to reduce their impact. Cloudinary hosts your videos off-site and delivers them via a high-performance CDN, optimizing file size and format for each device, without third-party ads or interruptions.
What’s the easiest way to add a WordPress video background?
The easiest method for adding a video background in WordPress is to use the built-in Cover block, which doesn’t require any extra plugins, tools, or custom coding. You can create and customize your video background directly within the WordPress editor.
Where should I host my videos?
You can host your video files on your own web server, avoiding third-party platforms and keeping your content ad-free. However, this can quickly eat up bandwidth, limit upload sizes, and result in buffering or slow load times that damage user experience.
Cloudinary offers the best of both worlds. It offloads the heavy lifting from your server while giving you full control over how videos are displayed and managed. With Cloudinary, there are no intrusive ads, and you can centralize video management alongside your other media, keeping everything streamlined and efficient.

