
As video becomes one of the most consumed content types on the web, developers often need to build efficient and scalable video streaming applications to meet the ever-growing user demand while ensuring a seamless and high-quality viewing experience across various devices and network conditions. Despite this necessity, setting up a scalable video streaming service from scratch can be highly complex. Without the right technical expertise, it can lead to performance bottlenecks, security vulnerabilities, and escalating infrastructure costs.
In this guide, we’ll explore how to set up video streaming using PHP and integrate it with a powerful cloud media service like Cloudinary to simplify media management and delivery.
Key Takeaways:
- Video streaming lets users watch videos in real-time without downloading them, and while setting it up in PHP can be complex, platforms like Cloudinary make the process easier by handling video delivery and processing for you.
- To make video streaming apps run smoothly for many users, use Adaptive Bitrate Streaming to match video quality to internet speed and deliver content through a CDN to reduce lag and improve playback.
In this article:
- How Does Video Streaming Work in PHP?
- Set up a PHP Application
- Install Project Dependencies
- Optimizing for Performance
How Does Video Streaming Work in PHP?
Video streaming is a method of delivering video content to viewers in real-time, allowing them to watch the video without having to download the entire file first. This process involves the continuous transfer of data packets from a server to a client device. This approach of video delivery significantly improves performance, enhances the user experience, and optimizes bandwidth usage.
Implementing video streaming in PHP requires an understanding of a few core concepts and technologies. While PHP itself is a server-side scripting language, it can be used to manage the delivery of video content. Some of the key concepts you need to know to implement successful video streaming in PHP includes file upload and storage, video encoding and decoding, HTTP range requests, developing a compatible HTML 5 video player to playback the content, caching and more.
As we mentioned earlier, setting all of this up from scratch can be challenging, especially if you’re an inexperienced developer. However, a media management and delivery platform like Cloudinary abstracts away most of the complexities involved in implementing video streaming in PHP, letting you focus on the core functionality of your applications rather than the intricacies of video processing and delivery.
In the following sections, we’ll guide you step by step on implementing video streaming in PHP using the Cloudinary PHP SDK and its adaptive streaming feature, which automatically creates multiple bitrate variants.
Set up a PHP Application
Before we jump right into writing code, you’ll need to set up your development environment by installing:
- PHP 8.x or later. You can follow the guide in the PHP manual to install it for your OS.
- VS Code with the following extensions installed:
- PHP Tools by DEVSENSE
- Composer Extension
- Sign up for a free Cloudinary account and copy your product environment credentials (API key, API secret, and cloud name) from your dashboard
Once the prerequisites have been met, create a new directory where you’d like to run the project and create a file named info.php containing the following code:
<?php
phpinfo();
?>
Navigate to your project directory, and then run the command php -S localhost:8000 in the terminal to launch the built-in PHP server. In your web browser, go to http://localhost:8000/info.php. If you see your PHP configuration details, it confirms that PHP is installed and working correctly.
Install Project Dependencies
Next, let’s install the necessary dependencies required for our app to work using Composer.
- In VS Code, open the Command Palette using
Ctrl+Shift+P(orCmd+Shift+Pon Mac). - Type
Composer: require packageand select it. - When prompted, search for
cloudinary/cloudinary_phpand press Enter. This will add the Cloudinary SDK to yourcomposer.jsonand install it. - Repeat step 3 by searching for
vlucas/phpdotenvand select it to add it as a dependency.
Once the dependencies have been installed, a composer.json file with the following content will be created:
{
    "require": {
        "cloudinary/cloudinary_php": "^3.1",
        "vlucas/phpdotenv": "^5.6"
    }
}
cloudinary/cloudinary_php is the official Cloudinary PHP SDK that integrates Cloudinary services with your PHP application, while vulcas/phpdotenv is a PHP library for loading environment variables and configuration settings from `.env` files into your application.
Next, create a .env file to store your Cloudinary credentials:
CLOUDINARY_CLOUD_NAME="your_cloud_name"
Note: Ensure you add the.env file to .gitignore to avoid committing it to a version control such as GitHub.
Create Video Upload Page
When implementing file uploads in web applications, you’d often need to provide a user interface where the user can upload files from. To do this, you need an HTML form and HTML input element, with its type attribute set to ‘video’.
Create a file named index.php in the project root and paste the following code:
<?php
$message = '';
if (!empty($_GET['error'])) {
    $message = $_GET['error'];
} elseif (!empty($_GET['success'])) {
    $message = $_GET['success'];
}
?>
<!DOCTYPE html>
<html lang="en">
<head>
    <meta charset="UTF-8">
    <meta name="viewport" content="width=device-width, initial-scale=1.0">
    <title>Upload a Video</title>
    <script src="https://cdn.tailwindcss.com"></script>
    <style>
        body {
            font-family: 'Inter', sans-serif;
            background-color: #f3f4f6;
        }
    </style>
</head>
<body class="flex items-center justify-center min-h-screen">
    <div class="bg-white p-8 rounded-lg shadow-lg max-w-md w-full text-center">
        <h1 class="text-3xl font-bold mb-6 text-gray-800">Upload Your Video</h1>

        <?php if (!empty($message)): ?>
            <p class="text-red-500 mb-4"><?= htmlspecialchars($message) ?></p>
        <?php endif; ?>

        <form action="upload.php" method="post" enctype="multipart/form-data">
            <div class="mb-4">
                <input type="file" name="video" id="video" accept="video/*" class="w-full text-gray-700 bg-gray-100 border border-gray-300 rounded-md py-2 px-3 focus:outline-none focus:ring-2 focus:ring-blue-500">
            </div>
            <button type="submit" class="w-full bg-blue-600 text-white py-2 px-4 rounded-md hover:bg-blue-700 focus:outline-none focus:ring-2 focus:ring-blue-500 focus:ring-offset-2 transition duration-300 ease-in-out">
                Upload
            </button>
        </form>
    </div>
</body>
</html>

CLOUDINARY_API_KEY="your_api_key"
CLOUDINARY_API_SECRET="your_api_secret"
Basically, the above code creates a form with an input element to upload video files to the upload.php handler (we’ll create this file in a moment). So when a user uploads a video, the handler processes it and returns a success or error message.
When uploading videos in PHP applications, PHP internal file upload handling has a maximum size limit for file uploading. However, we can reconfigure PHP to use a desired file size limit by modifying the main configuration file for PHP – php.ini.
When you install PHP, it comes with a default php.ini file, however, in this tutorial, we’ll create a separate config file to use for our application. In the project root, create a file named php.ini and add the following code to it:
upload_max_filesize = 100M
post_max_size = 120M
The above snippet tells PHP to set the maximum file upload size to 100 MB and increases the maximum size of POST requests to 120 MB. The post_max_size value must always be equal to or larger than upload_max_filesize to avoid upload errors.
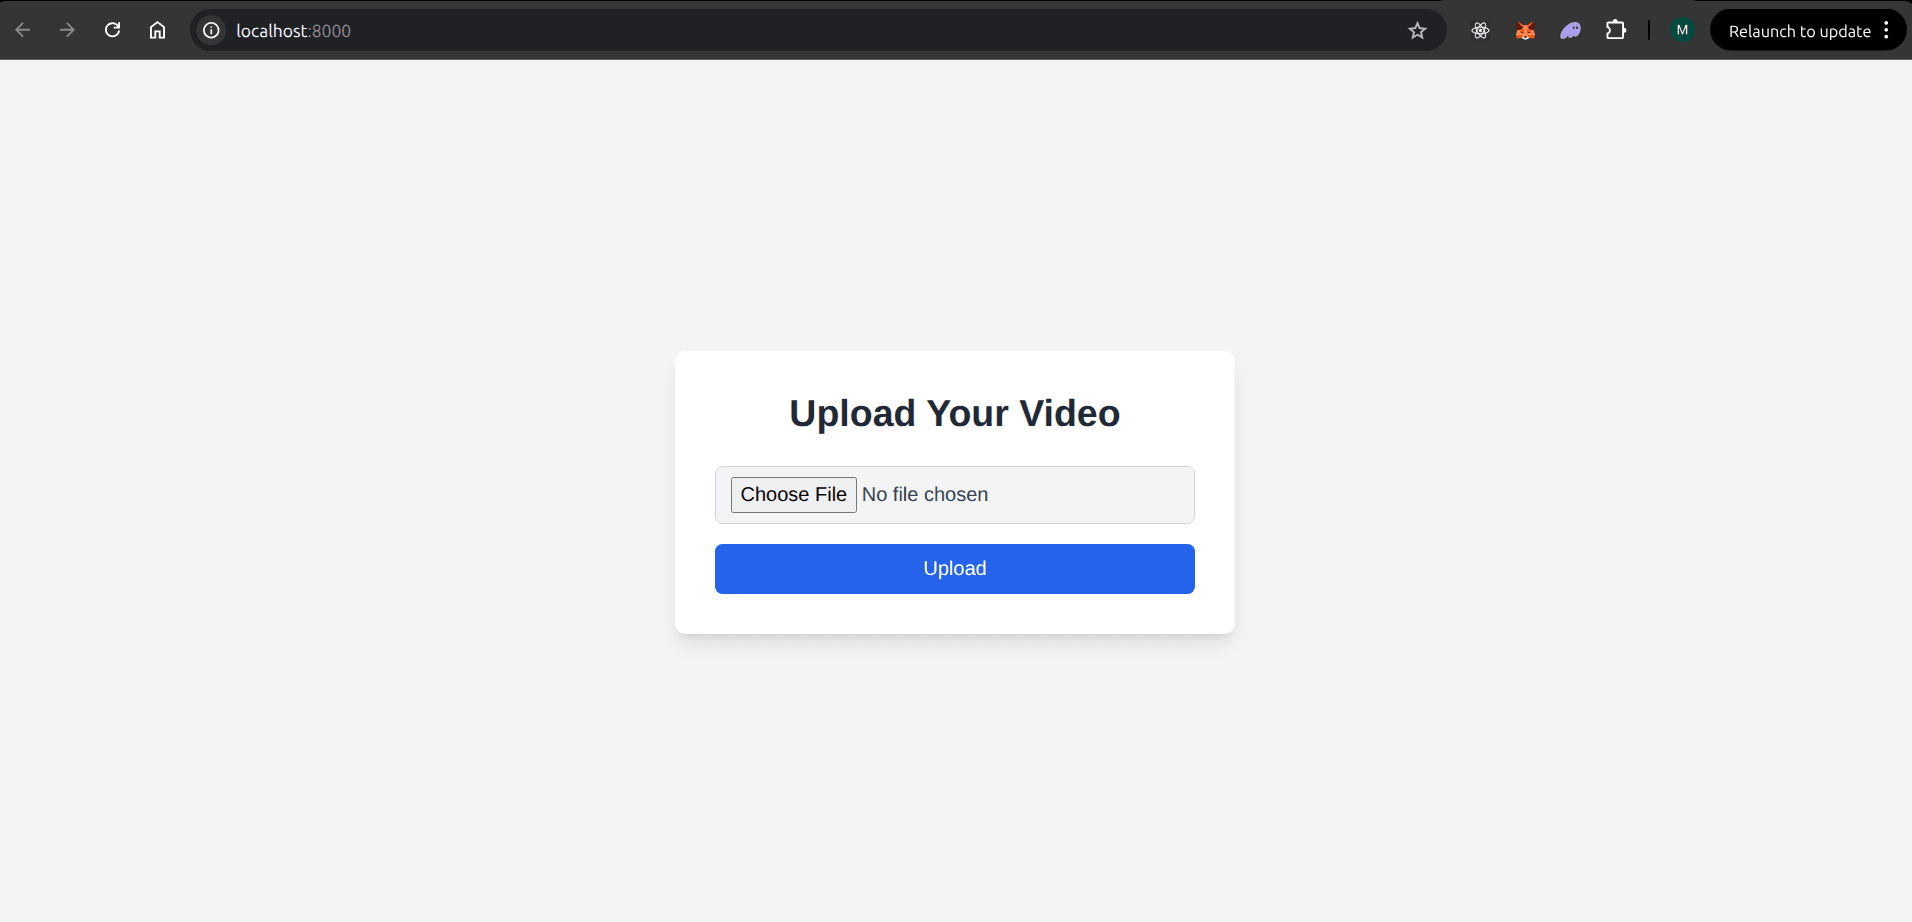
Now you can start up the application by running php -S localhost:8000 -c ./php.ini, and navigating to localhost:8000 in your browser and you should see the upload form as shown below:
Create Video Upload Handler
After a user submits a video through the HTML form, we need a way to handle the file on the server. Specifically, we need a PHP script to accept this uploaded file, transfer it to Cloudinary, and get back a public_Id that can be used to stream the video.
Create a file called upload.php and add the code below in it:
<?php
// Include the Composer autoloader
require 'vendor/autoload.php';

use CloudinaryCloudinary;
use CloudinaryApiUploadUploadApi;
use CloudinaryConfigurationConfiguration;
use DotenvDotenv;

// Load environment variables from .env
$dotenv = Dotenv::createImmutable(__DIR__);
$dotenv->load();

// Configure Cloudinary
Configuration::instance([
    'cloud' => [
        'cloud_name' => $_ENV['CLOUDINARY_CLOUD_NAME'],
        'api_key' => $_ENV['CLOUDINARY_API_KEY'],
        'api_secret' => $_ENV['CLOUDINARY_API_SECRET'],
    ],
    'url' => [
        'secure' => true,
    ],
]);

$message = '';

// Only process uploads on POST requests
if ($_SERVER['REQUEST_METHOD'] === 'POST') {
    if (isset($_FILES['video'])) {
        $videoFile = $_FILES['video'];

        // Check for upload errors before sending to Cloudinary
        if ($videoFile['error'] === UPLOAD_ERR_OK) {
            try {
                // Upload directly from PHP's temporary storage to Cloudinary
                $uploadResult = (new UploadApi())->upload($videoFile['tmp_name'], [
                    'resource_type' => 'video',
                ]);

                if (!empty($uploadResult['public_id'])) {
                    $publicId = $uploadResult['public_id'];

                    // Show success message and redirect
                    echo "<!DOCTYPE html>
    <html lang='en'>
    <head>
        <meta charset='UTF-8'>
        <title>Upload Successful</title>
        <script src='https://cdn.tailwindcss.com'></script>
    </head>
    <body class='flex items-center justify-center min-h-screen bg-gray-100'>
        <div class='bg-white p-8 rounded-lg shadow-lg text-center'>
            <h1 class='text-2xl font-bold text-green-600 mb-4'>Upload Successful!</h1>
            <p class='text-gray-700 mb-6'>Redirecting to your video stream...</p>
            <a href='stream.php?public_id=" . urlencode($publicId) . "' class='bg-blue-600 text-white py-2 px-4 rounded-md hover:bg-blue-700'>View Now</a>
        </div>
        <script>
            setTimeout(function() {
                window.location.href = 'stream.php?public_id=" . urlencode($publicId) . "';
            }, 3000); // wait 3 seconds
        </script>
    </body>
    </html>";
                    exit;
                } else {
                    $message = 'Cloudinary upload failed. Please try again.';
                }
            } catch (Exception $e) {
                $message = 'Upload error: ' . $e->getMessage();
            }
        } else {
            $message = 'File upload error. Code: ' . $videoFile['error'];
        }
    } else {
        $message = 'No file was uploaded.';
    }
}

// Check for error messages from URL parameters (from redirects)
if (isset($_GET['error'])) {
    $message = $_GET['error'];
}
?>
Let’s go over what the code is doing.
- We started by importing the necessary Composer autoloader to manage dependencies and then load the Cloudinary API keys and other credentials from the
.envfile. - Next, we check if the request is a POST request and if a file named
videowas uploaded. If so, the file is retrieved from the$_FILESsuperglobal array and uploaded to Cloudinary using theUploadApi. - After a successful upload, we create an HTML page that confirms the upload and automatically redirects the user to a
stream.phppage to view the video using its Cloudinary public_id. If the upload fails for any reason, we set an error message to be displayed.
Next, let’s create stream.php.
Create Video Streaming Page
Create a file named stream.php and add the following code in it:
<?php
require 'vendor/autoload.php';

use CloudinaryCloudinary;
use CloudinaryConfigurationConfiguration;
use DotenvDotenv;

// Load environment variables
$dotenv = Dotenv::createImmutable(__DIR__);
$dotenv->load();

$publicId = $_GET['public_id'] ?? null;
?>

<!DOCTYPE html>
<html lang="en">
<head>
  <meta charset="UTF-8">
  <meta name="viewport" content="width=device-width, initial-scale=1.0">
  <title>Cloudinary Video Player</title>
  <script src="https://cdn.tailwindcss.com"></script>
  <link
    rel="stylesheet"
    href="https://cdn.jsdelivr.net/npm/cloudinary-video-player@3.0.2/dist/cld-video-player.min.css"
    crossorigin="anonymous"
    referrerpolicy="no-referrer"
  />
  <style>
    body {
      font-family: 'Inter', sans-serif;
      background-color: #f3f4f6;
    }
  </style>
</head>
<body class="flex items-center justify-center min-h-screen">
  <div class="bg-white p-8 rounded-lg shadow-lg max-w-4xl w-full text-center">
    <h1 class="text-3xl font-bold mb-6 text-gray-800">Your Video Stream</h1>

    <?php if ($publicId): ?>
      <div class="mb-6">
        <video
          id="my-video-player"
          controls
          autoplay
          class="cld-video-player w-full h-auto rounded-lg shadow-md"
        ></video>
      </div>
      <p class="text-gray-600 mb-4">Playing video: <span class="font-mono text-blue-600"><?= htmlspecialchars($publicId) ?></span></p>
      <a href="index.php" class="inline-block bg-blue-600 text-white py-2 px-6 rounded-md hover:bg-blue-700 transition duration-300 ease-in-out">Upload Another Video</a>
    <?php else: ?>
      <p class="text-red-500 mb-4">No video public ID provided.</p>
      <a href="index.php" class="inline-block bg-blue-600 text-white py-2 px-6 rounded-md hover:bg-blue-700 transition duration-300 ease-in-out">Go to Upload Page</a>
    <?php endif; ?>
  </div>

  <!-- Cloudinary Video Player JS -->
  <script
    src="https://cdn.jsdelivr.net/npm/cloudinary-video-player@3.0.2/dist/cld-video-player.min.js"
    crossorigin="anonymous"
    referrerpolicy="no-referrer"
  ></script>

  <?php if ($publicId): ?>
  <script>
    const cloudName = "<?= $_ENV['CLOUDINARY_CLOUD_NAME'] ?>"; // Loaded from .env file
    const publicId = "<?= htmlspecialchars($publicId) ?>";

    // Initialize Cloudinary
    const cld = cloudinary.Cloudinary.new({ cloud_name: cloudName });

    // Setup Cloudinary Video Player
    const player = cld.videoPlayer("my-video-player", {
      controls: true,
      fluid: true,
      adaptiveStreaming: true
    });

    // Set video source (HLS for adaptive streaming)
    player.source(publicId, { sourceTypes: ['hls'] });
  </script>
  <?php endif; ?>
</body>
</html>
There are a few important things going on in the above code.
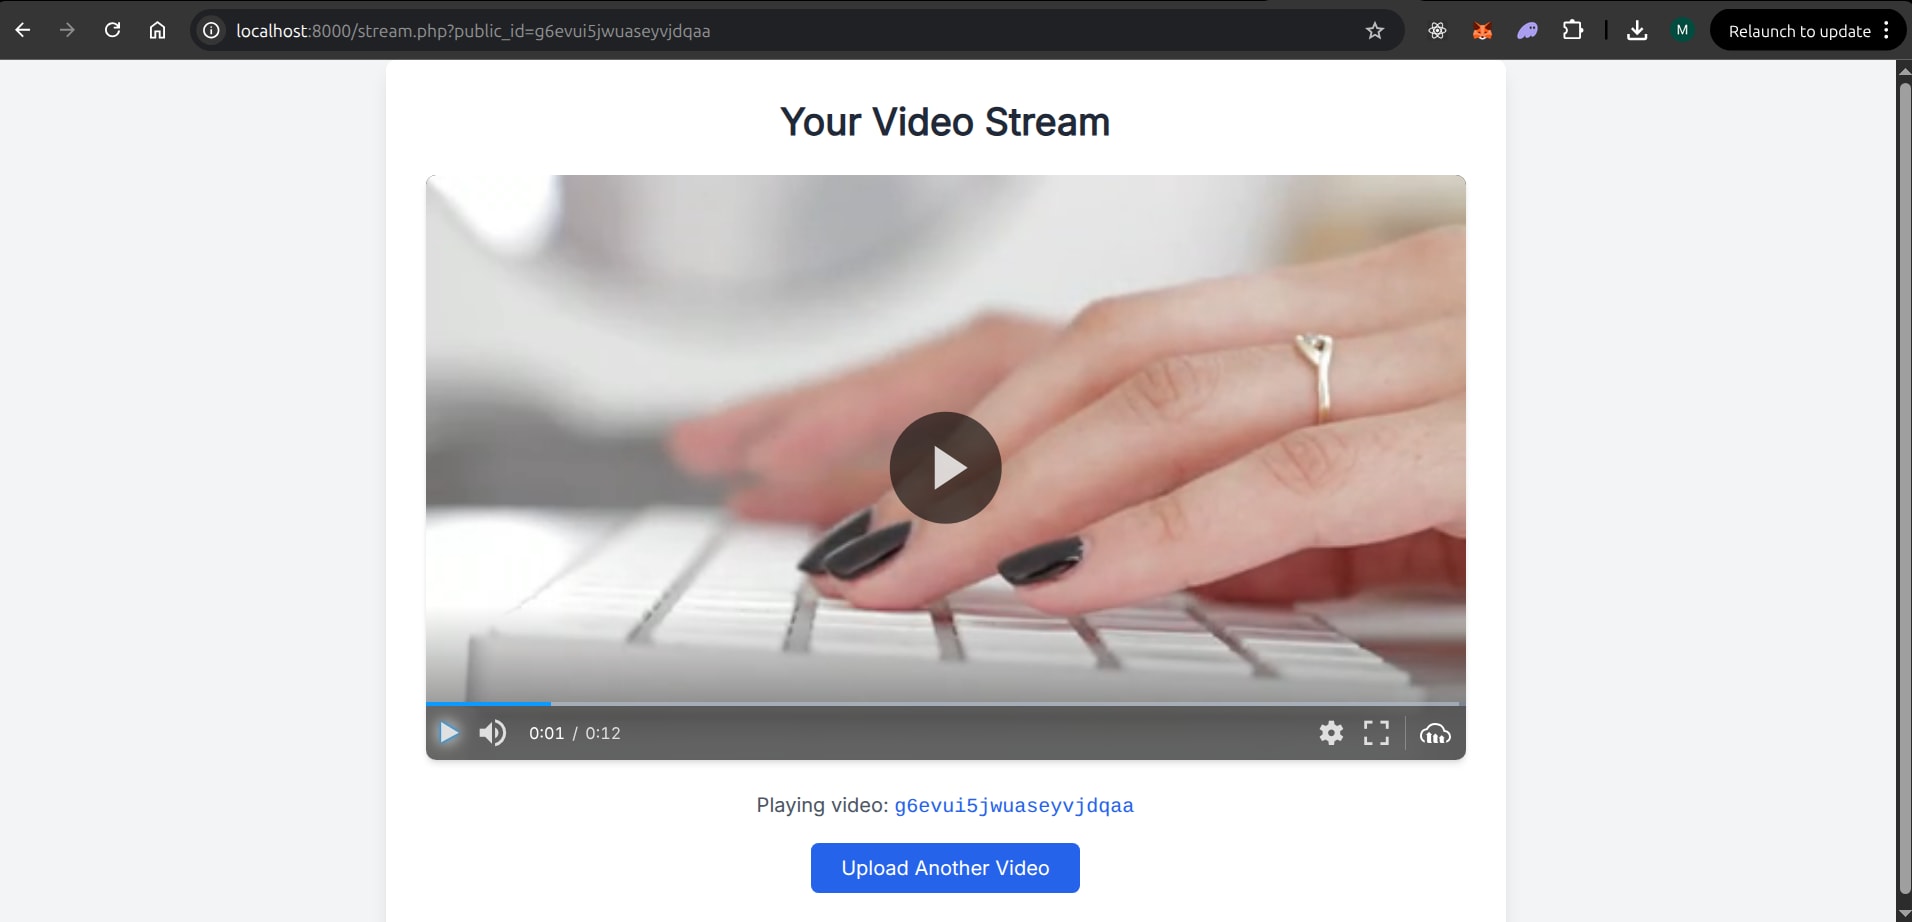
First, since the native HTML5 video element doesn’t support video streaming, we need a way to allow users to stream the uploaded video. Luckily, Cloudinary provides a video player with advanced functionalities such as streaming support, responsive design mode, automatic subtitle generation, and more.
You can add the Cloudinary video player to your application in several ways. In the above example, however, we’re loading it from a CDN using the following code snippet:
<script
   src="https://cdn.jsdelivr.net/npm/cloudinary-video-player@3.0.2/dist/cld-video-player.min.js"
   crossorigin="anonymous"
   referrerpolicy="no-referrer"
 ></script>
Next, we created a Cloudinary video player instance using:
const player = cld.videoPlayer("my-video-player", {
     controls: true,
     fluid: true,
     adaptiveStreaming: true
   });

 // Set video source (HLS for adaptive streaming)
 player.source(publicId, { sourceTypes: ['hls'] });
This configuration enables the video to play using adaptive HLS, makes the video player responsive, enables the video controls, and sets the source using the video’s public_id.
Optimizing for Performance and Scalability
When developing video streaming applications, ensuring your app can handle a large number of users and deliver a smooth playback experience is a critical factor to consider to optimize for performance and scalability. Below we share some strategies you can adopt to ensure your application scales effectively.
Use Adaptive Bitrate Streaming (ABS)
ABS is a video delivery technique that adjusts video quality in real-time based on the user’s network conditions. This ensures that users with fast internet connections receive high-quality video, while those with slower connections can still watch the video without excessive buffering.
In our video player configuration, setting adaptiveStreaming: true and {sourceTypes: ['hls'] allows Cloudinary’s to serve a manifest file (like an M3U8 file for HLS) to the video player. This manifest lists the available video renditions, and the player intelligently selects the appropriate one based on the viewer’s network conditions.
Deliver Videos via a Content Delivery Network (CDN)
A CDN is a geographically distributed network of servers that caches static and streaming content closer to users. This reduces latency, improves loading times, and enhances the overall viewing experience, especially for users located far from your origin server.
Cloudinary has its own CDN infrastructure that automatically handles the delivery of your videos. When we load a video uploaded to Cloudinary using its public_id, the request is routed to the nearest CDN server that has a cached copy of the video segment. If the segment is not cached, it is fetched from Cloudinary’s origin servers and then cached on the edge server for subsequent requests. By using Cloudinary for our video streaming app, we automatically benefit from its CDN capabilities.
Wrapping Up
Setting up a scalable PHP video streaming application can be straightforward using the right tools. By leveraging Cloudinary’s powerful APIs to handle the heavy lifting of video upload, storage, transformation, and its adaptive streaming capabilities, you can ensure optimal performance and scalability in your application.
In this guide, we covered setting up a development environment using VS Code, uploading and streaming videos with Cloudinary, and tips to build an optimal streaming application. For further customization, you can explore Cloudinary’s documentation for integrating advanced features like video analytics, watermarking, or video transformations in your streaming application.
Frequently Asked Questions
How can I handle very large video files during file upload?
Cloudinary’s Upload API supports various methods for handling large files, including chunked uploads. With the PHP SDK, you can upload files in smaller parts, which can be more reliable than a single large upload.
Is PHP a suitable programming language for a video streaming app?
PHP can be part of a video streaming app, but it should not handle the actual streaming by itself. PHP is best suited for backend tasks such as authentication, video uploads, API endpoints, and dashboard management. For video encoding and continuous streaming, you can integrate it with services like Cloudinary.

