Node.js quick start
Last updated: Apr-23-2025
This quick start lets you get an end-to-end implementation up and running using the Node.js SDK in 5 minutes or less.
Prerequisites
1. Set up and configure the SDK
Install the SDK
In a terminal in your Node.js environment, run:
Set your API environment variable
In a terminal, set your CLOUDINARY_URL environment variable.
Copy the API environment variable format from the API Keys page of the Cloudinary Console Settings. Replace <your_api_key> and <your_api_secret> with your actual values. Your cloud name is already correctly included in the format.
-
On Mac or Linux:
-
On Windows:
- When writing your own applications, follow your organization's policy on storing secrets and don't expose your API secret.
- If you use a method that involves writing your environment variable to a file (e.g.
dotenv), the file should be excluded from your version control system, so as not to expose it publicly.
Configure Cloudinary
Create a new file called index.js and copy and paste the following into this file:
2. Upload an image
Copy and paste this into index.js:
3. Get and use details of the image
Copy and paste this into index.js:
4. Transform the image
Copy and paste this into index.js:
5. Run your code
Copy and paste this into index.js to call the functions you just created:
Save your changes then run the script from the terminal:
You can see the image that has been uploaded to your Cloudinary storage by copying the secure_url that is returned in the upload response and pasting it in a browser.

You can use the returned image tag to display the image on your website. For now, copy and paste the URL to see the transformed image in the browser:

View the completed code
You can see the whole Node.js script in GitHub, and also in the code explorer below.
Code explorer: Full Node.js example
Here's the full Node.js script:
This code is also available in GitHub.
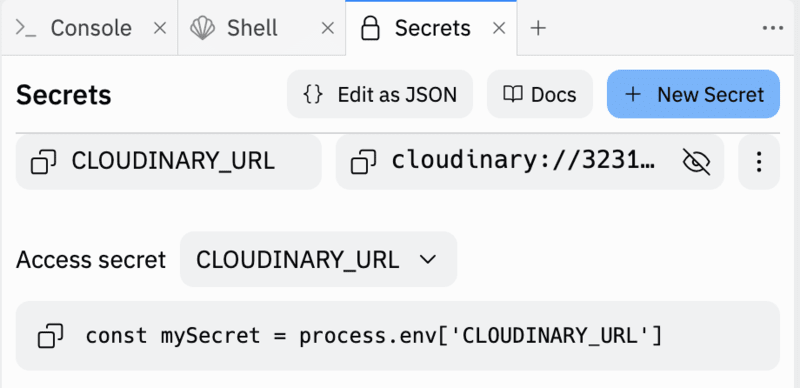
You can run it by opening it on Replit, forking it into your own account, and setting your API environment variable in Secrets.
Next steps
- Learn more about the Node.js SDK by visiting the other pages in this SDK guide.
- Get comprehensive details about Cloudinary features and capabilities:
- Upload guide: Provides details and examples of the upload options.
- Image transformations guide: Provides details and examples of the transformations you can apply to image assets.
- Video transformations guide: Provides details and examples of the transformations you can apply to video assets.
- Transformation URL API Reference: Provides details and examples of all available transformation parameters.
- Admin API guide: Provides details and examples of the methods available for managing and organizing your media assets.
 Ask AI
