 Ask AI
Object-aware cropping
Last updated: Jun-19-2026
When object-aware cropping is invoked, Cloudinary applies advanced AI-based object detection algorithms on the fly during the crop process. You can either use it in conjunction with auto-gravity to give higher priority to the objects you care about, or directly specify that the crop should be exactly based on the detected coordinates of the specified objects.
Watch this demo to see how the same image is cropped according to the parameters specified in the URL:
- Applying object-aware cropping
- Notes on specifying categories and objects
- Combining focal gravity options using auto-gravity
- Combining focal gravity options using object-specific gravity
- Specifying objects to avoid using auto-gravity
- Choosing the cropping mode
- Using objects with the zoompan effect
- Signed URLs
Applying object-aware cropping
After registering for the Cloudinary AI Content Analysis add-on, you can apply it in one of two ways:
Automatic gravity with a high weighting towards a specified object
This variant of auto-gravity cropping enables you to indicate specific objects or object categories that should be given priority when parts of a photo are cropped out. This is done by specifying an object or an object category as thefocal_gravityattribute for theautogravity parameter (for example,g_auto:catin URLs) together with a cropping option. If the specified content is not found in the image, the gravity is determined by the standard auto-gravity algorithm.Object-specific gravity
By specifying an object or object category as the gravity parameter (for example,g_catin URLs) together with a cropping option, you can accurately crop around objects without needing to specify dimensions or aspect ratio. If the specified content is not found in the image, the gravity remains at the center of the image.
When specifying an object or category, you can optionally include a specific model (that supports bounding boxes) and version. For example, you can specify:
- Only the object/category, e.g.:
g_auto:catorg_cat - The model with the object/category, e.g.:
g_auto:coco_catorg_coco_cat - The model and version with object/category, e.g.:
g_auto:coco_v2_catorg_coco_v2_cat
If you choose not to specify a model, each model that supports bounding boxes is invoked in turn until the specified content is detected. The order in which they are invoked is: coco > cld-fashion > lvis > unidet > human-anatomy > cld-text.
Consider the original image of a kitchen below:

Using auto-gravity, you can deliver a square thumbnail crop that prioritizes the detected coordinates of the sink, microwave, or refrigerator. To do this, specify the relevant object option for the g_auto gravity definition in conjunction with the thumb or auto cropping option:
 g_auto:sink
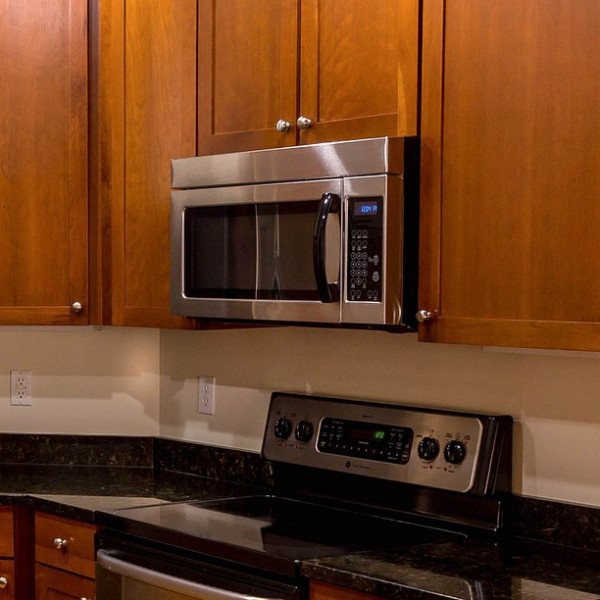 g_auto:microwave
 g_auto:refrigerator
Using object-specific gravity, you can choose not to give dimensions or aspect ratio, and deliver an image that is tightly cropped to the object. To do this, specify the relevant object option for the gravity definition in conjunction with the crop cropping option:
 g_sink
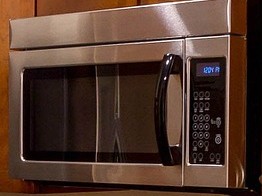 g_microwave
 g_refrigerator
You can also specify an aspect ratio together with the crop cropping option, without including specific dimensions. This keeps the object but may show more of the image to fit the aspect ratio.
 g_sink
 g_microwave
 g_refrigerator
In addition to the crop, thumb and auto cropping modes, object aware cropping can also be used with the fill and lfill (limit fill) cropping modes. The fill_pad and auto_pad cropping modes work with the auto-gravity variant of object aware cropping, but not object-specific gravity.
Notes on specifying categories and objects
When applying object-aware cropping, you can specify either individual objects or more general object categories.
- When you specify a category, the algorithm gives priority to any objects that are detected from that category.
- The regular auto-gravity behavior also impacts the cropping decision. But if requested objects are detected, they get significantly higher priority than the subjects or salient areas that the regular auto-gravity algorithm selects.
- If you specify the generic
objectcategory with auto-gravity (g_auto:object), then any detected objects from any category get priority. - If there are multiple objects of the same type in the image, object-specific gravity selects the most prominent of the objects, and bases its crop around only that object, whereas auto-gravity may choose to keep more than one of the objects in the crop.
- The categories and objects also work in their plural forms when using object-specific gravity. So, for example,
c_crop,g_birdskeeps all birds in the crop, whereasc_crop,g_birdkeeps only the most prominent bird.
Combining focal gravity options using auto-gravity
When using auto gravity to determine the area to keep in a crop, you can specify multiple focal_gravity options.
This means that in a single auto-gravity parameter, you can optionally specify:
- One or multiple objects (from the same or different categories and/or models)
- Built-in focal gravity options such as
face/facesorcustom_no_override - Other add-on based focal gravity options, such as the
adv_face,adv_eyesoptions from the Advanced Facial Attributes Detection add-on - Only the
classicor only thesubjectauto-gravity algorithm, which in some cases may have some impact on the exact coordinates of the crop, even if other specified objects or focal gravity options are detected. Note that the default algorithm, which combines both of these algorithms, is recommended in the majority of cases.
For example, your auto-gravity URL parameter might be: g_auto:cat:sofa:faces:adv_eyes
This would instruct the cropping mechanism to give top priority to any cats, sofas, faces, or eyes detected in the photo.
For a complete list of all focal_gravity options, see the g_<special_position> section of the Transformation URL API Reference.
- The focal gravity options can be specified in any order. The order does not impact the result.
- When multiple items are detected that match the requested focal options, larger, more central, and more in-focus (less blurry) objects will get higher priority.
In special cases, it's possible to fine-tune this default prioritization further. For details, contact support. - If a particular image has custom coordinates defined, those coordinates always override all other focal gravity options, unless you use the
custom_no_overrideoption in conjunction with the other options, in which case the custom coordinates are taken into account when determining the gravity (see Custom coordinates with auto gravity).
Combining focal gravity options using object-specific gravity
When using object-specific gravity to determine the area to keep in a crop, you can specify multiple focal_gravity options, but unlike auto-gravity, the order in which they are specified has an impact on the delivered image.
For example, consider this photo of a cat and dog:

By setting the gravity parameter to cat:dog the cat gets precedence:
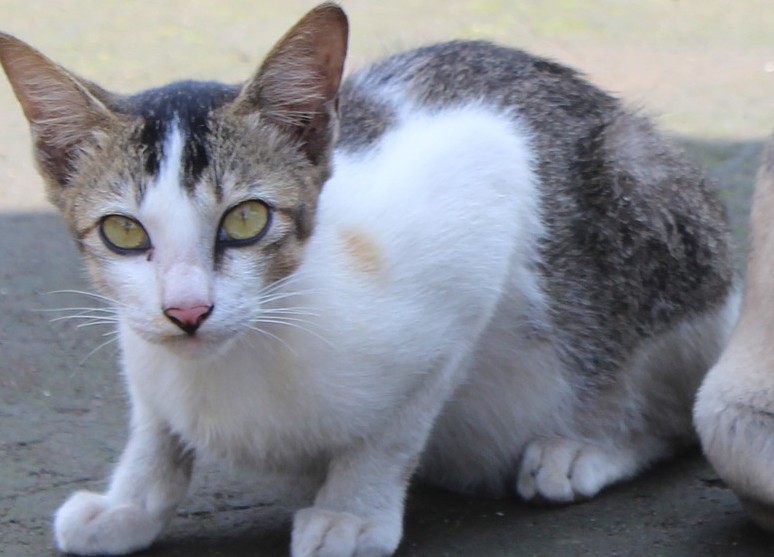
Whereas, if you switch the order to dog:cat the dog gets precedence:

You can also combine the auto option to invoke the auto-gravity algorithm if none of the specified objects are found. For example:
-
g_dog:cat:auto- auto-gravity is invoked only if no dogs and cats are detected. -
g_dog:auto:cat- auto-gravity weighted by cat (g_auto:cat) is invoked if no dogs are detected.
auto option then you also need to specify at least one dimension parameter (width or height).For example, consider this photo of a cat and three birds:

As there is no dog in the photo, auto-gravity weighted by bird is invoked when using dog:auto:bird. In this case, two birds are kept in the crop:

Notice that if auto-gravity is not specified, the object-specific algorithm chooses the most prominent bird out of the three and only keeps this bird in the crop:

Specifying objects to avoid using auto-gravity
In addition to specifying objects to keep in an image, you can specify objects that you would rather not see. To minimize the likelihood of including a particular object in the cropped image, use auto-gravity with the avoid option for the relevant object or category.
For example, in photos like the one below, you may prefer not to include people because the purpose of the photo is to show an interesting storefront, and the people are a distraction.

Using g_auto by itself makes the people the focal point, but if we use g_auto:person_avoid, the other side of the photo is shown, without the people.
 g_auto
 g_auto:person_avoid
Choosing the cropping mode
When you specify an object, either specifically or in your auto-gravity parameter, the Object-Aware Cropping AI algorithm detects the coordinates of the object and those coordinates are used by the cropping mode.
When using thumb cropping (
c_thumb), the image is cropped as closely as possible to the detected coordinates of the object given the requested aspect ratio, and then scaled to the requested pixel size. Note that if the requested pixel size is greater than the crop, the image is not scaled up, but filled with further pixels from the image.When using crop mode (
c_crop), the detected coordinates are prioritized as the area to keep when determining how much to cut from each edge of the photo in order to achieve the requested pixel size. If using auto-gravity and the requested pixel size is larger than the coordinates of the detected object, other elements of the image that receive priority fromg_automay impact what else is included in the photo and where in your resulting image the detected object may be located, meaning that the detected object will not necessarily be the center of the photo.When using any of the fill-based modes (
c_fill,c_lfill,c_fill_pad), the coordinates of the detected object should be retained if any cropping is required after scaling. If using auto-gravity, other elements of the image that receive priority fromg_automay impact what else is included in the photo and where in your resulting image the detected object may be located, meaning that the detected object will not necessarily be the center of the photo.When using the auto cropping mode (
c_auto), the crop is focused on the object, but also takes into account more of the whole picture, so gives a more 'zoomed out' result than thumb, and crop but more 'zoomed in' than fill. If the requested dimensions are smaller than the best crop, the result is downscaled. If the requested dimensions are larger than the original image, the result is upscaled.
The following examples show how different your cropping results may be for the same requested object in the gravity, but with different cropping modes. In this case, we take the original photo below and apply g_auto:camera and g_camera with fill, crop, thumb and auto cropping modes. In all cases, the same width and aspect ratio are requested (ar_1,w_200).
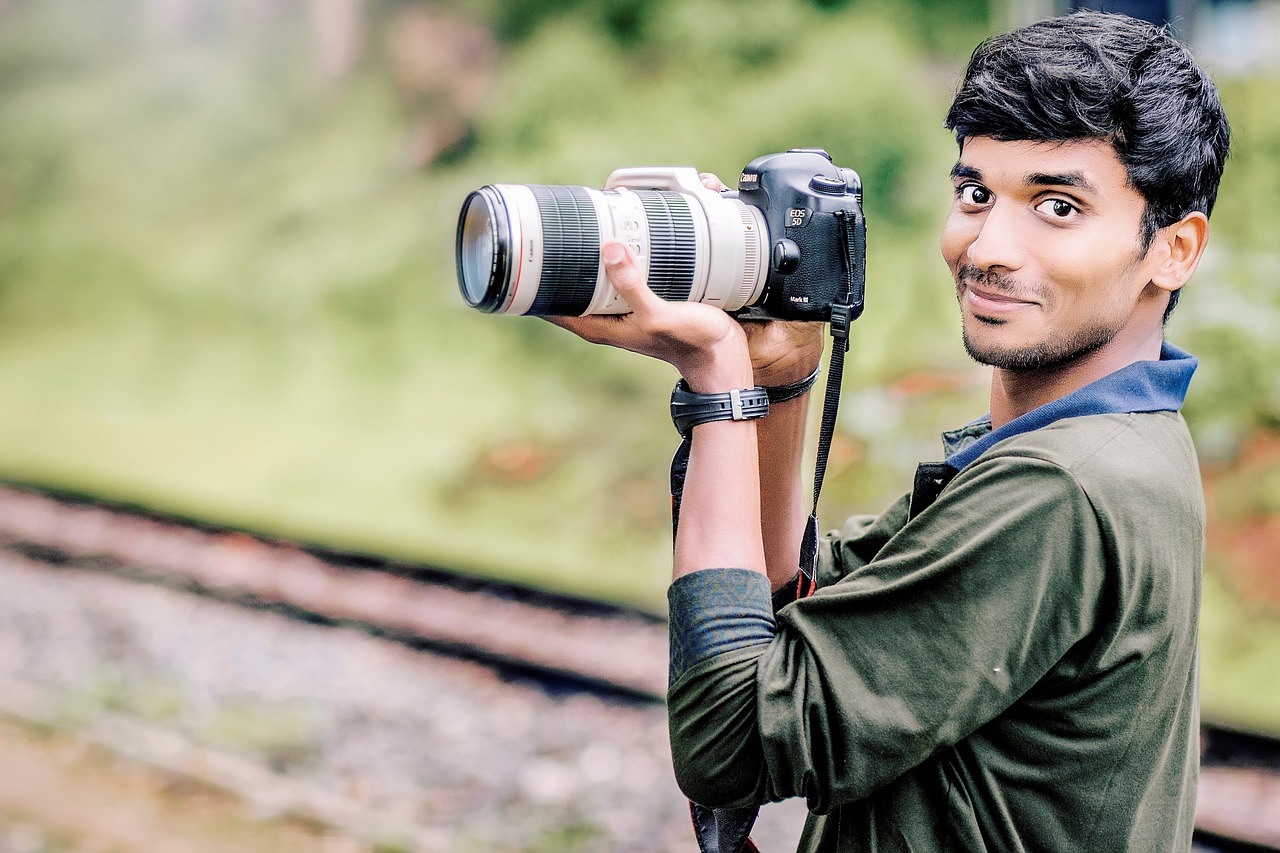 Original
g_auto:camera
 c_fill
 c_crop
 c_thumb
 c_auto
g_camera
 c_fill
 c_crop
 c_thumb
 c_auto
Using object-aware cropping for responsive delivery
You can take advantage of object-aware cropping with various cropping modes to assist in responsive art direction. This means that when you deliver different sized images to different devices, you don't just scale the same image, but rather crop images differently for different sizes, so that the important objects are always highly visible.
For example, you may:
- deliver a full-size image to large HD screens
- use
g_auto:[your_important_object], org_[your_important_object]withfillcropping for medium sized screens - use
g_auto:[your_important_object], org_[your_important_object]withthumborautocropping for very small screens.
For more details on delivering responsive images, see the Responsive images guide.
Using objects with the zoompan effect
In addition to cropping, the Cloudinary AI Content Analysis add-on allows you to use objects for start and end points of a zoompan transformation.
The zoompan effect lets you create a video or animated GIF from an image by zooming and panning from one area of the image to another. Use the from and/or to options with objects as gravity and specify a video or animated image format.
The example below is a seven second MP4 video (.mp4) of a model wearing fashionable items, starting zoomed into the hat (from_(g_hat;zoom_4.5)), then zooming out and panning to the pants (to_(g_pants;zoom_1.6)).
Signed URLs
Cloudinary's dynamic image transformation URLs are powerful tools. However, due to the potential costs of your customers experimenting with dynamic URLs that apply the object-aware cropping algorithm, image transformation add-on URLs are required (by default) to be signed using Cloudinary's authenticated API. Alternatively, you can eagerly generate the requested derived images using Cloudinary's authenticated API.
To create a signed delivery URL using SDKs, set the sign_url parameter to true when building a URL or creating an image tag.
The following code example applies object-aware cropping to the skater image, including a signed Cloudinary URL:
The generated Cloudinary URL shown below includes a signature component (/s--acvfjq2y--/). Only URLs with a valid signature that matches the requested image transformation will be approved for on-the-fly image transformation and delivery.
For more details on signed URLs, see Signed delivery URLs.
Error
Rate this page:
