 Ask AI
Image to Video (Beta)
Last updated: Oct-07-2026
The Image to Video Add-on uses AI to generate videos from your images. You provide one or more source images, optionally with a text prompt describing the motion or scene you want. Cloudinary generates a video and saves it to the 'image-to-video' folder in your Media Library. You drive video generation from the Image to Video app in the Cloudinary Console.

Getting access
The Image to Video feature is enabled via an add-on subscription. You can subscribe on a self-service basis from the Add-on Marketplace. If you need help, contact support.
Once your subscription is active, the add-on appears on the Installed Add-ons tab of the Add-ons page in the Console. Depending on your account or product environment setup, you may need to access add-ons from Settings > Add-ons instead.
Plans and quota
Each plan provides a monthly quota of credits, and every video you generate consumes credits from that quota. Enabling Audio consumes twice as many credits as the same generation without audio.
When you run out of credits for the current billing cycle, you can't generate more videos until more credits are available. The Image to Video app displays your remaining credits so you can monitor usage before generating more videos.
For details about prorated billing, mid-cycle upgrades, and downgrade behavior, see Add-on units and billing.
Free trial
You receive a one-time allocation of free trial credits so you can try the Image to Video Add-on before subscribing to an add-on plan. The size of the allocation depends on your Cloudinary plan:
| Cloudinary plan | Trial credits | Generates up to |
|---|---|---|
| Paid | 32 | 32 seconds of video, or 16 seconds with Audio enabled |
| Free | 16 | 16 seconds of video, or 8 seconds with Audio enabled |
Providing source images
You can provide source images using two modes, selectable via the tabs at the top of the left panel:
- Start & End Frames (default): Add a start frame and optionally an end frame. The generated video transitions from the start frame to the end frame based on your prompt.
- Reference Images: Add a main image and up to two additional reference images to help guide the style of the generated video. Reference Images and End Frame are mutually exclusive, so you'll need to remove an end frame before adding reference images, or vice versa.
To add images, click Add Start Frame, Add End Frame, or Add photo depending on the selected mode.
Writing a prompt
Under What do you want to create?, enter a text description of the scene or motion you want to generate. For example, "Turn around" or "add rain".
If you're not sure what to write, open Presets and choose one of the Suggested presets:
- Freestyle Animate
- Zoom In
- Zoom Out
- Pan Left
- Pan Right
- Rotate
- Fade In
- Fade Out
- Slow Motion
- Time Lapse
- Cinematic Movement
- Dramatic Reveal
Selecting a preset populates the prompt field with a description optimized for that type of motion. You can also save and reuse your own prompts under Your Presets via Manage presets.
You can also leave the prompt empty, as long as you've added a start frame (or a main image, in Reference Images mode). The app then creates a subtle, natural animation that keeps your image's subject, composition, and style intact. A prompt is still required when generating videos via the API.
Configuring advanced settings
Expand Advanced Settings to configure the following options:
| Setting | Options | Default | Description |
|---|---|---|---|
| Resolution |
720p, 1080p
|
720p |
The resolution of the generated video. |
| Aspect Ratio |
auto, 16:9, 9:16
|
auto |
The aspect ratio of the generated video. |
| Duration (secs) |
4, 6, 8
|
4 |
The length of the generated video in seconds. |
| Audio |
On/Off
|
Off |
Whether the generated video includes audio. |
| Runtime Optimization |
On/Off
|
On |
Rewrites your prompt with more detail before video generation, based on your image. |
Generating the video
After configuring your image, prompt, and settings, click Generate Video to start. The right panel displays a loading state while Cloudinary generates the video.
Once the video is ready, the app displays a full preview with playback controls. A notification confirms that the video has been saved to the 'image-to-video' folder in your Media Library.
For example, the following run uses a start frame, an end frame, and the Dramatic Reveal preset:
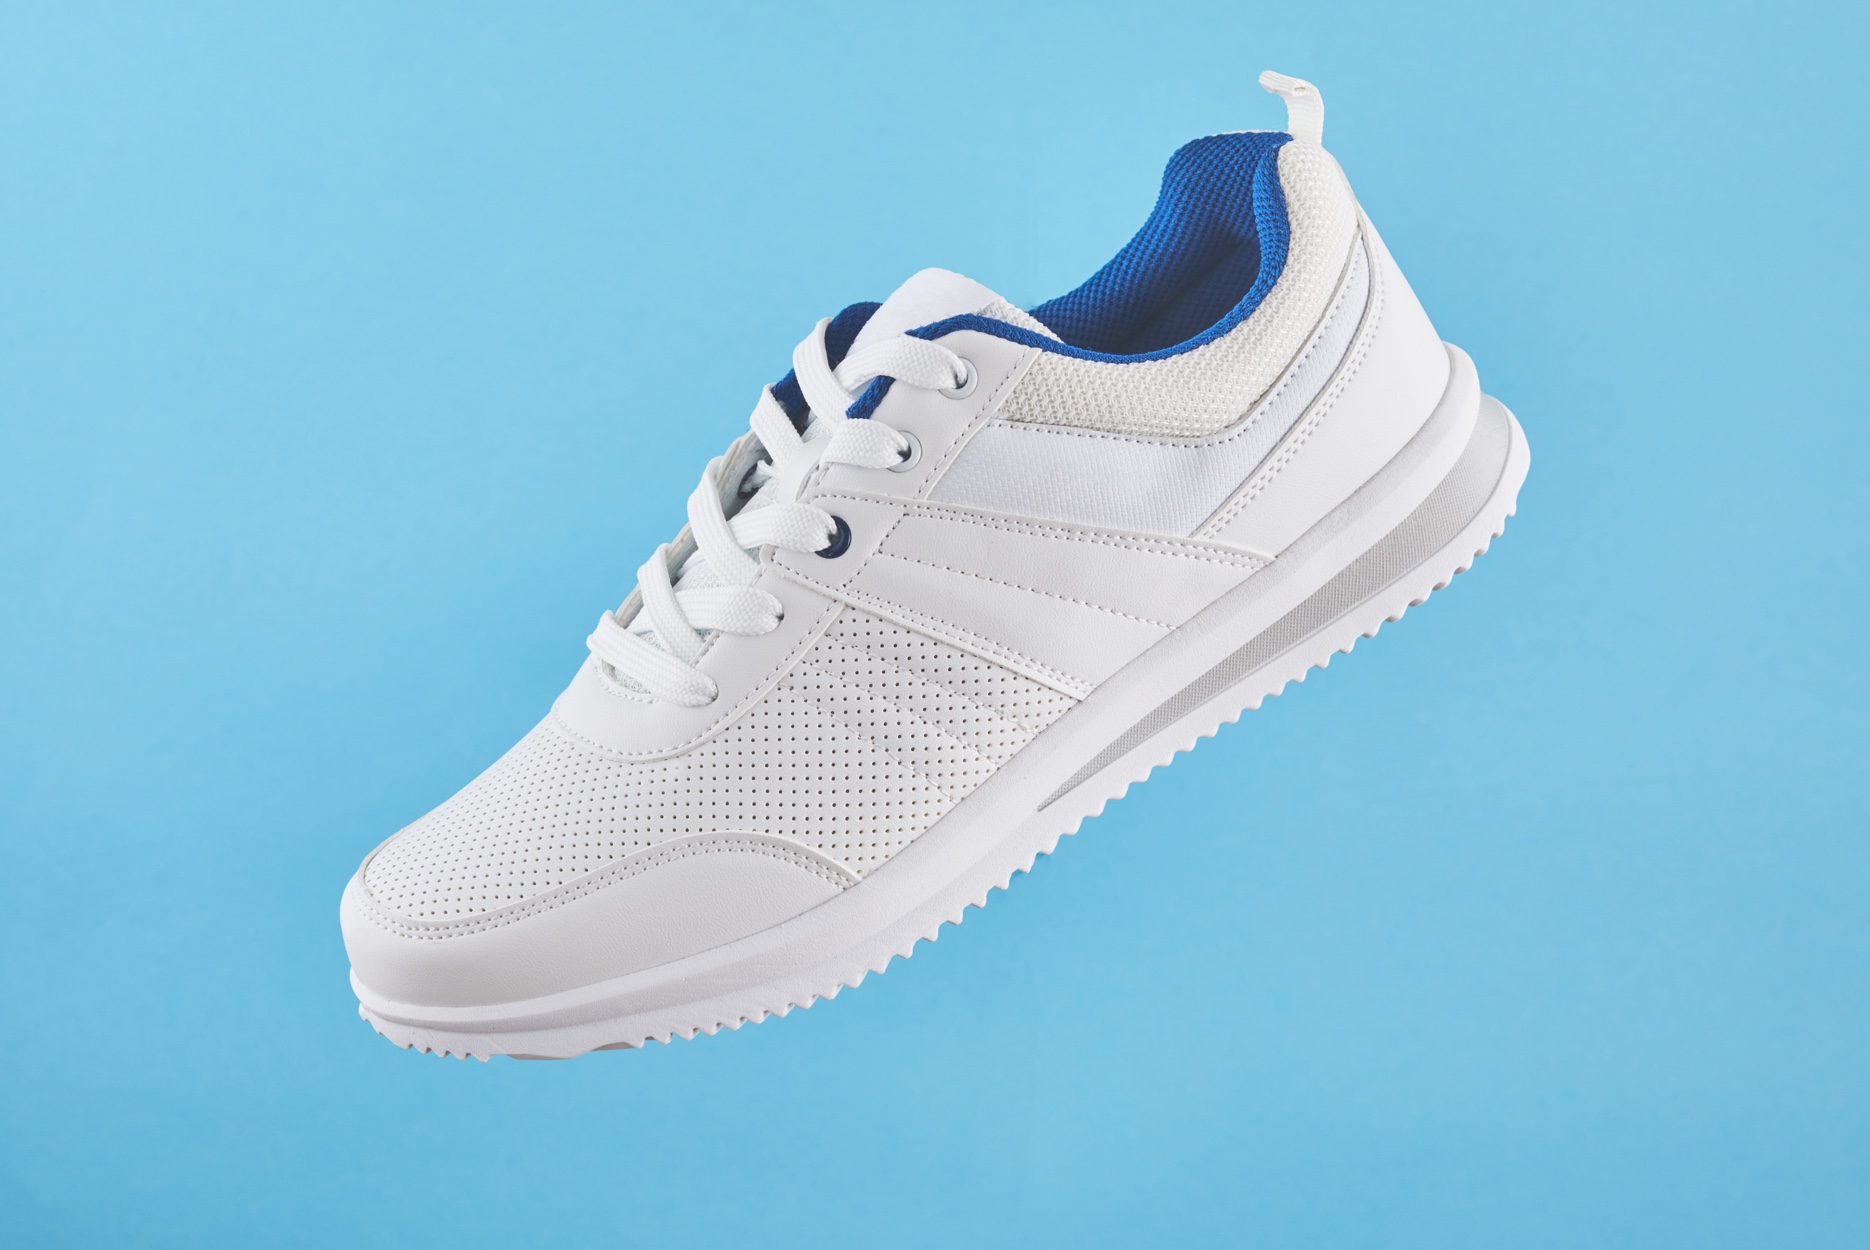 Start frame
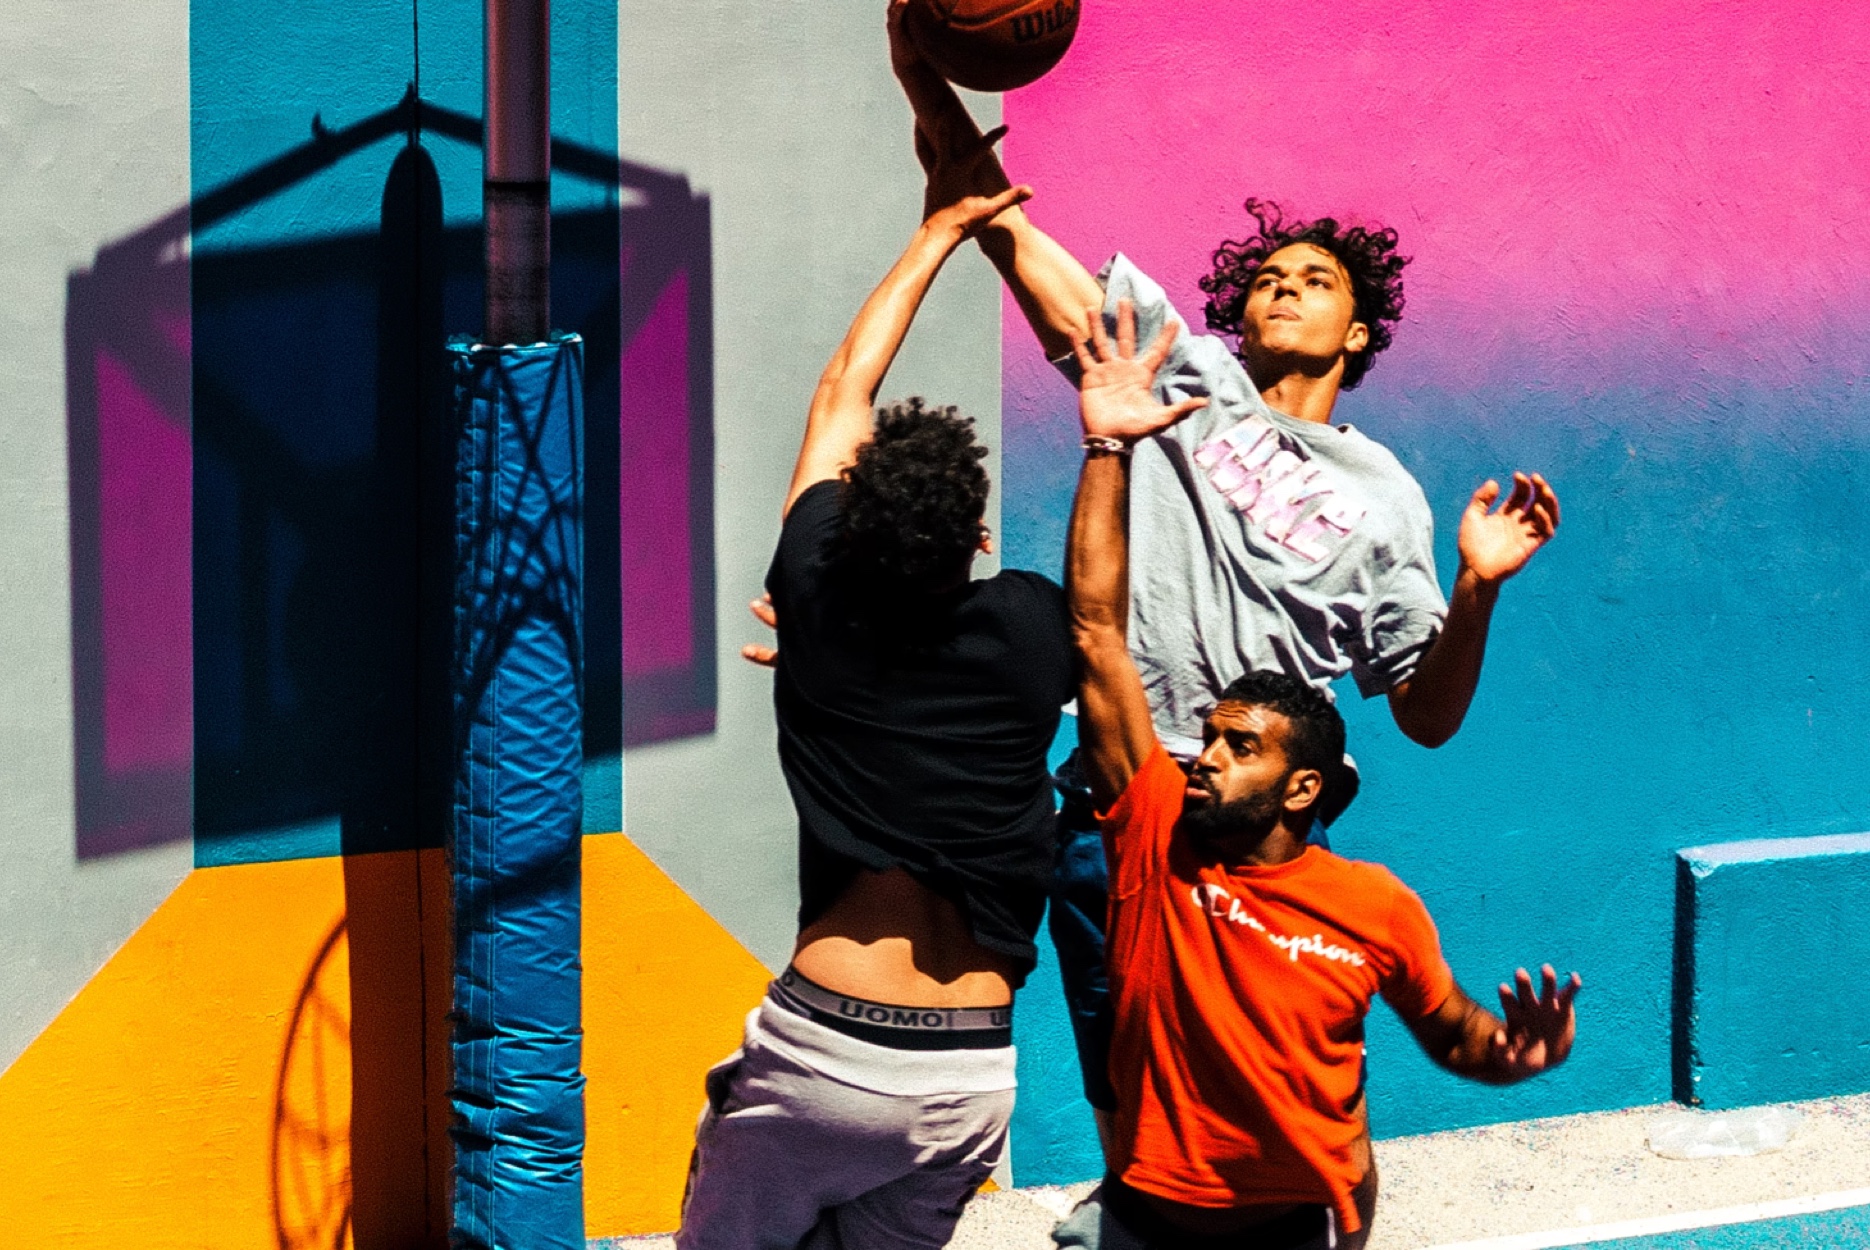 End frame
The preset fills in a prompt describing a slow, controlled zoom that builds tension. Clicking Generate Video produces a video that transitions from the start frame to the end frame:
Viewing and sharing creations
The top bar provides the following options:
- Generated Videos: Opens a picker of your previously generated videos. Select one to reopen it and continue editing, as described in Iterating on a generation.
- Share: Shares the generated video.
- Share Feedback: Provides feedback on the Image to Video app.
Iterating on a generation
Each video you generate saves the settings used to create it, so you can refine a result instead of starting over. Open a previous generation from Generated Videos in the top bar, and the app restores that video's source images, prompt, and advanced settings. Adjust any of them and click Generate Video to create a new version.
Generating videos via the API
In addition to the Image to Video app, you can generate videos programmatically using the Image to Video API. You submit an image and a prompt to create a generation job, poll the job until it completes, and receive the generated video's asset details and delivery URL. You can also save and reuse prompts.
The API uses Basic Authentication with your Cloudinary API Key and API Secret, and its base URL is https://api.cloudinary.com/v2/video/{cloudName}.
For the full list of endpoints, request and response payloads, and interactive examples, see the Image to Video API reference.
Error
Rate this page:
