 Ask AI
Generative fill
Last updated: Jul-22-2026
Seamlessly extend an image into padded areas using generative AI, adding visually realistic pixels to either or both dimensions.
This is especially useful for normalizing multiple assets to a desired aspect ratio. Rather than cropping to a target dimension, the entire original image is preserved while the generated areas blend in seamlessly, so each photo still looks natural at its new size.
Explore the complete syntax and all options for this effect, or try it out on your own images in the Console:
- See full syntax: b_gen_fill in the Transformation Reference
- Try it out: Generative fill
Generative fill overview
When resizing images using one of the padding crop modes (pad, lpad, mpad or fill_pad), rather than specifying a background color or using content-aware padding, you can seamlessly extend the existing image into the padded area.
Using generative AI, you can automatically add visually realistic pixels to either or both dimensions of the image. Optionally specify a prompt to guide the result of the generation.
To extend the width of an image, specify the aspect ratio such that the width needs padding. For example, change the following portrait image to be landscape by specifying an aspect ratio of 16:9 with a padding crop, then fill in the extended width using the gen_fill background option (b_gen_fill in URLs):
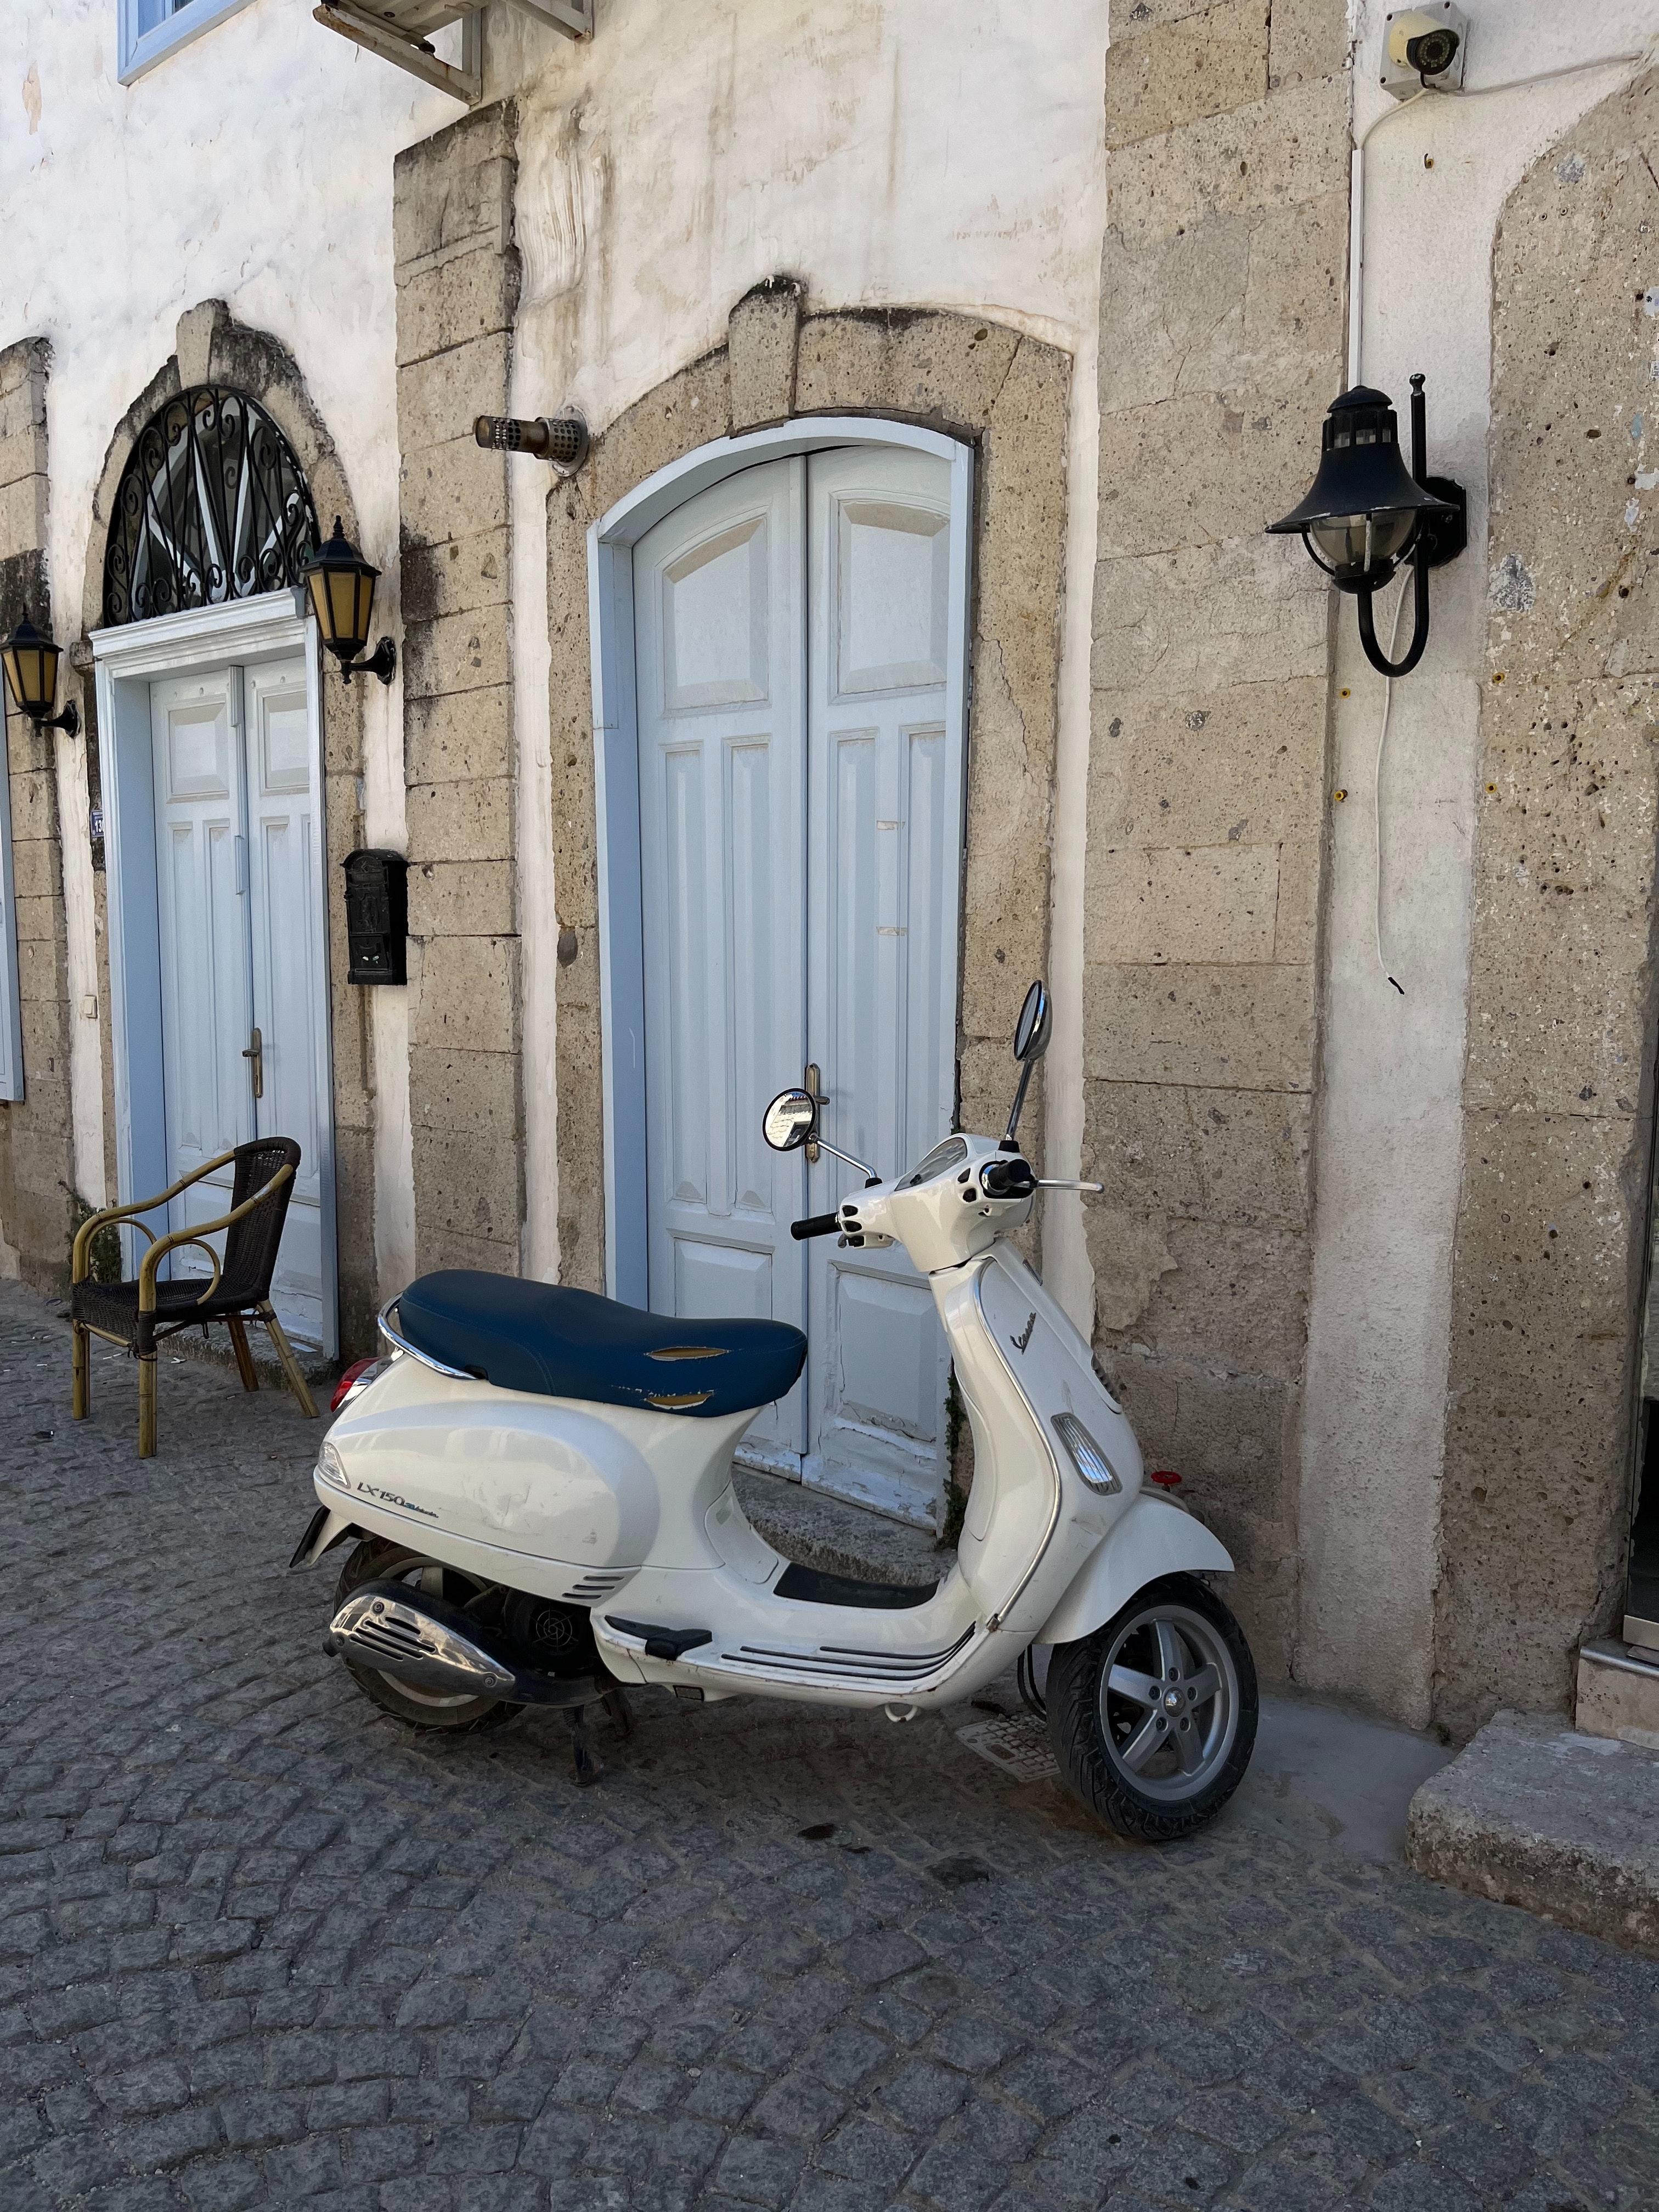 Original image
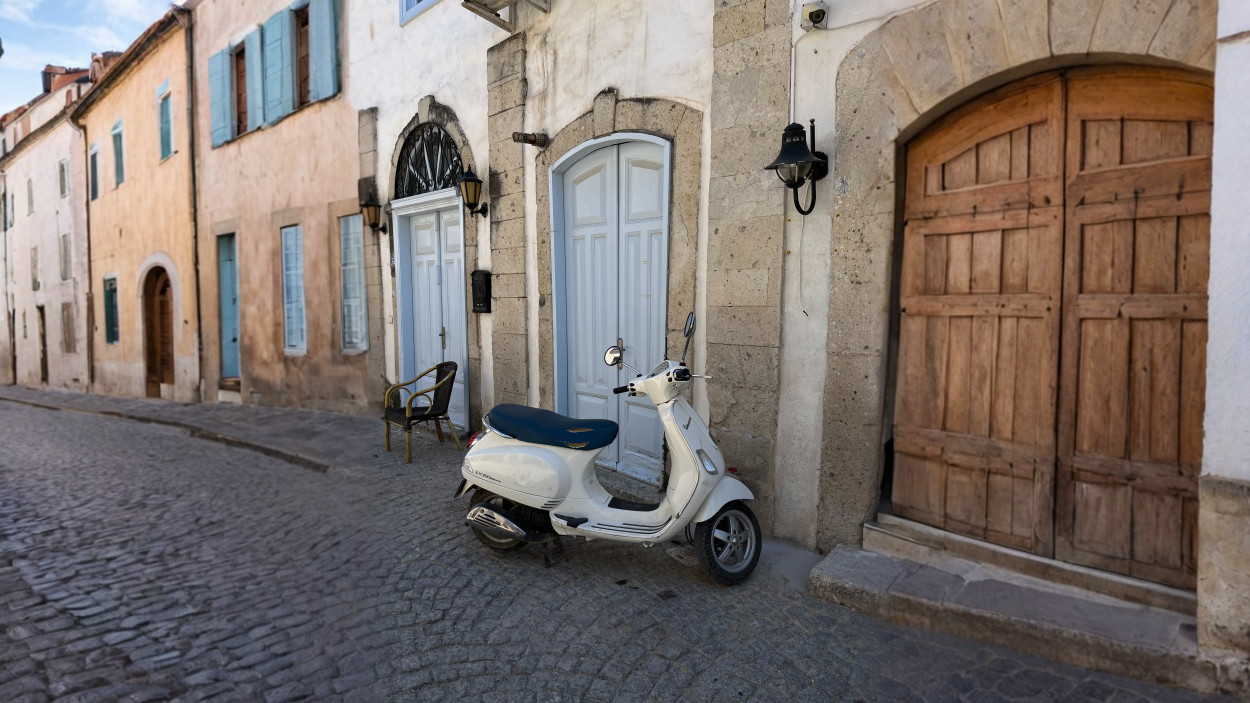 Seamlessly fill the extended width
Similarly, you can change a landscape image into portrait dimensions by specifying the aspect ratio such that the height needs padding:
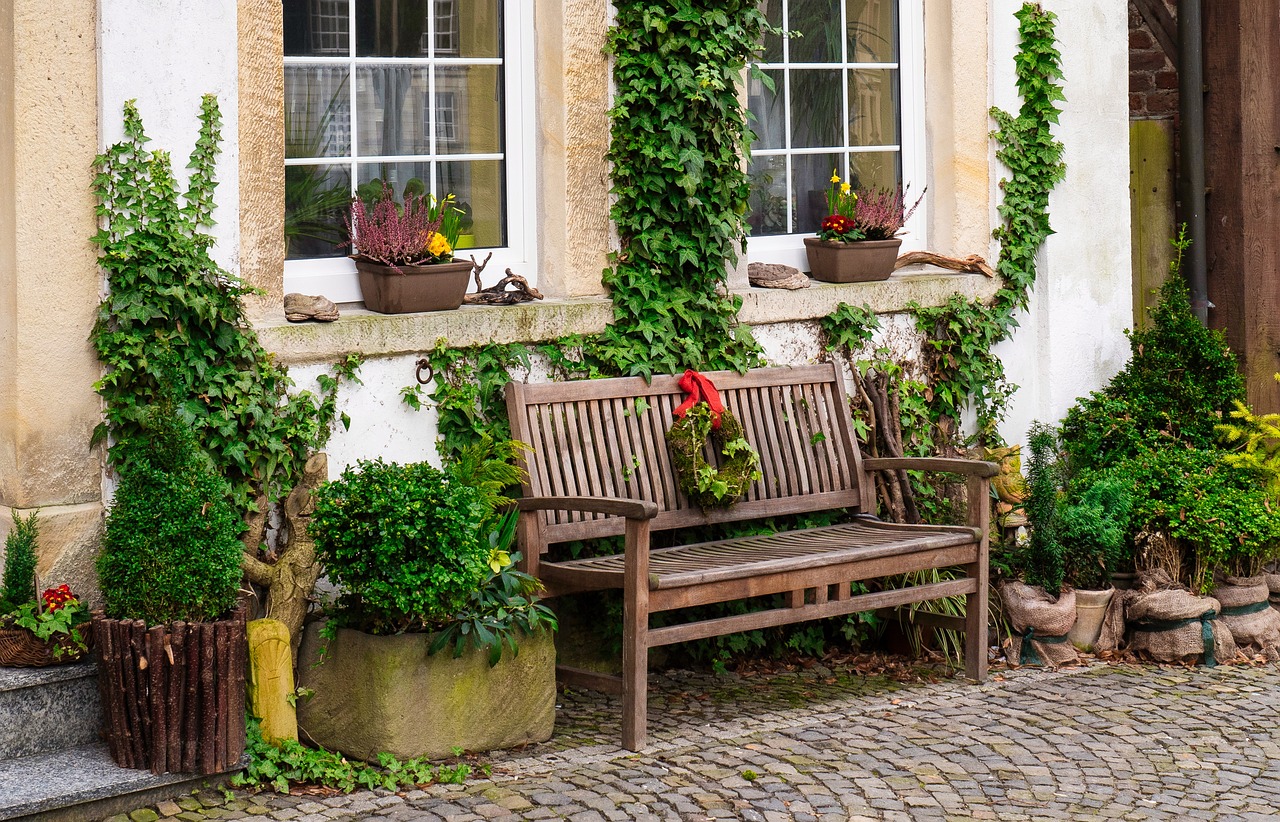 Original image
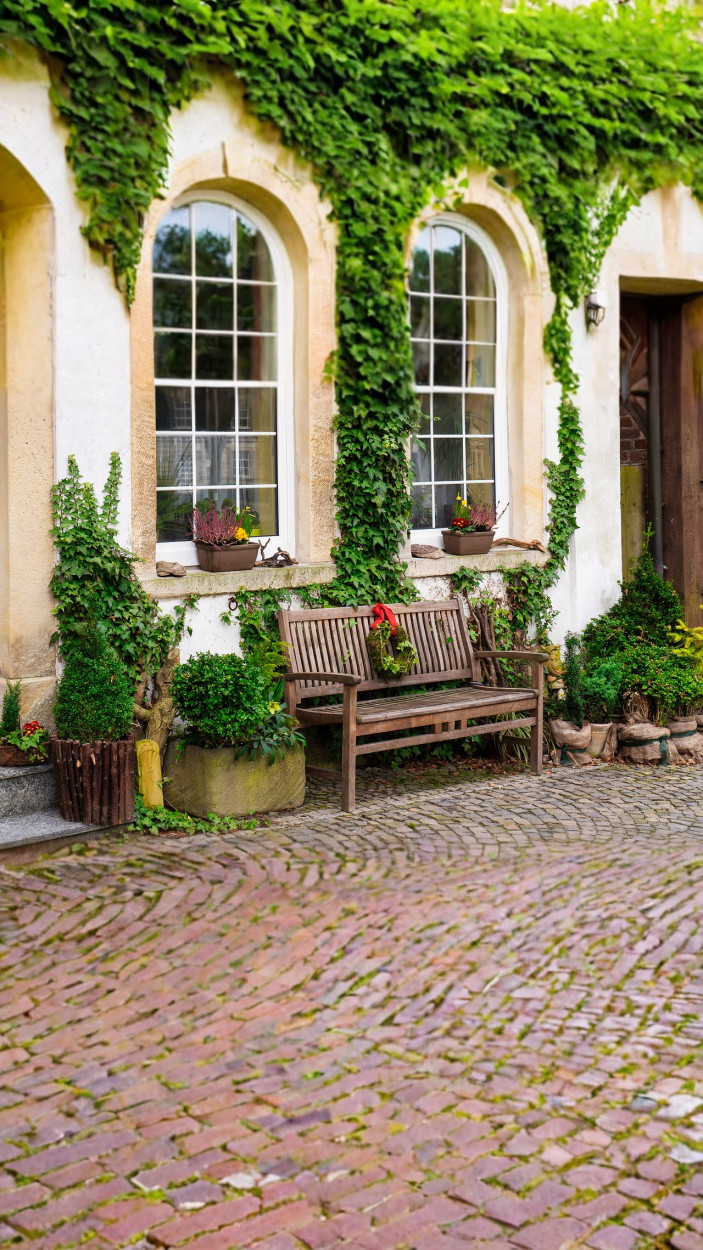 Seamlessly fill the
extended height
To extend both the width and the height of an image, you can use the minimum pad mode, ensuring that the dimensions you specify are greater than the original image dimensions. For example, extend this 640 x 480 pixel image to fill a 1100 x 1100 pixel square:
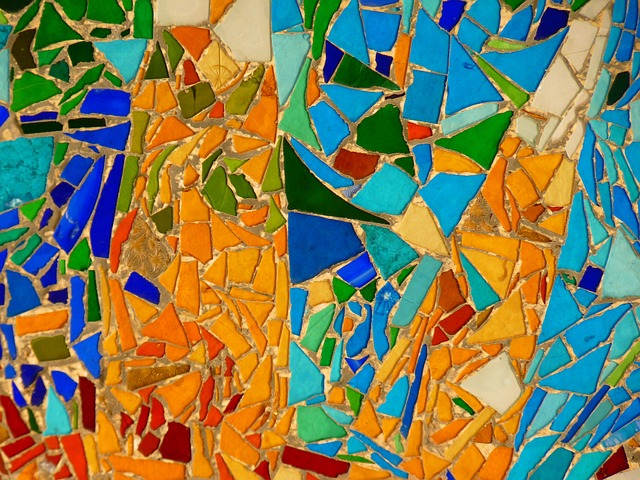 Original image
 Seamlessly fill both
extended dimensions
Extend an image in one direction
When using padding modes, you can use the gravity parameter to position the original image within the padding, for example, perhaps with the first example, you only want to extend the image to the left, you can position the original image to the right by setting gravity to east:

Extend an image with specific elements
If you want to see something specific in the generated parts of the image, you can specify a prompt using natural language. For example, add a box of cookies to the extended region (b_gen_fill:prompt_box%20of%20cookies):
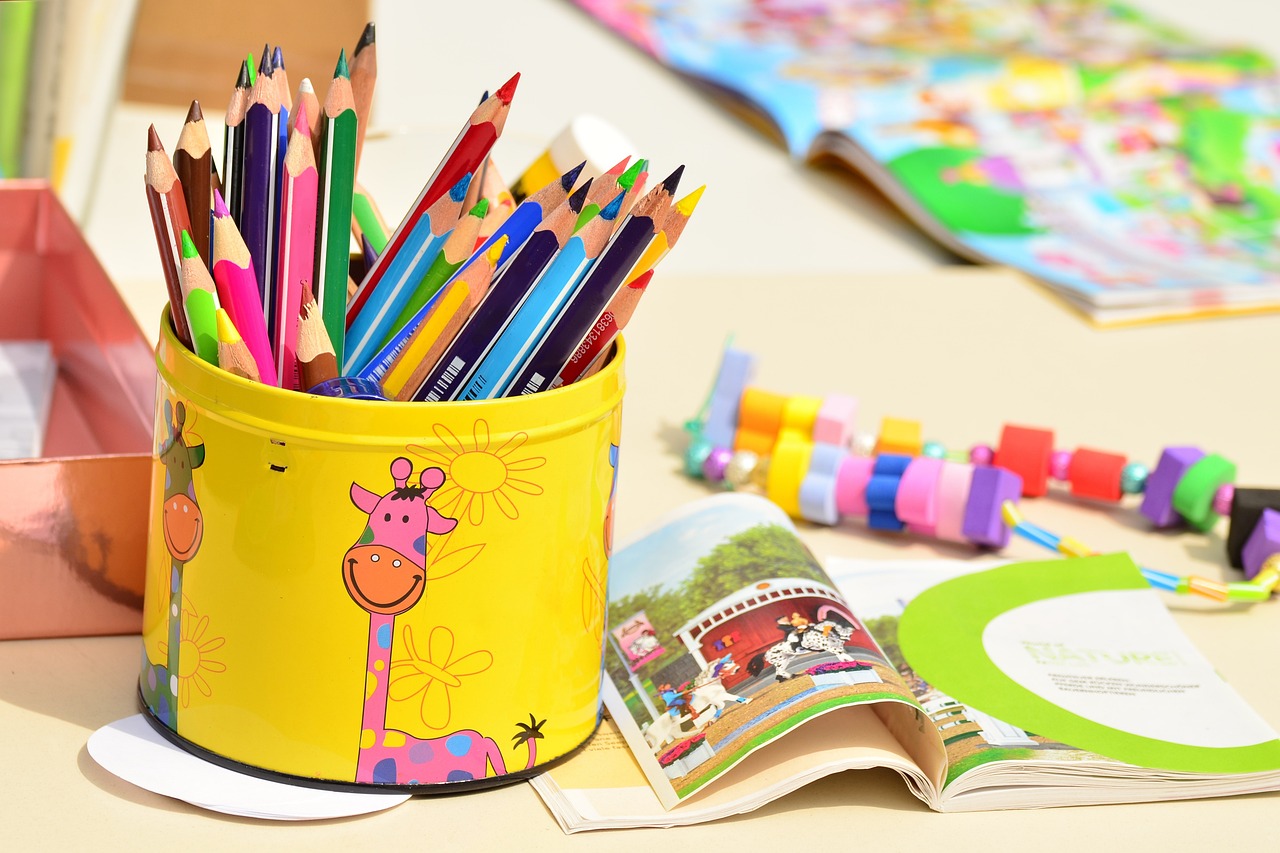 Original image
 Include a box of cookies
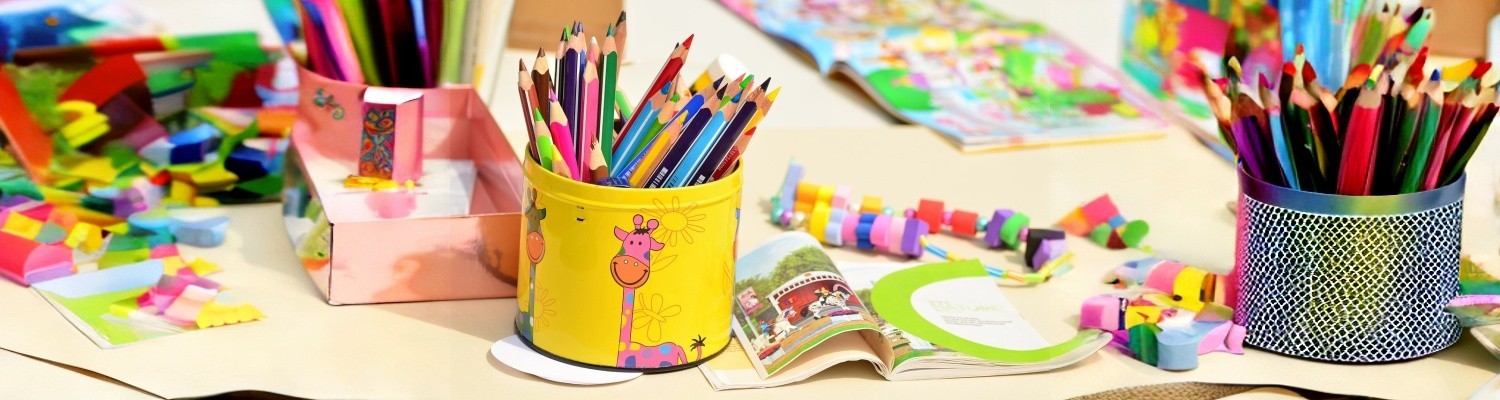 No prompt
Generate different filled backgrounds
The same filled background is generated every time you use the same prompt (and keep any preceding transformations the same). You can generate a different filled background with the same prompt (or no prompt) by setting the seed parameter. A different result is generated for each value you set. For example, regenerate the filled background for the box of cookies example (b_gen_fill:prompt_box%20of%20cookies;seed_1,c_pad,h_400,w_1500):
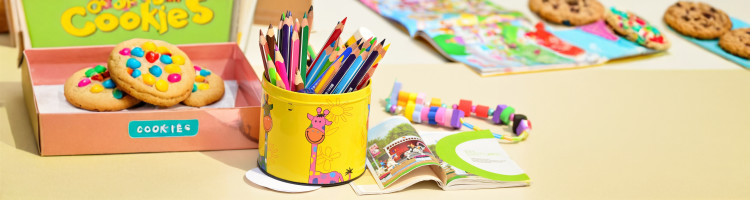
To reproduce a filled background, use the same seed value, and make sure to keep any preceding transformation parameters the same. Subsequent parameters can be different, for example, scale down the same image:

Limitations
- Generative fill can only be used on non-transparent images.
- There is a special transformation count for generative fill.
- Generative fill isn't supported for animated images or fetched images.
- If you get blurred results when using this feature, it is likely that the built-in NSFW (Not Safe For Work) check has detected something inappropriate. You can contact support to disable this check if you believe it's too sensitive.
- When Cloudinary is generating a derived version, you may get a 423 response returned until the version is ready. You can prepare derived versions in advance using an eager transformation.
- When Cloudinary is generating an incoming transformation, you may get a 420 response returned, with status
pendinguntil the asset is ready.
Error
Rate this page:
