 Ask AI
How do I add a straight horizontal line to an image?
Last updated: Nov-09-2026
l_docs:one_black_pixel/h_5,w_500/fl_layer_apply
Replace docs:one_black_pixel with the public ID of a 1x1 black pixel image in your own product environment, with colons in place of any slashes. You can download the 1x1 pixel image and upload it to your product environment.
The question
"How do I add a straight horizontal black line to a photo? I mean an actual line on the picture, not a border around it."
Cloudinary has no dedicated "draw a line" transformation. The border (bo_) parameter adds an outline around the whole image, and text characters such as underscores or hyphens can't be relied on to look like a line. Instead, you overlay a tiny solid-color image and stretch it into a line.
People add lines to images for reasons such as:
- Dividers: separating the rows of a product grid or collage, or an image from a caption area.
- Crossed-out prices: crossing out an old price in a sale image.
- Split screens: showing a vertical divider in a before-and-after comparison.
- Accents and guides: adding an underline accent beneath a headline, or alignment guides over a design.
The original asset
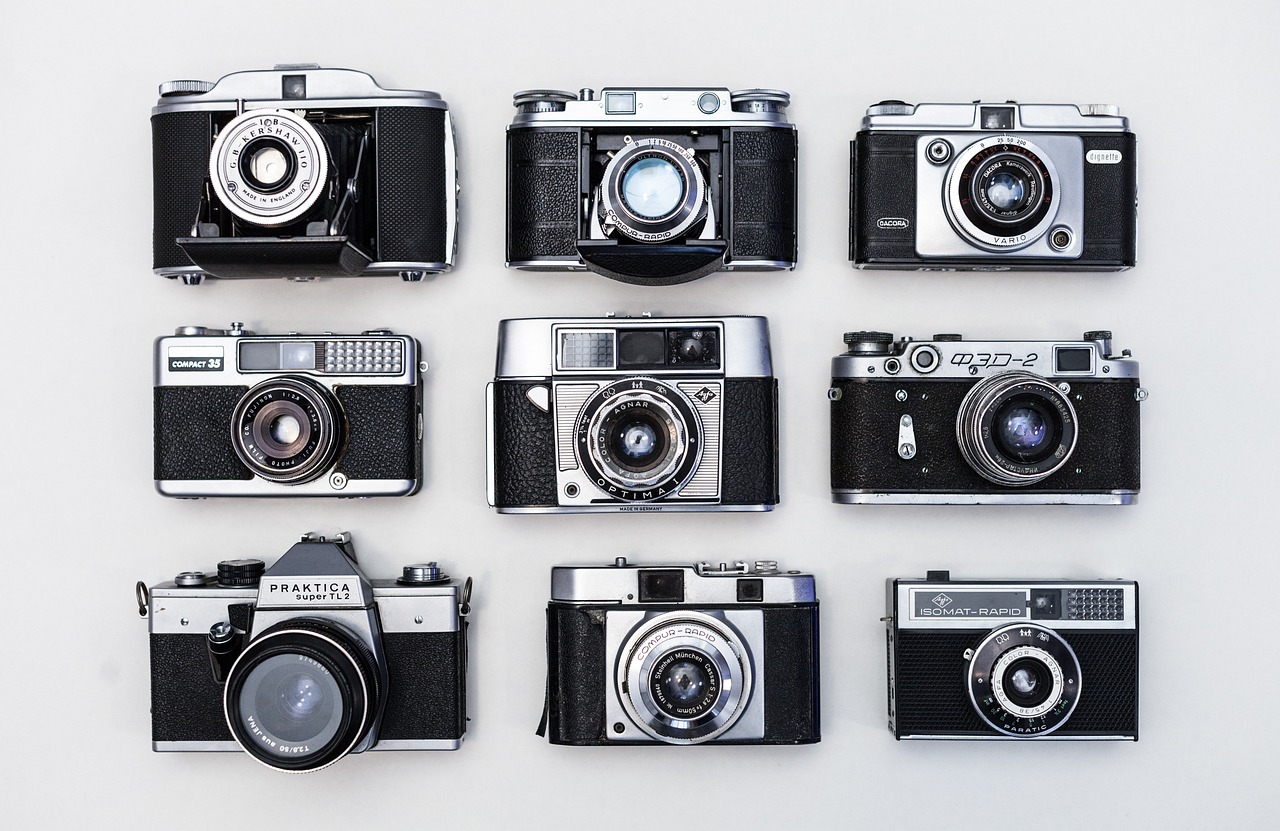
The examples start with this photo of cameras on a plain background:
The solution
- Upload a 1x1 pixel black image to your product environment. You can download the one used in these examples, which has the public ID
docs/one_black_pixelin the demo product environment. In an overlay (l_), replace each slash in the public ID with a colon, as inl_docs:one_black_pixel. - Add it as an overlay (
l_) and set its width (w_) and height (h_). A wide, short rectangle looks like a horizontal line. - Apply the layer with
fl_layer_apply, and use gravity (g_) and offsets (x_,y_) to position it.
This example draws a black line 800 pixels wide and 5 pixels thick, between the first and second rows of cameras (299 pixels from the top):

g_ and offsets, the line is centered on the image. Because all the dimensions are in pixels, the line has the same size regardless of the base image size.Make the line span the full width of the image
To draw a line that always stretches across the whole image, regardless of its width, use relative sizing. Scale the pixel with c_scale and fl_relative, and give the height as a fraction of the base image (here 0.006 is 0.6% of the image height). With g_north, a fractional y_ offset is also relative, so y_0.36 is 36% of the way down:

Change the color of the line
To draw a line in a different color, add e_colorize and co_<color> to the layer, before fl_layer_apply. This example crosses out a price in a sale image, with a red line that's tilted slightly (a_-12):

Draw a vertical line
Swap the proportions, so that the width is small and the height is large. This example draws a white line down the middle of a photo, such as for a split-screen comparison. The height is relative to the image (h_1.0 with fl_relative is the full height), so it spans the whole image:

Related topics
Error
Rate this page:
